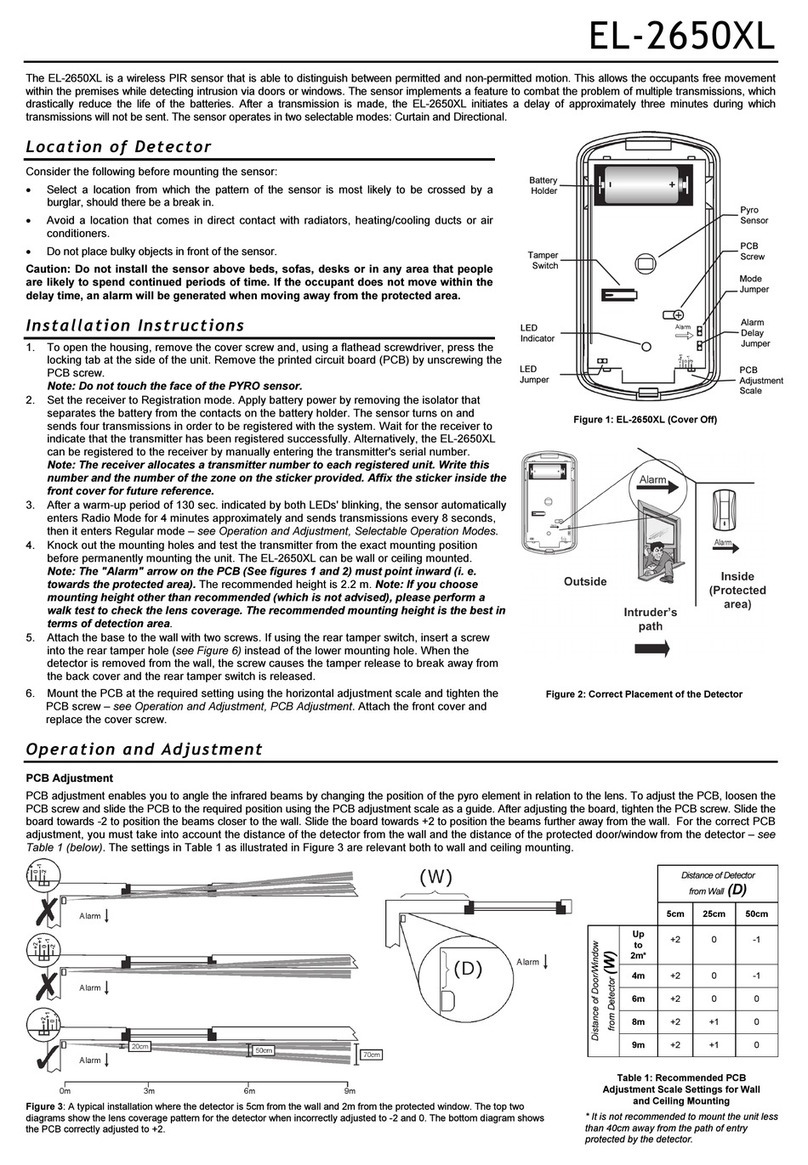
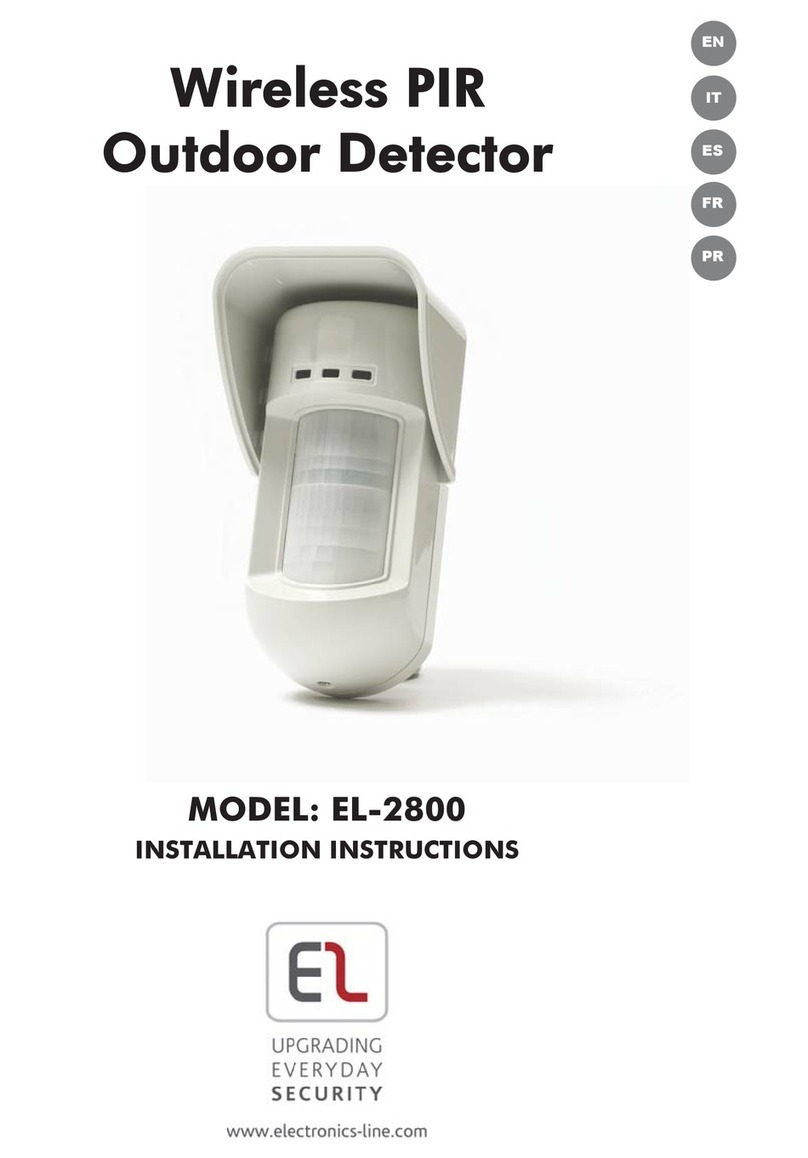
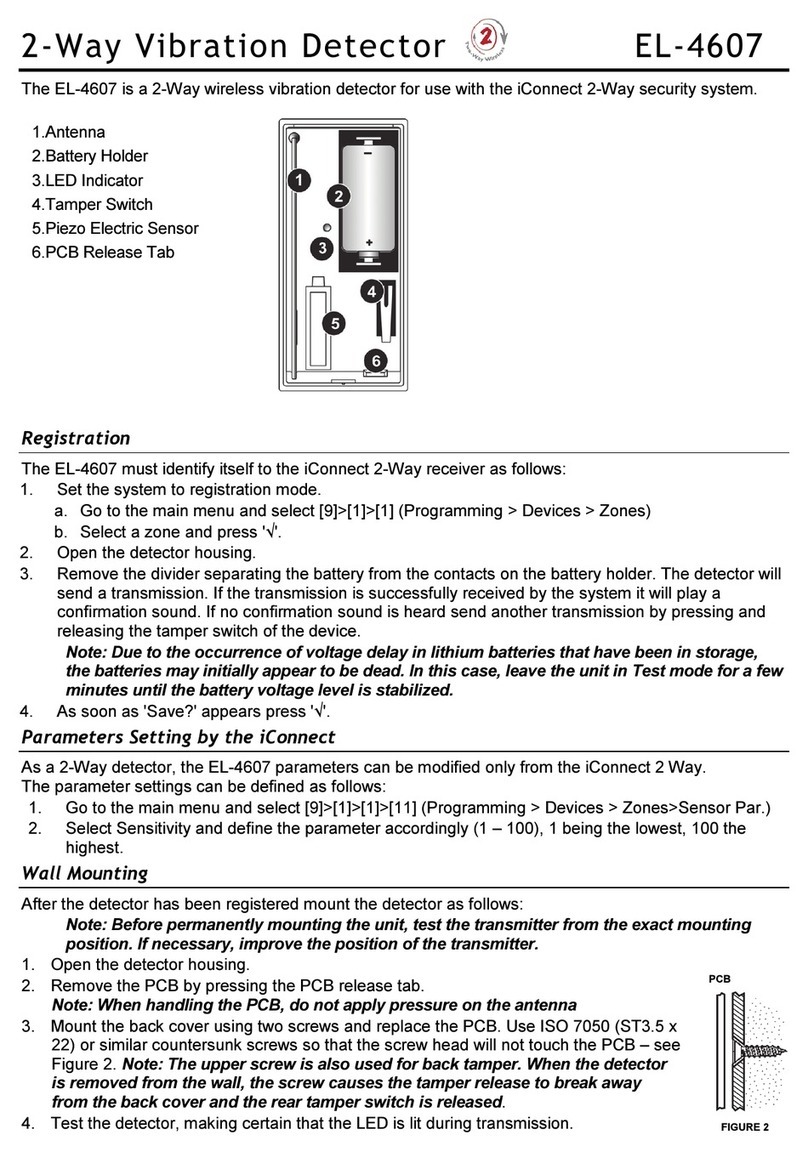
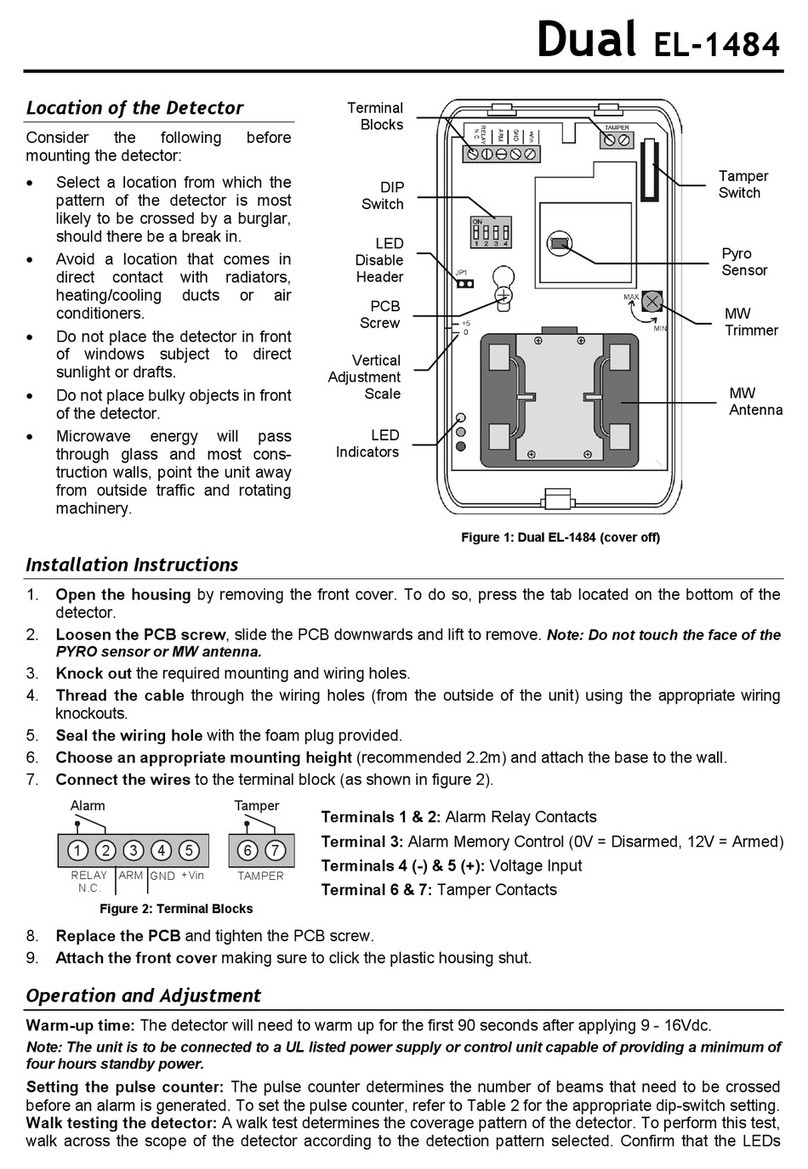
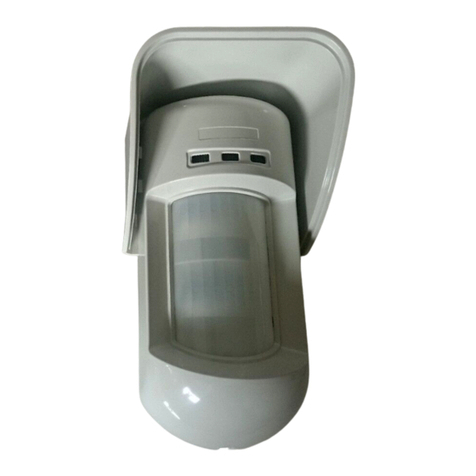
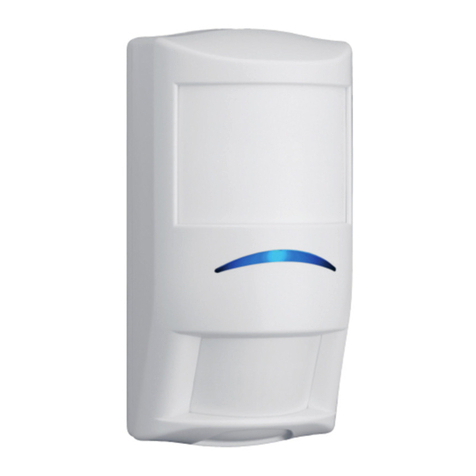
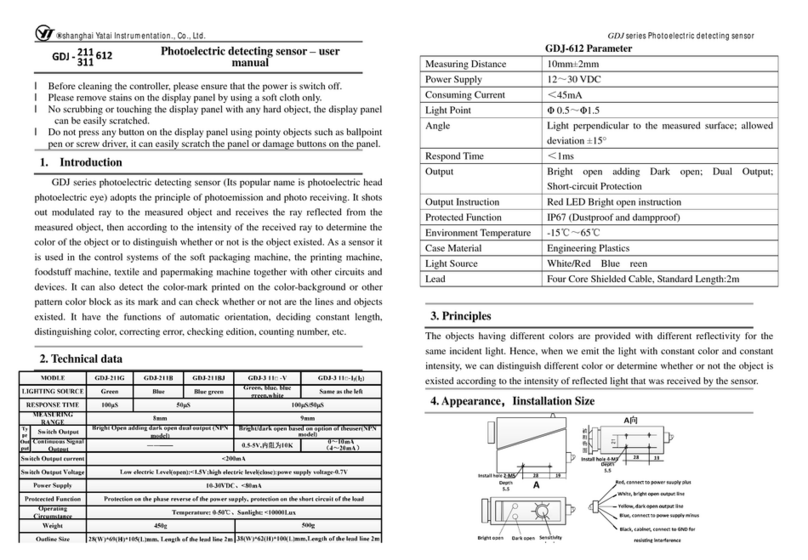
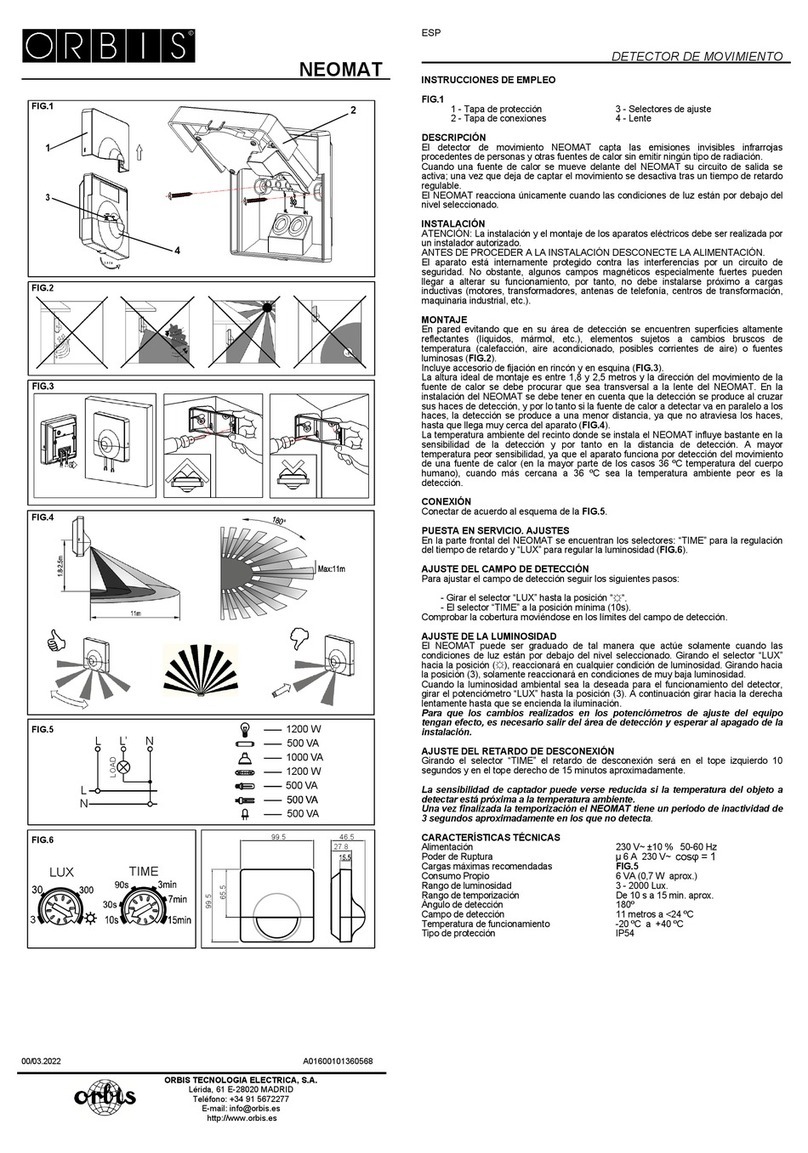
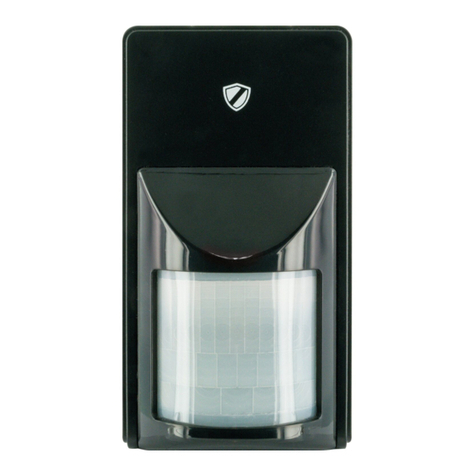
Wireless 1 & 2-Way PIR / PET
Detector
Models: EL5845/EL5845PI
Installation Instructions
Description
TheEL4845/EL5845PIisabatterypowered1&2‐Way
wirelessPIR/PETdetectorthatiscompatiblewith
ElectronicsLine2‐Waysecuritysystems.
Features include:
15mcoverage(wideangle)with90°field‐of‐view
Installationheight2.4m
1‐Way/2‐WayRFoption(DIPswitchselectable)
2long‐lifelithiumbatteriesforextendedbatterylife
Frequency:868Mhzor433Mhz
PETImmunityoption(45Kganimals)
Installation
Step1: Selecting a Mounting Location
Selectthemountinglocationforbestcoverageofthearea
thatistobeprotected(seePreliminaryConsiderationsand
CoveragePatterns).
Step 2: Registering the Detector in the
System
Thedetectormustidentifyitselftothesystem’sreceiver
(controlpanel)duringtheregistrationprocess.
1.Setthesystemtoregistrationmode.
2.Gotothemainmenuandselect
[9]Programming>[1]Devices>[1]Zones.
3.Selectazoneandpressʹʹ.Thesystementersinto
Learnmode.
4.Unlockandremovethemountingbracketfrom
thedetector(seeFigure1andFigure3).
5.SetthedetectorDIPswitchsettings(seeFigure3
andDIPSwitchSettings).
6.Insertthesuppliedbatteriesintothebattery
holderspayingattentiontothecorrectpolarityor
removetheplasticprotectorstripifthebatteries
arealreadyinplace(seeFigure3).
Thedetectorsendsatransmissiontothesystem.If
thetransmissionissuccessfullyreceivedbythe
systemitplaysaconfirmationsound.
Ifnoconfirmationsoundisheard,sendanother
transmissionbypressingandreleasingthetamper
switchofthedevice(seeFigure3).
Oncethedetectorissuccessfullyregisteredthe
systemdisplayshows:Save?
7.Presstoconfirmandcontinueenteringother
parametersforthechosendevice(seeParameter
Configuration).
Step 4: Mounting the Detector
Thedetectormustbetestedontheexactmounting
positionbeforepermanentlymounting.
1.Opentheknockoutholesofthemountingbracket,
andusethemasatemplateformounting(see
Figure2).
ForPetfriendlymodel:Inordertooptimizepet
immunity,alwaysmountthedetectorverticallyataright
angletothefloor.Makesurethatananimalcannotget
abovetheheightof1.5m(5ʹ)byclimbingonfurniture,
shelvingorstairs.
2.Oncethebracketisinstalled,slideandlockthe
detectorontothemountingbracket.
3.PerformaWalkTest(seePerformingaWalkTest).
4.Insertandfastenscrewintotheholelocatedatthe
bottomofthedetectortolockthedetectortothe
mountingbracket(seeFigure4).
Step 5: Performing a Walk Test
Thedetectorneedsapproximately90secondstowarm
upafterapplyingpower.
Gotothesystemsmainmenuandselect[7]Service>[6]
WalkTestandpressʹ.
DuringWalkTestmode,walkthroughtheentirefieldof
viewofthedetectorandconfirmthattheLEDactivates
anddeactivatesaccordingly(seeLEDIndication).
Verifythatthesystemreceivesthesignals.
NOTE:Waitfortenseconds,aftereachdetection,before
continuingthetest.
Aftercompletingthewalktest,resetthesystemto
Normalmode.
LED Indication
Status Indication
On(inalarmmode)Detectionalarm
Blinkingtwice(in
alarmmode):
Lowbattery
Blinkingfourtimes(in
learningmode)
Successfulregistration
DIP Switch Settings
1‐WayparameterscanbemodifiedfromtheDIPswitch.
DIP Function Option
11‐Way/
2‐Way
OFF(1‐Way/
ON(2‐Way)*
2LEDOFF/ON*
3SensitivityOFF(Low,3m)*/
ON(High,6m)
4Normal/
WalkTest
OFF(Normal,2,5min)*/
ON(WalkTest)
*=Default
Parameter Configuration
2‐Wayparameterscanbemodifiedfromthesystem.
Gotothemainmenuandselect[9]Programming>[1]
Devices>[1]Zones>[11].SensorPar.
LED:Enable*/Disable
PIRSensitivity:Low*/High
AlarmDelay:1‐20minutes(3mins.*)
*=default
ForadditionalinformationrefertotheSystemInstaller
Manual.
Diagnostics
Youcanperformdiagnostictestsonyourdetectorusing
thesystem.Diagnosticsincludestestingthedetector
batterystatusandthecommunicationbetweenthe
detectorandthesystem.
ForadditionalinformationrefertotheSystemInstaller
Manual.
Battery Replacement
1.Unlockandslidethedetectorfromthemounting
bracket.
2.Replacethebatteriespayingattentiontothe
correctpolarity.
3.Slideandlockthedetectortothemounting
bracket.
CAUTION–Riskofexplosionifbatteryisreplacedby
anincorrecttype.Disposeofusedbatteriesaccordingto
localregulations.
Specifications
Electrical
BatteryType:2xCR123,3VLithium
BatteryLife:2batteries–3yeartypical
lifetime
Current
Consumption:
58Astandby;
200mAmax.
Supervision
Transmission:
0‐255minutes
RFtransmitting
frequencies:
868MHz,433MHz‐models
EL5845andEL5845PI
Optical
Filtering:WhiteLightProtection
Petfriendly:Uptoa45kganimal
immunity(petmodel)
Physical
Size(LxWxD):120x65x35mm(4.7x2.6x
1.8in)
Weight:100grams(3.52oz.)
Environmental
RFImmunity:AccordingtoEN50130‐4
Operating
Temperature:
‐10Ca55C(14Fa140F)
Storage
Temperature:
‐20Ca60C(‐4Fa140F)
Preliminary Considerations
Donotinstalloutside
Donotinstallnear
windows
Donotinstallnear
vents(air,heat,orAC)
Donotinstallnear
ceilingfans
Donotinstallin
extremetemperatures
Donotinstallindirect
sunlight
Okforsiteswithsmallpets
PIR Coverage Patterns
PIRModel
ft.
1 2 3 4 5 6 7 8 9 101112131415
1
2
0
3
01052015 3025 4035 5045
0
10
5
PIR - SIDE VIEW
m
m
ft
ft
m
ft
0
1052015 3025 4035 5045
1234567 89101112131415
0
0
10
5
20
15
30
25
1
2
3
4
5
6
7
8
9
0
10
5
20
15
30
25
1
2
3
4
5
6
7
8
9
PIR - TOP VIEW
m
PETModel
ft m
ft
m
123 4567 8 9101112
1
2
0
3
01052015 3025 4035
0
10
5
PIR Pet - SIDE VIEW
ft m PIR Pet - TOP VIEW
0
10
5
20
15
25
1
2
3
4
5
6
7
8
0
10
5
20
15
30
25
1
2
3
4
5
6
7
8
9
01052015 3025 4035
12345678 91011120


