1514
MEASURING THE BREWING PRESSURE
The appliance is fitted with a pressure gauge that displays the pressure delivered by the
pump during brewing.
Through the reading of the gauge, this enables technician to set manually the pump
pressure during coffee dispensing.
MEASURING THE PRESSURE IN THE BOILER
The appliance is fitted with a pressure gauge that displays the steam pressure in the boiler.
9
8
CONTROL OF COFFEES DOSAGE
Each group head is fitted with a flow rate sensor, or a volumetric dosage device.
It measures the volume of water being fed through the group, to ensure that the final volume
of coffee in the cup corresponds to the value programmed by the user.
At the end, the final volume of coffee in the cup, in cubic centimetres (millilitres), corre-
sponds to its weight in grams, since the specific weight of the extract being almost the
same of the water.
To achieve this result, the device control system takes account of the quantity of water
necessary to wet the coffee puck, quantity that does not reach the cup during the extraction,
and adds it to the programmed quantity.
The quantity of water necessary to wet the coffee puck is presetted at the factory, with the
quantity of ground coffee as 6/8 grams for singles and 12/16 grams for doubles.
The dispensing capacity corresponding to these parameters is around 1 cc/second,
ie obtained by grinding granulometry required for the Italian espresso.
When using different quantities of coffee or different grinding granulometry, kindly contact
Technical Support.
7
CONTROL OF WATER TEMPERATURE IN THE BOILER
Water temperature in the boiler is controlled by a sensor that switches the heating elements
through a remotely controlled power switch.
The temperature value is settable from 112.5°C to 128.3°C, standard factory value 122.5°C.
Consequently, it also controls the pressure in the boiler, kept from 0.6 bar to 1.6 bar,
standard factory value 1.2 bar.
Consequently, it determines also the temperature of the coffee brewing water.
CONTROL OF WATER LEVEL IN THE BOILER
This is done by means of a level probe and of a solenoid valve what control the water level
in the boiler, topping it up automatically when required.
5
6
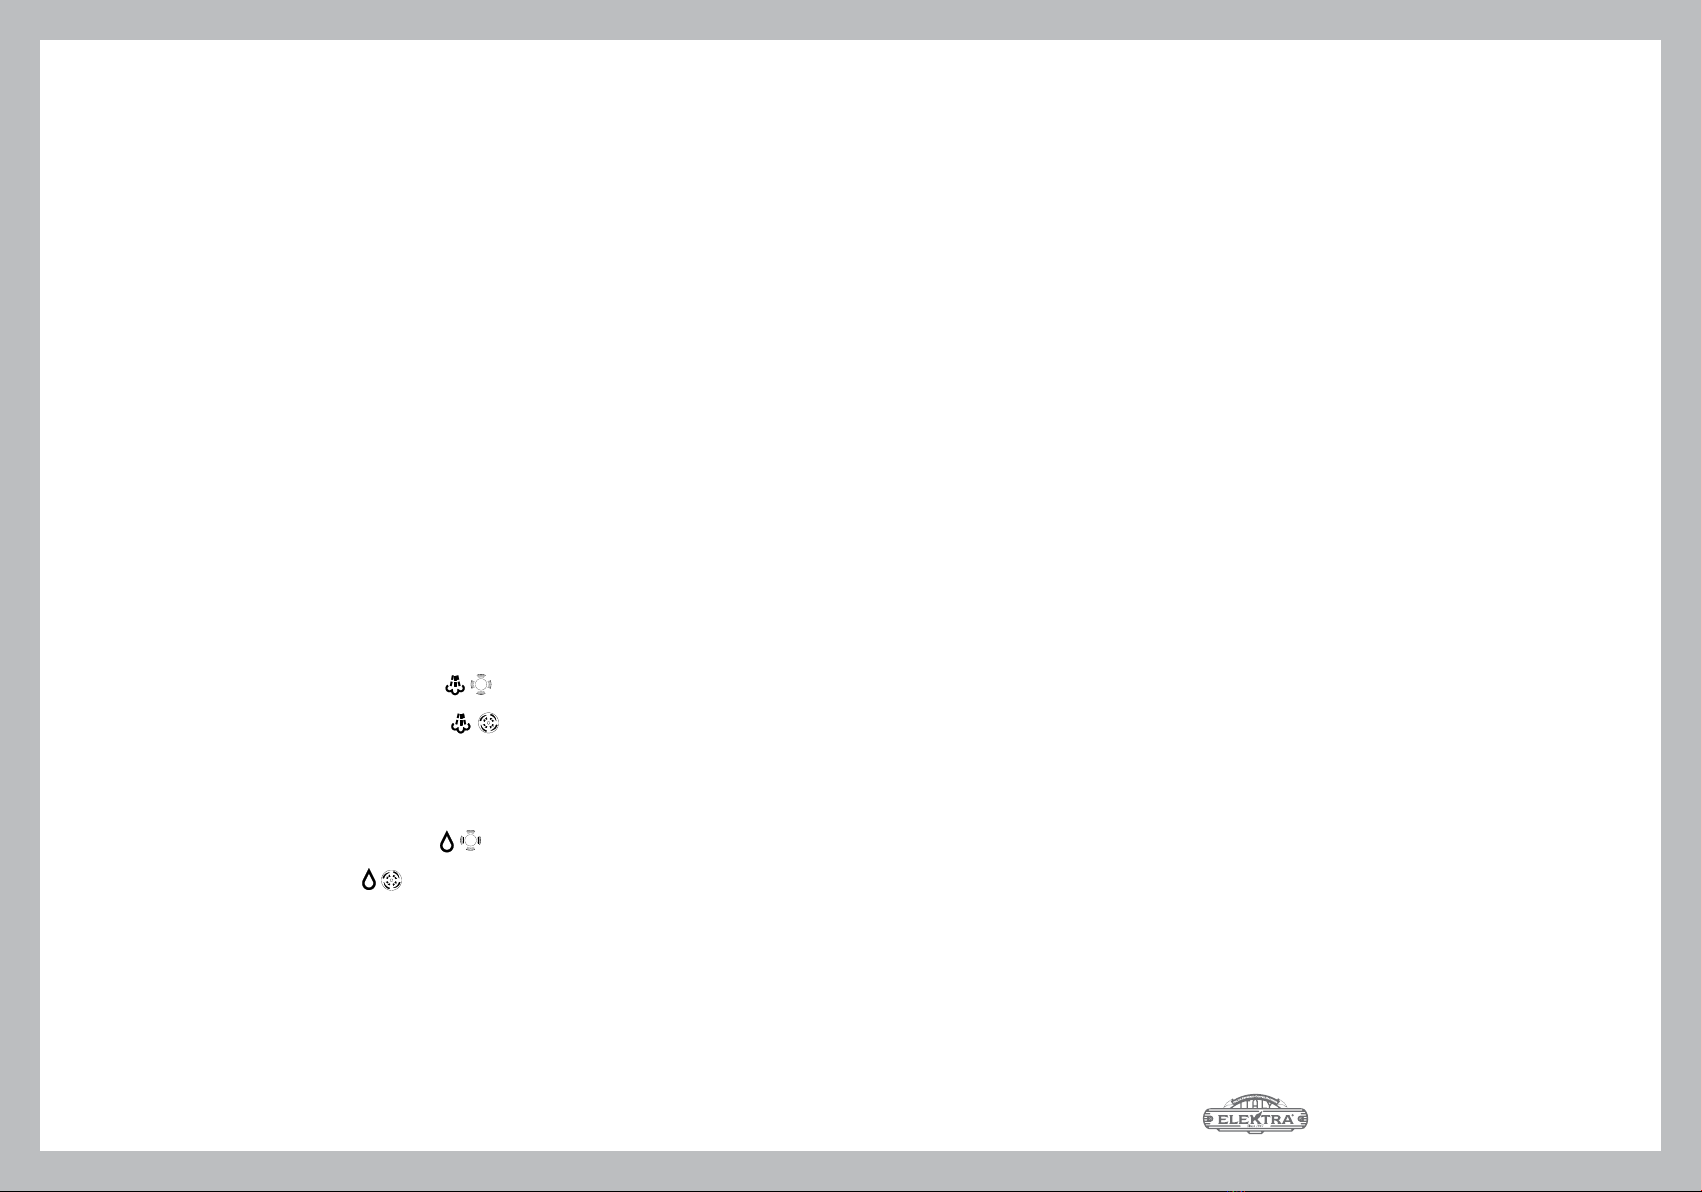
HOT WATER DISPENSING
The machine has one hot water valve equipped with a swivel wand which allows the use of
large water containers and guaranteeing good general ergonomics.
The valve, marked with the two symbols is operated by a joy-stick with movement in
any direction in the Sixties models, or by an handle, opening with anti-clockwise rotation and
marked with the two symbols in the Classic and Belle Epoque models.
Water is taken from the same boiler used to heat the coffee water and to produce steam.
4
COFFEE DISPENSING
Independent dispensing groups with programmed or manual coffee doses.
Each dispensing group has a heating circuit for brewing water working with an heat exchanger
coupled to a boiler with the following capacity:
- SIXTIES
- SIXTIES
- CLASSIC
- CLASSIC
- BELLE EPOQUE
- BELLE EPOQUE
This circuit ensures that the dispensing group remains at a constant and optimal temperature
even when it is not being used, thanks to the effect of the natural circulation of hot water
flowing through the circuit itself.
The boiler water temperature setting determines consequently the brewing water temperature.
Values from 72°C to 90°C about.
The machine is equipped with the following filter baskets for the coffee powder:
- 7 grams
- 9 grams (Optional)
- 17 grams
- 21 grams (Optional, with relevant filterholder)
2
STEAM DISPENSING
The machine has one or two steam valves equipped with swivel wands which allows the
use of large milk containers and guaranteeing good general ergonomics.
The valves, marked with the two symbols are operated by a joy-stick with move-
ment in any direction in the Sixties models, or by an handle, opening with anti-clockwise
rotation and marked with the two symbols in the Classic and Belle Epoque models.
The steam is produced by the same boiler used to heat the coffee water.
3
6 liters
8 liters
12 liters
16 liters
8 liters
11 liters
1 gr
2 gr
1 gr
2 gr
2 gr
3 gr