manuals.online logo
Brands
  1. Home
  2. •
  3. Brands
  4. •
  5. ElMod
  6. •
  7. Control Unit
  8. •
  9. ElMod ThinkTank Blaster 2 Installation instructions

ElMod ThinkTank Blaster 2 Installation instructions

ThinkTank Blaster 2
detailed instructions for assembly and operation
Please read these instructions carefully before assembling the parts.
Scope of delivery
•ThinkTank Blaster PCB
•ThinkTank Blaster CPU PCB
•EMNet ribbon cable with four connectors A)
•volume control cable B)
•speaker cable C)
•cable for optional connection with proportional receiver D)
•SD-card
To operate the module you need a ThinkTank Booster
firmware 1.20 or later) and a ThinkTank TLS firmware 1.17
or later).
Functionalities
•sound module for tank models equipped with ElMod electronic parts.
•up to five independent voices.
•22kHz Sampling-frequency, 8-bit, wav-files.
•10-bit mixer for wide dynamic range.
•storage medium is standard SD-card.
•customizable: creating your own sets of samples is possible with a personal computer.
•supported sounds depending on the model):
•up to ten sounds for switching on/off of the motor shuffle play).
•determination between cold and warm start
•motor sound depending on speed
•different sounds for squieking chains which are played randomly depending on speed
•sounds for turning turret with differentiation between manual and hydraulic/electrical
turning
•sound for barrel moving
•Gun and MG shot
•up to four sounds defined by the user when using a a six-channel proportional set)
•Connection with up to two 4 or 8 Ohm speakers
•Power: 2x 5W
•Size: 48 x 47 mm² 2” x 2“)
•ElMod-Bus system EMNet) : Simple connection with other ThinkTank-Modules
Overview of connectors
1 EMNet-connector
2 connector for volume control
3 two connectors for up to two speakers
4 connector for proportional receiver channel 5+6)
J jumpers used for configuration of blaster
SD slot for sd-cards
L1 Power LED
L2 Busy LED
Assembly and connection
Faulty wiring may cause permanent damage to the electronics! If anything is unclear, please look
at our FAQ or write an email to us!
•Connect connector 1, all other ThinkTank modules and the BEC-supply, when existent, with
the EMNet cable A
•Connect volume control B with connector 2
•Connect the speaker with cable C to one of the two connectors 3. If you ordered the blaster
with a speaker, it will already be delivered with the cable. You can use up to two speakers with
the Blaster 2 resulting in higher loudness. In this case consider the polarity of the
loudspeakers! If the sound appears 'thinner', swap the cables of one of them.
•Leave all jumpers closed to activate the standard set of samples for the tiger tank or choose
another one by setting the jumpers accordingly to your choice. A list with all available sample
sets is included.
•When you install the circuit board in the tank, make sure that no short circuits can occur a
second mounting hole is placed below the CPU PCB).
Initiation
It is essential for proper function of the module that the tank itself and all other modules are
installed correctly!
•Make sure all cables have been installed as described above.
•Make sure that all jumpers are put in the right position and that the SD card is well fixed.
•Put in a full charged battery and switch on the tank.
•The power LED starts blinking for a short time as soon as the connection with the other
modules is established.
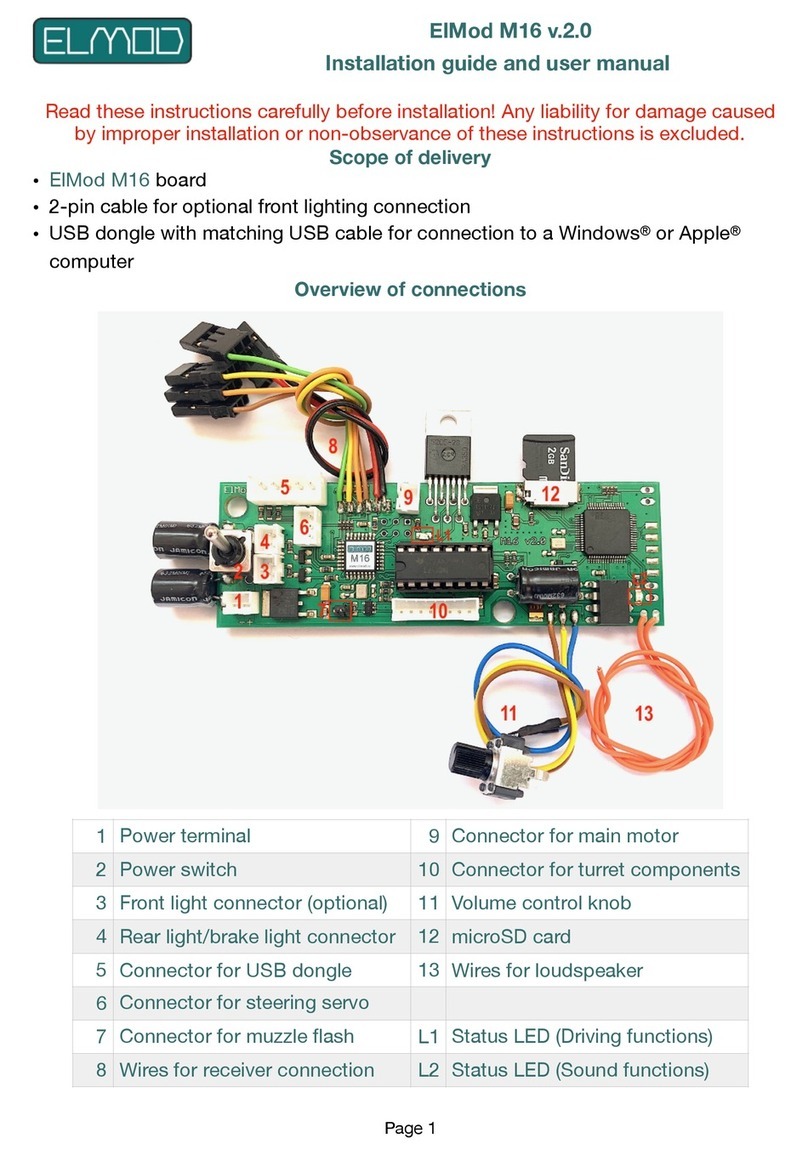
Operation state L Ds
Power-L D
-_______ Booster is looking for connected modules
-------- (on) Booster is operational
-----_-_ no SD card found or card is defect
---_-_-_ initialisation file not found or damaged file
system on the SD card
_____-_- warning: maximum number of samples for
one set exceeded
___-_-_- warning: a defined sample could not be
found in the set of samples
_-_-_-_- another critical error
Busy-L D flickers when playing the samples
Switching the motor on and off
After the installation of the ThinkTank blaster, the engine is switched off after power up by default.
You can change the state of the engine as follows:
•HL-Tanks without S&S or tanks with installed ThinkTank proportional set: move the left lever to
the left upper position.
•HL-Tanks with S&S: After power up push the ignition button on the radio and wait approx. 10
seconds the time span which is required for the original HL-ignition sequence to be finished).
Move the left lever to the left upper position.
•Tanks with installed ThinkTank C6 proportional set: move the control element of channel 6 to
the most upper position.
This procedure switches the tank alternately on and off. You cannot move the tank when the
engine is off.
User defined samples
With a six-channel proportional set up to four sounds can be defined by the
user. Every set of samples is already equipped with demo samples. To play
them cable D hast to be connected with connection 4 and the proportional
receiver.
cable black/brown: channel 5 channel 7 with ThinkTank C6 Prop Set)
cable red: channel 6 channel 8 with ThinkTank C6 Prop Set)
The plugs are not polarity proof! Make sure that the black cable is connected to the ground -) and
the colored wires are connected to the signal pins S) of the receiver.
The samples are activated by full deflection of the controls of the channels 5 and 6 and can be
terminated by moving the controls in the opposite direction.
Optional sample sets
Take a look at our website for information about new sets of samples. New sets can be
downloaded for free and transfered to the SD-card via USB-card reader.
Please visit our website and take a look on the FAQ for in-depth information
Nicht geeignet für Kinder unter 14 Jahren.
Not suitable for Children under 14 years.
Ne convient pas pour des enfants de moins de 14 ans.
Niet geschikt voor kinderen onder de 14 jaar.
ElMod Dipl.-Inf. FH) Thomas Kusch and Jürgen K. Huber GbR
Millotstraße 15/1
D-72622 Nürtingen
DEUTSCHLAND / GERMANY
lMod Dipl.-Inf.(FH) Th. Kusch & Jürgen K. Huber GbR
info@el-mod.de http://www.el-mod.de

Other ElMod Control Unit manuals

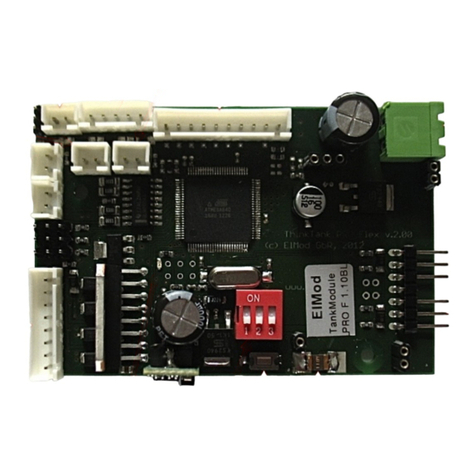
ElMod ThinkTank Tank Module ECO Flex Assembly instructions

ElMod

ElMod ThinkTank Tank Module ECO Flex Assembly instructions

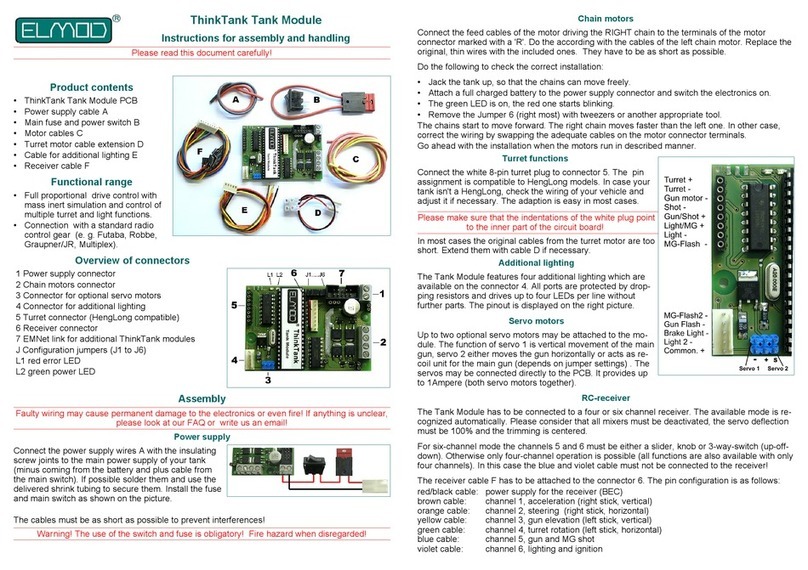
ElMod ThinkTank Tank Module PRO II Assembly instructions

ElMod

ElMod ThinkTank Tank Module PRO II Assembly instructions

ElMod M16 v.2.0 Assembly instructions

ElMod

ElMod M16 v.2.0 Assembly instructions

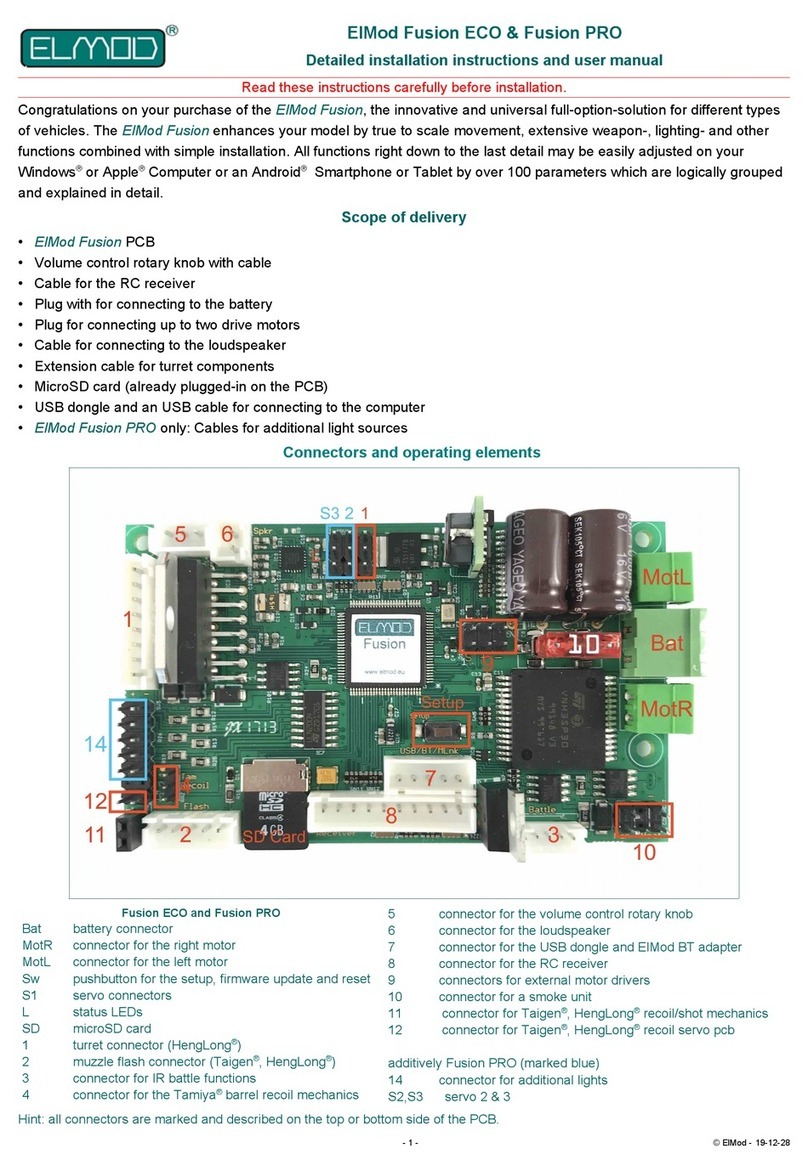
ElMod Fusion ECO Operating and maintenance manual

ElMod

ElMod Fusion ECO Operating and maintenance manual

ElMod ThinkTank Tank Module PRO II Flex Assembly instructions

ElMod

ElMod ThinkTank Tank Module PRO II Flex Assembly instructions

ElMod Fusion ECO Operating and maintenance manual

ElMod

ElMod Fusion ECO Operating and maintenance manual

ElMod ThinkTank Tank Module Assembly instructions

ElMod

ElMod ThinkTank Tank Module Assembly instructions

ElMod ThinkTank Pro Assembly instructions

ElMod

ElMod ThinkTank Pro Assembly instructions

ElMod Famo Assembly instructions

ElMod

ElMod Famo Assembly instructions

ElMod ThinkTank Tank Module ECO Assembly instructions

ElMod

ElMod ThinkTank Tank Module ECO Assembly instructions

Popular Control Unit manuals by other brands

Texas Instruments MSP-EXP430G2 user guide

Texas Instruments

Texas Instruments MSP-EXP430G2 user guide

Squibb-Taylor AL404 Installation, operation, maintenance, disassembly and assembly Instructions

Squibb-Taylor

Squibb-Taylor AL404 Installation, operation, maintenance, disassembly and assembly Instructions

V2 ELETTRONICA City5 instruction manual

V2 ELETTRONICA

V2 ELETTRONICA City5 instruction manual

Burkert 2300 Series operating instructions

Burkert

Burkert 2300 Series operating instructions

National Instruments NI 9262 Getting started guide

National Instruments

National Instruments NI 9262 Getting started guide

Graco 256556 Instructions-parts list

Graco

Graco 256556 Instructions-parts list

UBC iClicker user guide

UBC

UBC iClicker user guide

AMX MAX-AOM Specifications

AMX

AMX MAX-AOM Specifications

Ebyte E70-433TBL-NW01 user manual

Ebyte

Ebyte E70-433TBL-NW01 user manual

ELCOS CAM-335 User instruction manual

ELCOS

ELCOS CAM-335 User instruction manual

Genesis Upflow-NHW Service manual

Genesis

Genesis Upflow-NHW Service manual

HB-THERM Thermo-6 manual

HB-THERM

HB-THERM Thermo-6 manual

Marshall Electronics CV-RCP-100 quick start guide

Marshall Electronics

Marshall Electronics CV-RCP-100 quick start guide

Chandler Systems DROP Home Protection Valve installation manual

Chandler Systems

Chandler Systems DROP Home Protection Valve installation manual

ADDAC System ADDAC403 user guide

ADDAC System

ADDAC System ADDAC403 user guide

Huawei BBU3900 Hardware description

Huawei

Huawei BBU3900 Hardware description

COMEPI MS1A31-024 manual

COMEPI

COMEPI MS1A31-024 manual

Maico HY 230 Mounting Instructions and Directions for Use

Maico

Maico HY 230 Mounting Instructions and Directions for Use

manuals.online logo
manuals.online logoBrands
  • About & Mission
  • Contact us
  • Privacy Policy
  • Terms and Conditions

Copyright 2025 Manuals.Online. All Rights Reserved.