manuals.online logo
Brands
  1. Home
  2. •
  3. Brands
  4. •
  5. elsner elektronik
  6. •
  7. Temperature Controllers
  8. •
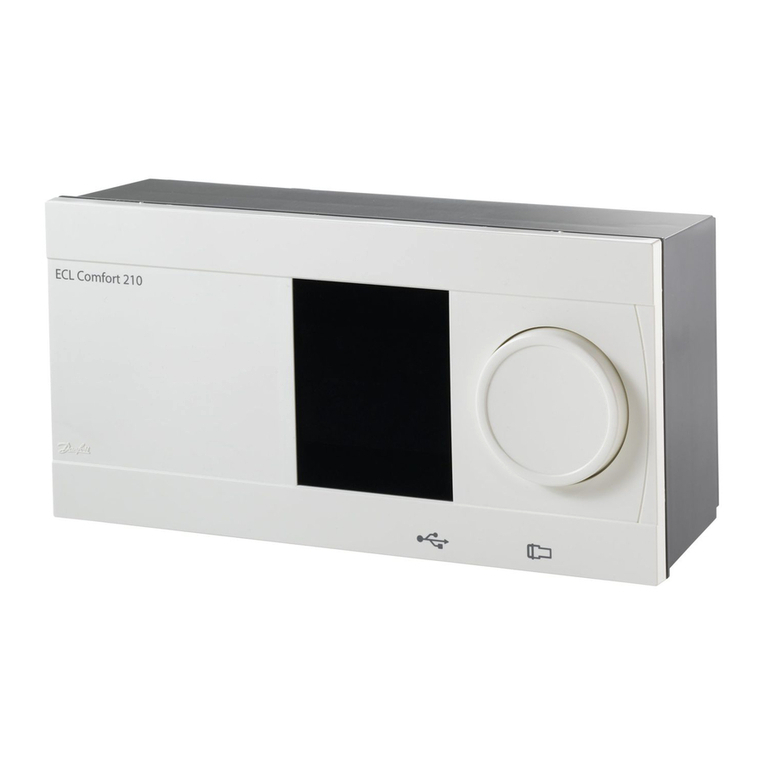
  9. elsner elektronik Cala KNX T 101 User manual

elsner elektronik Cala KNX T 101 User manual

Room Temperature Controller Cala KNX T 101 1
Room Temperature Controller Cala KNX T 101 • Version: 17.09.2020 • Technical changes and errors excepted. • Elsner Elektronik GmbH • Sohlengrund 16 • 75395 Ostelsheim • Germany • www.elsner-elektronik.de • Technical Service: +49 (0) 7033 / 30945-250
EN
Cala KNX T 101
Room Temperature Controller
Technical specifications and installation instructions
Item numbers 70980 (white), 70982 (black)
1. Description
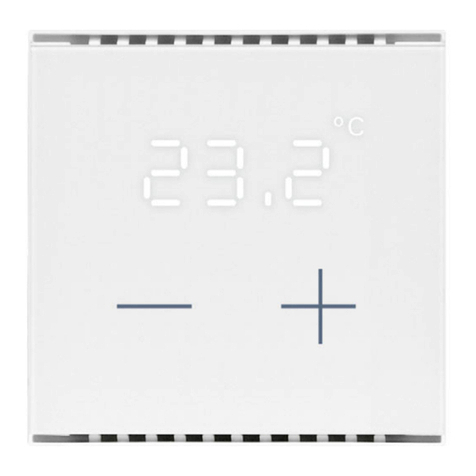
The Room Temperature Controller Cala KNX T 101 measures the room tem-
perature and displays the current value in white illuminated figures. Via the bus the
device can receive an external measured value and process it with own data to ove-
rall temperature value (mixed value).
The Cala KNX T 101 has got an integrated PI controller for a heating and a cooling
system (one or two step). The room temperature is adjusted by means of the „+“
and „-“ touch buttons.
The device is supplemented with a frame of the switch series used in the building,
and thus fits seamlessly into the interior fittings.
Functions:
• Measurement of temperature. Mixed value from own measured value and
external values (proportions can be set in percentage), output of minimum
and maximum values
•Display of the actual value or the target value/basic setpoint shift
•2 touch buttons (+/-) for adjustment of the room temperature
•PI controller for heating (one or two step) and cooling (one or two step)
depending on temperature. Control according to separate target values or
basic target temperature
Configuration is made using the KNX software ETS 5. The product file can be dow-
nloaded from the ETS online catalogue and the Elsner Elektronik website on
www.elsner-elektronik.de in the “Service” menu.
1.0.1. Scope of delivery
• Room temperature controller in casing
• Base plate
Additionally required (not included in the deliverables):
• Junction box Ø 60 mm, 42 mm deep
• Frame (for insert 55 x 55 mm), compatible to the switch scheme used in the
building
1.1. Technical data
The product is compliant with the provisions of EU Directives.
1.1.1. Accuracy of the measurement
Measurement variations from permanent sources of interference (see chapter Ins-
tallation position) can be corrected in the ETS in order to ensure the specified accu-
racy of the sensor (offset).
When measuring temperature, the self-heating of the device is compensated.
2. Installation and commissioning
2.1. Installation notes
Installation, testing, operational start-up and troubleshooting should
only be performed by an electrician.
CAUTION!
Live voltage!
There are unprotected live components inside the device.
• National legal regulations are to be followed.
• Ensure that all lines to be assembled are free of voltage and take
precautions against accidental switching on.
• Do not use the device if it is damaged.
• Take the device or system out of service and secure it against
unintentional use, if it can be assumed, that risk-free operation is
no longer guaranteed.
The device is only to be used for the intended purpose described in this manual. Any
improper modification or failure to follow the operating instructions voids any and
all warranty and guarantee claims.
After unpacking the device, check it immediately for possible mechanical damage.
If it has been damaged in transport, inform the supplier immediately.
The device may only be used as a fixed-site installation; that means only when as-
sembled and after conclusion of all installation and operational start-up tasks and
only in the surroundings designated for it.
Elsner Elektronik is not liable for any changes in norms and standards which may
occur after publication of these operating instructions.
2.2. Installation position
The Room Temperature Controller Cala KNX T 101 is designed for wall instal-
lation in a connector socket (Ø 60 mm, 42 mm deep).
May be installed and operated in dry interior rooms only.
Avoid condensation.
When selecting an installation location, please ensure that the measurement results
are affected as little as possible by external influences. Possible sources of interfe-
rence include:
• Direct sunlight
• Drafts from windows and doors
• Draft from ducts which lead from other rooms or from the outside to the
junction box in which the sensor is mounted
• Warming or cooling of the building structure on which the sensor is mounted,
e.g. due to sunlight, heating or cold water pipes
• Connection lines and ducts which lead from warmer or colder areas to the
sensor
Measurement variations from permanent sources of interference can be corrected
in the ETS in order to ensure the specified accuracy of the sensor (offset).
2.3. Device structure
2.3.1. Casing
Casing Genuine glass, plastic
Colours • similar to RAL 9010 pure white
• similar to RAL 9005 deep black
Installation Flush-mounted (wall installation in junction box
Ø60 mm, 42 mm deep or cavity wall socket for
burr hole Ø68 mm)
Degree of protection IP 20
Dimensions Housing approx. 55 x 55 (W x H, mm),
Installation depth approx. 10 mm,
Base plate approx. 71 x 71 (W x H, mm)
Total weight approx. 50 g
Ambient temperature Operating 0…+55°C, storage -30…+85°C
Ambient humidity 5...95% RH, avoid condensation
Operating voltage KNX bus voltage
Bus current max. 15 mA
Data output KNX +/- Bus plug-in terminal
Group addresses max. 183
Allocations max. 183
Communication
objects
41
Temperature measu-
rement range
0…+55°C
Temperature resolu-
tion
0.1°C
Fig. 1: Sectional drawing.
The Room Temperature Controller
Cala KNX T 101 fits in a standard con-
nector socket (Ø 60 mm, depth 42 mm).
The frame is not included in the delive-
ry!
Installation depth
27 mm
Construction depth
10 mm
Fig. 2: Front
1 Ventilation slit (top and bottom)
2 Temperatur display
3 Touch area -
4 Touch area +
2
1
4
1
3
Room Temperature Controller Cala KNX T 101 2
Room Temperature Controller Cala KNX T 101 • Version: 17.09.2020 • Technical changes and errors excepted. • Elsner Elektronik GmbH • Sohlengrund 16 • 75395 Ostelsheim • Germany • www.elsner-elektronik.de • Technical Service: +49 (0) 7033 / 30945-250
2.4. Installation of the sensor
First install the windproof socket with feed line. Seal the inlet tubes as well, in order
to prevent draughts.
Then screw the base plate to the socket and place the switch program frame. Con-
nect the bus cable +/- to the plug (black-red).
Insert the device firmly onto the metal frame using the catches so that the device
and the housing are fixed together.
2.5. Notes on mounting and commissioning
Never expose the device to water (e.g. rain) or dust. This can damage the electro-
nics. You must not exceed a relative humidity of 95%. Avoid condensation.
After the bus voltage has been applied, the device will enter an initialisation phase
lasting a few seconds. During this phase no information can be received or sent via
the bus.
3. Addressing of the device at the bus
The device is supplied with the bus address 15.15.255. You can program another ad-
dress into the ETS by overwriting the 15.15.255 address or by teaching via the pro-
gramming button.
4. Display and operation at the device
4.1. Adjust room temperature
Depending on the setting of the "Display mode" parameter in the device application,
the Room Temperature Controller Cala KNX T 101 displays the current room
temperature value (or mixed value), the target value or the shift in relation to the
basic setpoint. The display can be dimmed and switched off via the bus so that no
value is displayed.
Option A: Display of actual temperature (room temperature)
The current room temperature is displayed. It is not possible to change the room
temperature manually using the +/- buttons.
Option B: Display of target temperature or basic setpoint shift
Depending on the setting, the current target value or the shift relative to the base
setpoint is displayed. The temperature can be changed by touching the +/- buttons.
Target value display (absolute value):
Display of the basic setpoint shift (change compared to the basic setpoint of the
control):
Option C: Display of actual temperature and target temperature/basic set-
point shift
During normal operation, the current room temperature is displayed. By touching
the buttons, the display jumps to the target temperature or to the basic setpoint
shift, depending on the presetting. Changes with + or - are visible. The display re-
turns to the room temperature if no button is touched for 7 seconds.
Touch the + or - button briefly: The current target temperature (or the basic set-
point shift) is displayed.
Tap +: Increase room temperature
(target temperature/basic setpoint shift is increased).
Tap -: Lower room temperature
(target temperature/basic setpoint shift is lowered).
General:
The step size for the change and the possible setting range are defined in the device
application (ETS). There you can also define whether the manually changed values
are retained after a mode change (e.g. Eco mode overnight) or reset to the stored
values.
The button functions can be locked due to operating mode with priority 1.
5. Maintenance
Ventilation slits must not be dirty of covered. As a rule, it is sufficient to wipe the
device with a soft, dry cloth as required.
6. Disposal
After use, the device must be disposed of or recycled in accordance with the legal
regulations. Do not dispose of it with the household waste!
Fig. 3: Back
1 Base frame
2 KNX terminal BUS +/-
3 Programming button (reces-
sed) for teaching the device
4 Programming LED (recessed)
5 Catches
5
1
3
2
4
Tap +:
Increase room temperatu-
re
(target temperature is in-
creased)
Tap -:
Lower room temperature
(target temperature is lo-
wered)
Tap +:
Increase room temperatu-
re
(Basic setpoint shift direc-
tion PLUS)
Tap -:
Lower room temperature
(Basic setpoint shift direc-
tion MINUS)
or

Other elsner elektronik Temperature Controllers manuals

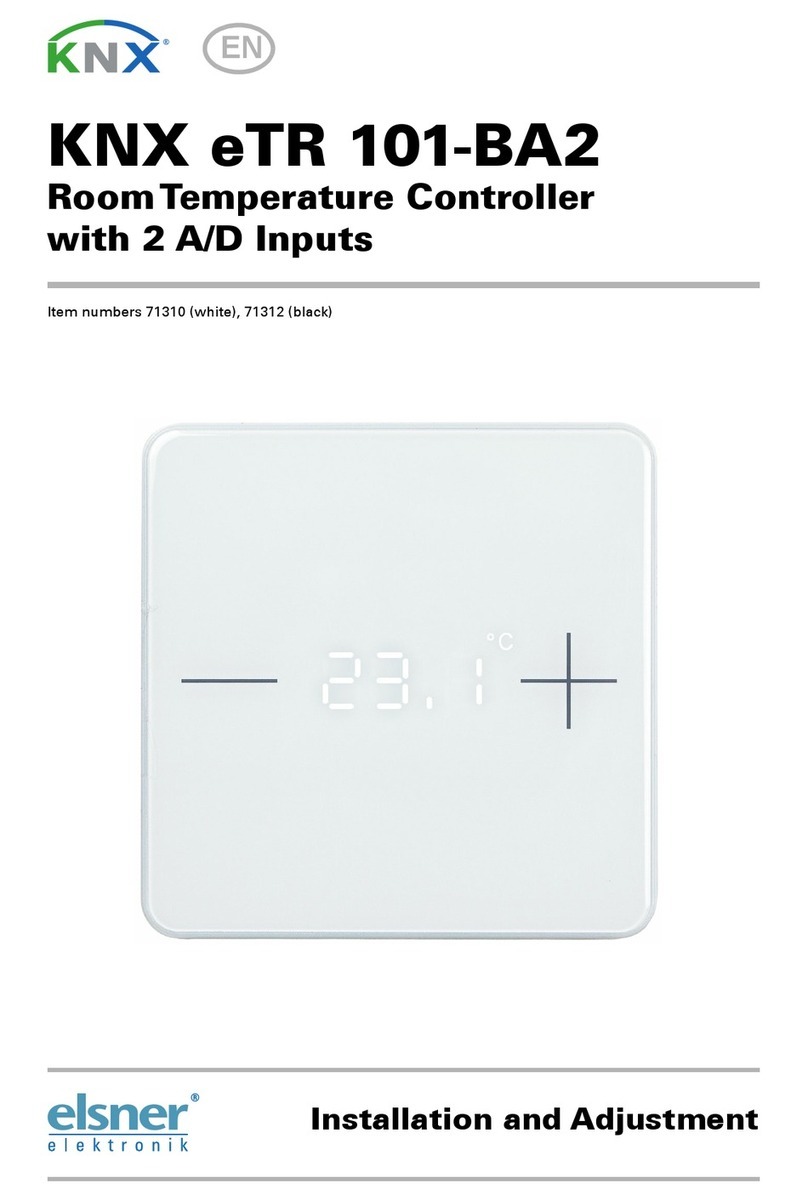
elsner elektronik KNX eTR 101-BA2 Guide

elsner elektronik

elsner elektronik KNX eTR 101-BA2 Guide

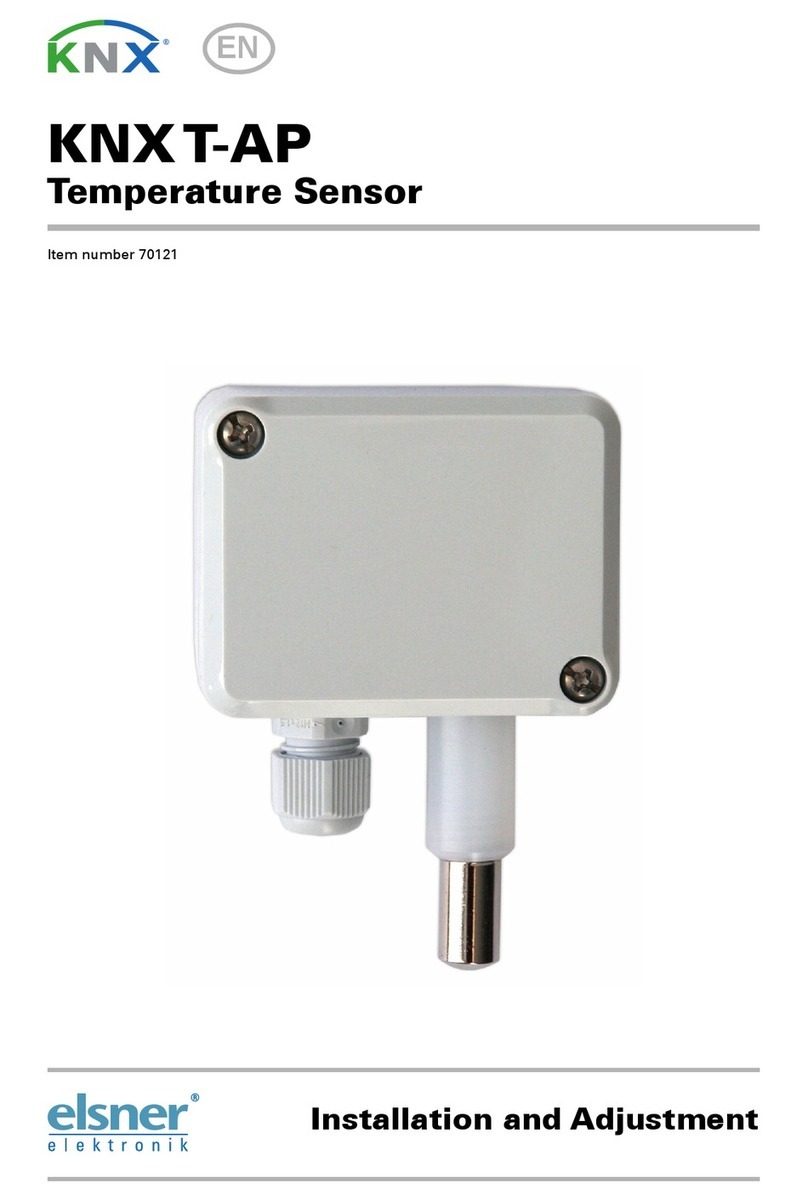
elsner elektronik KNX T-AP Guide

elsner elektronik

elsner elektronik KNX T-AP Guide

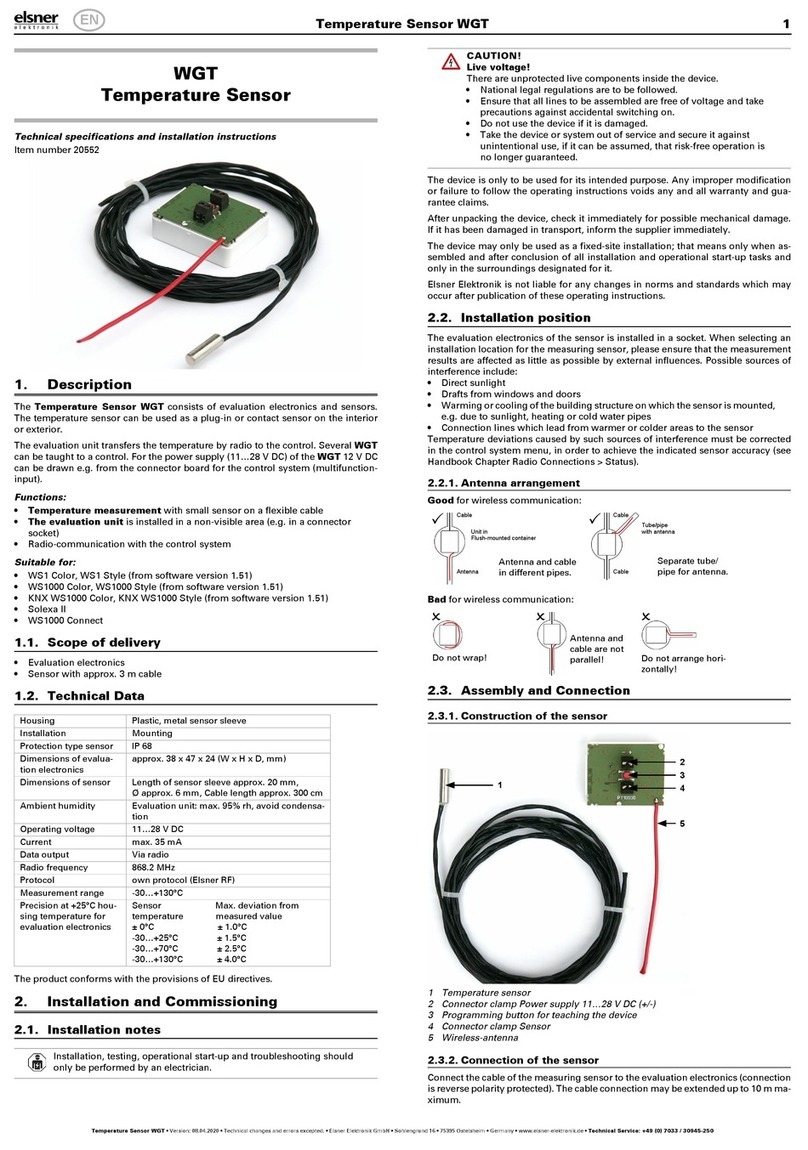
elsner elektronik 20552 User manual

elsner elektronik

elsner elektronik 20552 User manual

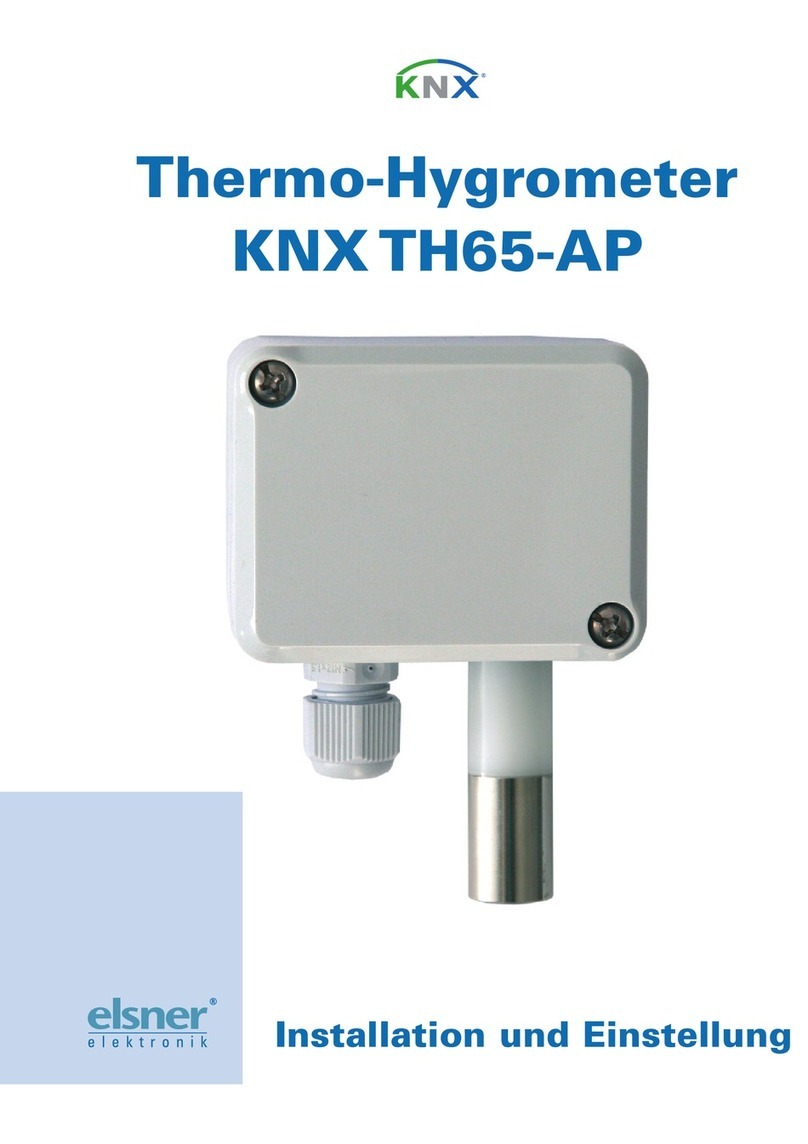
elsner elektronik KNX TH65-AP User manual

elsner elektronik

elsner elektronik KNX TH65-AP User manual

elsner elektronik Cala KNX T 101 User manual

elsner elektronik

elsner elektronik Cala KNX T 101 User manual

elsner elektronik KNX T-AP Guide

elsner elektronik

elsner elektronik KNX T-AP Guide

elsner elektronik Arexa 230V Window Control Guide

elsner elektronik

elsner elektronik Arexa 230V Window Control Guide

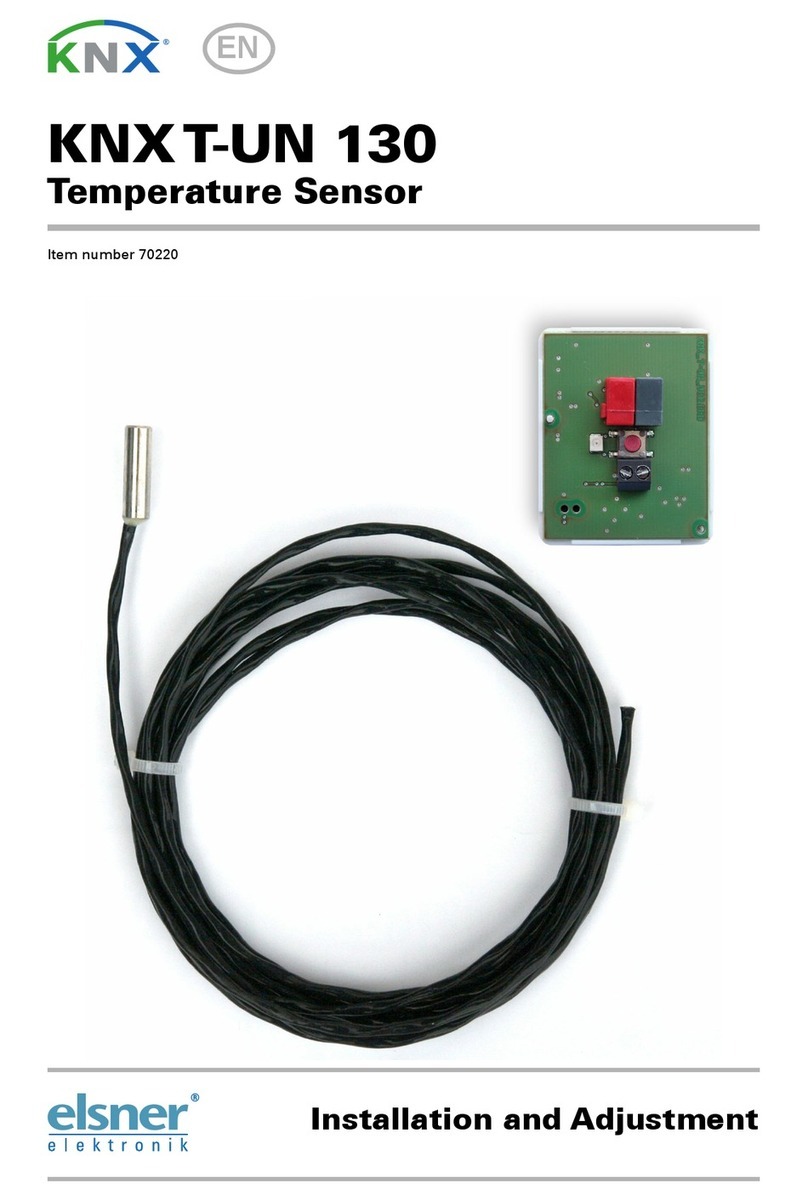
elsner elektronik KNX T-UN 130 Guide

elsner elektronik

elsner elektronik KNX T-UN 130 Guide

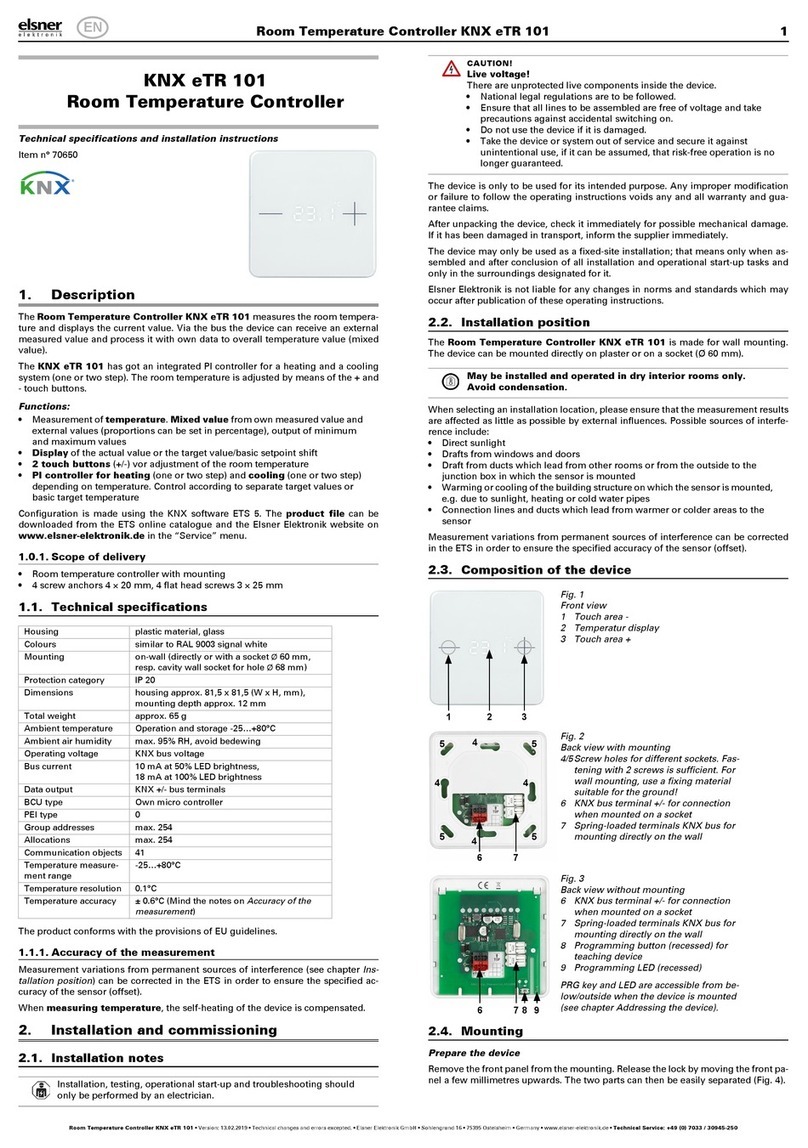
elsner elektronik KNX eTR 101 User manual

elsner elektronik

elsner elektronik KNX eTR 101 User manual

elsner elektronik KNX eTR 201 Sunblind User manual

elsner elektronik

elsner elektronik KNX eTR 201 Sunblind User manual

Popular Temperature Controllers manuals by other brands

Johnson Controls System 350T A350P manual

Johnson Controls

Johnson Controls System 350T A350P manual

ZirbenLüfter CUBE instruction manual

ZirbenLüfter

ZirbenLüfter CUBE instruction manual

Fuji Electric Micro-Controller X Socket type Operation manual

Fuji Electric

Fuji Electric Micro-Controller X Socket type Operation manual

dixell XH260L Operating informations

dixell

dixell XH260L Operating informations

Uponor KRS 6 user manual

Uponor

Uponor KRS 6 user manual

Autonics TC3YT-B4R3 Simple operation manual

Autonics

Autonics TC3YT-B4R3 Simple operation manual

Honeywell TS03 user manual

Honeywell

Honeywell TS03 user manual

Airstream EXPERT 2V3SA user manual

Airstream

Airstream EXPERT 2V3SA user manual

Auber Instruments ECT-100 instruction manual

Auber Instruments

Auber Instruments ECT-100 instruction manual

NPI TC-10 operating instructions

NPI

NPI TC-10 operating instructions

Crestron C2N-RTHS Operations & installation guide

Crestron

Crestron C2N-RTHS Operations & installation guide

Aprilaire 8051 installation instructions

Aprilaire

Aprilaire 8051 installation instructions

Proxel DTLED user manual

Proxel

Proxel DTLED user manual

AURATON 3021 RT owner's manual

AURATON

AURATON 3021 RT owner's manual

Poniie TC-10A user manual

Poniie

Poniie TC-10A user manual

Jaga BRIZA 12 manual

Jaga

Jaga BRIZA 12 manual

Boldrin Group Como Operating and installation instructions

Boldrin Group

Boldrin Group Como Operating and installation instructions

Resol DeltaSol BS/2 manual

Resol

Resol DeltaSol BS/2 manual

manuals.online logo
manuals.online logoBrands
  • About & Mission
  • Contact us
  • Privacy Policy
  • Terms and Conditions

Copyright 2025 Manuals.Online. All Rights Reserved.