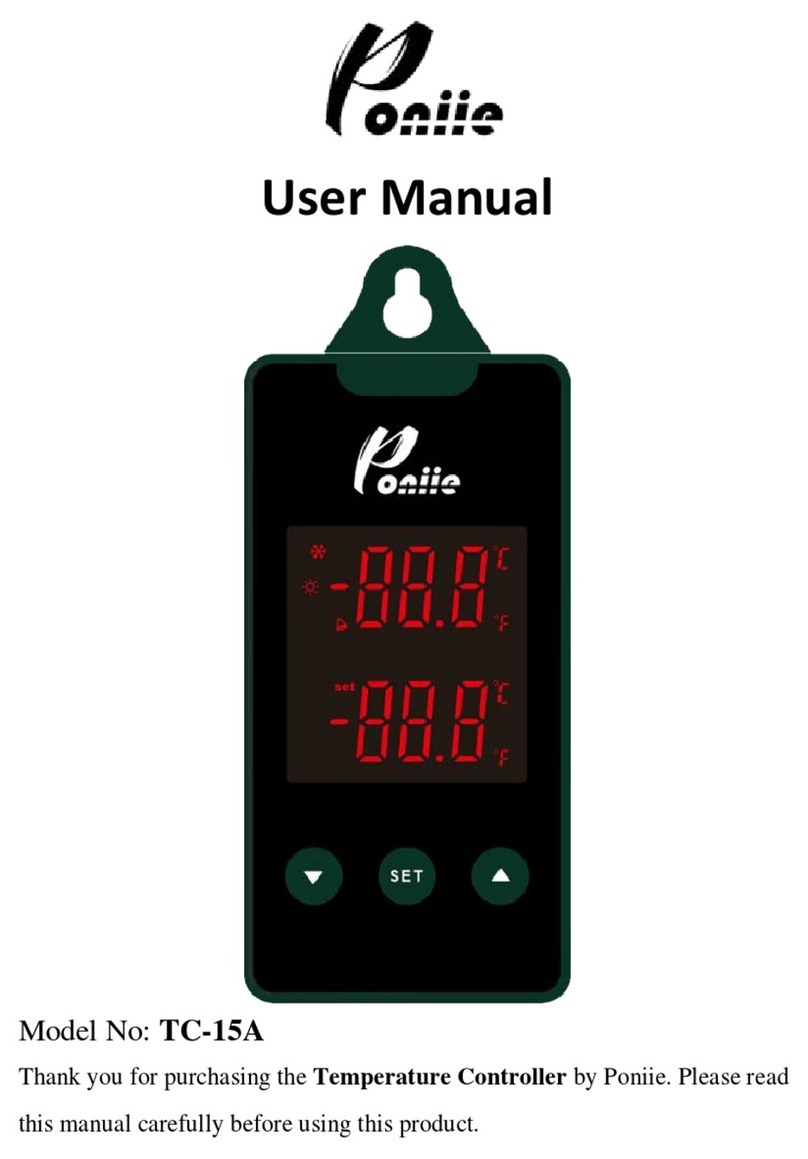
Poniie TC-10A User manual

User Manual
Model No: TC-10A
Thank you for purchasing the Temperature Controller by Poniie. Please read
this manual carefully before using this product.

1. Safety Precautions
1.1 Ensure the product is used within the specification (Max. 10A).
1.2 Induction loads such as compressors, refrigerators, space
heaters, pumps may have a start-up amp of 2 to 7 times the
continuous rating. Overload start-up amp may cause damage or
shorten device’s lifespan.
1.3 Do not operate the controller near any high temperature, high
humidity, explosive or inflammable field.
1.4 Children are not allowed to operate the device. Keep children
away from the controller.
1.5 Do not use in salt water or corrosive water, the metal NTC probe
will be slowly damaged by salt water or acid-alkali water.
2. Overview
What is TC-10A?
TC-10A is an easy-to-use, safe and reliable dual relay output
temperature controller. It can be connected to both heating and cooling
loads at the same time to control temperature.
This unit can be used as over temperature protection or automatic
temperature control system for various tasks. Such as Sous-vide,
Terrarium Heat Control, Heat Mats, Germination, Fermentation and
Brewing.

Main features
•Pre-wired plug and play;
•Dual relay output for heating and cooling;
•Support reading with ℃ and ℉;
•Dual display windows, be able to display measured temperature
and set center temperature at the same time;
•Auto saving function with power-off memory;
•Calibration function;
•Compressor delay protection;
•High and low temperature alarm;
•Faulty sensor alarm
3. Specification
Temperature Control Range
-20.0 ~ 80.0℃
Temperature Resolution
0.1℃
Temperature Accuracy
±1.0 ℃(-20.0 ~ 70.0 ℃)
Input Power
100~125V, 50/60Hz
Maximum Output Load
10A, 100 ~ 125V (1200W @120V)
Buzzer Alarm
Low and High Temperature Alarm
Sensor Type
NTC sensor
Control Panel Cable Length
1.5m / 4.9ft
Input Power Cable Length
1.7m / 5.6ft
Sensor Length
2.0m / 6.6ft
Ambient Temperature
-20.0 ~ 55.0 ℃
Ambient Humidity
20~85% (No Condensate)

4. Key Operation Instruction
4.1 Dual display.
The upper window, in working mode, displays current environment
temperature and working status; in setting mode, displays menu code.
ON: Refrigeration is in working state;
FLASHING: Refrigeration is in compressor delay time.
ON: Heating is in working state;
OFF: Not working.
The lower window, in working mode, displays shutdown
temperature point (TS) for both heating and cooling (It can be taken
as the central temperature point); in setting mode, displays setting value
of menu codes.
When controller working normally, press “▼” key, the setting Low
Temperature (TL) point is displayed; press “▲” key, the setting High
Temperature (TH) point is displayed. The screen will auto return to
normal display after 2 seconds.
4.2 How to set parameters?
Basic Setting Mode: Press “SET”key to enter the basic setting mode,
You only need to set three temperature points TL, TS and TH to set a
suitable control range. TL/TS/TH relationship is as follows:

After setting, hold down the “SET”button 3 seconds or leave it with no
operation 15 seconds, the system will save the parameter changes and
return to the working mode.
Note: You can only set the basic Settings, leaving the advanced
Settings unchanged, and only change the advanced Settings parameters
if necessary.
Advanced Setting Mode: Press & hold down “SET”key 3 seconds to
enter the advanced setting mode. You are able to set AL (Low Alarm
Temperature point), AH (High Alarm Temperature point), PT
(Compressor Protection Time), CF (℃/℉Display setting) and CA
(Calibration function) parameters. After settings, press & hold down
“SET”key 3 seconds or leave it with no operation 15 seconds to save
parameter changes and return to working mode.
User Tips: 1)Under setting mode, press “SET”key to cycle through all
parameter codes, press “▼”& “▲” to adjust the setting values below.
2)Press & hold down “▼” & “▲” can adjust setting value more quickly.
Cooling
Heating
TL
TS
TH

5. Setup Flow Chart
Basic Setting Mode
Advanced Setting Mode
Short press “SET” Press & hold “SET” for 3s
SET 3S
SET 3S
TL
SET
23.0℃
SET
AL
-20.0℃
SET
AH
70.0℃
SET
PT
2min
CF
℃
CA
0℃
TS
25.0℃
TH
27.0℃
SET
SET
Working Normally
SET
SET

6. Menu Instruction
Menu
C
ode
Function
Setting
R
ange
D
efault
Setting
Remarks
TL
Low
Temperature Point
-
20.0~80.0℃
23.0℃
6.1
TS
Shutdown
Temperature Point
-
20.0~80.0℃
25.0℃
T
H
High
Temperature Point
-
20.0~80.0℃
27.0℃
AL
Low Alarm
Temperature
-
20.0~(TL-0.5)℃
-
20.0℃
6.2
AH
High
Alarm Temperature
(TH+0.5)
~80.0℃
70.0℃
PT
Compressor Delay
0~1
0min
2min
6.3
CF
℃/℉ Display
℃/℉
℃
6.4
CA
Temperature Calibration
-
20.0~20.0℃
0
℃
6.5
6.1 Temperature Control Range Setting (TL, TS, TH)
This controller has a heating and cooling control outlets. However,
you can only use the heating or cooling side for your project.
When measured temperature ≤ TL, system enter heating state, the
heating outlet relay starts to work; when it heats up to shutdown point
(TS), the heating relay stops.
When measured temperature ≥ TH, system enter cooling state, the
cooling outlet relaystarts to work; when it cools to shutdown point
(TS), the cooling relay stops.
In case the time interval between two cooling action is less than PT,
please refer to 6.3.

Caution: Please be aware of the temperature surge risk when setting a
large temperature gap between TL--TS /TS--TH. Recommend to set
the gap smaller than 10 degrees. The tighter gap the more stable real
temperature.
Note: Please check and test your setting every time before leaving
controller to a long-term running.
6.2 Temperature Alarm Setting (AL, AH)
When measured temperature ≤ AL, low temperature alarm will be
triggered, buzzer will alarm until temperature>AL or any key is
pressed.
When measured temperature ≥ AH, high temperature alarm will be
triggered, buzzer will alarm until temperature<AH or any key is
pressed.
Note: If you set the AL ≥ TL, then the real low temperature alarm
point is TL-0.5℃. If you set the AH ≤ TH, the real high alarm point is
TH+0.5℃.
6.3 Compressor Protection Time (PT)
Under cooling mode, compressor protection will keep the refrigeration
off between cycles to protect your compressor. That means
compressor won't start refrigeration immediately, but waiting for a
delay time if it falls into the PT time frame. Delay time will be

calculated right after the moment refrigeration stops.
6.4 Display in Celsius or Fahrenheit degree (CF)
Users can select display in Celsius or Fahrenheit degree unit according
to their needs. Default setting is ℃.
Note: when you select Fahrenheit unit, the display for over 100℉ will
be a whole number, resolution becomes 1℉.
6.5 Temperature Calibration (CA)
When there is a deviation between measured temperature and actual
temperature, you can use the calibration function to align the
measured temperature and actual temperature. The corrected
temperature equals to temperature before calibration plus corrected
value (corrected value can be positive, 0 or negative value)
7. Error Description
1) If LED displays flashing code AL or AH, please kindly check your
AL or AH setting in advanced setting mode. Buzzer will alarm until
temperature fall into setting range or any key is pressed (the flash
indication will continue unless the temperature goes into normal range).
2) If LED displays code ER, then sensor is in short circuit or open loop.
Please contact Poniie customer service (support@poniie.com) for
solution.
Table of contents
Other Poniie Temperature Controllers manuals
Popular Temperature Controllers manuals by other brands

Athena
Athena IMP manual

aci
aci BACnet Series Installation & operation instructions

Sensored Life
Sensored Life MarCELL Pro quick start guide

Mitsubishi Electric
Mitsubishi Electric PAC-USWHS003-TH-1 Installation instructions manual

Siemens
Siemens REA22 Basic documentation

Ascon tecnologic
Ascon tecnologic B05B operating instructions

Diymore
Diymore W1209 quick start guide

Siemens
Siemens RDH10RF user guide

Elotech
Elotech R 1140 Description and Operation Manual

Yudian
Yudian AI-710JM Installation and operation manual

Auber Instruments
Auber Instruments WS-1500C Operation & instruction manual

Lochinvar
Lochinvar INS7141 installation instructions