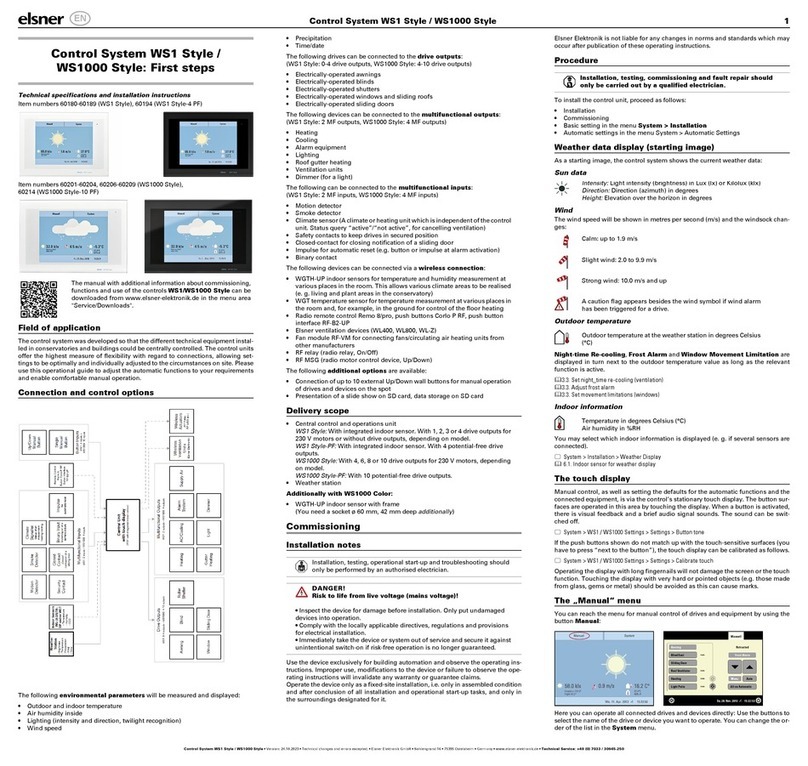
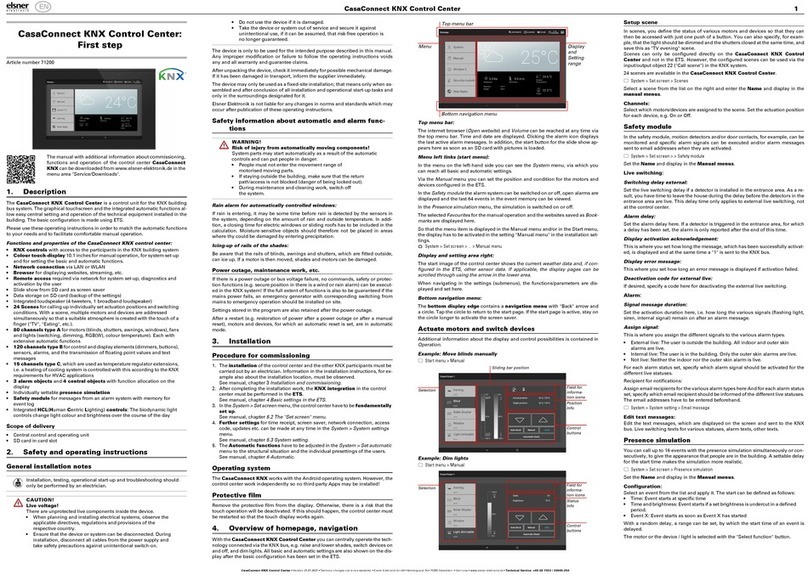
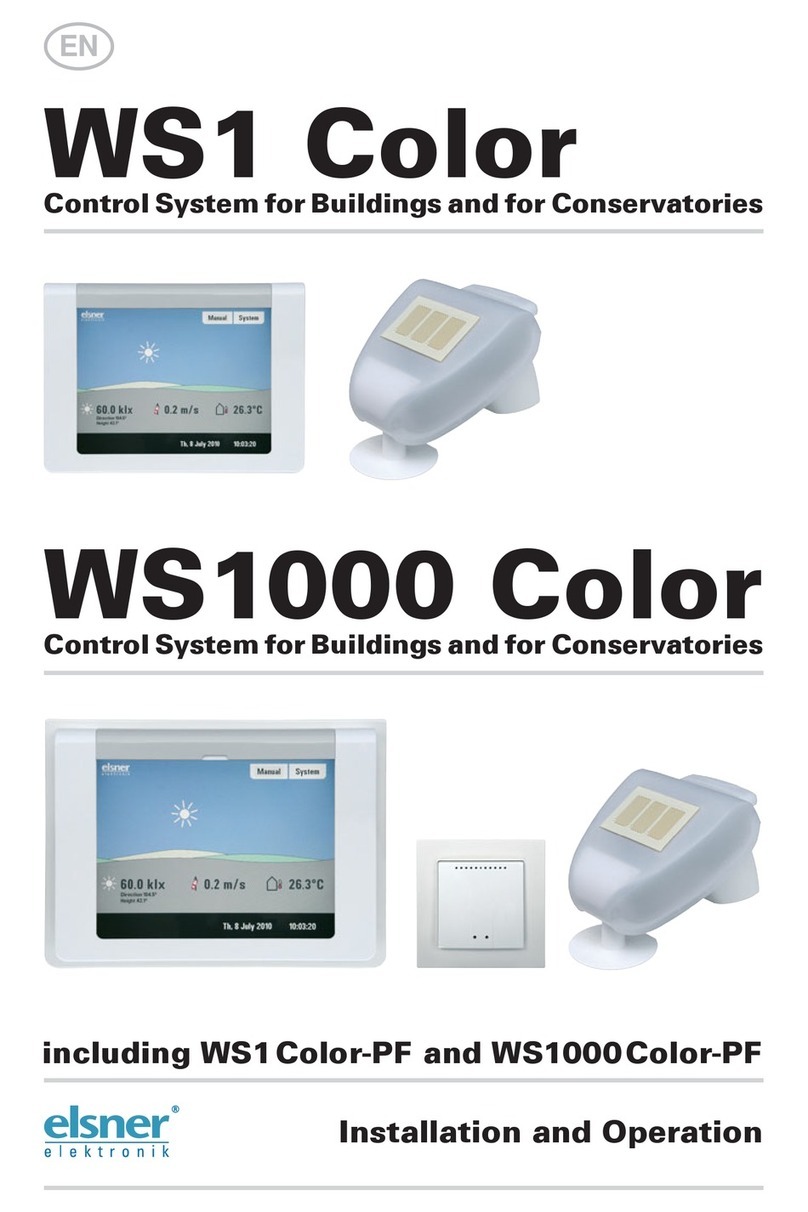
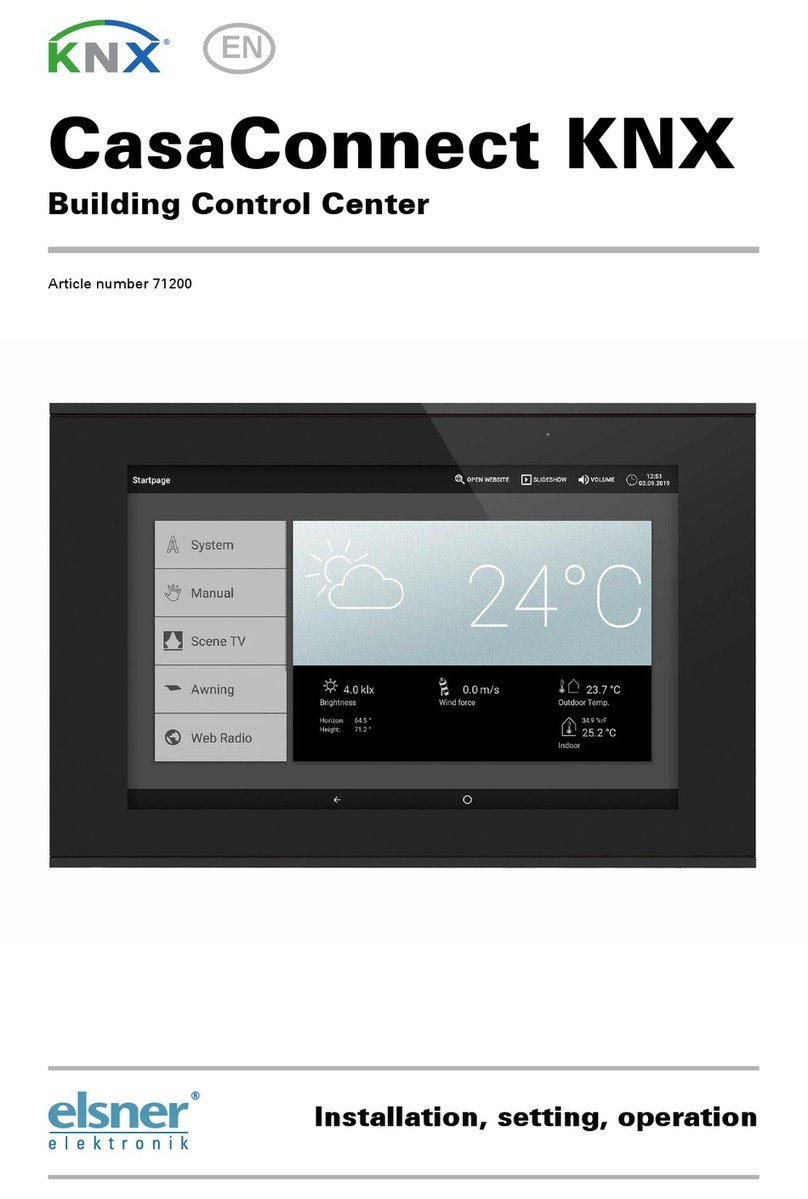
Elsner WS1000 Color User manual

Control System WS1000 Connect 1
Control System WS1000 Connect • from software 02.02 • Version: 30.01.2023 • Technical changes and errors excepted. • Elsner Elektronik GmbH • Sohlengrund 16 • 75395 Ostelsheim • Germany • www.elsner-elektronik.de • Technical Service: +49 (0) 7033 / 30945-250
WS1000 Connect Control System:
First steps
Item numbers
60241-60246
1. Description
The various technical facilities installed in the building are controlled automatically
and operated manually using the Control System WS1000 Connect. In order
to be able to set up the system flexibly, both cable connections and wireless chan-
nels are available.
The WS1000 Connect is delivered as a set, which includes the sensors needed
for room climate and weather data as well as the central unit (display with control
electronics). The sensor values are shown in the display and are the basis of the
automatic controls.
Functions and properties of the central unit WS1000 Connect:
•Colour touch display 10.1 inch, for manual operation, system set up and
for setting the basic and automatic functions
•Network connection by LAN or WLAN
•Browser for viewing websites, etc.
•Remote access via network for system setup, diagnostics etc. Approval by
the user required
• Slide show from SD card as screen saver
• Data storage on SD card (storage of settings)
• Integrated loudspeaker (4 tweeters, 1 broadband speaker)
• Individually settable presence simulation
•Motor outputs (4-10 pcs, depending on model) for electrically powered
- Awnings, blinds, shutters
- Windows/sliding roofs
•4 multifunction outputs for
- Lights (on/off)
- Dimmer of one light
- Heating (on/off), cooling (on/off), ventilators (on/off)
- Alarms
- Gutter heating
•16 scenes for calling individually set movement positions and switch states
With a scene, several motors and devices are addressed simultaneously so
a suitable ambience is created with one press of a button ("TV", "Eating",
etc.).
•4 multifunction inputs for
- Motion detector
- Smoke detector
- Climate detector (prevent ventilation if external
air-conditioning/heating is active)
- Safety contact (motors in safe position,
prevent exhaust air, start incoming air)
- Impulse for automatic reset
- Binary contact for free use
•10 key inputs for additional conventional wind sensor for operating
motors and devices on site
•32 radio channels for devices with Elsner RF radio protocol
- Sensors WGTH-UP for room temperature, humidity (from version 1.3),
WG AQS/TH-UP for room temperature, humidity, CO2,
WGT (indoor temperature) for measuring at other locations in the room
- Remote control Remo 8 (from version 1.8), Remo pro
- Sensor Corlo P RF, sensor interface RF-B2-UP
- WL400, WL800 and WL-Z ventilation units
- RF-VM ventilation module for connecting fans/circulation air heaters
from other manufacturers
- Wireless relay RF relay for on/off (each from version 5.5),
Heating module RF-HE-ST (from version 5)
- Wireless motor control device RF-MSG for up/down (from version 3.7)
- RF-L wireless dimmer:
The wireless actuators with a production date after 14.01.2016 are compatible with
the WS1000 Connect system. The production date can be found as part of the
serial number which has the following structure "DD MM YY consecutive number".
WARNING!
The radio transmission takes place over a non-exclusively
available transmission channel!
The device is not suited for applications outside the field of safety
equipment, such as emergency stop and alarm equipment.
Functions and properties of the indoor sensor:
• Temperature measurement
• Humidity measurement
Functions and properties of the weather station:
• Brightness measurement (sun sensor)
• Temperature measurement
• Wind speed measurement
• Precipitation detection
• GPS receiver for date/time and installation coordinates (for sun position
calculation)
Overview of connection and control options
Scope of delivery
• Central control and operating unit with flush installation box and installation
accessories
• SD card in card slot
• Weather station with connection accessories
• Indoor sensor with frame
(In addition, you need a device socket ø 60 mm, 42 mm deep)
2. Commissioning
Installation, testing, operational start-up and troubleshooting should
only be performed by an authorised electrician.
DANGER!
Risk to life from live voltage (mains voltage)!
There are unprotected live components inside the device.
• Inspect the device for damage before installation. Only put undamaged
devices into operation.
• Comply with the locally applicable directives, regulations and provisions
for electrical installation.
• Immediately take the device or system out of service and secure it against
unintentional switch-on if risk-free operation is no longer guaranteed.
Use the device exclusively for building automation and observe the operating ins-
tructions. Improper use, modifications to the device or failure to observe the ope-
rating instructions will invalidate any warranty or guarantee claims.
Operate the device only as a fixed-site installation, i.e. only in assembled condition
and after conclusion of all installation and operational start-up tasks, and only in
the surroundings designated for it.
Elsner Elektronik is not liable for any changes in norms and standards which may
occur after publication of these operating instructions.
Procedure for commissioning
1. The installation of the Control System and the sensors must be performed by
a skilled electrician. Information in the installation instructions, for example
also about the installation location, must be observed.
2. After completing the installation work, the Control System must be thoroughly
set up in the menu System > Installation. Which connections are used for
which functions, e.g. Motor 1 = Awning, is specified here.
See manual chapter Basic setting.
3. More settings for time reception, screen saver, network connection, access
code, updates, etc. can be made at any time in the menu System > WS1000 set-
tings.
See manual chapter Basic setting.
4. The automatic functions must be adjusted in the menu System > Automatic
settings to the structural conditions and individual requirements of the users.
See manual chapter Automatic.
Operating system
The WS1000 Connect works with the Android operating system. However, the
Control System work self-sufficiently and therefore no third-party Apps may be in-
stalled!
Protective film
Remove the protective film from the display. Otherwise, there is a risk that the
touch operation will be deactivated. If this should happen, the control system must
be restarted so that the touch display works again.
3. Overview of homepage, navigation
With the Control System WS1000 Connect you can control the connected tech-
nology centrally, e.g. raise and lower shades, switch devices on and off and dim
lights. All the settings are also made on the display.
Top menu bar:
The Internet browser (open website) and Volume functions can be accessed at any
time via the top menu bar. Time and date are displayed. Additionally, the start key
for the slide show appears here as soon as an SD card with pictures is loaded.
Menu on left (Start menu):
The menu on the left-hand side contains the System menu, with which you can re-
ach all the basic and automatic settings.
Connected motors and devices are operated by hand using the Manual menu.
The menu item Presence simulation is displayed in the start menu depending on
the setting. The presence simulation can be switched on or off there.
This includes the selected Favourites for manual operation and the websites saved
as Bookmarks.
So that a motor/device is displayed in the Manual menu and/or as a Favourite, the
display has to be activated in the setting "Manual menu" in the installation settings.
System > Installation > Motor/Multif.output > Manual menu
Right-hand display and settings area:
The control unit displays the current weather data as its start page .
The functions / parameters are displayed here when navigating in the settings
(submenus).
Bottom navigation menu:
On the bottom edge of the display you will see a Navigation menu with "Back"
arrow and a circle, which takes you back directly to the start page. Stay longer on
the circle to activate the screen saver.
Move motors and switch devices
Additional information about the display and control possibilities is contained in
Operation.
Example: Move blinds manually
Start menu > Manual
Example: Switch light
Start menu > Manual
The manual with additional information about commissioning,
functions and use of the controls WS1000 Connect can be
downloaded from www.elsner-elektronik.de.
Bottom navigation menu
Display
and
setting
area
Top menu bar
Menu
Position
informa-
tion
Sliding bar position
Selecti-
on
Control
buttons
EN

Control System WS1000 Connect 2
Control System WS1000 Connect • from software 02.02 • Version: 30.01.2023 • Technical changes and errors excepted. • Elsner Elektronik GmbH • Sohlengrund 16 • 75395 Ostelsheim • Germany • www.elsner-elektronik.de • Technical Service: +49 (0) 7033 / 30945-250
Presence simulation
You can call up to 16 events with the presence simulation simultaneously or con-
secutively, to give the appearance that people are in the building. A settable delay
for the start time makes the simulation more realistic.
System > Installation > Presence simulation
Set the Name and display in the Manual menus.
Configuration:
Select an event from the list and apply it. The start can be defined as follows:
• Time: Event starts at specific time
• Time and brightness: Event starts if a set brightness is undercut in a defined
period.
• Event X: Event starts as soon as Event X has started
With a random delay, a range can be set, by which the start time of an event is de-
layed.
The motor or the device / light is selected with the "Select function" button.
4. Initial setting steps
Network connection (internet)
The Control System WS1000 Connect is internet-ready and can be connected
to a network by cable (Ethernet/LAN) or WiFi (WLAN). The network connection is
needed for:
• Use of Apps (with smartphones and tablets in the same network/WLAN)
If the WS1000 Connect is also connected to the internet via the internal network,
the following functions are also possible:
• Accessing web contents in the controls' browser
• Remote access (e.g. for system set-up, diagnosis)
The Ethernet/LAN connection terminal can be accessed after removing the display,
without having to remove the touch protection (cover for 230 V power area). Note
the information regarding assembly.
Set up network connection
System > Set up WS1000 > Internet
Connection status:
Shows the current status (disconnected or connected).
Connection type:
Shows the type of connection (Ethernet or WLAN). Touch the field to set up the
connection.
WLAN: Wireless connection. If WLAN has been confirmed, the additional field
"Network name" is displayed for the additional set up.
Ethernet: Cable connection via the LAN socket on the circuit board. No other set-
tings necessary.
Network name (SSID):
The network is selected and set up here under the setting WLAN. Enter a network
name or touch "Find networks" to view all available networks.
Create connection:
You can only "Create connection" using this touch field once a network has been
selected. The password for the network is requested.
If necessary, use the same field to terminate the connection.
Protect your network with the latest encryption technology
and change your passwords regularly!
Remote set up/remote maintenance
Access to the Control System WS1000 Connect is possible via the internet
using the remote maintenance function. There must be an internet connection for
this (see chapter Network connection (internet)). A service technician can then see
and change the settings without being on site.
Access to the controls is only possible if remote maintenance is also started on the
device. This is not a remote control option! If you want to operate the controls and
your building technology on the go, then use the WS1000 Connect App and set up
a secure VPN connection for your home network.
System > Set up WS1000 > Service
Start remote maintenance software:
The software opens. Follow the instructions. To create the connection, the device
ID of the WS1000 Connect must be input at the PC used for the remote mainte-
nance. Then every menu and function of the WS1000 Connect can be viewed
and controlled from the PC.
Close remote maintenance software:
Ends the active remote maintenance session.
Using an SD card
Updates
The software for the Control System WS1000 Connect can be updated during
normal operation. If the control is connected to the internet, the control downloads
updates automatically after confirmation. Alternatively, you load the new software
from the Elsner Elektronik website and save it to the SD card. After inserting the SD
card into the socket on the WS1000 Connect, continue.
System > Set up WS1000 > Device information
Check for updates:
Shows the currently installed version and facilitates the installation of SD card or
the search for updates on the internet. Follow the download and installation inst-
ructions on the display.
Screen saver (slide show)
The WS1000 Connect can display picture file, time/temperature as a screen saver
or simple a black screen. The screen saver is activated if the display has not been
touched for 5 minutes. To start the screen saver manually, stay longer on the circle
in the lower navigation bar.
Additionally, the display brightness can be adjusted automatically to the room
brightness and the screen can switch off when dark.
System > Set up WS1000 > Settings
Display:
Shows which screen saver is currently active and whether automatic brightness is
switched on.
Select the screen saver:
• Without
• Black screen
• Time/temperature display
• Picture display (slide show or single picture)
In order to show digital picture data as a slide show, save the files to a micro SD
card. The picture files must meet the following requirements:
• The files must be saved in the highest directory level of the card (master
directory
• File format: Bitmap (BMP, without RLE compression), Jpeg (JPG), GIF or
PNG (without transparency)
• For pictures with a page ratio other than 16:10, black bars are added at the
top/bottom or right/left. The display has a resolution of 1280 × 800 pixels
• Colour intensity 24 bit or 16 bit
If picture data is saved on the card, the "Slide show" key is displayed on the right
of the upper menu bar, with which you can directly start it. The image changes ap-
prox. every 45 seconds (for images with 24-bit colour intensity). To interrupt the
screen saver, touch the screen or remove the SD card.
Internet (browser)
The Control System WS1000 Connect includes a browser for accessing inter-
net pages on the WorldWideWeb. Note, however, that the control is not suitable
for rendering resource-intensive web pages.
There must be an internet connection in order to use the browser (see chapter Net-
work connection (internet)).
Start the browser via "Open website" in the top menu bar. Enter the web address
(URL). Navigate by touching the screen (touch display).
Web sites can be displayed in the display area on the right or as a full screen. The
switch field is located on the lower edge of the display. The "Create bookmark" but-
ton is also located here. This creates a link (bookmark button) in the start menu be-
low system and manual functions, with which the website can be accessed quickly.
You can subsequently edit the name of the bookmark in the menu:
System > Installation > Homepage > Bookmarks
You can also delete the individual bookmarks here.
You cannot display or download PDF documents in the browser of the Control
System WS1000 Connect.
WS1000 Connect App
The WS1000 Connect App is available for Android and iOS free of charge in the
respective APP store.
Install the App on the mobile device. As soon as the mobile device and WS1000
Connect are on the same network (WLAN), the Control System WS1000 Con-
nect can be controlled via the App.
Up to nine mobile devices can be connected to the Control System WS1000
Connect at the same time.
Access via the App to the controls can be password-protected or completely pre-
vented. Additional information about this can be found in the manual chapter Basic
setting > Setting the WS1000.
System > Set up WS1000 > Access codes
If you want to operate the controls and your building technology on the go, then
use the WS1000 Connect App and set up a secure VPN connection for your
home network. App access via VPN only works after the app has already been used
once in the internal WLAN. In the Internet router, DHCP IP address assignment
should be set to always assign the same IP address.
If two WS1000 Connect controls are installed in one building, so that the App
control is possible they have to be connected to different WLAN networks.
5. Maintenance and care
Abrasive / detergent cleaning agents and aggressive care products must not be
used for cleaning. Remove fingerprints from the touchscreen ideally using a wet
cloth or a microfibre cloth. Use the cleaning mode for this. This function locks the
touch display for 60 seconds and thus prevents functions from being triggered or
adjusted unintentionally during cleaning.
System > Set up WS1000 > Service > Cleaning mode
Cleaning mode, Page 96
If there is a power outage, the data entered by you is saved for approx. 10 years. A
battery is not needed for this. After the mains power has been restored, the clock
is set automatically as soon as the weather station receives a time signal.
Status
informa-
Selecti-
on
Control
buttons
The Control System WS1000 Connect can load data from a
micro SD card. The SD card storage is needed for:
• Screen saver data
• Update files for software updates
• Saving settings (configuration file)
The card socket is located on the right-hand side of the device.
The SD card is pushed into the slot, until it clicks into place.
To remove, briefly press the card into the socket so that is jumps
out.
Other manuals for WS1000 Color
2
Other Elsner Control System manuals
Popular Control System manuals by other brands

ZANDER
ZANDER Multitronic Installation guidelines
Scania
Scania 2.1 Operator's manual

Rinnai
Rinnai RS100 Operating and installation instructions
CorroVenta
CorroVenta SUPERVISION 2.0 user manual
Shenzhen Guanhong Automation
Shenzhen Guanhong Automation SZGH-CNC990TDb series user manual

Huawei
Huawei IDS1000 user manual
BRAHMA
BRAHMA EUROBOX Series manual
JETI model
JETI model DUPLEX REX3 user manual
Magnetic
Magnetic MHTM MicroDrive Access XL2 operating instructions
Linear Access
Linear Access AM/II Installation and programming instructions
Heras
Heras 411 Series installation manual
ETC
ETC Echo Inspire Station Programming guide
