manuals.online logo
Brands
  1. Home
  2. •
  3. Brands
  4. •
  5. Emerson
  6. •
  7. Control Unit
  8. •
  9. Emerson FISHER Enardo Rim Vent User manual

Emerson FISHER Enardo Rim Vent User manual

▲ WARNING
Failure to follow these instructions or to
properly install and maintain this equipment
could result in an explosion, re and/or
chemical contamination causing property
damage and personal injury or death.
Fisher™ rim vents must be installed,
operated and maintained in accordance
with federal, state and local codes, rules
and regulations, and Emerson Process
Management Regulator Technologies Tulsa,
LLC instructions.
Failure to correct trouble could result in a
hazardous condition. Call a qualied service
person to service the unit. Installation,
operation and maintenance procedures
performed by unqualied person may
result in improper adjustment and unsafe
operation. Either condition may result in
equipment damage or personal injury. Only
a qualied person must install or service the
pressure relief valve.
Introduction
Scope of the Manual
This Instruction Manual provides instructions for installation
and maintenance for the enardo rim vent pressure relief valve.
Product Description
Rim vents (top mount) prevent the loss of vapors in a closed
storage system and relieve pressure in atmospheric and
low pressure storage tanks and oating roof tanks such as
those dened in API 12F, API 12B, API 650 and EN 14015.
Rim vents can also be used for emergency venting on small
atmospheric and low pressure tanks.
The enardo rim vent is a pressure-only relief vent that can be
installed on a mating CL150 at faced ange. A 6 in. CL150
ange has a bolting circle with 8 - 0.88 in. bolt holes on a
9 - 1/2 in. bolt hole diameter.
Principle of Operation
Rim vents are installed on oating roofs or cone roofs of
storage tanks with direct communication to the vapor space. In
oating roof tanks, rim vents provide pressure relief to the roof
and seals when the tank is empty, the roof is landed and the
tank is being lled.
Pressure relief to the seals can be achieved when the roof is
oating and if product evaporation occurs. As the pressure in
the vapor space increases above the set point, the weight-
loaded pallet lifts vertically to relieve pressure. As the pressure
in the vapor space drops back below the rim vent set point, the
pallet lowers and closes. The rim vent set point is adjustable by
adding to or removing weights from the pallet.
Figure 1. Enardo Rim Vent Pressure Relief Valve
Instruction Manual
D103826X012
December 2021
Enardo Rim Vent
Outside North America Only
Table of Contents
Introduction............................................................................1
Specifications ........................................................................2
Principle of Operation............................................................1
Product Identification and Marking ........................................3
Installation .............................................................................3
PPE Warning .........................................................................3
Maintenance..........................................................................4
Enardo Rim Vent Pressure Relief Valve
Specications
The Specications section lists the specications for the enardo rim vent pressure relief valve. The following information is
stamped on the nameplate attached to the base of the enardo rim vent: pressure setting and the ow rate at 100% overpressure
in SCFH.
Available Constructions
See Figure 2
Connection Size
6 in. / 150 mm
Pressure setting(1)
See Table 1
Materials of Construction
See Table 2
Flow Rate
See Table 3
Assembly Weights
See Table 1
Certications
EN IEC 60079-0:2018
EN IEC 60079-11:2012
EN ISO 80079-36:2016
EN ISO 80079-37:2016
1. The pressure limits in this Instruction Manual and any applicable standard or code limitation should not be exceeded.
Teon® is a mark owned by E. I. du Pont de Nemours and Company.
2
Enardo Rim Vent
Outside North America Only
Table 1. Enardo Rim Vent Pressure Relief Valve Pressure Settings and Assembly Weights
PRESSURE SETTING ASSEMBLY WEIGHT
oz./sq. in. In. w.c. mbar Lbs. kg
0.5 0.9 2.2 14 6
1 1.7 4.3 15 7
2 3.5 8.6 17 8
4 6.9 17.2 22 10
8 13.8 34.5 31 14
12 20.8 51.7 40 18
Table 2. Materials of Construction
BODY HOOD SCREEN PALLET WEIGHTS GASKET RODS
Cast Aluminum
(Alloy 319-F)
Aluminum
(Alloy 3003-H14)
Aluminum
(Alloy 3003-H14)
Polyphenylene Sulde
(PPS)
Zinc Plated
Carbon Steel Teon®Aluminum
(Alloy 6061-T6)
PRESSURE SETTING FLOW RATE AT 100% OVERPRESSURE
(SCFH)
oz./sq. in. In. w.c. mbar
0.5 0.9 2.2 14,899
1 1.7 4.3 21,128
2 3.5 8.6 31,059
4 6.9 17.2 46,463
8 13.8 34.5 63,313
12 20.8 51.7 72,211
Table 3. Flow Rate in SCFH at 100% Overpressure
Rim Vent
Inlet Connection
Size
6 in. / 150 mm
Pressure
Settings
z = oz./sq.in.
0.5 to 12.0 oz./sq.in.
Options
O = No Options
A = Special Coating
B = Stainless steel Weights
C = Optional Weight Material
D = Optional Hardware
E = Optional Gasket Material
F = Steam Jacket or Trace
G = Other
Pallet & Seat
Ring Material
1 = Advanced
Composite-
Polyphenylene
Sulde (PPS)
Pallet Seal
Material
1 = FEP Teon®
Housing
Material
1 = Aluminum
Figure 2. Enardo Rim Vent Available Constructions and Model Numbering System
Product Identication and Marking
Hazardous Locations
Rim Vents are available in aluminum as indicated in Figure 3.
Nameplate
A nameplate is attached to the vent and contains the
following information:
• Model Number – Ex. RIM VENT-6-111
• Connection Flange Size – 6”
• Serial Number
• Tag Number (Optional)
• Notied Body Number – Ex 2460
• Cat. No. (Category Number) – Category 2 – uncoated
aluminum vents
• Date – date of manufacture
• Certicate – Ex. PRESAFE 17 ATEX 10273X
• Pressure Setting and Flow Rate
- Setting – Ex. Z4.0
- Flow Rate SCFH (Air) – Ex. 46,463
▲WARNING
Make sure line is free of hazardoius vapors
before installing or servicing the valve.
Installation
△ CAUTION
Ensure the rim space or tank is at
atmospheric pressure before opening. A
pressure build-up inside the rim space or
tank can cause a spray to be emitted from
the rim vent if opened under pressure.
PPE Warning
▲ WARNING
Wear protective gloves and clothing
to prevent skin contact when handling
lead weights. Wear eye protection. Avoid
breathing dust/fumes/mist/vapors/spray.
Do not eat, dring or smoke while using the
product. Avoid release to the environment.
Wash hands with soap and water after
handling. Keep away from excessive heat
and open ames.
Installation to a Flanged Pipe with a 6 in.
CL150 Flat Faced Flange
1. Place the base gasket on the anged pipe.
2. Line up bolt holes, and place the rim vent on top of the
base gasket.
3. Install nuts and bolts and tighten in a star pattern.
Ensure rim vent is fastened securely.
Note
For proper bolt torquing of the vent
connecting ange to the piping, please refer
to Tables 4 and 5.
Installation Directly to a Tank Roof
1. The tank requires a 6 in. ANSI bolt pattern on the roof.
2. Place the base gasket on the bottom of the rim vent
ange and place the assembly on tank roof with holes
lined up.
3. Insert eight bolts from the bottom up by reaching inside
the tank, through the hatch and opening on the tank roof.
4. Attach each nut to the bolt from the outside. Tighten
all nuts in a star pattern and ensure the rim vent is
fastened securely.
Note
For proper bolt torquing of the vent
connecting ange to the piping, please refer
to Tables 4 and 5.
Removal of Packing Materials
Prior to operation, remove packing material inside the
rim vent.
1. Remove the four wing nuts on the hood and remove the
hood. Lift the upper guide o󰀨 of the two vent rods that
support it.
2. Pull the pallet assembly out of the rim vent and remove
the cardboard gasket protector and the roll of packaging
from the upper stem.
3. Inspect the sealing surface of the rim vent and the gasket
on the pallet assembly for any signs of wear or damage.
4. Place pallet assembly back in the rim vent. Ensure that
the bottom stem is retained by the lower guide hole on
the rim vent base.
5. Place the upper guide back on the two vent rods,
and place the hood back on the four vent rods.
Install the four wing nuts and tighten snugly.
OUTER HOUSING OF UNCOATED ALUMINUM
II 2 G Ex h IIC T6 Gb
Figure 3. Product Identification and Marking
3
Enardo Rim Vent
Outside North America Only
Maintenance
1. Perform scheduled maintenance at least once a year or
more frequently in corrosive or dusty atmospheres or if
conditions warrant.
2. During normal maintenance, inspect the pressure
gasket and sealing surfaces for signs of wear or
corrosion that could cause increased leakage.
3. To ensure e󰀩cient operation of the rim vent, carefully
wipe the pressure seat and gasket with a clean, non-
abrasive and lint-free cloth or paper towel every time the
rim vent is opened and during scheduled maintenance.
This prevents accumulation of residue that can
deteriorate the performance of the rim vent.
Enardo Rim Vent
Facebook.com/EmersonAutomationSolutions
LinkedIn.com/company/emerson-automation-solutions
Twitter.com/emr_automation
[email protected]
Outside North America Only
Emerson Automation Solutions
Americas
McKinney, Texas 75070 USA
T +1 800 558 5853
+1 972 548 3574
Tulsa, OK 74146 USA
T +1 918 662 6161
Europe
Bologna 40013, Italy
T +39 051 419 0611
Asia Pacic
Singapore 128461, Singapore
T +65 6777 8211
Middle East and Africa
Dubai, United Arab Emirates
T +971 4 811 8100
Enardo.com
D103826X012 © 2015, 2021 Emerson Process Management Regulator
Technologies, Inc. All rights reserved. 12/21.
The Emerson logo is a trademark and service mark of Emerson
Electric Co. All other marks are the property of their prospective owners.
Fisher™ is a mark owned by Fisher Controls International LLC, a business
of Emerson Automation Solutions.
The contents of this publication are presented for informational purposes
only, and while every e󰀨ort has been made to ensure their accuracy, they
are not to be construed as warranties or guarantees, express or implied,
regarding the products or services described herein or their use or
applicability. All sales are governed by our terms and conditions, which
are available upon request. We reserve the right to modify or improve the
designs or specications of such products at any time without notice.
Emerson Process Management Regulator Technologies Tulsa, LLC does
not assume responsibility for the selection, use or maintenance of any
product. Responsibility for proper selection, use and maintenance of
any Emerson Process Management Regulator Technologies Tulsa, LLC
product remains solely with the purchaser.
Table 4. Torque Specifications - Flat Face Flange, Steel or Aluminum
NOMINAL PIPE DIAMETER # BOLTS BOLT DIAMETER TORQUE
6 8 0.75 in. 49 ft·lbs
Assumptions:
Use of SAE grade 5 bolts or studs or stronger
No lubricant
Elastomer <70 Durometer Shore A
Notes:
Flat faced anges should never be mated to a raised face ange for installation.
If lubricant is used on bolts, apply torque reduction factor listed in Lubricant Table.
For best results hardened steel washers should be used on all cast ange bolted connections.
Table 5. Torque Reduction Factor per Lubricant
DESCRIPTION COEFFICIENT OF FRICTION MULTIPLY TORQUE VALUE IN TABLE BY
Machine Oil f = 0.15 0.75
API SA2 Grease f = 0.12 0.60
Nickel-based Lubricant f = 0.11 0.55
Copper-based Lubricant f = 0.10 0.50
Heavy-duty Lubricating Paste f = 0.06 0.30

Other Emerson Control Unit manuals

Emerson Fisher VS100 Series User manual

Emerson

Emerson Fisher VS100 Series User manual

Emerson ANDERSON GREENWOOD 96A Series Manual

Emerson

Emerson ANDERSON GREENWOOD 96A Series Manual

Emerson Fisher 8540 User manual

Emerson

Emerson Fisher 8540 User manual

Emerson Keystone PED Winn Hiseal Quick guide

Emerson

Emerson Keystone PED Winn Hiseal Quick guide

Emerson Tartarini V Series User manual

Emerson

Emerson Tartarini V Series User manual

Emerson Fisher GX User manual

Emerson

Emerson Fisher GX User manual

Emerson IEC 62591 User manual

Emerson

Emerson IEC 62591 User manual

Emerson Fisher 92B User manual

Emerson

Emerson Fisher 92B User manual

Emerson NEOTECHA NEOSEAL User manual

Emerson

Emerson NEOTECHA NEOSEAL User manual

Emerson Sempell series User manual

Emerson

Emerson Sempell series User manual

Emerson Anderson Greenwood 93 Series User manual

Emerson

Emerson Anderson Greenwood 93 Series User manual

Emerson Sapag 1100 User manual

Emerson

Emerson Sapag 1100 User manual

Emerson Rosemount Analytical NGA2000 CLD User manual

Emerson

Emerson Rosemount Analytical NGA2000 CLD User manual

Emerson FISHER LR128 Series User manual

Emerson

Emerson FISHER LR128 Series User manual

Emerson Fisher N100 Series User manual

Emerson

Emerson Fisher N100 Series User manual

Emerson PENBERTHY FHS Manual

Emerson

Emerson PENBERTHY FHS Manual

Emerson Fisher D3 User manual

Emerson

Emerson Fisher D3 User manual

Emerson BVE Series User manual

Emerson

Emerson BVE Series User manual

Emerson Fisher DSV1000 User manual

Emerson

Emerson Fisher DSV1000 User manual

Emerson Fisher 8580 User manual

Emerson

Emerson Fisher 8580 User manual

Emerson C471 User manual

Emerson

Emerson C471 User manual

Emerson 850 User manual

Emerson

Emerson 850 User manual

Emerson XC1008D Wiring diagram

Emerson

Emerson XC1008D Wiring diagram

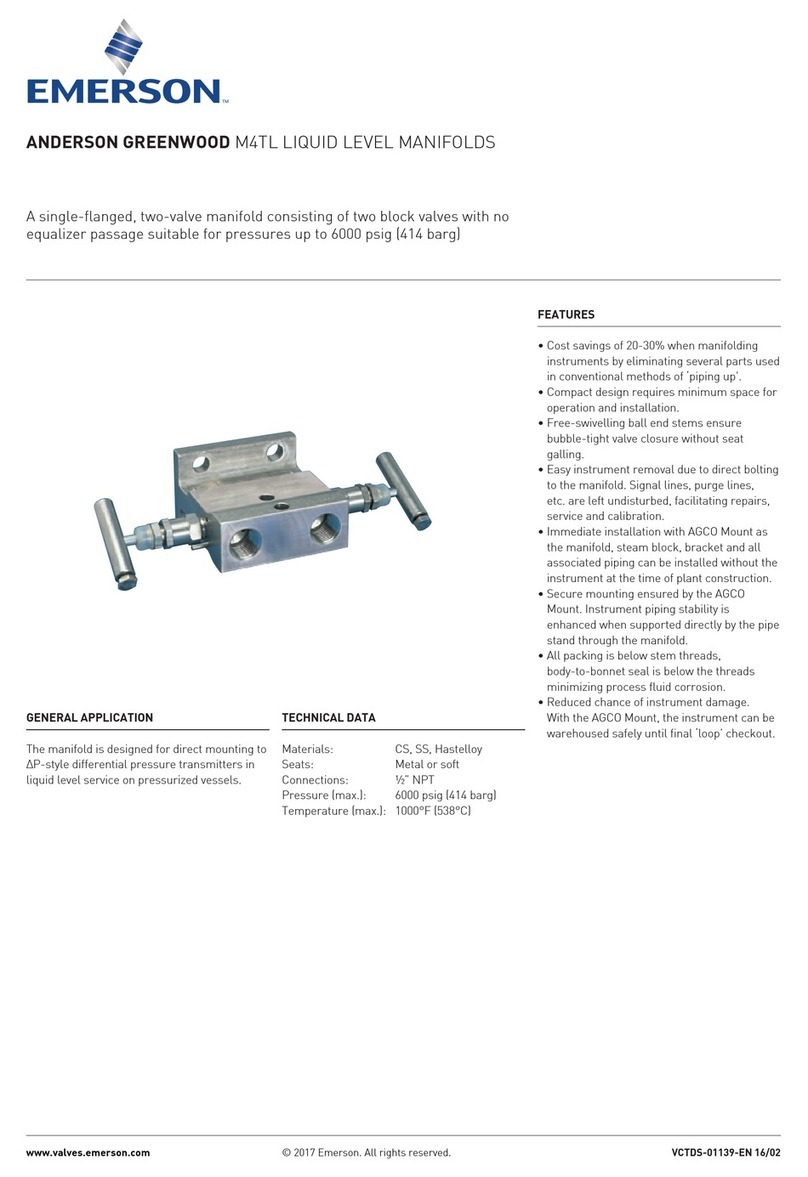
Emerson Anderson Greenwood M4TL User manual

Emerson

Emerson Anderson Greenwood M4TL User manual

Popular Control Unit manuals by other brands

FNW 200A Installation, operation & maintenance instructions

FNW

FNW 200A Installation, operation & maintenance instructions

NewMar BMS-19/23 Installation & operation manual

NewMar

NewMar BMS-19/23 Installation & operation manual

Ross AVFR-7564 manual

Ross

Ross AVFR-7564 manual

M-system R7L-EC16B instruction manual

M-system

M-system R7L-EC16B instruction manual

DMP Electronics 893A installation guide

DMP Electronics

DMP Electronics 893A installation guide

bonitron M3452 EIP Customer Reference Manual

bonitron

bonitron M3452 EIP Customer Reference Manual

Siemens SINUMERIK 840D sl Commissioning manual

Siemens

Siemens SINUMERIK 840D sl Commissioning manual

Radionics D208RF installation instructions

Radionics

Radionics D208RF installation instructions

REDEKOP SCU Operator's manual

REDEKOP

REDEKOP SCU Operator's manual

Comelit 4682HD Technical manual

Comelit

Comelit 4682HD Technical manual

Comelit 41ECN000 Installation instruction

Comelit

Comelit 41ECN000 Installation instruction

Campbell CR10 PROM Operator's manual

Campbell

Campbell CR10 PROM Operator's manual

ThermoTec 67912 quick guide

ThermoTec

ThermoTec 67912 quick guide

ELCOM TBM-300 Operating and assembly instructions

ELCOM

ELCOM TBM-300 Operating and assembly instructions

Honeywell SmartValve SV9520H manual

Honeywell

Honeywell SmartValve SV9520H manual

Cattron IR LRM2 user manual

Cattron

Cattron IR LRM2 user manual

Acksys WLg-LINK-OEM manual

Acksys

Acksys WLg-LINK-OEM manual

Warren rupp Sandpiper HDF1 Service & operating manual

Warren rupp

Warren rupp Sandpiper HDF1 Service & operating manual

manuals.online logo
manuals.online logoBrands
  • About & Mission
  • Contact us
  • Privacy Policy
  • Terms and Conditions

Copyright 2025 Manuals.Online. All Rights Reserved.