Pilot
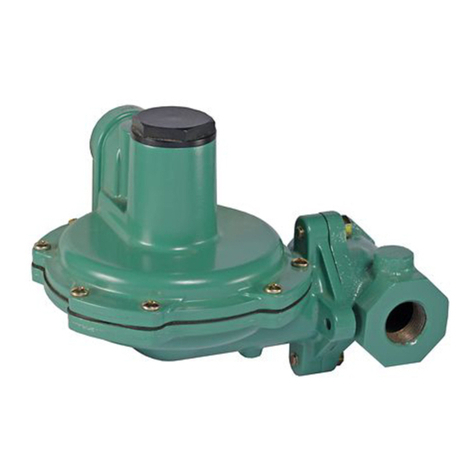
1. Remove the protecting cover from the top flange
of the valve and flange of the pilot. Mount the pilot
to the valve as shown in Figure 3.
2. Screw No. 4A bleedport fitting into the 1/8 in. /
3.18 mm pipe tap on the outlet side of the main
valve body. Note that the bleed orifice in this fitting
is vital to the operation of the regulator.
3. Screw No. 4B coupling into 1/8 in. / 3.18 mm pipe
tap in pilot.
4. Screw No. 5A elbow containing the restriction
orifice into the 1/8 in. / 3.18 mm pipe tap on the
underside of the main valve diaphragm chamber.
Type E2 main valves use a No. 5B elbow
without orifice.
5. Connect the tubing bends as illustrated in Figure 3
for Type E and E2 main valves.
Control Pipe
1. Use 1/4 in. / 6.35 mm pipe for this line which
connects the pilot pressure diaphragm chamber to
the desired point of pressure control. See Figure 3.
2. On instantaneous heaters with steam in shell, tap
the control pipe into the shell. Otherwise, enter
the delivery steam pipe at point of entrance to the
heater. (See Figure 2)
3. Pitch the control pipe away from the pilot and
avoid water pockets.
Insulation
Insulation may be applied to the upper portion (globe
and flanges) of the main valve. Do not insulate the
diaphragm chamber or any part of the pilot. See
Figure 3.
Starting Up and Setting
Controlled Temperature
Best temperature control will result when the delivery
pressure setting is the lowest steam pressure capable
of sustaining the desired temperature at maximum
load. The following adjustments should be made under
full load conditions or as near such as possible:
1. Close by-pass. Open 1/4 in. / 6.35 mm control
pipe valve and turn up temperature adjusting
wheel, until 1/2 in. / 12.7 mm of thread is exposed.
Back off pressure adjusting screw to remove all
compression from pressure limit spring. (See
Figure 3)
Planning the Installation
1. Locate the regulator in a horizontal pipe.
2. Prevent water hammer and erratic operation by
providing a trap ahead of the regulator.
3. Avoid damaging the effects of scale and dirt
in pipe lines by using a strainer to protect
the regulator.
4. Provide a three-valve by-pass to facilitate inspection
of the regulator without interrupting service.
5. Thermostat position:
a. The preferred thermostat position is horizontal.
b. When vertical or slanting, the tip of the bulb
must point downward.
c. Locate the thermostat as close to the heater
outlet as practical.
d. Expose the entire length of the bulb to the
active flow leaving the heater.
6. If the pressure rating of the heater or the
connected equipment is less than the initial stream
pressure, provide a safety valve.
7. Hot water and similar liquid systems require a
relief valve to prevent dangerous overpressure
due to expansion.
8. Instantaneous Heaters - When operated on
intermittent demand, as in domestic water
heating, require the following conditions for best
temperature regulation.
a. Constant forced recirculation of fluid through
the heater.
b. Omission of thermostat well to reduce
temperature lag. Use of a thermostat
compatible with the heated medium is preferred
over the use of a standard thermostat installed
in a well, which is compatible with the heated
medium. When the use of a well is unavoidable,
an appropriate heat transfer medium should be
installed between the well and the thermostat.
Main Valve
1. Flush the piping system thoroughly to clear it of
welding beads, scale, sand, etc.
2. Mount the main valve with the diaphragm chamber
down and arrow on body pointing in the direction
of the flow.
4
ET124 and ET134 Series

