4.0 Connecting a wireless WPS adapter to the
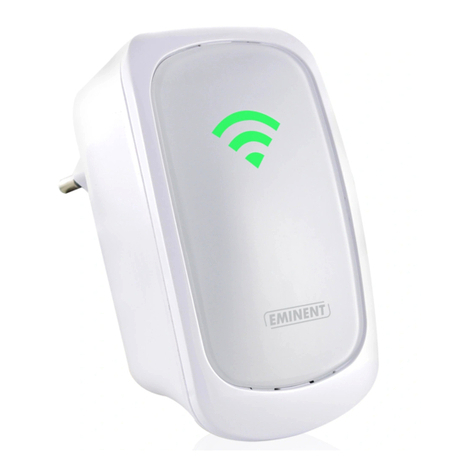
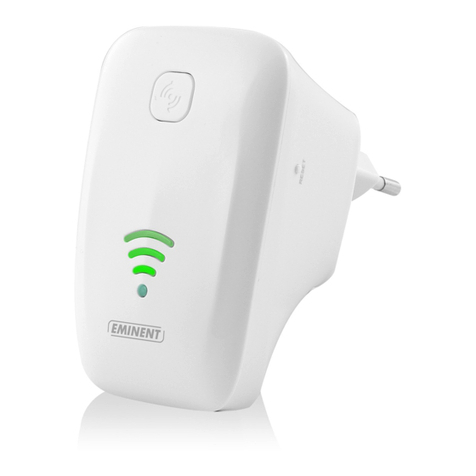
EM4590
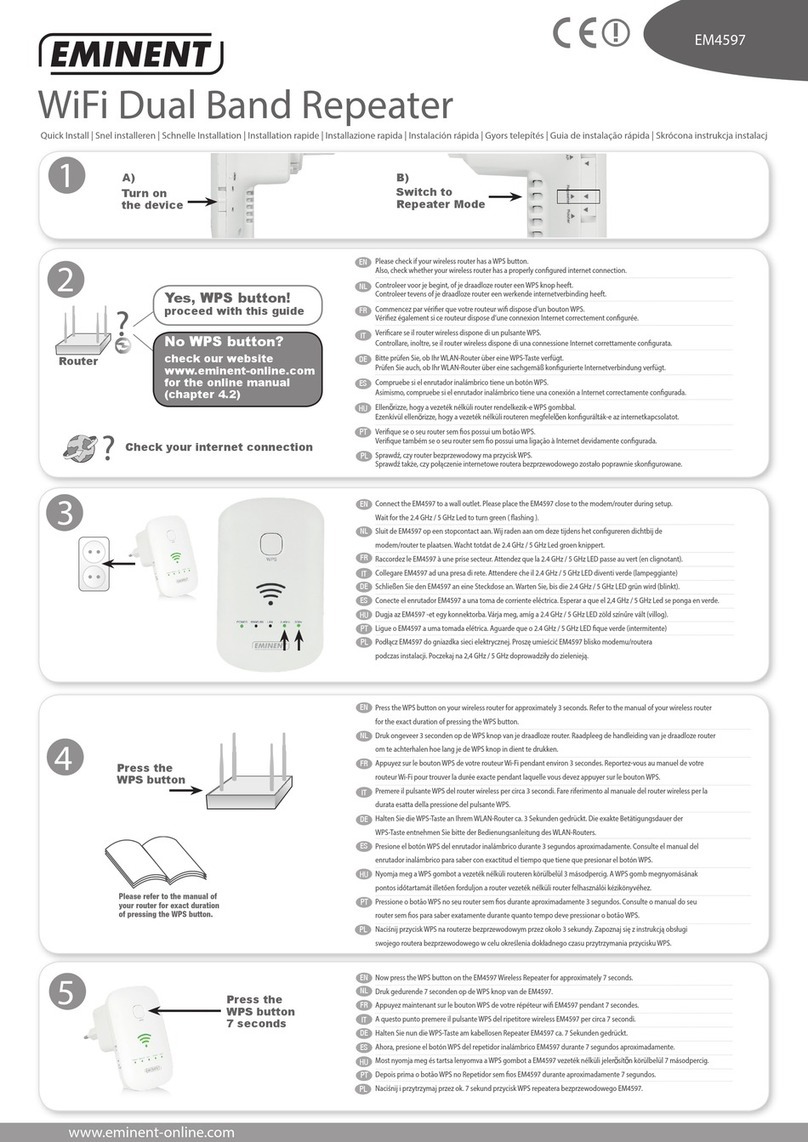
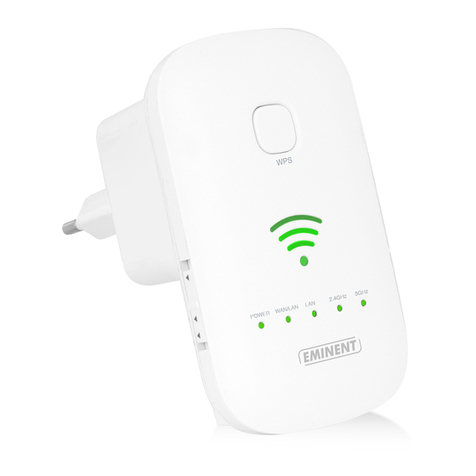
1. Press the WPS button on the EM4590 for about 2-3 seconds.
2. Now press the WPS button on your wireless adapter.
3. If correct, the connection between the wireless WPS adapter and EM4590 will
be established. Depending on the Windows version you are using, you should
see a connected icon in the taskbar.
Note: Some wireless WPS adapters require the use of the supplied software to create
a WPS connection. Refer to the manual of your wireless WPS adapter for more
information.
5.0 Configuring the EM4590 manually (wired)
It is possible to configure the repeater manually instead of using the WPS button. If
you want to configure the repeater manually, it is advisable to use the wired
connection. Also, it is advisable to fill out a fixed IP-Address for your LAN card in order
to access the EM4590.
1. Connect a network cable to the EM4590 and connect the other end to the
network card of your computer.
2. Connect the EM4590 to a wall outlet.
3. Make sure your computer is completely started.
4. Go to the ‘Control Panel’ of your computer.
5. Windows XP users need to click ‘Network connections’. Windows Vista users
need to click ‘Network and Sharing center’ and then click ‘Show network
connections’. Windows 7 users need to click ‘Network and Sharing Center’ and
then click ‘Change adapter settings’. Windows 8 users need to go to ‘Start’
(Apps) and then choose ‘All Apps’. Choose ‘Control Panel’ and click ‘Network
and Sharing Center’. Click ‘Change adapter settings’.
6. Right-click your ‘LAN’ connection and click ‘Properties’.
7. Windows XP users: Double-click ‘Internet protocol TCP/IP’. Windows Vista,
Windows 7 and Windows 8 users: Double-click ‘Internet protocol ‘TCP/IPv4’ as
shown in the following image:

