EMMO Urban S User manual
1 | P a g e
Emmo Urban S
Owner’s Manual
T. Lac V 1.0

2 | P a g e
Table of Contents
E-bike MTO Label……………………………………………………………………………………………………..3
Specifications…………………………………………………………………………………..……………………….4
Charging Your E-bike……………………………………………………………………………….……………5-7
Front Drum Brakes..………………………………………………………………………………………………...8
Back Drum Brakes and Tires…………….……………………………….......................…………………..9
Pedals, Center Stand and Bike Chain …………………………………......................…………………10
Seat Lock ............................................................…………………..……..…….....………………………..…11
Ignition.............................................................……………………….…………………………………………12
Alarm System.......... …………...............................……………………….………………………….………...13
Motor Lock..........................................................................................................................................14
Right Handlebar.......…………………………………………….......…………..…..............…………………..15
Left Handlebar....………………………………………...…………………………………...…………………….16
Dashboard……………………………………….………………………………………………….…………………17
E-bike Registration…………………………………...……………………………………………………………18
Contact Information……………………………………………………………………………………..………..19
3 | P a g e
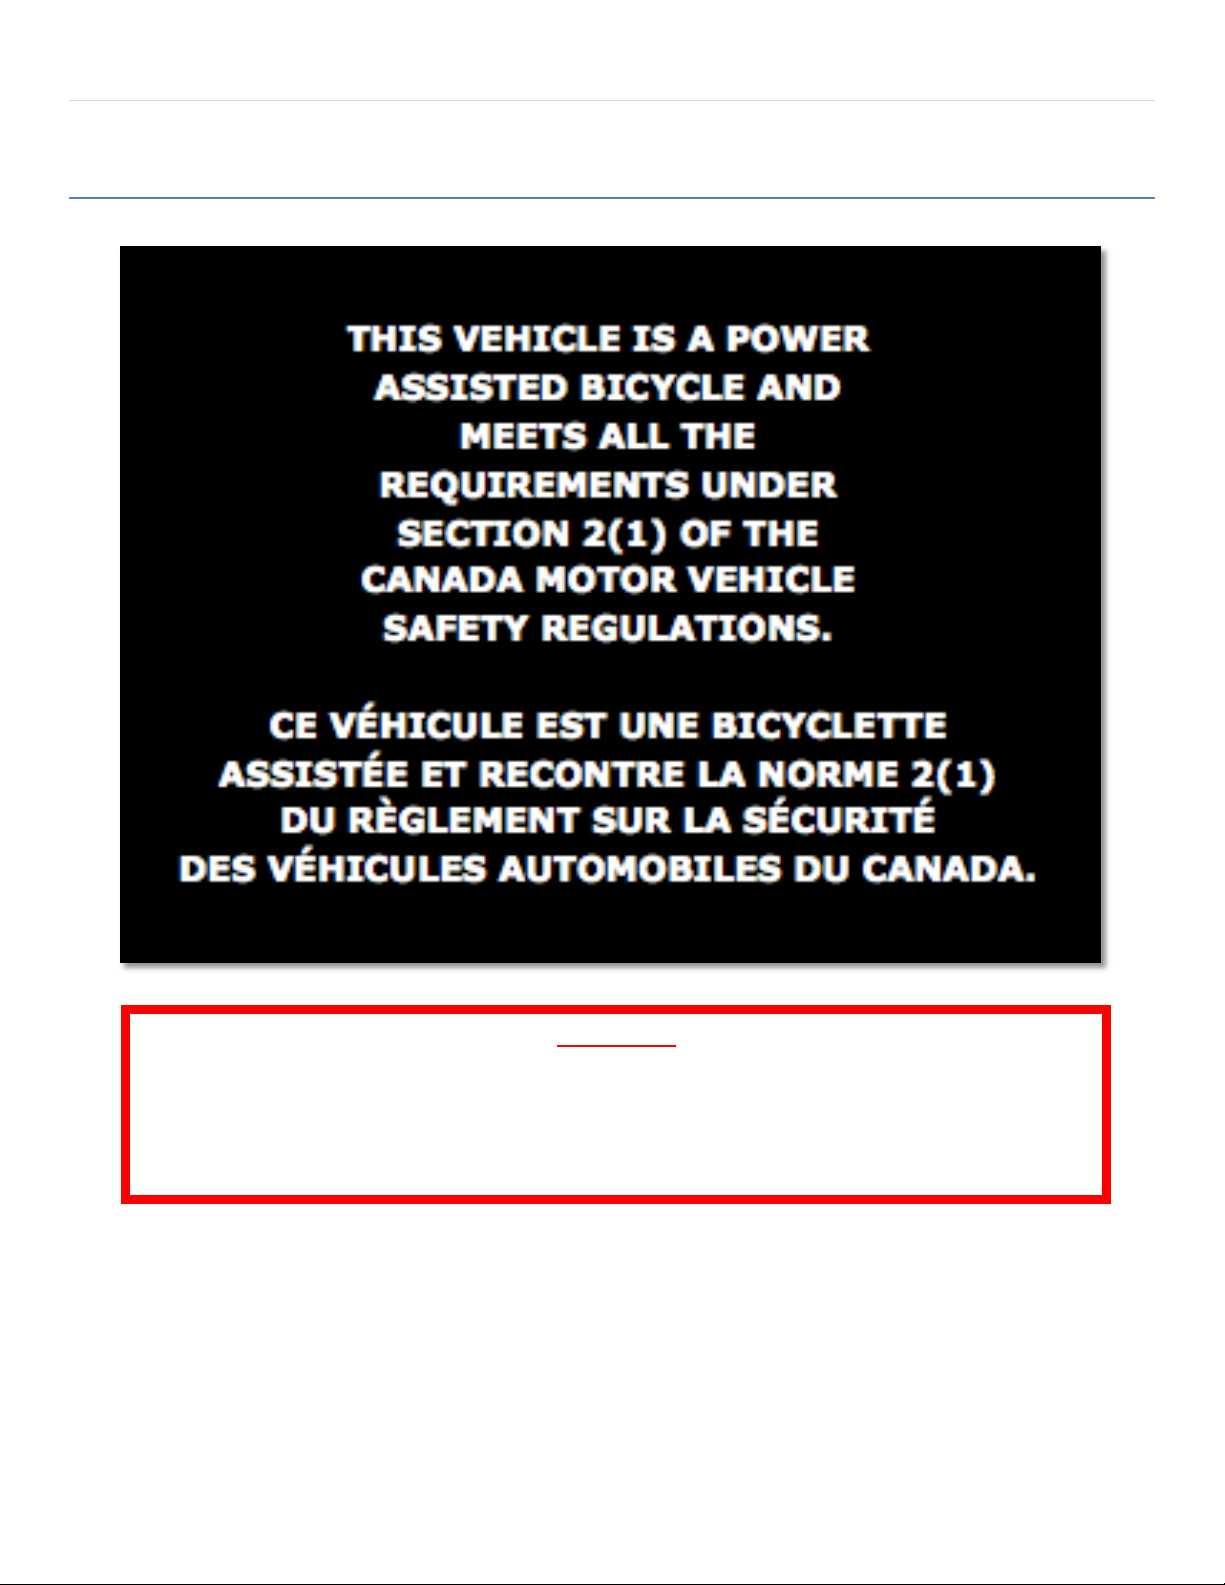
E-bike MTO Label
WARNING!
Please make sure this MTO label is on your e-bike. If this label is not present, please ask
your dealer to put one on. All electric bicycles are required to have this sticker on the bike
for it to be a legal vehicle.

4 | P a g e
Specifications
Color:
Black, Red, Blue
Dimension
(LxWxH):
162cm x 71cm x 120 cm
Wheel Size:
18'' x 2.5''
Net Weight:
50-65 kg (base on battery type)
Maximum Speed:
32 km/h
Travel Range:
50 km
Charging Time:
3 –8 Hours
Climbing Angle:
25 Degrees
Load Capacity:
220kg
Motor:
48V/12Ah
Battery:
48V/12Ah Lead Acid; 48V/12Ah or 20Ah Lithium
Charger:
AC100-120V, Smart Charger (Battery maintained while charging)
Front Brake:
Drum Brake
Rear Brake:
Drum Brake
Lock System:
Key Ignition Lock / Steer Lock / Motor Lock
Meter &
Indicator:
Speedometer, Battery Strength Indicator, Light Indicator
Lighting System:
LED Headlight w/LED High Beam, LED Turning Signals, LED Brake Light, LED Tail
Light, LED Indicator Light
Storage:
Lockable Rear Box (optional)
* Travel range is based on riding on level ground, no stops, no winds, warm temperatures for a 175lb rider with
no extra cargo.(change if necessary)

5 | P a g e
Charging the Bike (Lead Acid Battery)
There are two different plugs on your charger: one end that goes into an 110V power outlet, and the other into the charger
port.
1. Take one end of the charger and plug it into the charger port located on the bike (Please make sure that it is fully
plugged in)
2. Plug the other end of the charger into the power outlet.
3. Confirm that the charging indicator turns red.
Note: When the battery is fully charged, the charging indicator will turn green.
4. Unplug the charger from the power outlet.
5. Unplug the charger from the battery/bike.
6. Charging period is between 3-8 (3-6 for Lithium).
Note: The charger light must be red when both plugs are plugged in. It will always turn red first if the bike has been used.
It will turn green after it is fully charged.
WARNING!
Charge the bike for no more than 12 hours.
Fully charge the bike once a month during long periods of inactivity. (i.e. during the wintertime)
Table of contents
Other EMMO Bicycle manuals


