manuals.online logo
Brands
  1. Home
  2. •
  3. Brands
  4. •
  5. EMP-Centauri
  6. •
  7. Switch
  8. •
  9. EMP-Centauri MS9/4EIP-8 User manual

EMP-Centauri MS9/4EIP-8 User manual

Instruction Manual
MS9/4EIP-8 MS9/8EIP-9
Dear Customer,
congratulations on the purchase of the EMP-Centauri product. Before its installation and putting into
operation, read carefully the entire operation manual. Keep the purchase and rework if any) records for
future need.
1) Field of Application, Warranty
The product is designed for the distribution of satellite and terrestrial TV signals. EMP-Centauri’s E.LITE
CLASS products are covered under 4 four) years warranty from the date of purchase, see details in
document “General Trade conditions”, published at manufacturer‘s website www.emp-centauri.cz.
Repairs or any interventions in the product may be performed only by EMP-Centauri company, or other
companies authorized by EMP-Centauri.
2) Technical Specifications
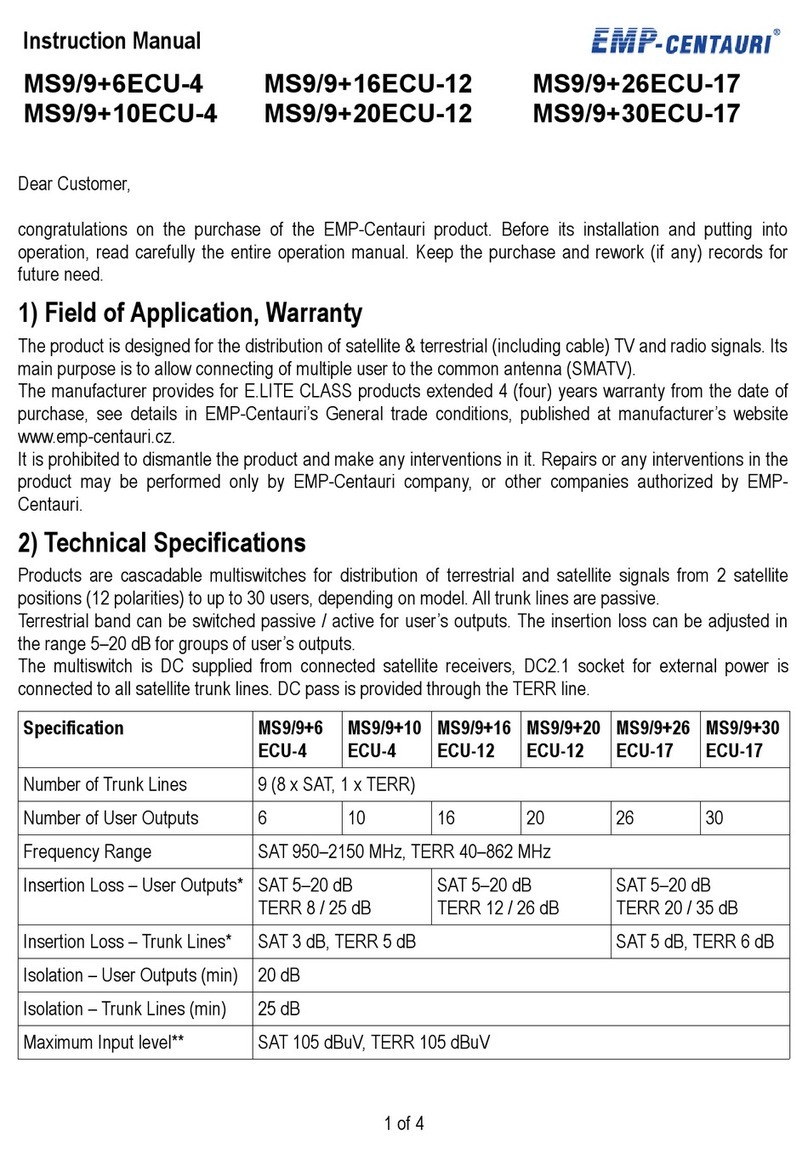
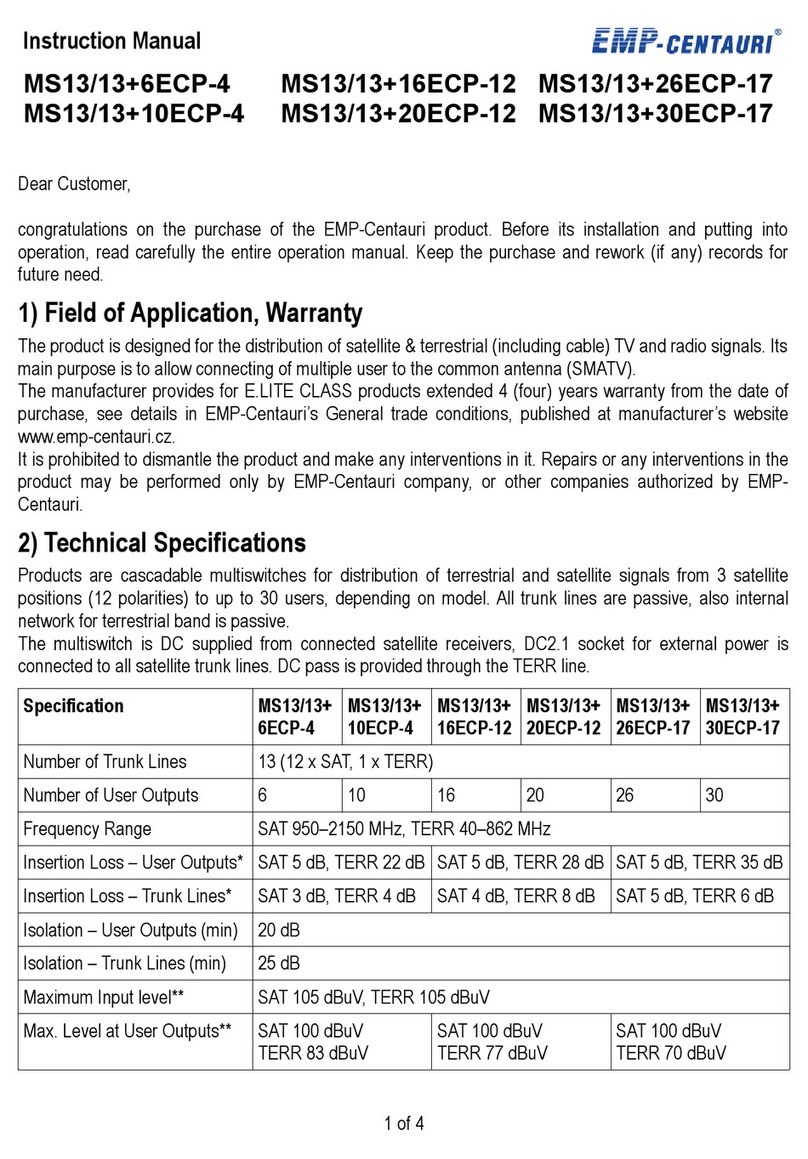
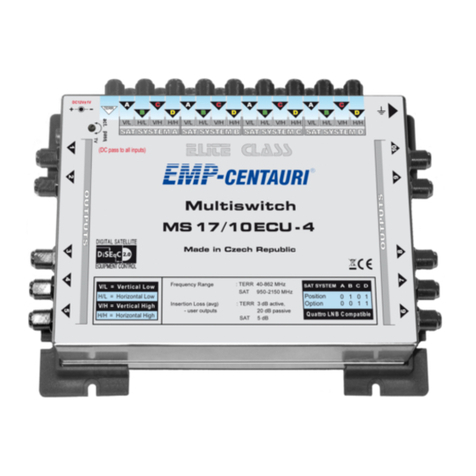
Products MS9/4EIP-8 and MS9/8EIP-9 are multiswitches for reception from two satellites and for up to 4
MS9/4EIP-8) or 8 MS9/8EIP-9) users. Signals in terrestrial band are distributed passively.
Multiswitches are controlled from a satellite receiver by DiSEqC commands and are compatible with both
Quattro and quad LNBs. Multiswitches are powered from internal power supply.
Specifications MS9/4EI -8 MS9/8EI -9
Inputs / Outputs 9 8xSAT, 1xTERR) / 4 9 8xSAT, 1xTERR) / 8
Frequency Range SAT 950–2150 MHz, TERR 5–862 MHz
Control DiSEqC 1.0 2.0)
Insertion Loss SAT 5 dB, TERR 13 dB SAT 8 dB, TERR 16 dB
Sat. inputs isolation 25 dB within LNB, 30 dB between LNBs
Maximum input level* SAT 90 dBuV, TERR 100 dBuV
Maximum output level* SAT 85, TERR 87 dBuV SAT 82, TERR 84 dBuV
Current consumption 70 mA 40 mA
Power input 3 W + consumption of LNBs) 6 W + consumption of LNBs)
Dimensions w,d,h) 26.0 x 11.4 x 5.3 cm 36.0 x 11.4 x 5.3 cm
Temperature Range −25°C – +60°C
*Terr.: EN 50083-3/60dB IMA3; SAT: EN 50083-3/35dB IMA3 **bei 18 V, von jedem Receiver
3) roduct Takeover
Make sure that the product is not damaged. Please contact your dealer in the case of damage.
1 of 4
4) roduct Storing and Installation
We recommend the device to be installed and serviced by the qualified technician!
The product must not be stored and installed:
•in the place with excessive humidity
•in the place with dropping or running water
•in the place with high dust pollution, mechanical vibrations or impacts
•in the place out of temperature limits specified in the section 2) Technical Specifications
•close to heat sources radiators or air ventilators, direct sunshine etc.)
•in the reach of children.
Do not expose the apparatus to dripping or splashing. Use the aparatus only in moderate climates not in
tropical climate).
Fix the product firmly on a wall or another hard and inflammable surface with screws and dowels.
The product shall be in no case held only by the connected cables. The mains socket must be
The mains socket must be
placed near the product. The mains socket and plug must be easily available.
•Ensure the free space for the air circulation space on sides and bellow the product should be at
least 10 cm
•Do not cover the product with curtains etc.)
•Do not place any containers with liquids vases, glasses etc.) or naked flame sources lighted
candle etc.) on the product or near the product.
5) roduct Connection
Connect the product in accordance with this manual and valid regulation in you country. Use high quality
75 Ω
coaxial cable designed for satellite reception. The coaxial cables shall not be broken, the minimum
bending radius should be 5 cm. Mount the F connectors screw, crimp or compress type) on the ends of
coaxial cables. Connect the F connectors into the F sockets of product and fasten them with an appropriate
force.
•Connect F-sockets marked „A“ – „H“ with outputs of LNBs according to table:
F-socket of multiswitch Quattro-LNB Outputs Quad-LNB Outputs
A / E V/L or 12V/0kHz any output
B / F H/L or 18V/0kHz any output
C / G V/H or 12V/22kHz any output
D / H H/H or 18V/22kHz any output
•Connect F-socket marked „TERR IN“ to terr. antenna or amplifier
•Connect F-sockets marked “1”, “2”, “3”, … to wall sockets
•Connect connector marked with protective bonding symbol with protective bonding conductor
•Connect the mains plug into the mains socket with voltage according to section 2)
Note: If some of outputs are not used, it is appropriate to terminate them with 75 Ohm loads. If not
terminated, actual insertion loss figure may differ from given value.
6) Setting
The product has no setting options. Connected satellite receivers must be set to two-satellites reception
using DiSEqC “A” / “B” and “Universal LNB”.
2 of 4
7) Safety
Due to security reasons the product and wiring in which the product is connected must be grounded
properly. Use the earthing terminal identified with the symbol of grounding to ground the product. Make sure
the antennas are grounded properly.
Connect all devices to power grid only after all connections are finished and checked. If you have to enter
places with a risk of fall, pay attention to your safety.
Never work on the wiring including terrestrial receivers, TVs) during or before a storm. A lightning stroke
into the antenna may cause dangerous overvoltage in the product metallic parts.
The product should be disconnected from the wiring immediately if it gets into contact with liquids dropping
water, spilled drinks etc.).
The product works with the AC voltage, see section 2) Technical Specifications. Make sure, that the local
AC voltage corresponds to the operating voltage of product. No objects can be placed on the mains cord for
prevent its damage or break. No hot objects should touch the mains cord. While disconnecting the product
from power grid, never pull the mains cord but the mains plug to prevent the mains cord damage. Pay
attention that the mains plug holds tight in the mains socket. Loose mains plug or mains socket means the
danger of fire. Never disassemble the product connected to the power grid, you risk the danger of electrical
shock.
shock.
8) roduct Maintenance
Always disconnect the product from the power grid and wiring before performing any maintenance of the
product. Use only dry cloth to clean the product and do not use any liquid agents.
Use only dry cloth to clean the product and do not use any liquid agents.
Coaxial cables installed outdoors should be replaced once in a few years. Unscrew all F connectors and
clean connector contacts, resp. shorten the coaxial cable by approx. 2 cm, every 2 years.
Check the state of power supply and its mains cord periodically. If the mains cord or the mains plug of
product is damaged, it must be replaced by manufacturer or qualified technician to prevent any dangerous
situation. Let the product to be serviced if the housing of power supply is damaged.
If not used for a prolonged period of time, disconnect the product from the power grid.
9) Troubleshooting
Always disconnect the product from the power grid before working on product, otherwise you risk the
electric hazard. Pay attention to your safety if you have to enter places with a risk of fall.
In the case the product does not work and LED of power supply is on:
•Check if the terrestrial and satellite antennas are correctly fixed, optimally set and connected to
the product, satellite and terrestrial receivers turned on, plugged on and correctly set.
•Check the connector connections. The inner conductor of coaxial cable must be in contact with
the inner conductor of F socket and the shielding of coaxial cable with F connector. Replace
broken or interrupted coaxial cable.
•Sometimes the reset of the multiswitch microprocessor is enough to fix the problem. Pull out the
power plug of the multiswitch and satellite receiver from power grid and then re-plug them a few
seconds later.
In the case the product does not work and LED of power supply is off or blinks:
•Check that the product is connected to the power grid with AC voltage. If not, connect the product
to the power grid with correct AC voltage.
•Disconnect the product from the power grid and check that there is no short-circuit on the input
satellite coaxial cables, which prevents the power supplying of LNBs. If yes, remove short-circuit
3 of 4
and re-plug the product into the power grid again.
•The power supply can fail temporarily in case of overload or overheating. The cause can be
current consumption of devices connected to the satellite inputs of product which exceeds the
specifications, see section 2) Product Specifications. The next cause can be the overheating of
product in consequence of wrong installation, see section 4) Product Storing and Installation.
Disconnect the product from the power grid, remove the cause, and re-plug the product into the
power grid after a few minutes again.
If the failure cannot be removed, please contact your distributor.
10) Symbols Explanation
certificate of conformity for indoor use only DC power supply
protective bonding class II device fuse protected
safety transformer international standard for digital satellite equipment control,
number 1.0, 1.1, 1.2 or 2.0) determines DiSEqC version.
According to EU directive, electric and electronic devices which are identified by one of the following
symbols must not be disposed of together with municipal waste.
11) Wiring Diagram
More wiring examples are shown at the manufacturer’s website.
4 of 4
12) Contact
Manufacturer: EMP-Centauri s.r.o.
5. kvetna 690
339 01 Klatovy 4
Czech Republic
tel: +420) 376 323 813 sales)
tel: +420) 376 323 853 tech. support)
[email protected]
www.emp-centauri.cz
MS9/4EI -8
MS9/8EI -9
LNB
(QUATTRO,
QUAD)
LNB
(QUATTRO,
QUAD)
TERR ANTENNA

This manual suits for next models

1

Other EMP-Centauri Switch manuals

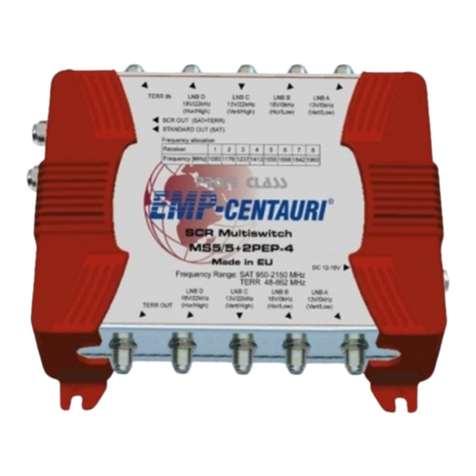
EMP-Centauri MS5/5+2PIP-4 User manual
EMP-Centauri

EMP-Centauri MS5/5+2PIP-4 User manual

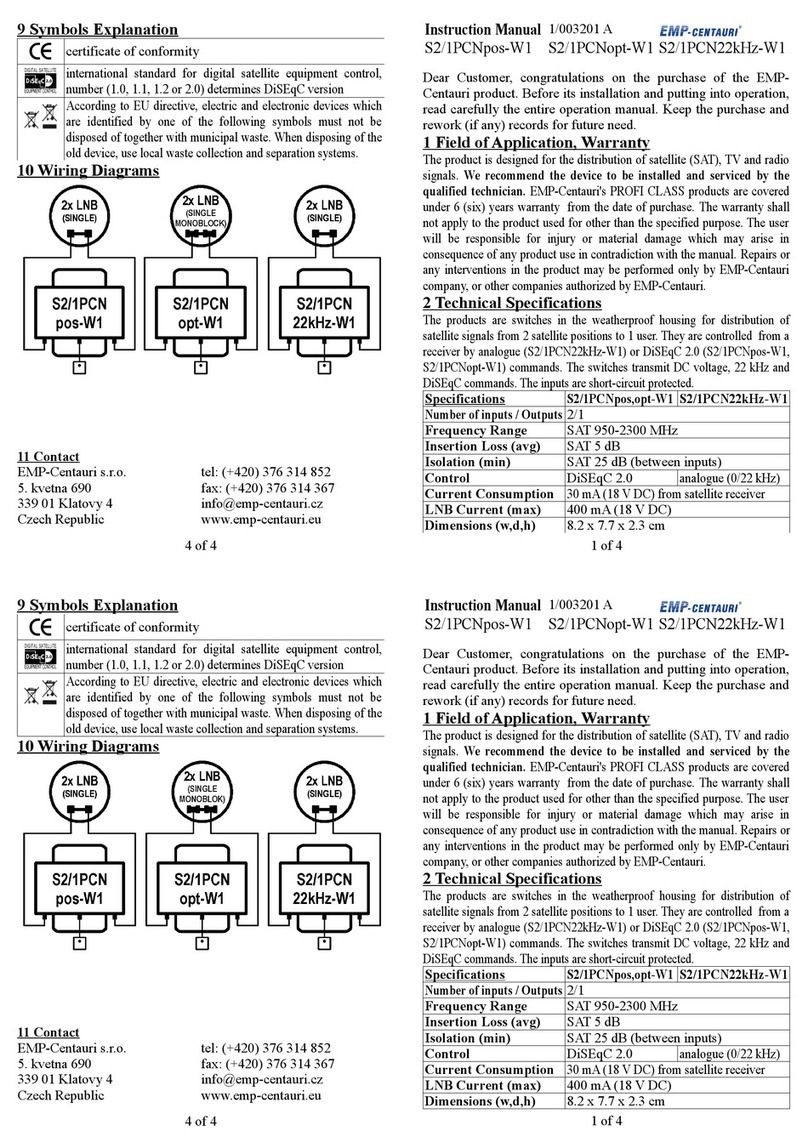
EMP-Centauri S2/1PCNpos-W1 User manual

EMP-Centauri

EMP-Centauri S2/1PCNpos-W1 User manual

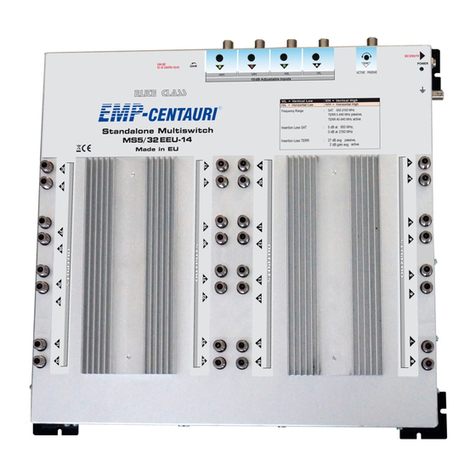
EMP-Centauri MS5/32EEU-14 User manual

EMP-Centauri

EMP-Centauri MS5/32EEU-14 User manual

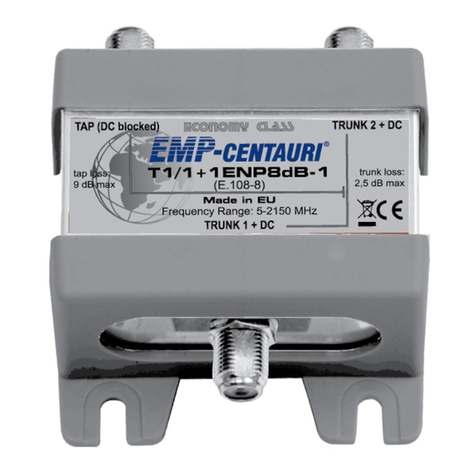
EMP-Centauri T1/1+1ENP8dB-1 User manual

EMP-Centauri

EMP-Centauri T1/1+1ENP8dB-1 User manual

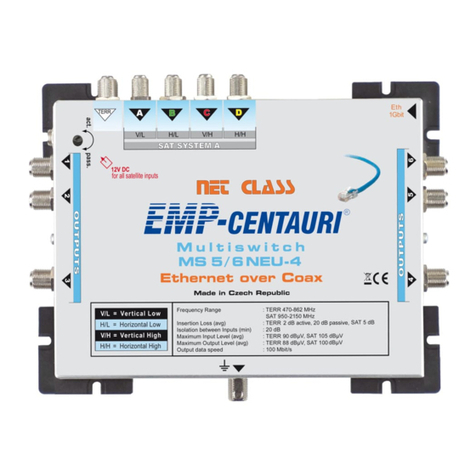
EMP-Centauri MS5/6NEU-4 User manual

EMP-Centauri

EMP-Centauri MS5/6NEU-4 User manual

EMP-Centauri MS17/17+6ECP-4 User manual

EMP-Centauri

EMP-Centauri MS17/17+6ECP-4 User manual

EMP-Centauri MS9/9+6ECU-4 User manual

EMP-Centauri

EMP-Centauri MS9/9+6ECU-4 User manual

EMP-Centauri MS13/13+6ECP-4 User manual

EMP-Centauri

EMP-Centauri MS13/13+6ECP-4 User manual

EMP-Centauri MS5/16NEU-12 User manual

EMP-Centauri

EMP-Centauri MS5/16NEU-12 User manual

EMP-Centauri MS9/6ECP-4 User manual

EMP-Centauri

EMP-Centauri MS9/6ECP-4 User manual

EMP-Centauri OMS5/10 User manual

EMP-Centauri

EMP-Centauri OMS5/10 User manual

EMP-Centauri MS17/17+6ECU-4 User manual

EMP-Centauri

EMP-Centauri MS17/17+6ECU-4 User manual

EMP-Centauri MS5/4PLP-3 User manual

EMP-Centauri

EMP-Centauri MS5/4PLP-3 User manual

EMP-Centauri MS13/13+32EEU-14 User manual

EMP-Centauri

EMP-Centauri MS13/13+32EEU-14 User manual

EMP-Centauri MS5/12ELP-4 User manual

EMP-Centauri

EMP-Centauri MS5/12ELP-4 User manual

EMP-Centauri P.162-IW User manual

EMP-Centauri

EMP-Centauri P.162-IW User manual

EMP-Centauri S2/1PCN-W1 User manual

EMP-Centauri

EMP-Centauri S2/1PCN-W1 User manual

EMP-Centauri OMS5/4 User manual

EMP-Centauri

EMP-Centauri OMS5/4 User manual

EMP-Centauri MS9/4PIU-5 User manual

EMP-Centauri

EMP-Centauri MS9/4PIU-5 User manual

EMP-Centauri MS5/5+12ECP5dB-4 User manual

EMP-Centauri

EMP-Centauri MS5/5+12ECP5dB-4 User manual

EMP-Centauri S4/1PCT-W2 User manual

EMP-Centauri

EMP-Centauri S4/1PCT-W2 User manual

EMP-Centauri S16/4PCN-W3 User manual

EMP-Centauri

EMP-Centauri S16/4PCN-W3 User manual

EMP-Centauri P.162-IW User manual

EMP-Centauri

EMP-Centauri P.162-IW User manual

EMP-Centauri S?16/1?PCP-W3 User manual

EMP-Centauri

EMP-Centauri S?16/1?PCP-W3 User manual

Popular Switch manuals by other brands

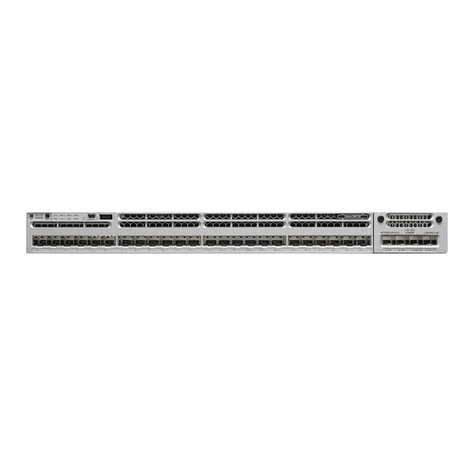
Cisco Catalyst 3850 Guide

Cisco

Cisco Catalyst 3850 Guide

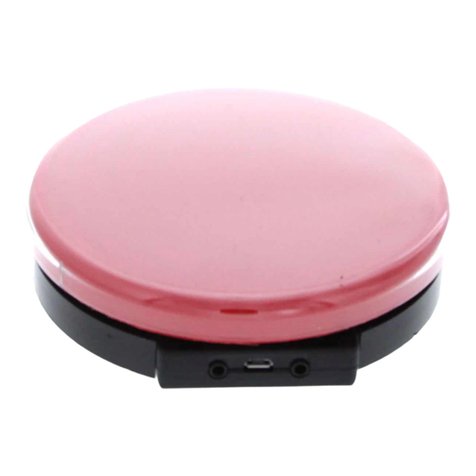
Enabling Devices 1164 user guide

Enabling Devices

Enabling Devices 1164 user guide

CYBEX autoview 200 Installer and user guide

CYBEX

CYBEX autoview 200 Installer and user guide

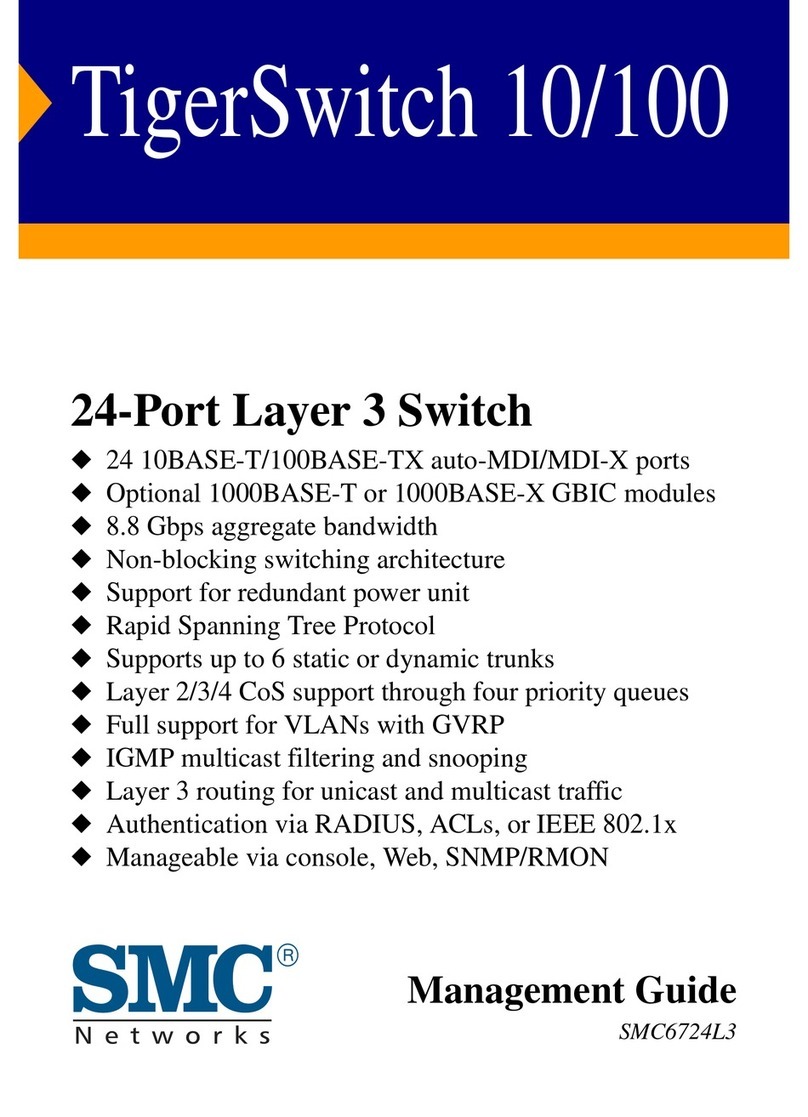
SMC Networks SMC6724L3 Management guide

SMC Networks

SMC Networks SMC6724L3 Management guide

SEKURYX CK4-P102 user manual

SEKURYX

SEKURYX CK4-P102 user manual

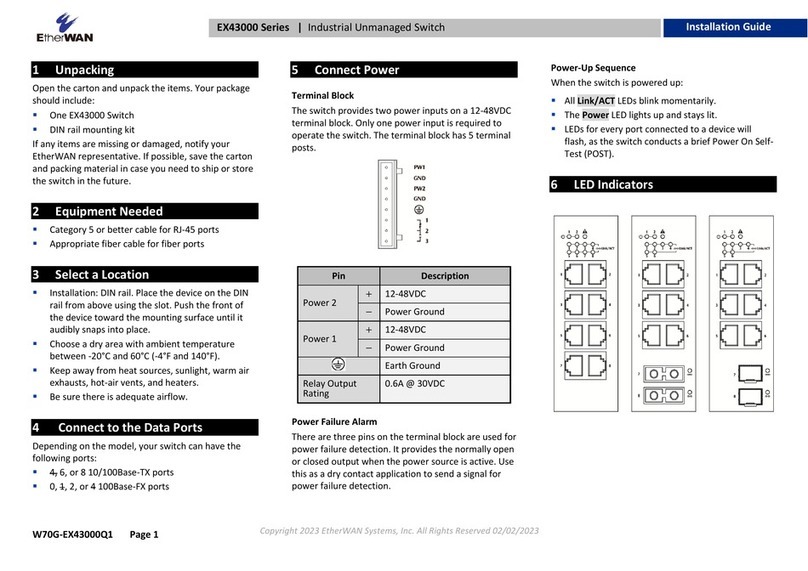
EtherWAN EX43000 series installation guide

EtherWAN

EtherWAN EX43000 series installation guide

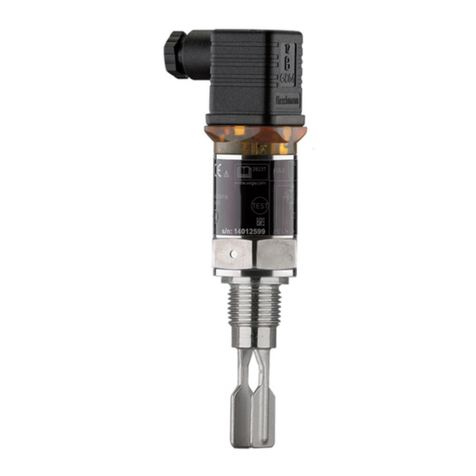
Vega VEGASWING 51 operating instructions

Vega

Vega VEGASWING 51 operating instructions

StarTech.com SV211KUSB Quick installation guide

StarTech.com

StarTech.com SV211KUSB Quick installation guide

D-Link DGS-3100 SERIES Hardware installation guide

D-Link

D-Link DGS-3100 SERIES Hardware installation guide

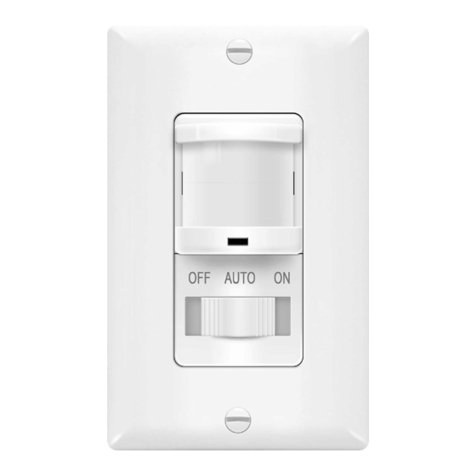
Topgreener TWOS5 installation instructions

Topgreener

Topgreener TWOS5 installation instructions

TRENDnet TEG-40080ES user guide

TRENDnet

TRENDnet TEG-40080ES user guide

Omron A165S - datasheet

Omron

Omron A165S - datasheet

Nxg VCH8 owner's manual

Nxg

Nxg VCH8 owner's manual

Cisco SRW2016 - Small Business Managed Switch user guide

Cisco

Cisco SRW2016 - Small Business Managed Switch user guide

NETGEAR ProSafe GS700TP Software administration manual

NETGEAR

NETGEAR ProSafe GS700TP Software administration manual

Altusen KM0832 quick start guide

Altusen

Altusen KM0832 quick start guide

Blankom WLANIOS 5161.01 operating instructions

Blankom

Blankom WLANIOS 5161.01 operating instructions

ZooZ ZEN34 user manual

ZooZ

ZooZ ZEN34 user manual

manuals.online logo
manuals.online logoBrands
  • About & Mission
  • Contact us
  • Privacy Policy
  • Terms and Conditions

Copyright 2025 Manuals.Online. All Rights Reserved.