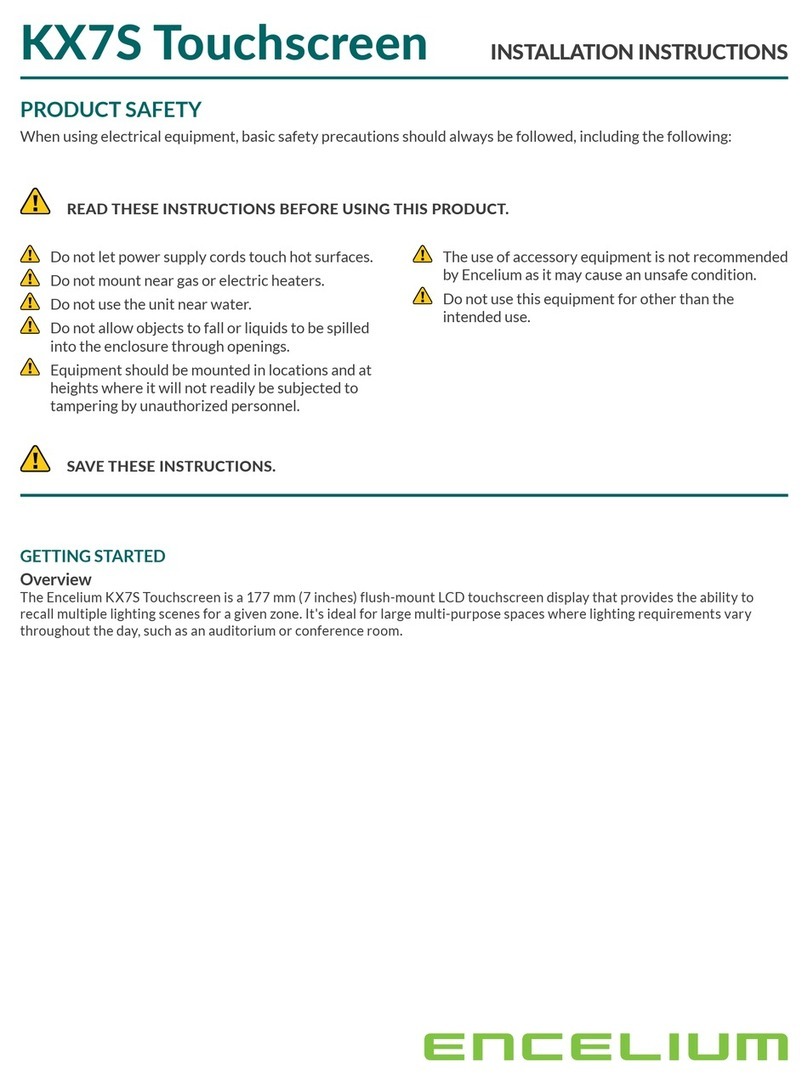
Encelium KX3 Touchscreen User manual

KX3 Touchscreen INSTALLATION INSTRUCTIONS
PRODUCT SAFETY
When using electrical equipment, basic safety precautions should always be followed, including the following:
Do not let power supply cords touch hot surfaces.
Do not mount near gas or electric heaters.
Do not use the unit near water.
Do not allow objects to fall or liquids to be spilled
into the enclosure through openings.
Equipment should be mounted in locations and at
heights where it will not readily be subjected to
tampering by unauthorized personnel.
The use of accessory equipment is not recommended
by Encelium as it may cause an unsafe condition.
Do not use this equipment for other than the
intended use.
SAVE THESE INSTRUCTIONS.
READ THESE INSTRUCTIONS BEFORE USING THIS PRODUCT.
GETTING STARTED
Overview
The Encelium KX3 Touchscreen Panel is a 89 mm (3.5 inches) flush-mount LCD touchscreen display that provides the ability to
recall multiple lighting scenes for a given zone. It's ideal for large multi-purpose spaces where lighting requirements vary
throughout the day, such as an auditorium or conference room.

2KX3 Touchscreen Installation Instructions
KX3 Touchscreen INSTALLATION INSTRUCTIONS
SYSTEM OVERVIEW
Wired System Overview
With Encelium X, you can control DALI devices exclusively or a mixture of GreenBus and DALI.
GreenBus
Controller Wired Manager — GreenBus
Sensor SSU
Controller
Sensor
KX3 Touchscreen
Ethernet
GreenBus
Dimming
PoE
Wire Key
DALI
Wired Manager — DALI SSU
KX3 Touchscreen
Ethernet
DALI
PoE
Wire Key
Sensor Sensor

3
KX3 Touchscreen Installation Instructions
KX3 Touchscreen INSTALLATION INSTRUCTIONS
Wireless System Overview
This illustration shows how each component is easily integrated into the Encelium X Lighting Control System.
Wireless Manager SSU
Sensor
sor
W
Sensor
KX3 Touchscreen
Integrated
Controller
Ethernet
PoE
Wire Key

4KX3 Touchscreen Installation Instructions
KX3 Touchscreen INSTALLATION INSTRUCTIONS
MOUNTING OPTION
The KX3 Touchscreen is designed for flush-mount, in-wall installations. It requires an available mounting depth of 52.5 mm
(2 inches) from the surface of the wall. The recommended mounting height for the KX3 Touchscreen is between 1.4 and 1.5 m
(4.5 and 5 ft) from the bottom of the faceplate.
KX3 front
(bezel removed)
Bezel
74.7 mm
(2.9 inch)
131.8 mm
(5.2 inch)
Wall Stud
Wall
Opening
Ethernet Cable
(from PoE Switch)
Mouting Height
1.4 — 1.5 m
(4.5 — 5 ft )
from bottom
of faceplate
Note: There is little margin for error when fitting the KX3 Touchscreen into the wall opening. Make sure to use the included
cardboard cut-out template to create the correct size opening in the wall. Additionally, carefully double-check that all
measurements taken using the cardboard cut-out template are accurate.

5
KX3 Touchscreen Installation Instructions
KX3 Touchscreen INSTALLATION INSTRUCTIONS
INSTALLATION
The KX3 Touchscreen shall be installed in dry, indoor locations ONLY.
Front View Rear View
CONTROL ETHERNETRS-232 (2)RS-232 (1)
The KX3 Touchscreen has the following built-in components: ambient and proximity sensors and reset button.
Reset Button
Ambient and
Proximity Sensors

6KX3 Touchscreen Installation Instructions
KX3 Touchscreen INSTALLATION INSTRUCTIONS
ELECTRICAL CONNECTIONS
KX3 Touchscreen Wiring Diagram
GreenBus
To Additional Wired Managers
(As Needed)
Power Supply
100 — 240 VAC,
50/60 Hz, 1.8A
SSU
External PoE Switch
120 VAC, 60 Hz, 10 W
(Non-Emergency Circuit)
120 VAC, 60 Hz, 300 W
Emergency Circuit (Preferred)
Non-Emergency Circuit (Acceptable)
Ethernet Cable with PoE
91.4 m (300 ft) maximum (Typical)
Ethernet Cable
91.4 m (300 ft) maximum
(Typical)
Wired Manager —
GreenBus
To secure LAN Port for
PC Lighting Control
(Requires Static IP Address)
Note: The maximum run from the network switch
to any end device is 91.4 m (300 ft). The PoE Injector
does not extend the length limitation.
KX3
Note: A PoE Switch can be used. This will eliminate
the need for individual PoE Injectors.
CONTROL
DALI
To Additional Wired Managers
(As Needed)
Power Supply
100 to 240 VAC,
50/60 Hz, 1.3A
SSU
External PoE Switch
230 VAC, 50 Hz, 10 W
(Non-Emergency Circuit)
230 VAC, 50 Hz, 300 W
Emergency Circuit (Preferred)
Non-Emergency Circuit (Acceptable)
Ethernet Cable with PoE
91.4 m (300 ft) maximum (Typical)
Ethernet Cable
91.4 m (300 ft) maximum
(Typical)
Wired Manager — DALI
To secure LAN Port
for PC Lighting
Control (Requires
Static IP Address)
Note: The maximum run from the network switch
to any end device is 91.4 m (300 ft). The PoE Injector
does not extend the length limitation.
KX3
Note: A PoE Switch can be used. This will eliminate
the need for individual PoE Injectors.
CONTROL
Power
Supply

7
KX3 Touchscreen Installation Instructions
KX3 Touchscreen INSTALLATION INSTRUCTIONS
Ethernet Port Wiring
The Ethernet (LAN) connection enables communication with a control system and power-over-Ethernet (PoE). When
powering the KX3 using PoE, a 802.3af Compliant class 3 PoE switch must be used.
CONTROL ETHERNETRS-232 (2)RS-232 (1)
BUTTON KEYCAP REPLACEMENT
The KX3 Touchscreen hard button keycaps are compatible with the Laser Shark custom button etching service.
REMOVING BUTTON KEYCAPS
Remove the KX3 bezel.

encelium.com
Copyright © 2022 Digital Lumens, Incorporated. All rights reserved. Digital Lumens, the Digital
Lumens logo, We Generate Facility Wellness, SiteWorx, LightRules, Lightelligence, Encelium,
the Encelium logo, Polaris, GreenBus and any other trademark, service mark, or tradename
(collectively “the Marks”) are either trademarks or registered trademarks of Digital Lumens,
Inc. in the United States and/or other countries, or remain the property of their respective
owners that have granted Digital Lumens, Inc. the right and license to use such Marks and/or
are used herein as nominative fair use. Due to continuous improvements and innovations,
specifications may change without notice.
DOC-000446-00 Rev C 02-22
KX3 Touchscreen INSTALLATION INSTRUCTIONS
Using your fingernail or small screwdriver, gently pry up on the bottom edge of the keycap.
Button
Pry up here to
remove button
INSTALLING BUTTON KEYCAPS
Align the keycap directly over the button location.
Gently press straight down on the keycap until it is seated flush with the display.
TROUBLESHOOTING
There are no user-serviceable parts inside. For detailed information about how to set-up, install, use, and maintain Encelium
hardware and software, please visit: help.encelium.com
Table of contents
Other Encelium Touchscreen manuals