manuals.online logo
Brands
  1. Home
  2. •
  3. Brands
  4. •
  5. Encore Networks
  6. •
  7. Network Router
  8. •
  9. Encore Networks EN-4000 User manual

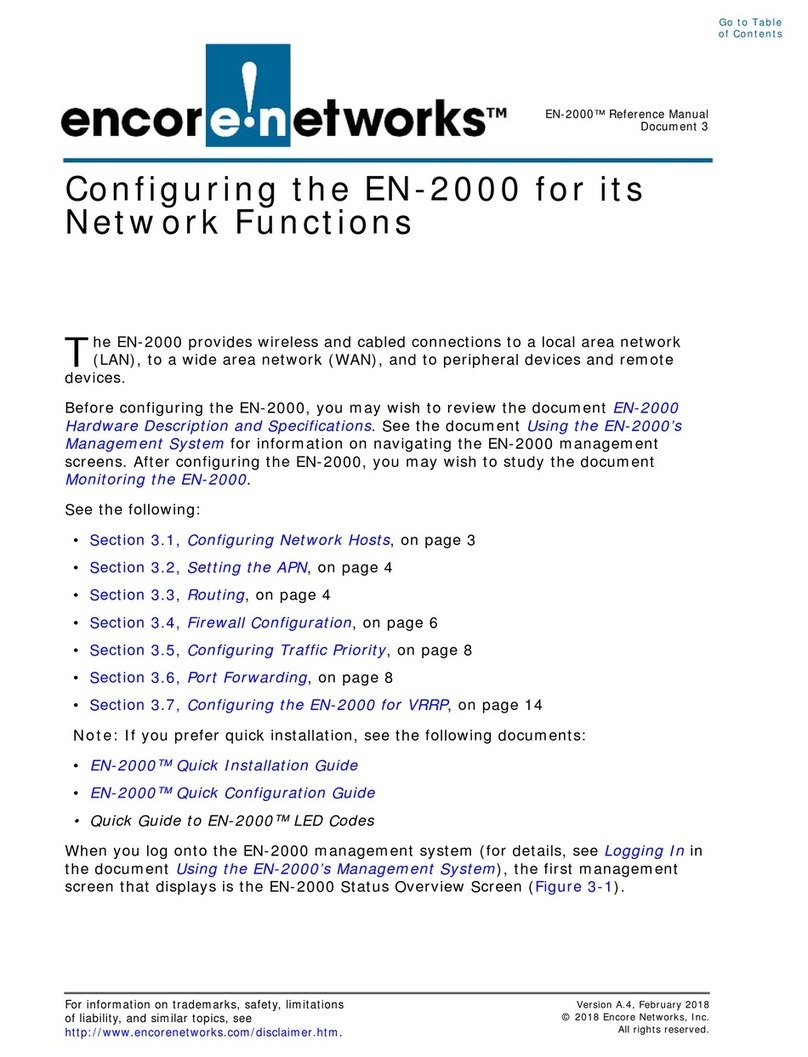
Encore Networks EN-4000 User manual

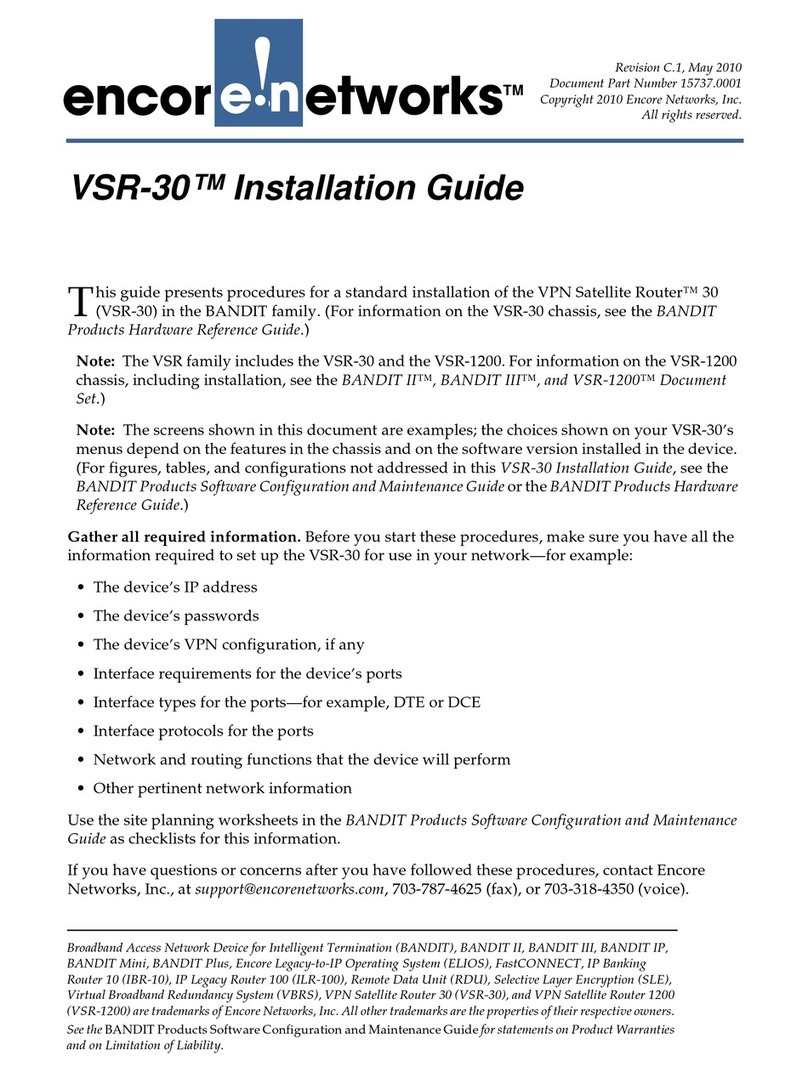
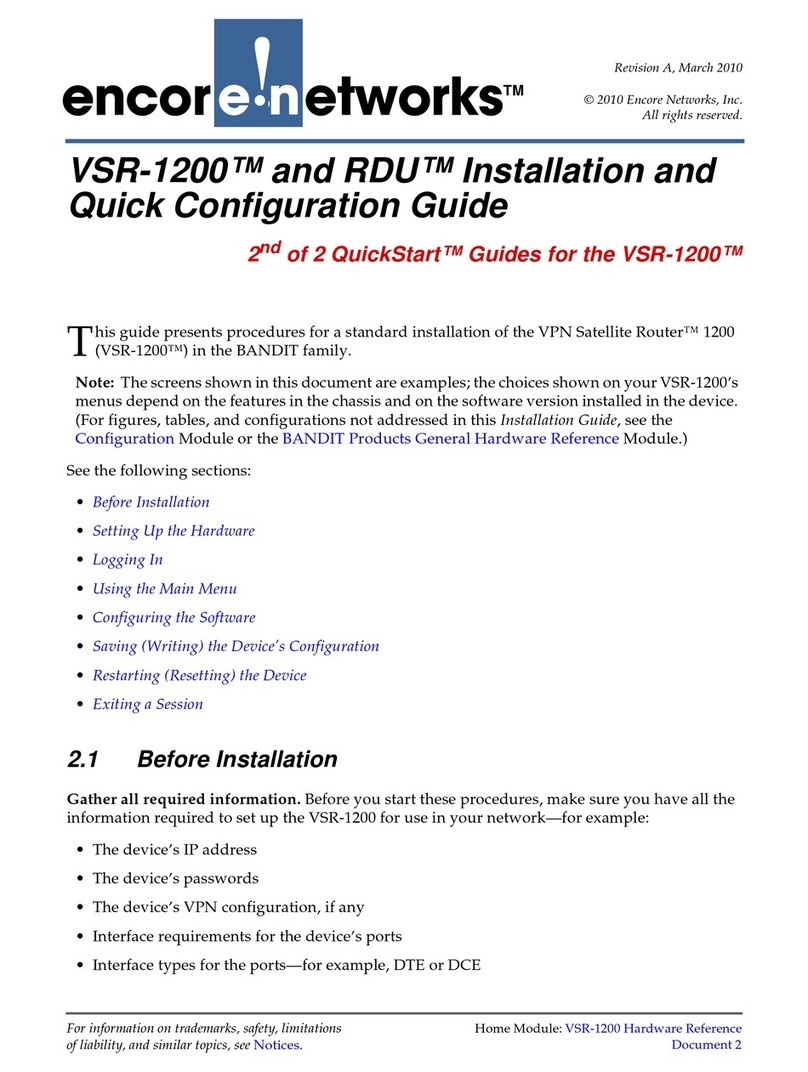
EN-4000™ Quick Installation Guide
A. Collect the Items Needed for Installation B. View the Ports on the EN-4000 Chassis
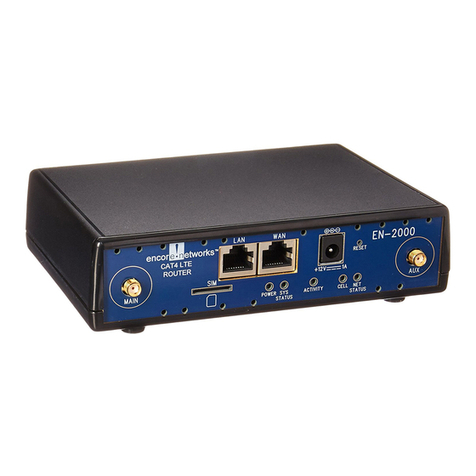
EN-4000 Chassis EN-4000 Chassis
C. Install the SIMs
A Subscriber Identity Module (SIM) is required for each Global System
for Mobile Communications (GSM) or Long-Term Evolution (LTE) cellular
wireless module (card). Other cellular wireless modules do not use SIMs.
Warning: To prevent electrical shock, always turn equipment
power off before disconnecting any cables. Allow only qualified
service personnel to install and maintain equipment.
1Make sure the EN-4000 is not connected to a power source. Then
make sure no cables are connected to the EN-4000’s ports.
2Place the EN-4000 chassis on a flat, stable surface. Turn the
chassis over so that it is resting on its top.
3Remove the screws from the sides of the chassis, and lift the
chassis shell off the bottom of the chassis. Locate the SIM sockets
on the bottom of the motherboard.
SIM Sockets on Bottom of EN-4000 Motherboard
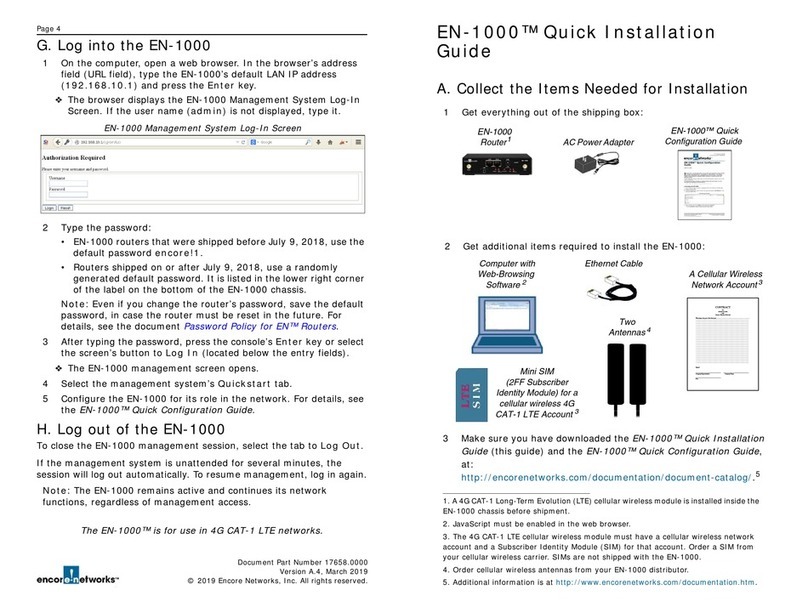
1Get everything out of the shipping box:
EN-4000 Quick
Installation Guide
EN-4000
Router
1
One to Four
Antennas
2
AC Power Supply
CONTRACT
for
AnnualAccount
with
GenericWireless Network
Whereupon,the part of the fiirst part, ...............................................................................................
........................................................................................................................................................
........................................................................................................................................................
........................................................................................................................................................
........................................................................................................................................................
........................................................................................................................................................
........................................................................................................................................................
........................................................................................................................................................
........................................................................................................................................................
........................................................................................................................................................
........................................................................................................................................................
........................................................................................................................................................
........................................................................................................................................................
........................................................................................................................................................
........................................................................................................................................................
........................................................................................................................................................
........................................................................................................................................................
........................................................................................................................................................
........................................................................................................................................................
........................................................................................................................................................
........................................................................................................................................................
........................................................................................................................................................
........................................................................................................................................................
........................................................................................................................................................
........................................................................................................................................................
........................................................................................................................................................
........................................................................................................................................................
........................................................................................................................................................
Signed
____________________________________ ____________________________________
CompanyRepresentative CompanyName
____________________________________
Date
2Get some additional items ready before installing the EN-4000:
Computer with
Web-Browsing
Software
3
Ethernet Cable
One or Two
Cellular Wireless
Network Accounts
4
1. This quick installation guide assumes that a Global System for Mobile Communica-
tions (GSM) cellular wireless module (card) is in the EN-4000’s internal card slot and
that a Long-Term Evolution (LTE) cellular wireless module is in one of the expansion
ports (external card slots) on the front of the chassis. Customer orders might specify
other cellular wireless modules, non-cellular wireless modules, or non-wireless
modules.
The EN-4000 can hold a maximum of three modules; two of those modules can be
cellular wireless modules. All modules are installed in the internal and external card
slots before the EN-4000 is shipped.
2. The number of antennas and the types of antennas are specified when the EN-4000
is ordered. Antennas might be shipped separately.
3. JavaScript must be enabled in the web browser.
4. Each Global System for Mobile Communications (GSM) cellular wireless module and
each Long-Term Evolution (LTE) cellular wireless module must have a cellular wireless
network account and a Subscriber Identity Module (SIM) for that account. Order each
SIM from a cellular wireless network provider. SIMs are not shipped with the EN-4000.
Subscriber Identity
Module (SIM) for Each
Cellular Wireless
Network Account
4
Document Part Number 17402.0000
Version A.6, February 2014
© 2014 Encore Networks, Inc. All rights reserved.
4Swing a SIM socket’s hinged door open.
5Take a new SIM out of its package. (Do not touch the pad on the
back of the SIM.) Insert the new SIM between the guides on the
SIM socket’s door, and slide the SIM into place.
SIM Partially Inserted into the SIM Socket’s Door
6Gently close the SIM socket’s door. A slight snap will indicate that
the door has seated properly.
Caution: If the SIM is not in the correct position, the SIM socket’s
door will not close. In that case, remove the SIM and re-insert it in
the correct position.
SIM in an Incorrect Position SIM in the Correct Position
7To replace the SIM in another GSM or LTE cellular wireless module,
repeat this procedure, starting with step 4. Otherwise, continue to
step 8.
8Re-assemble the EN-4000 chassis. Attach antennas to the antenna
ports on the chassis’s front and back panels.
Note: The antenna ports labeled MAIN 1 (on the front panel) and
AUX 1 (on the back panel) hold antennas for the internal module.
The ports labeled MAIN 2 and AUX 2 hold antennas for a module
installed in an expansion port (an external card slot).
D. Connect and Start the EN-4000
1Connect an Ethernet cable between the computer’s Ethernet port
and one of the LAN ports (the set of ports labeled eth1) on the
back of the EN-4000.
2Connect the EN-4000’s power supply to the EN-4000 chassis, and
plug the power supply into an AC wall outlet. The chassis powers
up immediately.
E. Log into the EN-4000
1On the computer, open a web browser. Place the screen cursor in
the browser's address field. Then type the EN-4000’s default LAN
IP address 192.168.1.1 and press the console’s Enter key.
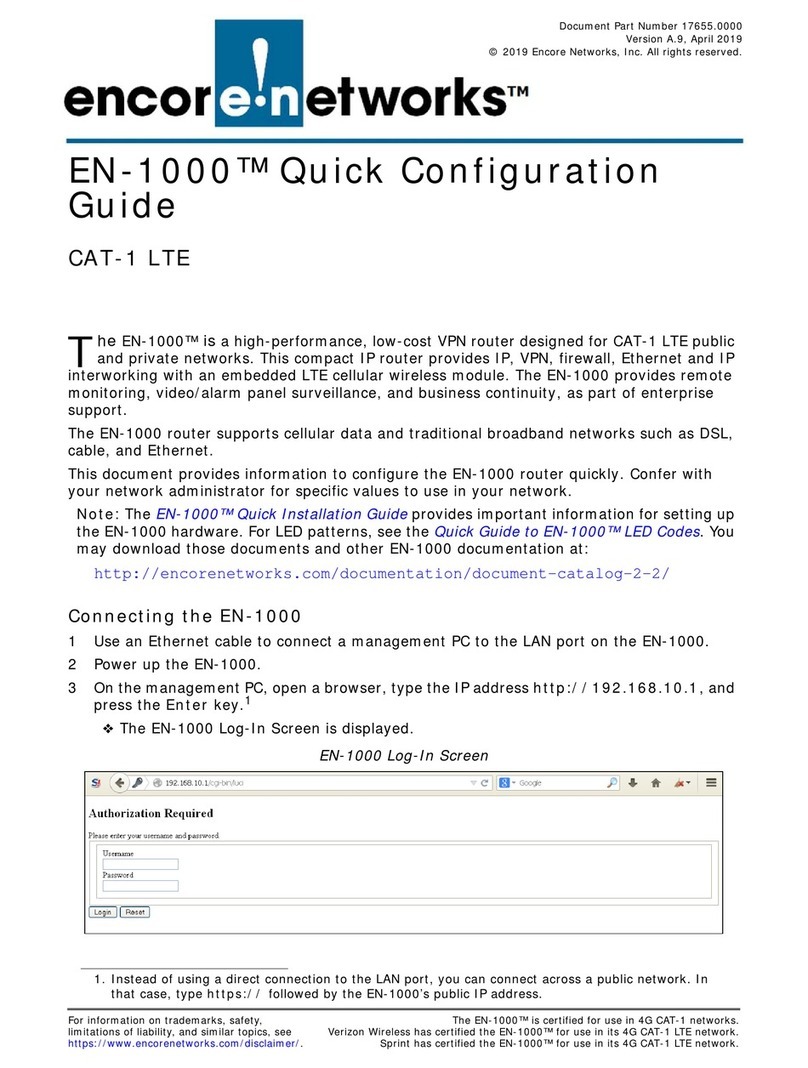
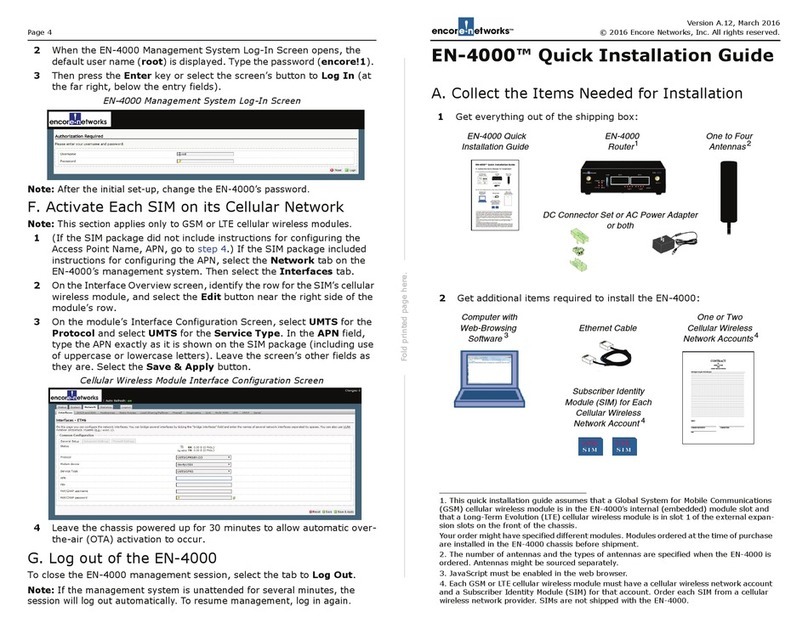
2When the browser displays the EN-4000 Management System Log-
In Screen, type the default user name (root) and password
(encore!1). Then press the console’s Enter key or select the
screen’s button to Log In (at the far lower right of the entry fields).
F. Activate Each GSM Module and LTE Module
Use the EN-4000 management system to activate a carrier network’s
account for each GSM module and each LTE module in the EN-4000:
1In the EN-4000 management system, select the System tab. Then
select the Custom Commands tab, then the Configuration tab,
to see the Custom Commands Configuration Screen.
2On the Custom Commands Configuration Screen, add the
command list (initialization stream) provided by one GSM or LTE
carrier to activate the GSM or LTE module in its network; then
select the Add button. Then add the other carrier’s initialization
stream. (Each carrier uses a unique initialization stream.)
3Select the Save & Apply button (in the lower right corner of the
screen) to save the initialization streams as activation commands.
4Select the Dashboard tab to see the Custom Commands Dash-
board Screen. On that screen, select an activation command; then
select the Run button. If there is another activation command,
select it and then select the Run button.
Network activation of a GSM module or LTE module is permanent unless
its SIM is replaced.
Note: After activating the GSM and LTE modules, select the manage-
ment system’s System tab. Then select the Administration tab to see
the System Administration Screen. Change the user password from the
default value to a new value determined by the network administrator.
G. Log out of the EN-4000
To close the EN-4000 management session, select the tab to Log Out.
Note: If the management system is unattended for several minutes, the
session will log out automatically. To resume management, log in again.
EN-4000 Management System Log-In Screen

Other manuals for EN-4000

7

Other Encore Networks Network Router manuals

Encore Networks VSR-1200 User manual

Encore Networks

Encore Networks VSR-1200 User manual

Encore Networks EN-4000 User manual

Encore Networks

Encore Networks EN-4000 User manual

Encore Networks EN-1000 User manual

Encore Networks

Encore Networks EN-1000 User manual

Encore Networks EN-2000 User manual

Encore Networks

Encore Networks EN-2000 User manual

Encore Networks EN-2000 Operating and installation instructions

Encore Networks

Encore Networks EN-2000 Operating and installation instructions

Encore Networks EN-2000 User manual

Encore Networks

Encore Networks EN-2000 User manual

Encore Networks EN-1000 Series User manual

Encore Networks

Encore Networks EN-1000 Series User manual

Encore Networks VSR-30 User manual

Encore Networks

Encore Networks VSR-30 User manual

Encore Networks EN-2000 User manual

Encore Networks

Encore Networks EN-2000 User manual

Encore Networks EN-2000 User manual

Encore Networks

Encore Networks EN-2000 User manual

Encore Networks EN-2000 User manual

Encore Networks

Encore Networks EN-2000 User manual

Encore Networks EN-4000 User manual

Encore Networks

Encore Networks EN-4000 User manual

Encore Networks EN-4000 User manual

Encore Networks

Encore Networks EN-4000 User manual

Encore Networks EN-2000 User manual

Encore Networks

Encore Networks EN-2000 User manual

Encore Networks EN-4000 User manual

Encore Networks

Encore Networks EN-4000 User manual

Encore Networks EN-2000 User manual

Encore Networks

Encore Networks EN-2000 User manual

Encore Networks EN-1000 User manual

Encore Networks

Encore Networks EN-1000 User manual

Encore Networks EN-4000 User manual

Encore Networks

Encore Networks EN-4000 User manual

Popular Network Router manuals by other brands

SAF CFM-34-REBM manual

SAF

SAF CFM-34-REBM manual

Linksys PC22224 - ProConnect II 2224 Ethernet Switch user guide

Linksys

Linksys PC22224 - ProConnect II 2224 Ethernet Switch user guide

BEC MX-200 user manual

BEC

BEC MX-200 user manual

NetComm FIBRE NF3ADV Specifications

NetComm

NetComm FIBRE NF3ADV Specifications

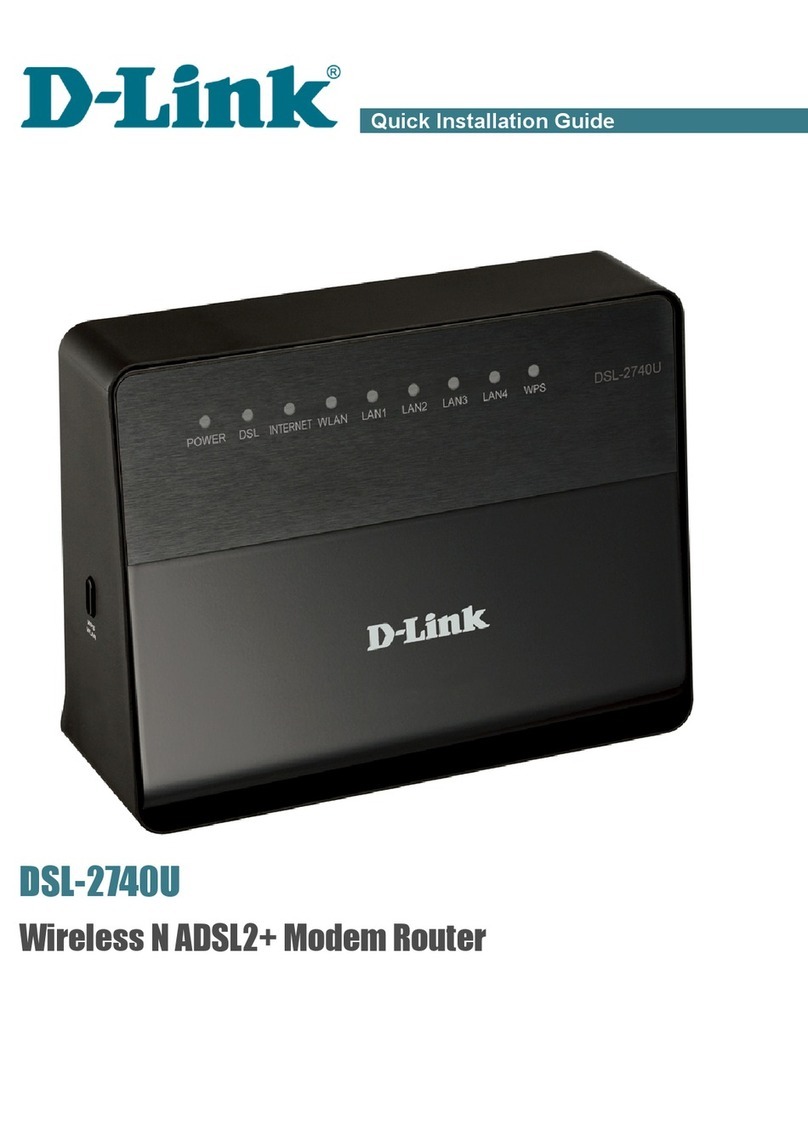
D-Link DIR-300A Quick installation guide

D-Link

D-Link DIR-300A Quick installation guide

Cisco SFE2000P datasheet

Cisco

Cisco SFE2000P datasheet

Generic IP ROUTER user guide

Generic

Generic IP ROUTER user guide

DextraNet DHC-245 user manual

DextraNet

DextraNet DHC-245 user manual

ZyXEL Communications MAX218M2W user guide

ZyXEL Communications

ZyXEL Communications MAX218M2W user guide

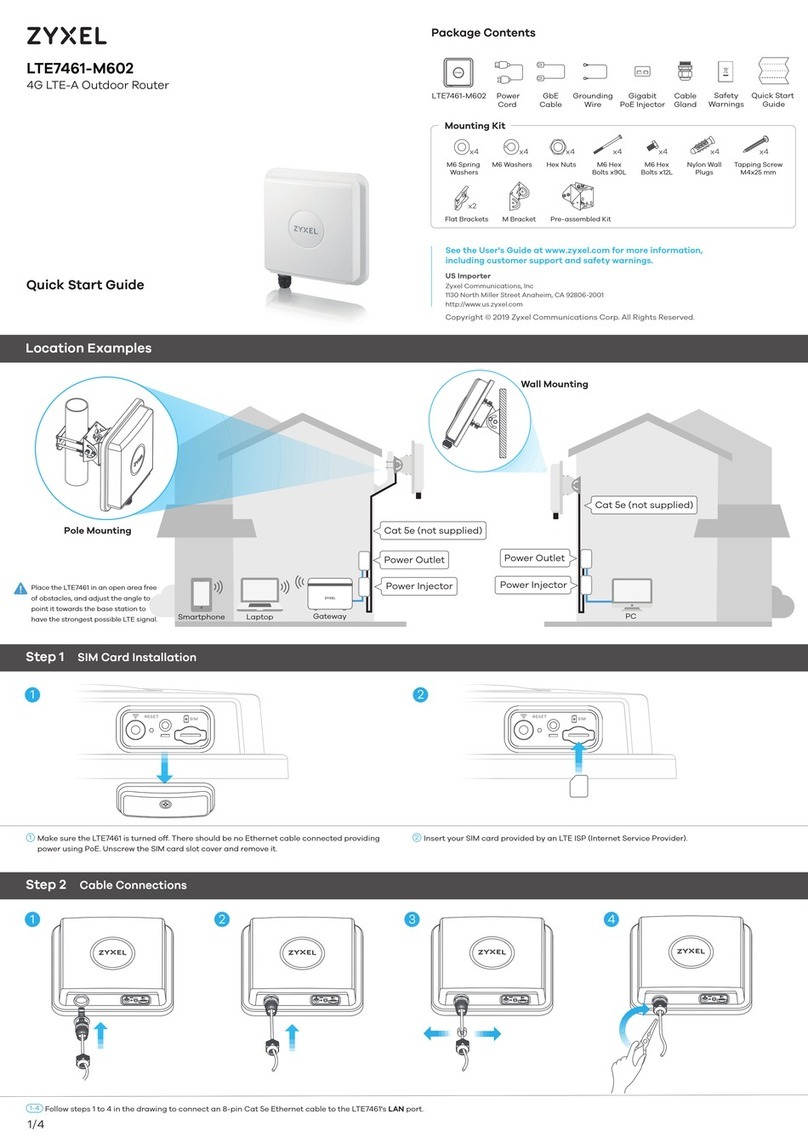
ZyXEL Communications NXC5500 quick start guide

ZyXEL Communications

ZyXEL Communications NXC5500 quick start guide

Intellinet 560931 user manual

Intellinet

Intellinet 560931 user manual

Danfoss ECL Comfort C25 user guide

Danfoss

Danfoss ECL Comfort C25 user guide

TP-Link TD-W8961ND Specifications

TP-Link

TP-Link TD-W8961ND Specifications

Cisco 2811 - Voice Security Bundle Router Guide

Cisco

Cisco 2811 - Voice Security Bundle Router Guide

PROLiNK Hurricane 9300P user manual

PROLiNK

PROLiNK Hurricane 9300P user manual

TP-Link TL-WR841N Quick installation guide

TP-Link

TP-Link TL-WR841N Quick installation guide

TP-Link DECO X68 user guide

TP-Link

TP-Link DECO X68 user guide

D-Link DSL-245GE user manual

D-Link

D-Link DSL-245GE user manual

manuals.online logo
manuals.online logoBrands
  • About & Mission
  • Contact us
  • Privacy Policy
  • Terms and Conditions

Copyright 2025 Manuals.Online. All Rights Reserved.