Eneo AK-20 User manual

EN
DE
Learn more about eneo IN series
on our YouTube channel.
Quick Installation Guide
AK-20
Accessory part
for eneo products

2

3
EN
TABLE OF CONTENT
SAFETY INSTRUCTIONS �������������������������������������������������������������������������������������������������������� 4
General������������������������������������������������������������������������������������������������������������������������������������������������������������������������������������������4
PRIOR TO USE �������������������������������������������������������������������������������������������������������������������������7
Dimensions (in mm) & Specications��������������������������������������������������������������������������������������������������������������������������������7
Parts supplied�����������������������������������������������������������������������������������������������������������������������������������������������������������������������������7
INSTALLATION������������������������������������������������������������������������������������������������������������������������ 8
Wall Mounting����������������������������������������������������������������������������������������������������������������������������������������������������������������������������8
Ceiling Mounting ����������������������������������������������������������������������������������������������������������������������������������������������������������������������9
Pillar Mounting���������������������������������������������������������������������������������������������������������������������������������������������������������������������������9
INSTALLATION WITH BIG BRACKET �����������������������������������������������������������������������������������10
Wall & Pillar Mounting���������������������������������������������������������������������������������������������������������������������������������������������������������� 10
Ceiling Mounting ������������������������������������������������������������������������������������������������������������������������������������������������������������������� 11
Mounting Holes���������������������������������������������������������������������������������������������������������������������������������������������������������������������� 11

4
SAFETY INSTRUCTIONS
General
• Before switching on and operating the system, rst read this safety advice and the operating instructions�
• Keep the operating instructions in a safe place for later use�
• Installation, commissioning and maintenance of the system may only be carried out by authorised individu-
als and in accordance with the installation instructions - ensuring that all applicable standards and guidelines
are followed�
• Protect the devices from water penetration and humidity, since these can cause lasting damage�
• Should moisture nevertheless enter the system, under no circumstance switch on the devices under these
conditions, instead send them for examination to an authorised specialist workshop�
• The system must never be used outside of the technical specications, since this can destroy it�
• The device must be protected from excesses of heat, dust, humidity and vibration�
• When separating the system from the voltage supply, only ever use the plug to pull out the cable� Never pull
directly on the cable itself�
• Lay the connecting cables carefully and check that they are not mechanically stressed, kinked or damaged
and that no humidity can penetrate into them�
• In the event of a malfunction, please inform your supplier�
• Maintenance and repairs may only be carried out by authorised specialist personnel�
• The system must be isolated from the power supply before opening the housing�
• The device may only be opened by qualied service personnel� Unauthorised access invalidates any warranty
claim�
• Connection cables should always be exchanged through Videor E� Hartig GmbH�
• Use only original spare parts and accessories from Videor E� Hartig GmbH�
• The housing should only be cleaned using a mild domestic cleaning agent� Never use solvents or petrol as
these can permanently damage the surface�
• During installation, it is essential to ensure that the seals provided are correctly installed and that they are not
displaced during installation� Damaged seals must not be installed and will invalidate any warranty�
• The installer is responsible for the maintenance of the enclosure as per the technical data, e�g� by sealing the
cable outlets with silicone�
• Wire end ferrules should be used when shortening the exible connection cables�
• The devices may only be operated in the temperature range indicated in the data sheet and within the
dened air humidity range�
5
EN

6
WEEE (Waste Electronical & Electronic Equipment)
Correct Disposal of This Product (Applicable in the European Union and other European countries with separate
collection systems)�
This marking shown on the product or its literature, indicates that it should not be disposed with
other household wastes at the end of its working life� To prevent possible harm to the environment
or human health from uncontrolled waste disposal, please separate this from other types of wastes
and recycle it responsibly to promote the sustainable reuse of material resources� Household users
should contact either the retailer where they purchased this product, or their local government oce,
for details of where and how they can take this item for environmentally safe recycling� Business users
should contact their supplier and check the terms and conditions of the purchase contract� This prod-
uct should not be mixed with other commercial wastes for disposal�
Graphical Symbols
Please pay attention to the safety instructions, and carefully read through this instruction guide before initial operation�
Important points of warning are marked with a caution symbol�
Important points of advice are marked with a notice symbol�

7
EN
PRIOR TO USE
• Install the mount onto a strong structure such as concrete wall
• Use the supplied accessories when installing the mount bracket depends on mounting
position
Dimensions (in mm) & Specications
Construction:
Plastic Cast (PC + 10% Glass Fabric)
Dimensions(mm):
149,00 x 140,50 x 66,90
Weight:
447,00 g (0�99 lb)
Parts supplied
Junction Box
Waterproof Stopper
Installation Template
Screw Post
Screws
QIG
Expansion Bolts

8
INSTALLATION
Wall Mounting
1� Attach the mounting template to the installation position and drill into the wall�
2� Hammer the 4 expansion screws into the drilled wall holes�
3� Feed the power and BNC cables through the box�
4� Secure the box to the wall with the four screws�
5� Put the stopper through the camera cable and connect the power and BNC
cables to the camera cables�
6� Tighten the screws of the camera to x it in the box�
7� Adjust the angle of view of the camera�
8� Insert the housing ring and plugs into the mounting box to waterproof it�
9� Put the dome cover on the dome unit and tighten the screws�

9
EN
Ceiling Mounting
1� Attach the mounting template to the installation position and drill into the ceiling�
2� Then mount the box on the ceiling by following the steps 2-9 for wall mounting�
Pillar Mounting
1� Install Pillar bracket on a pillar�
2� Then mount the box on the pillar mount by following steps 3-9 for wall mounting�
Note:
• The above steps refer to installation with a small bracket�
• The connection box can also be combined with the INB-7xx cameras with a large bracket and
mounted on pillars, ceilings and walls�
• For mounting with the large bracket, a scew post included in the contents of delivery must be
installed, please refer to the following instructions for details�

10
Wall & Pillar Mounting
add screw post
INSTALLATION WITH BIG BRACKET

11
EN
Ceiling Mounting
Mounting Holes
add screw post
1:
not needed
2:
Use these holes for mounting the Mounting the
INB-5xx / INB-6xx Bullet Camera
Base diameter: Ø 84,00 mm
3:
Use these holes for mounting the Mounting the
INB-7xx Bullet Camera
Base diameter: Ø 108 mm
1
1
2
2
2
3
33
1

12

13
DE
INHALTSVERZEICHNIS
SICHERHEITSHINWEISE�������������������������������������������������������������������������������������������������������14
Allgemein���������������������������������������������������������������������������������������������������������������������������������������������������������������������������������� 14
Produktspezisch������������������������������������������������������������������������������������������������������������������������������������������������������������������� 15
VOR DEM GEBRAUCH ����������������������������������������������������������������������������������������������������������17
Abmessungen (in mm) & Spezikationen��������������������������������������������������������������������������������������������������������������������� 17
Lieferumfang ��������������������������������������������������������������������������������������������������������������������������������������������������������������������������� 17
INSTALLATION����������������������������������������������������������������������������������������������������������������������18
Wandmontage ������������������������������������������������������������������������������������������������������������������������������������������������������������������������ 18
Deckenmontage��������������������������������������������������������������������������������������������������������������������������������������������������������������������� 19
Mastmontage �������������������������������������������������������������������������������������������������������������������������������������������������������������������������� 19
INSTALLATION MIT GROSSER HALTERUNG ����������������������������������������������������������������������20
Wand- & Mastmontage�������������������������������������������������������������������������������������������������������������������������������������������������������� 20
Deckenmontage��������������������������������������������������������������������������������������������������������������������������������������������������������������������� 21
Montagelöcher������������������������������������������������������������������������������������������������������������������������������������������������������������������������ 21

14
SICHERHEITSHINWEISE
Allgemein
• Bevor Sie das System anschließen und in Betrieb nehmen, lesen Sie zuerst diese Sicherheitshinweise und die
Betriebsanleitung�
• Bewahren Sie die Betriebsanleitung sorgfältig zur späteren Verwendung auf�
• Montage, Inbetriebnahme und Wartung des Systems darf nur durch dafür autorisierte Personen vorgenom-
men und entsprechend den Installationsanweisungen - unter Beachtung aller mitgeltenden Normen und
Richtlinien - durchgeführt werden�
• Die Geräte gegen Eindringen von Wasser und Feuchtigkeit schützen, dies kann zu dauerhaften Schäden
führen�
• Sollte dennoch Feuchtigkeit eingedrungen sein, die Geräte nie unter diesen Bedingungen einschalten, son-
dern zur Überprüfung an eine autorisierte Fachwerkstatt geben�
• Das System darf nie außerhalb der technischen Daten benutzt werden, da es zerstört werden kann�
• Das Gerät ist vor großer Hitze, Staub, Feuchtigkeit und Vibrationseinwirkung zu schützen�
• Um das System von der Versorgungsspannung zu trennen, ziehen Sie das Kabel nur am Stecker heraus�
Ziehen Sie nie direkt am Kabel�
• Verlegen Sie die Verbindungskabel sorgfältig und stellen Sie sicher, dass die Kabel nicht mechanisch
beansprucht, geknickt oder beschädigt werden und keine Feuchtigkeit eindringen kann�
• Falls Funktionsstörungen auftreten, benachrichtigen Sie bitte Ihren Lieferanten�
• Wartung und Reparaturen dürfen nur von autorisiertem Fachpersonal ausgeführt werden�
• Vor Önen des Gehäuses ist eine Netztrennung erforderlich�
• Das Gerät darf nur von qualiziertem Servicepersonal geönet werden� Fremdeingrie beenden jeden
Garantieanspruch�
• Anschlusskabel sollten immer nur durch VIDEOR E� Hartig GmbH ausgetauscht werden�
• Verwenden Sie nur Originalersatzteile und Original-Zubehör von VIDEOR E� Hartig GmbH�
• Zur Reinigung der Gehäuse immer nur ein mildes Haushaltsmittel verwenden� Niemals Verdünner oder Ben-
zin benutzen, dies kann die Oberäche dauerhaft schädigen�
• Bei der Montage muss grundsätzlich darauf geachtet werden, dass vorhandene Dichtungen ordnungsgemäß
eingesetzt und bei der Montage nicht verschoben werden� Beschädigte Dichtungen dürfen nicht mehr
verbaut werden und führen zum Erlöschen des Garantieanspruchs�
• Der Errichter ist für die Aufrechterhaltung der Schutzart laut technischer Daten verantwortlich, z�B� durch
Abdichtung des Kabelaustritts mit Silikon�
• Bei Kürzung von exiblen Anschlussleitung sind Aderendhülsen zu verwenden�
• Die Geräte dürfen nur in den im Datenblatt angegebenen Temperatur- und Luftfeuchtigkeitsbereichen
betrieben werden�

15
DE

16
WEEE-Richtlinie (Elektro- und Elektronik-Altgeräte)
Ordnungsgemäße Entsorgung dieses Produkts (Gilt für die Europäische Union und die anderen Europäischen Länder
mit getrennten Sammelsystemen)
Dieses am Produkt oder in seiner Dokumentation gezeigte Symbol bedeutet, dass es am Ende seiner
Lebensdauer nicht mit dem Hausmüll entsorgt werden darf� Um eventuelle Umwelt- oder Gesund-
heitsschäden durch unkontrollierte Abfallbeseitigung zu verhindern, dieses Gerät von anderen Ab-
fallarten trennen und ordnungsgemäß recyceln, um die nachhaltige Wiederverwendung materieller
Ressourcen zu fördern� Haushaltsanwender sollten entweder den Händler, bei dem sie dieses Produkt
gekauft haben, oder ihr örtliches Regierungsbüro kontaktieren, um Einzelheiten darüber zu erfahren,
wo und wie sie dieses Gerät umweltgerecht recyceln können� Geschäftliche Anwender sollten sich an
ihren Lieferanten wenden und die Bedingungen des Kaufvertrags überprüfen� Dieses Produkt darf zur
Entsorgung nicht mit anderen Unternehmensabfällen vermischt werden�
Grasche Symbole
Bitte beachten Sie die Sicherheitshinweise und lesen Sie diese Anleitung vor Inbetriebnahme sorgfältig durch�
Wichtige Warnhinweise sind mit einem Achtung-Symbol gekennzeichnet�
Wichtige Hinweise sind mit einem Hinweis-Symbol gekennzeichnet�

17
DE
VOR DEM GEBRAUCH
• Die Anschlussbox an einer tragfähigen Struktur wie z� B� einer Betonwand befestigen�
• Verwenden Sie bei der Montage der Halterung je nach Montageposition das mitgelief-
erte Zubehör�
Abmessungen (in mm) & Spezikationen
Ausführung:
Kunststoguss (KG + 10% Fiberglas)
Abmessungen(mm):
149,00 x 140,50 x 66,90
Gewicht:
447,00 g
Lieferumfang
Anschlusbox
Wasserdichte Stöpsel
Bohrschablone
Gehäusestift
Schrauben
Kurzanleitung (QIG)
Dübel

18
INSTALLATION
Wandmontage
1� Bringen Sie die Montageschablone an der Einbauposition an und bohren Sie in
die Wand�
2� Hämmern Sie die 4 Dübel in die gebohrten Wandlöcher�
3� Führen Sie die Strom- und BNC-Kabel durch die Box�
4� Befestigen Sie die Box mit den vier Schrauben an der Wand�
5� Stecken Sie den Stopper durch das Kamerakabel und verbinden Sie das Strom-
und BNC-Kabel mit den Kamerakabeln�
6� Ziehen Sie die Schrauben der Kamera an, um sie in der Box zu befestigen�
7� Stellen Sie den Blickwinkel der Kamera ein�
8� Setzen Sie den Gehäusering und die Stöpsel in das Montagegehäuse ein, um es
wasserdicht zu machen�
9� Setzen Sie die Kuppelabdeckung auf die Kuppeleinheit und ziehen Sie die
Schrauben fest�

19
DE
Deckenmontage
1� Bringen Sie die Montageschablone an der Einbauposition an und bohren Sie in
die Decke�
2� Montieren Sie dann die Box an der Decke indem Sie den Arbeitsschritten 2-9 für
die Wandmontage folgen�
Mastmontage
1� Installieren Sie die Masthalterung an einem Pfosten�
2� Montieren Sie dann die Box an der Masthalterung indem Sie den Arbeitsschritten
3-9 für die Wandmontage folgen�
Hinweis:
• Die oben genannten Schritte beziehen sich auf die Installation mit einer kleinen Halterung�
• Die Anschlussbox kann auch mit den INB-7xx Kameras mit einer großen Halterung kombiniert und
an Wänden, Decken und Masten montiert werden�
• Für die Montage mit der großen Halterung muss ein im Lieferumfang enthaltener Gehäusestift instal-
liert werden, bitte befolgen Sie die nachfolgende Anleitung�

20
Wand- & Mastmontage
Gehäusestift einsetzen
INSTALLATION MIT GROSSER HALTERUNG
Other manuals for AK-20
1
Table of contents
Languages:
Other Eneo Camera Accessories manuals

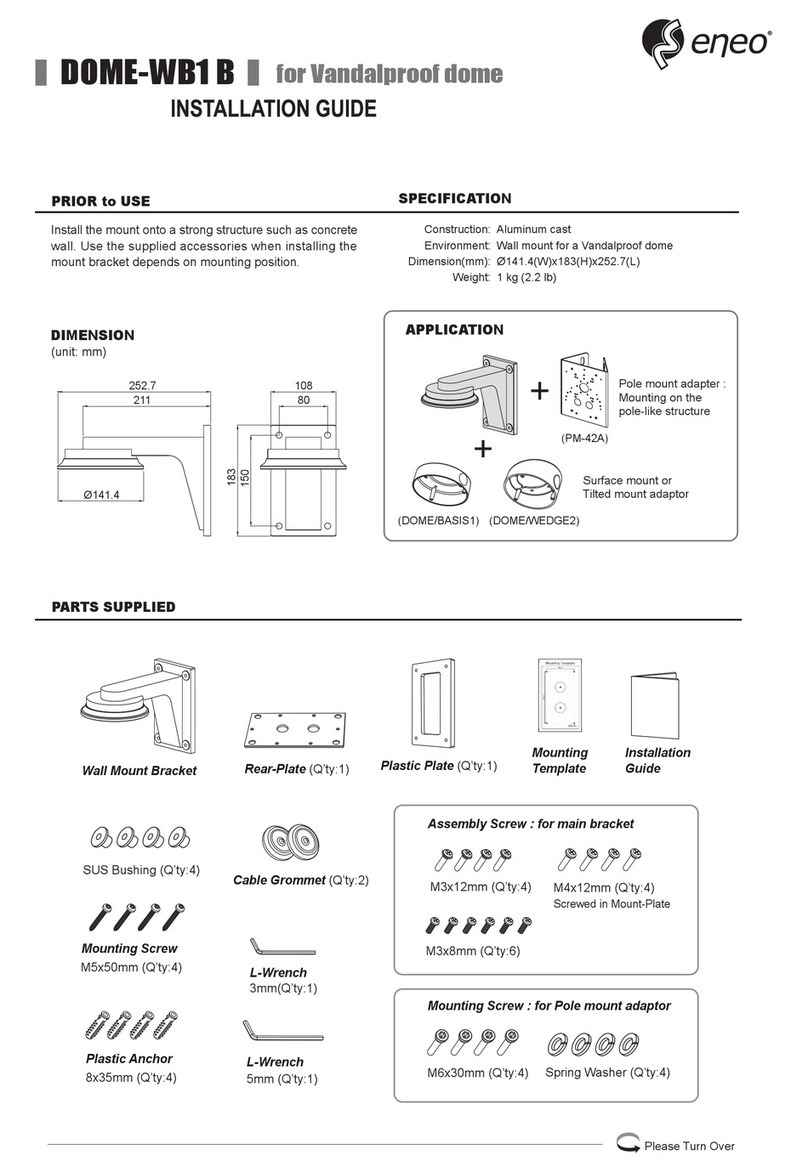
Eneo
Eneo VHM Series User manual

Eneo
Eneo 235526 User manual

Eneo
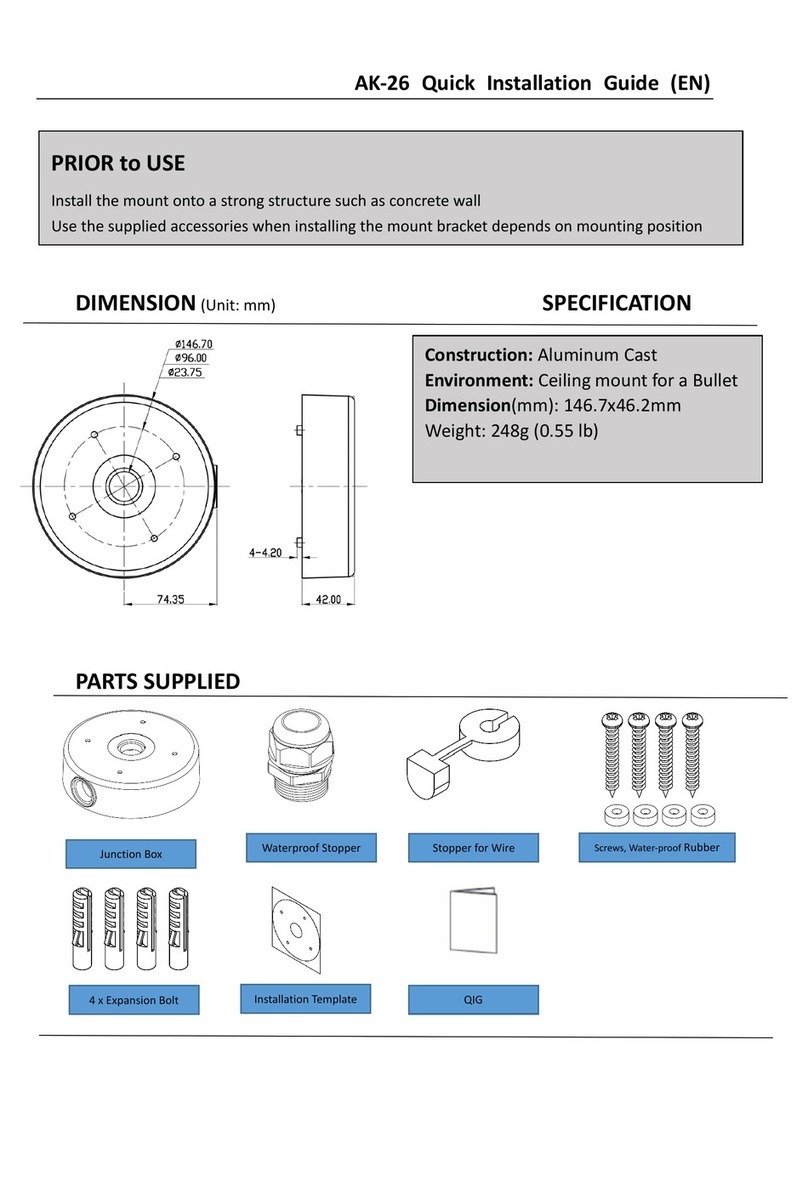
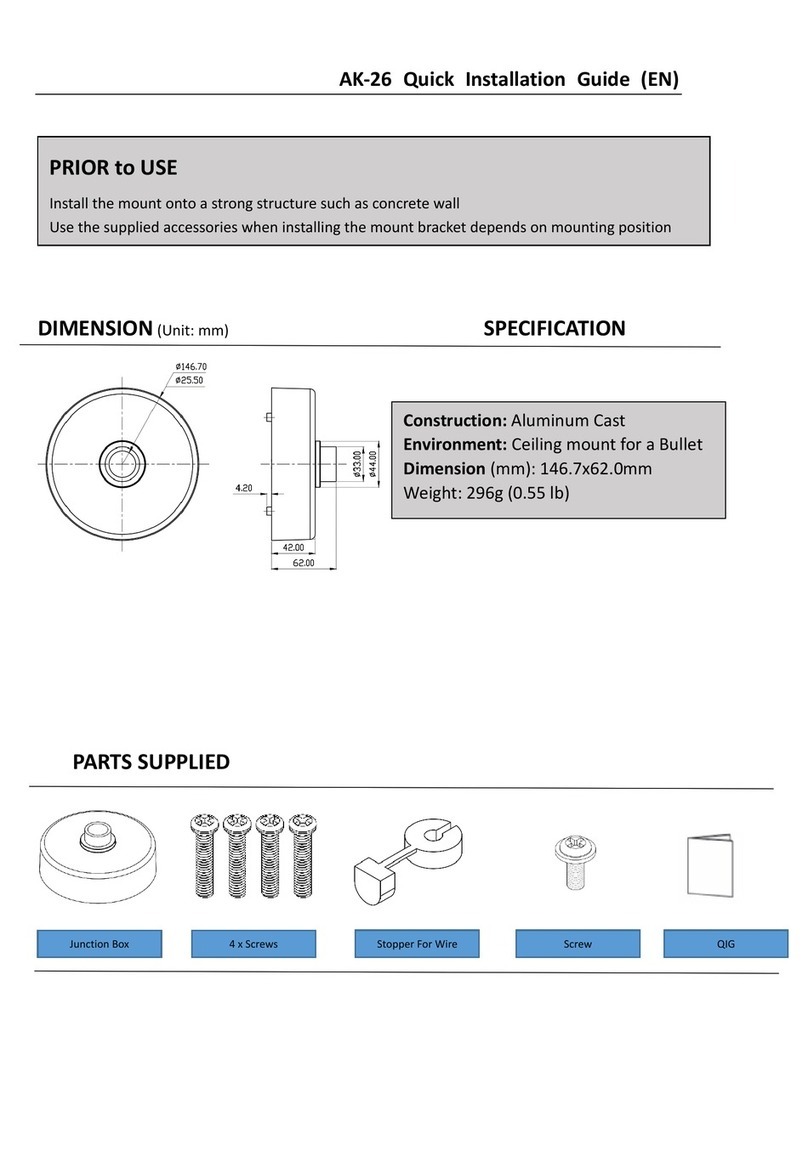
Eneo AK-26 User manual

Eneo
Eneo VHM/ECLKA-210-W User manual

Eneo
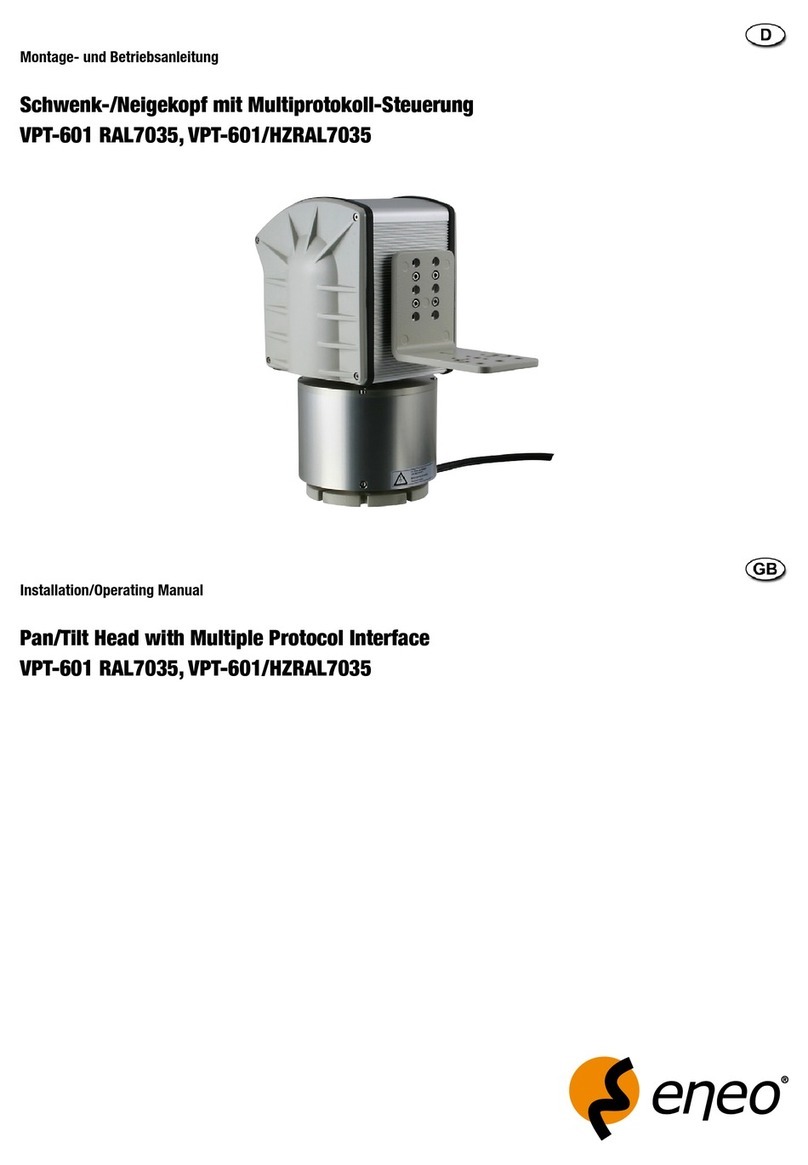
Eneo VPT-601/HZ B RAL7035 Installation instructions

Eneo
Eneo VTL-300/WW-POE User manual

Eneo
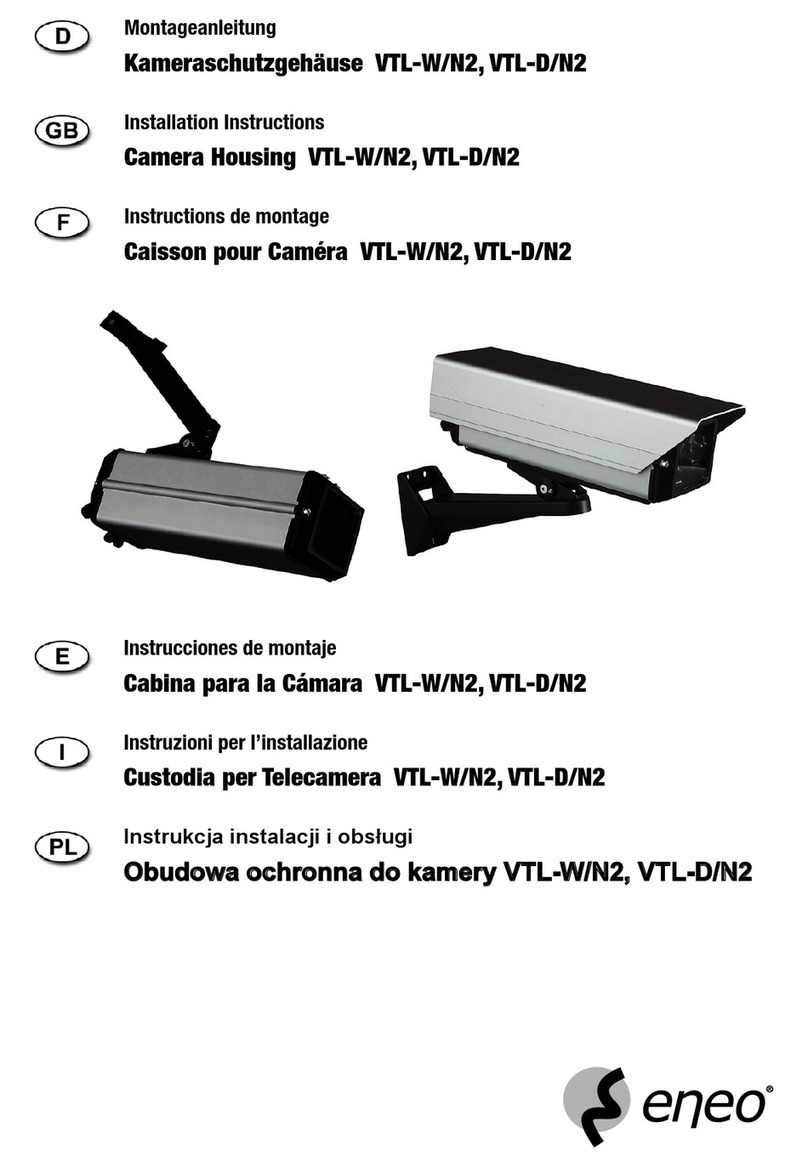
Eneo VTL-W/N2 User manual

Eneo
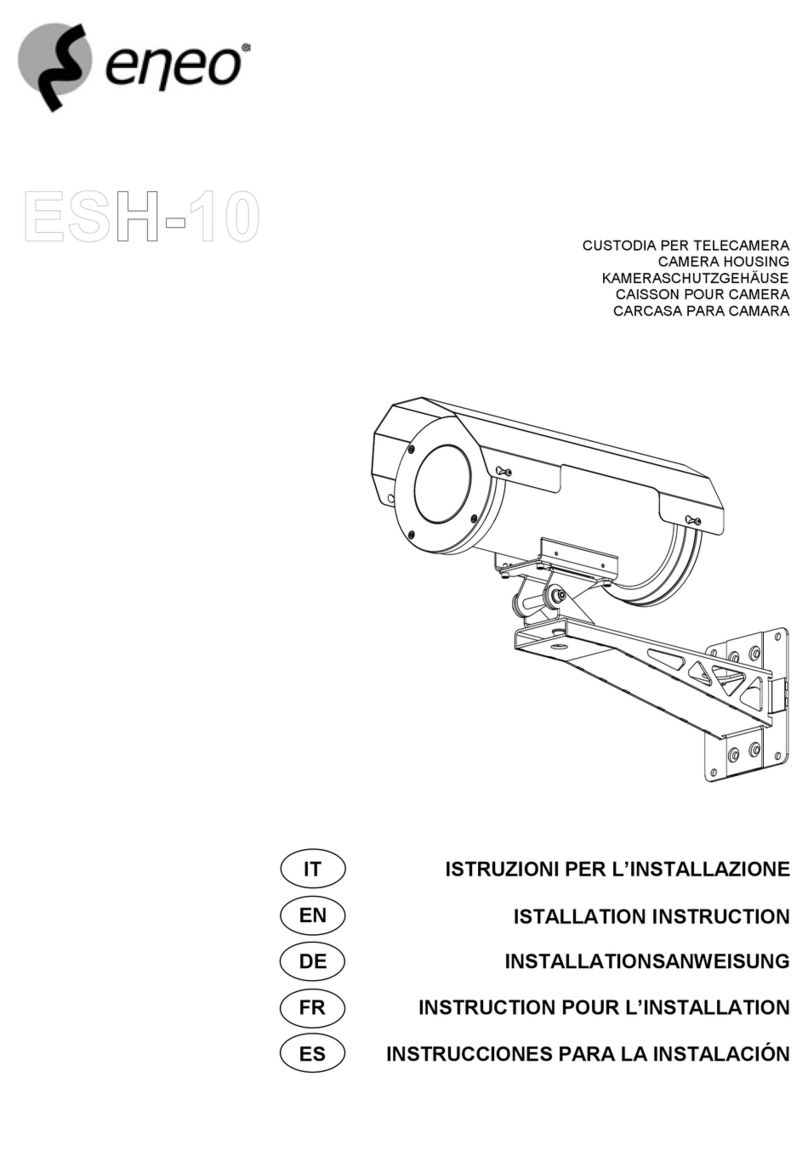
Eneo ESH-10 User manual

Eneo
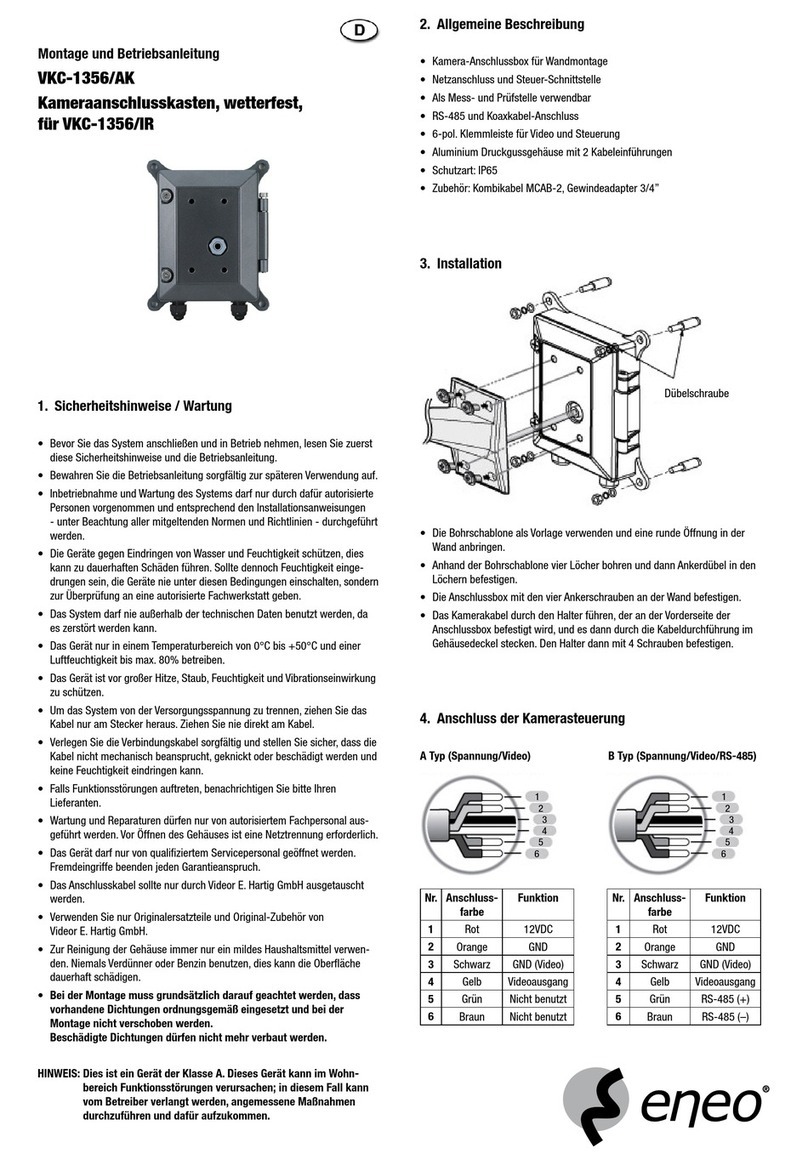
Eneo VKC-1356/AK User manual

Eneo
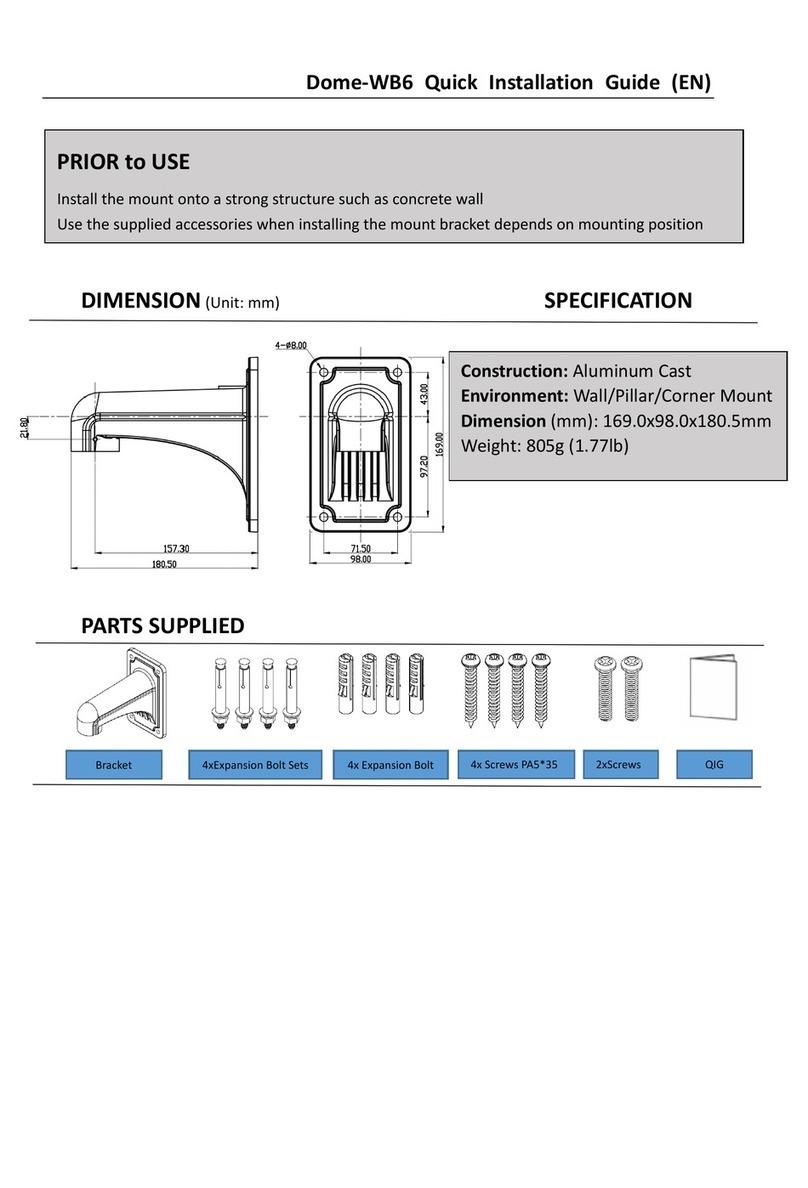
Eneo DOME-WB6 User manual
Popular Camera Accessories manuals by other brands

Nikon
Nikon EN-MH2-B2 Instructions for use

PROAIM
PROAIM Cinema Series Comet Assembly manual

Inkee
Inkee IRONBEE quick start guide

Vanderbilt
Vanderbilt CHSM2210-B installation guide

black forest motion
black forest motion 3D-Photogrammetry Bundle quick start guide

Cobra Digital
Cobra Digital DC5600 Specifications