manuals.online logo
Brands
  1. Home
  2. •
  3. Brands
  4. •
  5. EnerSys
  6. •
  7. Camera Accessories
  8. •
  9. EnerSys Genesis Pure Lead 13EP User manual

EnerSys Genesis Pure Lead 13EP User manual

Instruction Sheet
Visit us at www.enersys.com
®
Ensure the battery terminals, interconnect straps and cable lugs are clean and
free of corrosion. If the environment is corrosive, a light coating of NO-OX can be
applied to the battery terminals prior to installing the connectors to the terminals.
Install connectors to the battery with the specied torque:
Battery Model Terminal Torque
13EP and XE13 50 in-lbs (5.6 Nm)
16EP and XE16 50 in-lbs (5.6 Nm)
26EP and XE30 60 in-lbs (6.8 Nm)
42EP and XE40 60 in-lbs (6.8 Nm)
70EP, XE60 and XE70 60 in-lbs (6.8 Nm)
200EP 44 in-lbs (5.0 Nm)
4.Operation
4.1 Temperature
Avoid placing batteries in areas of high temperature or in direct sunlight. The
optimal temperature range for best performance and service life of the Genesis
battery is 68°F (20°C) to 77°F (25°C). These batteries can, however be used at
temperatures ranging from -40°F (-40°C) to 176°F (80°C) when fitted with a metal
jacket.
4.2 Ventilation
Under normal operating conditions the gas emission from the Genesis battery
is very low. Natural ventilation is adequete for cooling and to prevent buildup
of hydrogen gas. This is why the Genesis battery may be used safely in ofces,
hospitals and other human environments.
When installing batteries in cabinets or other enclosures, care must be taken to
ensure they are not sealed enclosures. UNDER NO CIRCUMSTANCES SHOULD
THESE BATTERIES BE CHARGED IN A SEALED ENCLOSURE/CONTAINER.
Handling
Genesis®Thin Plate Pure Lead (TPPL) batteries are
supplied in a charged condition and are capable of
extremely high short circuit currents. Take care to
avoid short-circuiting terminals of opposite polarity.
Important
Please read this manual immediately on receipt of the battery before unpacking and installing. Failure to comply with these instructions will render any
warranties null and void.
Care for your safety
2 www.enersys.com
Keep flames away
In case of accidental overcharge a ammable gas
can leak off the safety vent.
Discharge any possible static electricity from clothes
by touching an earth connected part.
Tools
Use tools with insulated handles.
Do not place or drop metal objects on the battery.
Remove rings, wristwatch and articles of clothing with metal
parts that may come into contact with the battery terminals.
No smoking,
no naked ames,
no sparks
Shield
eyes
Read
instructions
Electrical
hazard Danger
Recycle scrap
batteries.
Contains lead
Electrolyte is
corrosive
Clean all acid splash in eyes or on skin
with plenty of clean water. Then seek
medical help. Acid on clothing is to be
washed with water
Warning: Risk of re, explosion, or burns. Do not
disassemble, heat above 60°C (140°F), or incinerate.
Avoid any short circuit. Metallic parts under voltage on the
battery, do not place tools or items on top of the battery
1. Receiving
Upon the receipt of the shipment, check the contents for damage and
against the packing slip. Immediately inform EnerSys®of any damaged
or missing items. EnerSys is not responsible for shipment damage or
shortages that the receiver does not report to the carrier.
2. Storage
2.1. Storage Conditions and Time
If a battery cannot be immediately installed it should be stored in a clean,
cool and dry area. During storage monoblocs lose capacity through self-
discharge. High temperatures increase the rate of self-discharge and reduce
the storage life.
Although these batteries are shipped fully charged and may be stored for
up to two years at 77°F (25°C) periodic checks of their open circuit voltages
are recommended. The warmer the storage environment, the more frequent
the voltage check should be performed. The batteries must be given a
freshening charge once every two years or when OCV drops to 12.00V,
whichever occurs earlier. Failure to observe these conditions may result in
greatly reduced capacity and service life. FAILURE TO CHARGE AS NOTED
VOIDS THE BATTERY WARRANTY.
2.2 Freshening Charge
The freshening charge should be for 96 hours at 13.62V at 77°F (25°C) or
until the charge current does not vary over a three hour period. Alternatively,
the freshening charge can be set at 14.4V for 16 to 24 hours or until the
charge current does not vary over a three hour period.
3. Installation
Install the batteries in accordance with the instructions and/or layout
drawing, take care to ensure correct terminal location and polarity. On each
bloc, the positive and negative terminals are identied with “+” and “-”
symbols. Do not handle the batteries by the terminals as this can damage
the terminal seals.
California Proposition 65 Warning - Battery posts, terminals, and related accessories contain lead and lead compounds, chemicals known to the State of California to
cause cancer and reproductive harm. Wash hands after handling.
DANGER
Contains: Lead, Sulfuric Acid (Electrolyte), Lead Compounds.
Harmful if swallowed, inhaled, or in contact with skin. Acid causes severe skin burns
and eye damage. May damage fertility or the unborn child if ingested or inhaled.
May cause harm to breast-fed children. May cause cancer if ingested or inhaled.
Causes skin irritation, serious eye damage. Contact with internal components may
cause irritation or severe burns. Causes damage to central nervous system, blood
and kidneys through prolonged or repeated exposure if ingested or inhaled. Irritating
to eyes, respiratory system, and skin. May form explosive air/gas mixture during
charging. Extremely ammable gas (hydrogen). Explosive, re, blast or projection
hazard.
Obtain special instructions before use. Do not handle until all safety precautions
have been read and understood. Wash thoroughly after handling. Do not eat drink
or smoke when using this product. Avoid contact during pregnancy/while nursing.
Wear protective gloves/protective clothing, eye protection/face protection. Use
only outdoors or in a well-ventilated area. Avoid contact with internal acid. Do not
breathe dust/fume/gas/mist/vapors/spray. Keep away from heat/sparks/open ames/
hot surfaces. No smoking. IF SWALLOWED OR CONSUMED: rinse mouth. Do NOT
induce vomiting. Call a poison center/doctor if you feel unwell. IF ON CLOTHING OR
SKIN (or hair): Remove/Take off immediately all contaminated clothing and wash it
before reuse. Rinse skin with water/shower. IF INHALED: Remove person to fresh air
and keep comfortable for breathing. Immediately call a POISON CENTER or doctor/
physician. IF IN EYES: Rinse cautiously with water for several minutes. Remove
contact lenses, if present and easy to do. Continue rinsing. If exposed/concerned, or
if you feel unwell seek medical attention/advice. Store locked up, in a well-ventilated
area, in accordance with local and national regulation. Dispose of contents/container
in accordance with local and national regulation. Keep out of reach of children.
BCI Warning
Publication No. US-GPL-IS-AA June 2017 3
4.3 Discharge
It is strongly recommended that a low voltage cut-off be included in the
battery load circuit to protect the battery from over-discharges. The setting
for End of Discharge Voltage (EODV) is dependent on the rate of discharge,
as shown in the table below. For optimum battery life, we recommend that
the battery be disconnected from the load when the appropriate voltage is
reached and put back on charge as soon as possible after discharge.
Discharge rate in amps Suggested minimum EODV
0.05C10 (C10/20) 10.50V
0.10C10 (C10/10) 10.20V
0.20C10 (C10/5) 10.02V
0.40C10 (C10/2.5) 9.90V
1C10 9.60V
2C10 9.30V
>5C10 9.00V
4.4 Charging
In a oat or standby application the Constant Voltage (CV) charger should
be set at 13.5V to 13.8V at 77°F (25°C). For a cyclic application, the charge
voltage should be set between 14.4V and 15V at 77°F (25°C). In both cases,
the linearized temperature compensation factor is ±24mV per battery per °C
variation from 77°F (25°C). The higher the temperature the lower the charge
voltage should be and vice versa.
The graph below shows the temperature compensation factor for float and
cyclic applications. Equations representing the compensation curves are also
shown in this figure. Note that for both types of applications there is no limit
on the inrush current. We recommend the highest practical and economical
current.
For other possible techniques, refer to the Genesis®Battery Application
Manual.
4.5 State of Charge
The graph below shows the Open Circuit Voltage (OCV) and corresponding
State of Charge (SOC) for a Genesis battery. An OCV of 12.84V or more
indicates a battery at 100% SOC. The gure is accurate to within 20% of the
true SOC of the battery if the battery has not been charged OR discharged in
the 24 hours preceding the voltage measurement. The accuracy improves to
5% if the period of inactivity before the voltage measurement is ve days.
Although efforts should be made to ensure that batteries are stored in
temperature-controlled environments, a freshening charge should be applied
once every twenty-four (24) months or when the OCV reading drops to 12V,
whichever comes rst. As shown in the graph, 12V corresponds to a 35% SOC.
The battery may be permanently damaged if the OCV is allowed to drop below
11.90V.
4.6 Recovering Over-Discharged Batteries
There may be instances when a Genesis battery is over-discharged to the point
where a standard charger is unable to fully recharge the battery. In such cases,
the following procedure may help recover the affected battery:
1. Bring the battery to room temperature (77°F (25°C)).
2. Measure the OCV. Continue to Step 3 if it is at least 12V; otherwise terminate
the procedure and reject the battery.
3. Charge the battery using a 0.05C10 constant current for 24 hours. The charger
should be capable of providing a driving voltage as high as 36V. Monitor the
battery temperature; discontinue charging if the battery temperature rises by
more than 36°F (20°C).
4. Allow the charged battery to stand on open circuit for a minimum of one hour
before proceeding to Step 5.
5. Perform a capacity test on the battery and record the amp-hours delivered.The
longer the discharge the more reliable the result. This is Cycle 1.
6. Repeat Steps 3 to 5.The capacity returned in Step 5 is now Cycle 2. If Cycle 2
capacity is greater than Cycle 1 capacity proceed to step 7; otherwise reject the
battery.
7. Repeat Steps 3 to 5 to get Cycle 3 capacity. Proceed to step 8 if Cycle 3 capacity
is equal to or more than Cycle 2 capacity. Reject the battery if Cycle 3 capacity is
less than Cycle 2 capacity.
8. If Cycle 3 capacity equals or exceeds Cycle 2 capacity, recharge the battery and
put it back in service.
Deep discharge will produce a premature deterioration of the battery and a
noticeable reduction in the life expectancy of the battery.
5. Maintenance
In practice the user usually species the maintenance schedule based on site
criticality, location and manpower. The following is the recommended minimum
maintenance schedule:
Every Six Months (Record All Readings)
Measure, at the battery terminals, the string voltage. If necessary adjust the charger
oat voltage to the correct value.
Measure individual bloc voltages. The blocs should be within 5% of the average. All
readings should be recorded in a format where sudden deviations and trends are
easily identiable.
Inspect for loose or corroded connectors, acid leaks and dust. If necessary isolate
the string/blocs and clean with a soft damp cloth. Do not use solvents or scouring
powders to clean the blocs. Contact EnerSys®if you have any questions regarding
maintenance.
6. Disposal
Genesis TPPL batteries are recyclable. Scrap batteries must be packaged and
transported in accordance with prevailing transportation rules and regulations.
Scrap batteries must be disposed of in compliance with local and national laws by a
licensed or certied lead acid battery recycler.
7. Shipping
Approved as non-hazardous cargo for ground, sea and air transportation in
accordance with US DOT Regulation CFR and ICAO and IATA Packing Instruction
806. Please see our SDS for complete details at: www.enersys.com.
Temperature F
Charge voltage, Vpc
2.90
2.80
2.70
2.60
2.50
2.40
2.30
2.20
2.10
-40 -22 -4 14 32 50 68 86 104 122 140 158 176
Theoretical cycling (ideal)
V = 0.00004T2- 0.006T + 2.5745
Theoretical float (ideal)
V = 0.00004T2- 0.006T + 2.3945
and 2.20VPC minium
State of Charge (SOC), %
Open circuit voltage (OCV),
V
10 20 30 40 50 60 70 80 90 100
13.0
12.8
12.6
12.4
12.2
12.0
11.8
11.6
12.84V or higher indicates 100% SOC
®
EnerSys World Headquarters
2366 Bernville Road
Reading, PA 19605, USA
Tel: +1-610-208-1991 /
+1-800-538-3627
EnerSys EMEA
EH Europe GmbH
Baarerstrasse 18
6300 Zug
Switzerland
EnerSys Asia
152 Beach Road
Gateway East Building #11-03,
Singapore 189721
Tel: +65 6508 1780
© 2017 EnerSys. All rights reserved. Trademarks and logos are the property of EnerSys and its affiliates unless otherwise noted. Subject to revisions without prior notice. E.&O.E.
Publication No. US-GPL-IS-AA - June 2017

This manual suits for next models

11

Other EnerSys Camera Accessories manuals

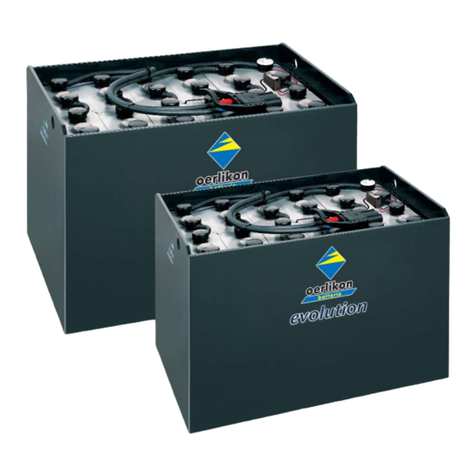
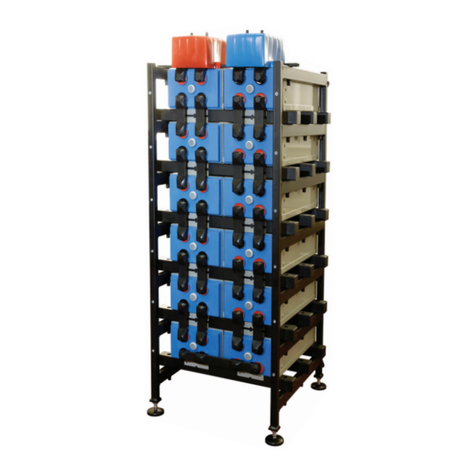
EnerSys Oerlikon Water Less User manual

EnerSys

EnerSys Oerlikon Water Less User manual

EnerSys Oerlikon Evolution User manual

EnerSys

EnerSys Oerlikon Evolution User manual

EnerSys PowerSafe DDm Instruction manual

EnerSys

EnerSys PowerSafe DDm Instruction manual

EnerSys BA27-01 User manual

EnerSys

EnerSys BA27-01 User manual

EnerSys PowerSafe User manual

EnerSys

EnerSys PowerSafe User manual

EnerSys DataSafe HX+ User manual

EnerSys

EnerSys DataSafe HX+ User manual

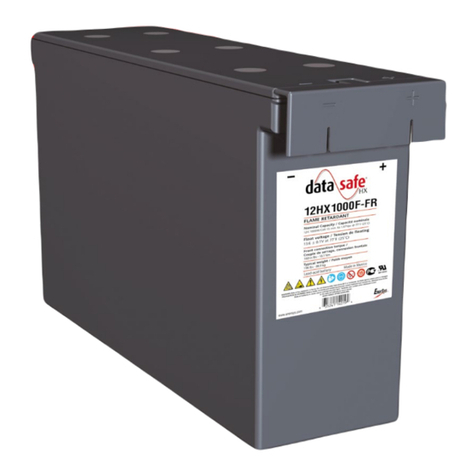
EnerSys DataSafe 12HX1000F-FR Manual

EnerSys

EnerSys DataSafe 12HX1000F-FR Manual

EnerSys Oerlikon Perfect Plus User manual

EnerSys

EnerSys Oerlikon Perfect Plus User manual

EnerSys DataSafe XE Series User manual

EnerSys

EnerSys DataSafe XE Series User manual

EnerSys PowerSafe SBS XC Series User manual

EnerSys

EnerSys PowerSafe SBS XC Series User manual

EnerSys PowerSafe mP Series Setup guide

EnerSys

EnerSys PowerSafe mP Series Setup guide

EnerSys PowerSafe SBS XC+ User manual

EnerSys

EnerSys PowerSafe SBS XC+ User manual

EnerSys NexSys CORE Series Troubleshooting guide

EnerSys

EnerSys NexSys CORE Series Troubleshooting guide

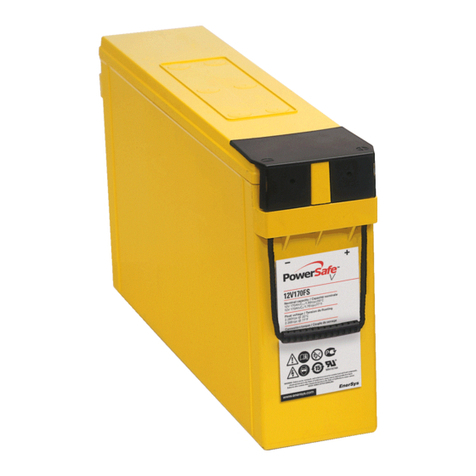
EnerSys PowerSafe RL Series User manual

EnerSys

EnerSys PowerSafe RL Series User manual

EnerSys PowerSafe OPzV Series User manual

EnerSys

EnerSys PowerSafe OPzV Series User manual

EnerSys PowerSafe VM Series User manual

EnerSys

EnerSys PowerSafe VM Series User manual

EnerSys DataSafe HX General instructions

EnerSys

EnerSys DataSafe HX General instructions

EnerSys 7624308001-003 User manual

EnerSys

EnerSys 7624308001-003 User manual

EnerSys PowerSafe OPzS User manual

EnerSys

EnerSys PowerSafe OPzS User manual

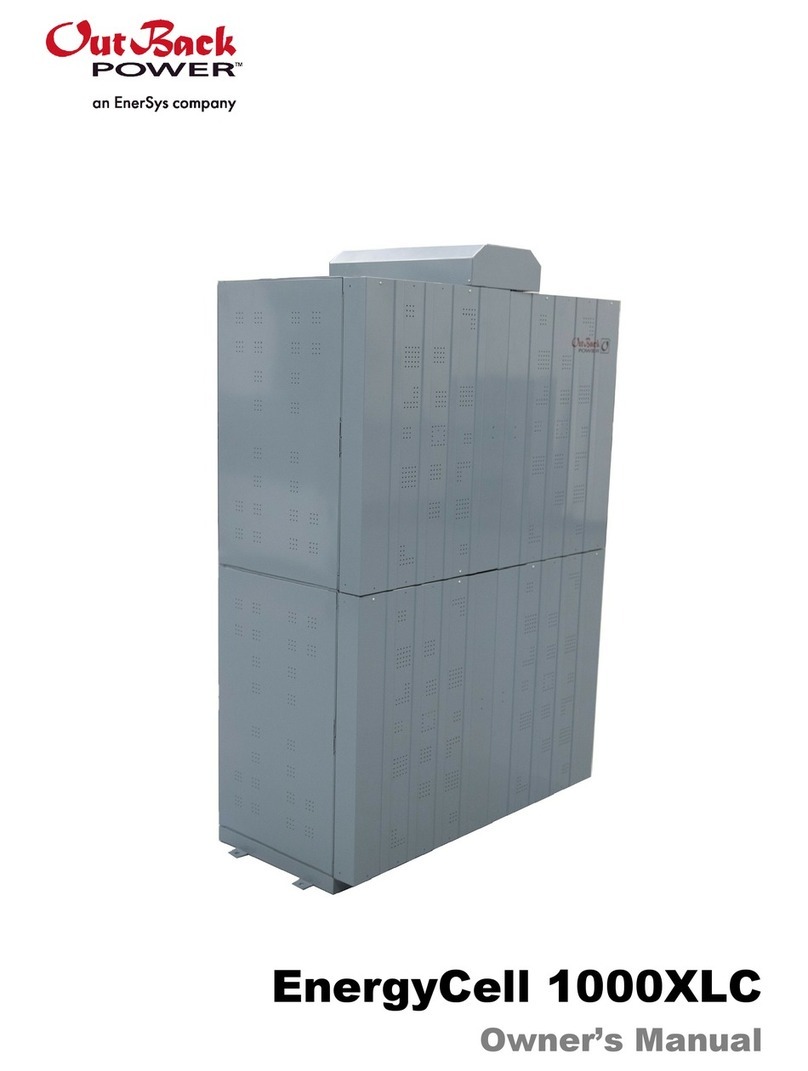
EnerSys Outback Power EnergyCell 1000XLC User manual

EnerSys

EnerSys Outback Power EnergyCell 1000XLC User manual

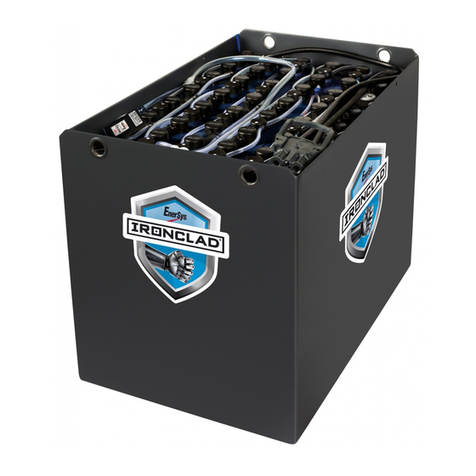
EnerSys IRONCLAD User manual

EnerSys

EnerSys IRONCLAD User manual

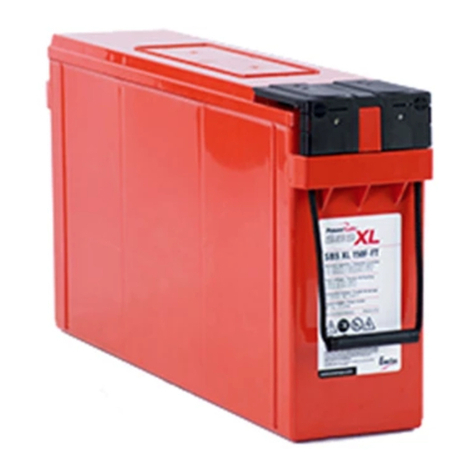
EnerSys PowerSafe SBS XL User manual

EnerSys

EnerSys PowerSafe SBS XL User manual

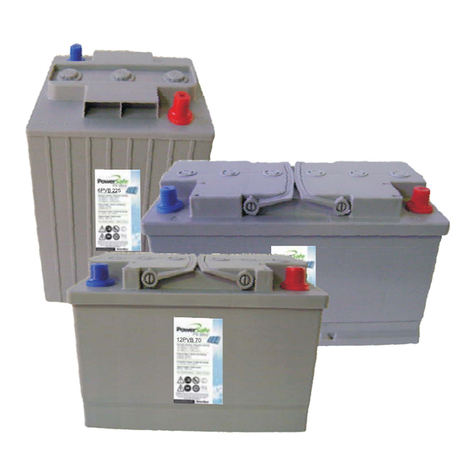
EnerSys PowerSafe PV Bloc User manual

EnerSys

EnerSys PowerSafe PV Bloc User manual

EnerSys Nexsys 12NXS26 Troubleshooting guide

EnerSys

EnerSys Nexsys 12NXS26 Troubleshooting guide

Popular Camera Accessories manuals by other brands

Easypix GoXtreme GS1 user manual

Easypix

Easypix GoXtreme GS1 user manual

Amazon B019NY2PKG Welcome guide

Amazon

Amazon B019NY2PKG Welcome guide

FeiYu Tech AK2000C Instruction

FeiYu Tech

FeiYu Tech AK2000C Instruction

Cine Gears Espresso Quick Instruction

Cine Gears

Cine Gears Espresso Quick Instruction

Vortex MOUNTAIN PASS product manual

Vortex

Vortex MOUNTAIN PASS product manual

Ikelite DSC-H3 instruction manual

Ikelite

Ikelite DSC-H3 instruction manual

Sanyo UF553443F Specifications

Sanyo

Sanyo UF553443F Specifications

Ikelite 6146.02 instruction manual

Ikelite

Ikelite 6146.02 instruction manual

DeWalt DW0881 instruction manual

DeWalt

DeWalt DW0881 instruction manual

MRMC MRMC-1488-00 quick start guide

MRMC

MRMC MRMC-1488-00 quick start guide

Maxey Moverley Vista PowerDome Quick reference guide

Maxey Moverley

Maxey Moverley Vista PowerDome Quick reference guide

Glide Gear F2F 25 user manual

Glide Gear

Glide Gear F2F 25 user manual

Ikelite 6245.07 user manual

Ikelite

Ikelite 6245.07 user manual

Moza iFocus user manual

Moza

Moza iFocus user manual

Photoflex LiteDome XT-20XTXS instruction manual

Photoflex

Photoflex LiteDome XT-20XTXS instruction manual

LIONTRON LX48-50 product manual

LIONTRON

LIONTRON LX48-50 product manual

DZOFILM KOOP Series user manual

DZOFILM

DZOFILM KOOP Series user manual

Juicebox JBDP-01 manual

Juicebox

Juicebox JBDP-01 manual

manuals.online logo
manuals.online logoBrands
  • About & Mission
  • Contact us
  • Privacy Policy
  • Terms and Conditions

Copyright 2025 Manuals.Online. All Rights Reserved.