EnGenius ERB9250 User manual
EnGenius ERB9250 300M Range Extender
Quick Start Guide

Package Contents
One ERB9250 300M Range Extender
One 12V/1A power adapter
Two 2dBi 2.4G z SMA antennas
One Ethernet cable
One CD-ROM with user’s manual
This Quick Start Guide
Hardware verview
LAN LED
WPS Button
Power LED
WLAN LED

Using the Smart Wizard to Configure Your Range Extender
Getting Started
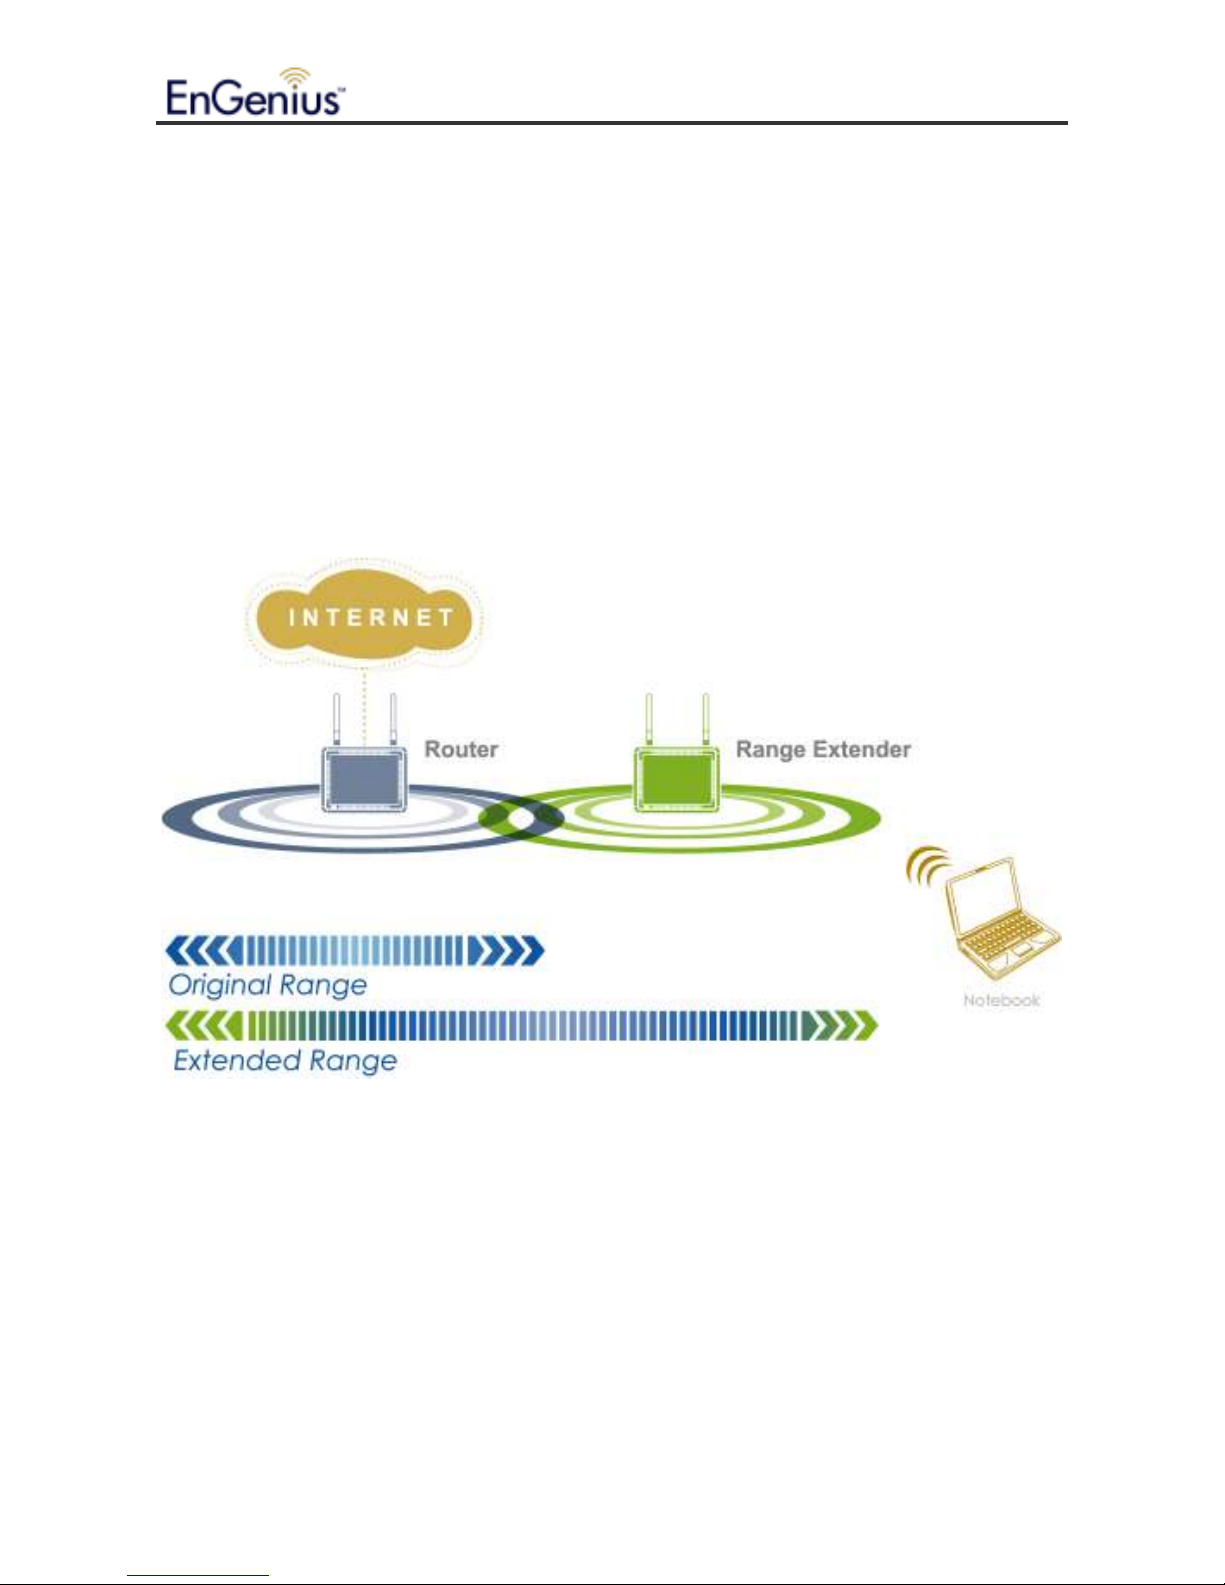
1. We suggest you place your Range Extender next to your router for the initial setup. After
configuring the ERB92650 Range Extender with your router successfully, you can
remove the Ethernet cable and move ERB9250 to the place where strong signal (at least
3 bars) is still available and in clear line of sight with your router (as less barriers as
possible). Please see “Placing Your Range Extender in an Optimum Location,” for how to
find an optimal location for ERB9250 Range Extender to broadcast router’s signal to
extend wireless connection.
2. If you will set up the ERB9250 using manual configuration, assign a static IP address to
your PC using your PC’s Local Area Connection. The ERB9250 does not support D CP
for automatic IP address assignments.
3. The ERB9250’s default IP address is 192.168.1.2. Confirm that your router’s IP address
is in the same subnet as the ERB9250 (first three octets should be 192.168.1. x ). If your
router’s IP address is not 192.168.1.x, your router and ERB9250 are on different subnets
and you must change the IP address of one of these devices so they are on the same
subnet. Please see “Troubleshooting” to find out how to find your router’s IP address.
To use the ERB9250 with an EnGenius ESR9752, ESR9753, or ESR9850 Router whose
default IP is 192.168.0.1, either:
– Change the router’s IP address to 192.168.1.x to match the ERB9250’s IP address
OR
– Change the ERB9250’s default IP to 192.168.0.x to match the EnGenius router’s IP
address.
4. Confirm that your Internet and the wireless network are active before powering on your
Range Extender.
5. Connect the two antennas to the antenna connectors on the rear panel of your Range
Extender.
6. Decide whether to use the Range Extender’s WPS or manual configuration:
– WPS configuration. You can use this configuration method if your router supports
WPS.
– Manual configuration – use this configuration method if your router does not support
WPS.

Using the Smart Wizard to Configure Your Range
Extender
The provided Smart Wizard CD consists of a series of intuitive point-and-click pages that
guide you through the first-time setup of your Range Extender.
To use the Smart Wizard to configure your Range Extender:
1. Insert the Smart Wizard CD into your computer’s CD-ROM drive. The CD starts in a few
seconds. (If the following screen does not appear, double-click the index.html file on the
CD.)
Using the Smart Wizard to Configure Your Range Extender
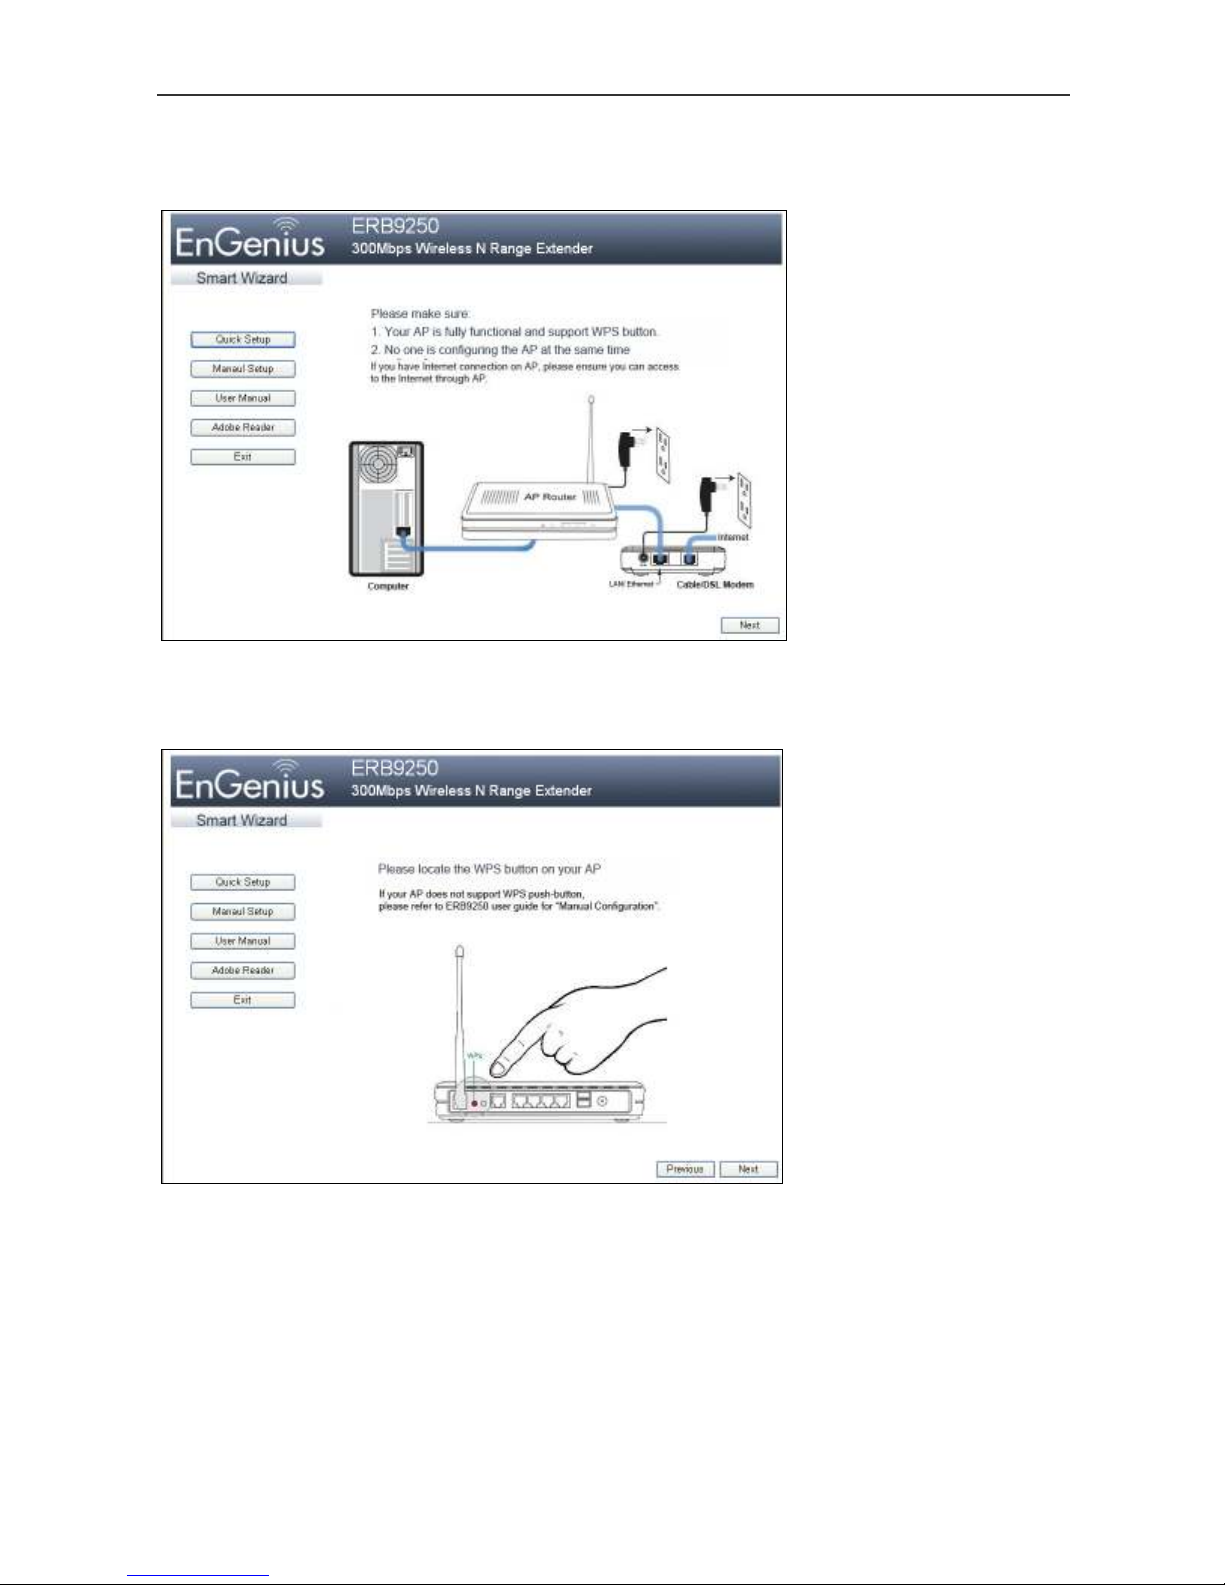
2. Click Quick Setup. The following screen appears.
3. Confirm that your router is functional and is not being configured, and that you can use it
to access the Internet. Then click Next. The following screen appears.
4. Find the WPS button on your router (refer to the documentation for your router), and then
click Next. The following screen appears.
Using the Smart Wizard to Configure Your Range Extender
5. Enable WPS on your router and ensure it is activated.
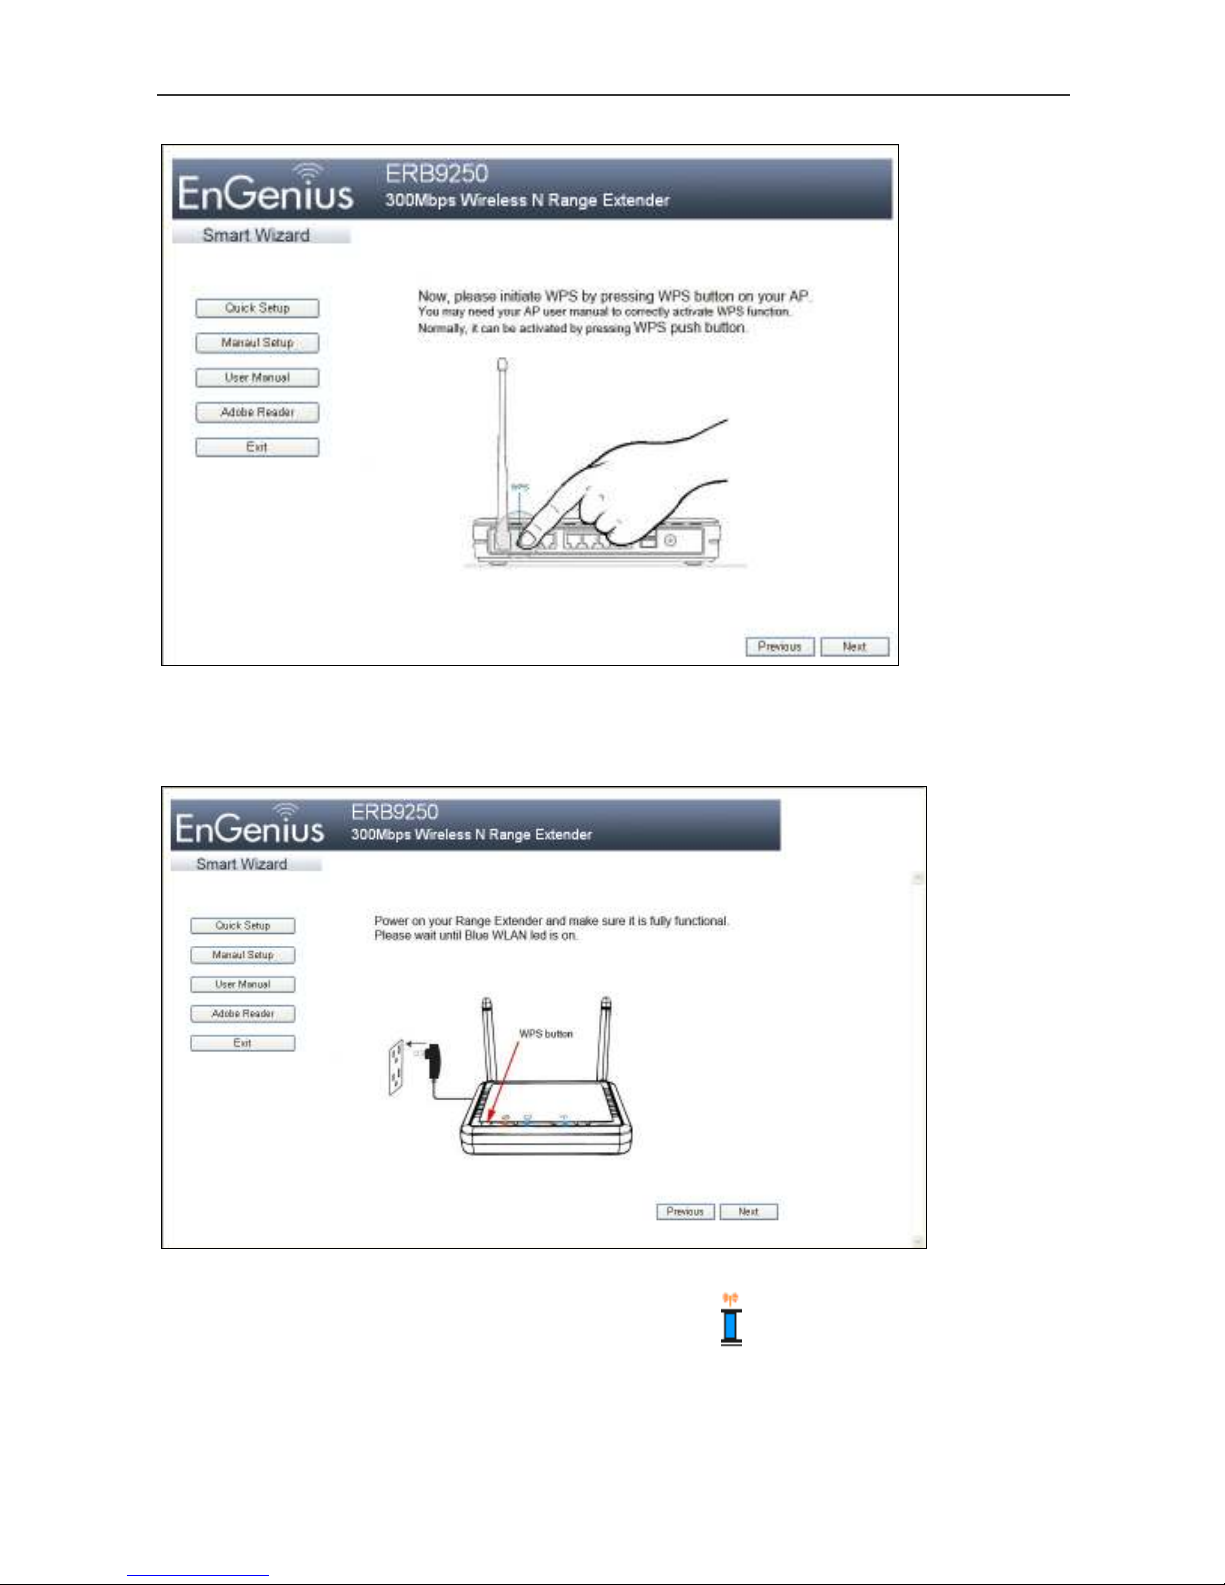
6. Click Next. The following screen appears.
7. Attach the supplied power adapter to the rear panel of your Range Extender to power on
the Range Extender and wait for the blue WLAN LED ( ) to stop blinking. Then click
Next to display the following screen.

Using the Smart Wizard to Configure Your Range Extender
8. Press the WPS button on the front panel of your Range Extender once. The orange LAN
LED ( ) blinks.
9. When the orange LAN LED ( ) goes ON, it indicates that setup is complete. Click Next.
The following screen appears.
10. Click Exit to exit the Smart Wizard.
If the orange LAN LED does not stay ON, the configuration is not successful. In this case:
Move your Range Extender closer to your router.

Using the Smart Wizard to Configure Your Range Extender
Be sure the antennas are connected securely to the Range Extender rear panel.
Repeat steps 2 through 11
OR
Consider manual configuration if WPS configuration is not easy for you to set up.
This completes the Smart Wizard configuration procedure for your ERB9250 300M Range
Extender. Proceed to, “Placing Your Range Extender in an Optimum Location”

Manual Configuration
If your router does not support WPS, please configure the Range Extender manually.
1. Connect one end of the supplied Ethernet cable to the Ethernet/RJ45 connector on the
rear panel of the Range Extender. Connect the other end to an Ethernet port on your
desktop or laptop.
2. Important: Your Range Extender’s default IP address is 192.168.1.2. Configure your PC
(Local Area Connection) to use a static IP address that is on the same subnet as your
Range Extender. This means the first three octets preceding the periods in your PC’s IP
address must be the same as those in the Range Extender’s default IP address, with the
last octet being different (for example, 192.168.1.10).
The procedure you use to configure your PC’s IP address depends on the PC’s operating
system. Please follow the instructions appropriate for your PC’s operating system.

Manual Configuration
Apple Mac
1. Go to System Preferences > Network
2. For Configure, select Manually.
Other manuals for ERB9250
6
Other EnGenius Extender manuals

EnGenius
EnGenius EZ Hotspot Extender User manual

EnGenius
EnGenius X-TRA RANGE ERB300H User manual

EnGenius
EnGenius ERB9250 User manual

EnGenius
EnGenius X-TRA RANGE ERB300H User manual

EnGenius
EnGenius ERB9260 User manual

EnGenius
EnGenius EZ Hotspot User manual

EnGenius
EnGenius ERB9250 User manual

EnGenius
EnGenius EZ Hotspot V3 Manual

EnGenius
EnGenius ERB9250 User manual

EnGenius
EnGenius ERB9260 User manual


