manuals.online logo
Brands
  1. Home
  2. •
  3. Brands
  4. •
  5. EnGenius
  6. •
  7. Wireless Access Point
  8. •
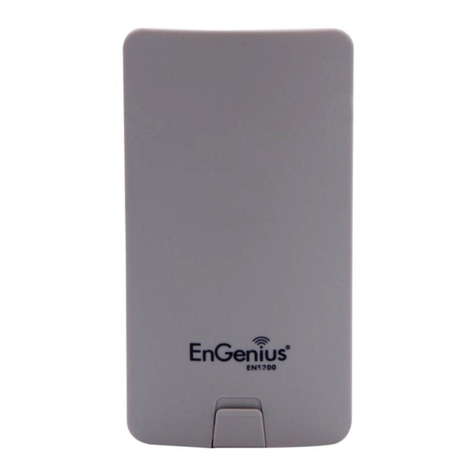
  9. EnGenius EOA3630 User manual

EnGenius EOA3630 User manual

Other manuals for EOA3630

2

Other EnGenius Wireless Access Point manuals

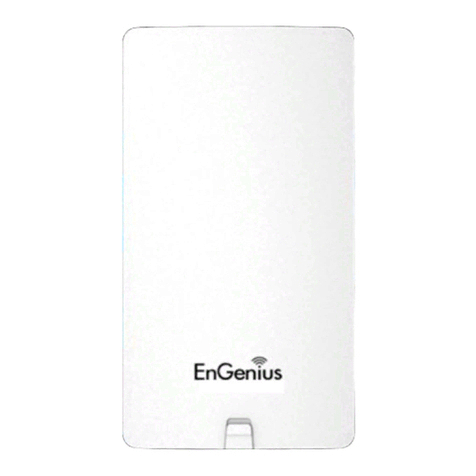
EnGenius Turbo Engine Series User manual

EnGenius

EnGenius Turbo Engine Series User manual

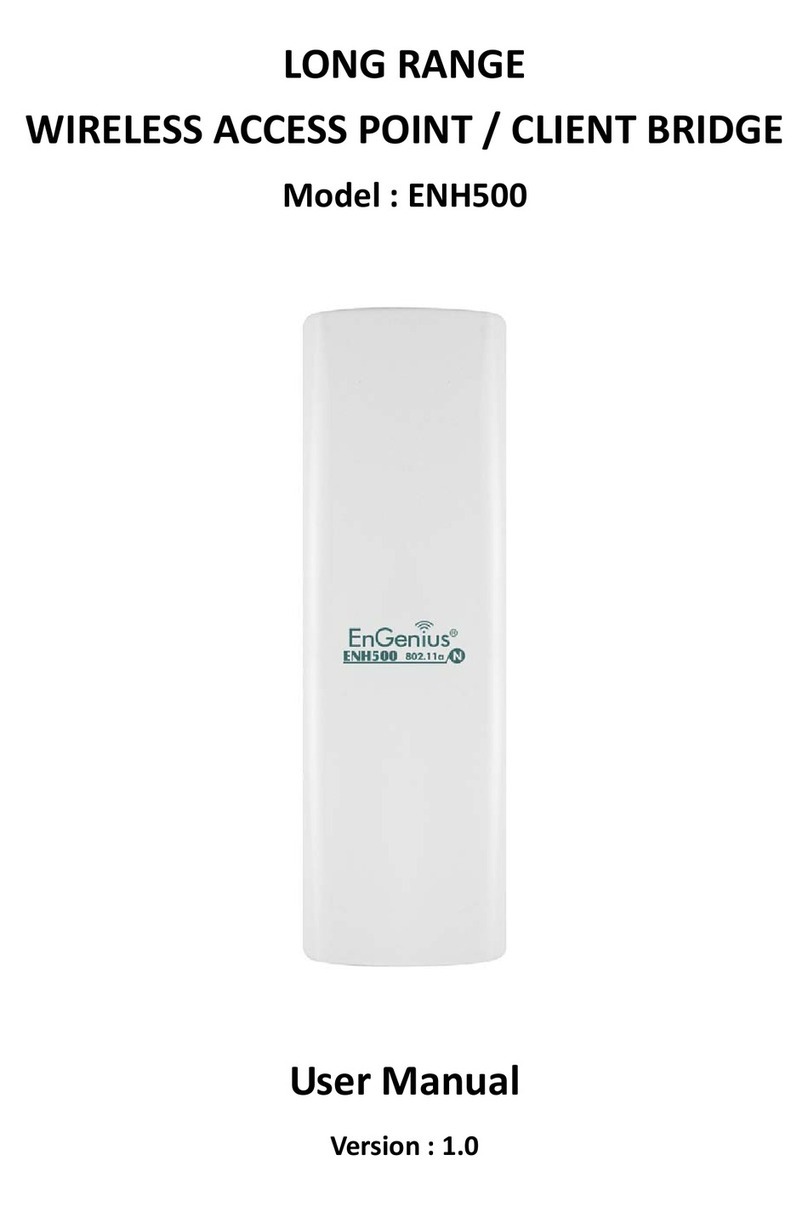
EnGenius EWS375-FIT User manual

EnGenius

EnGenius EWS375-FIT User manual

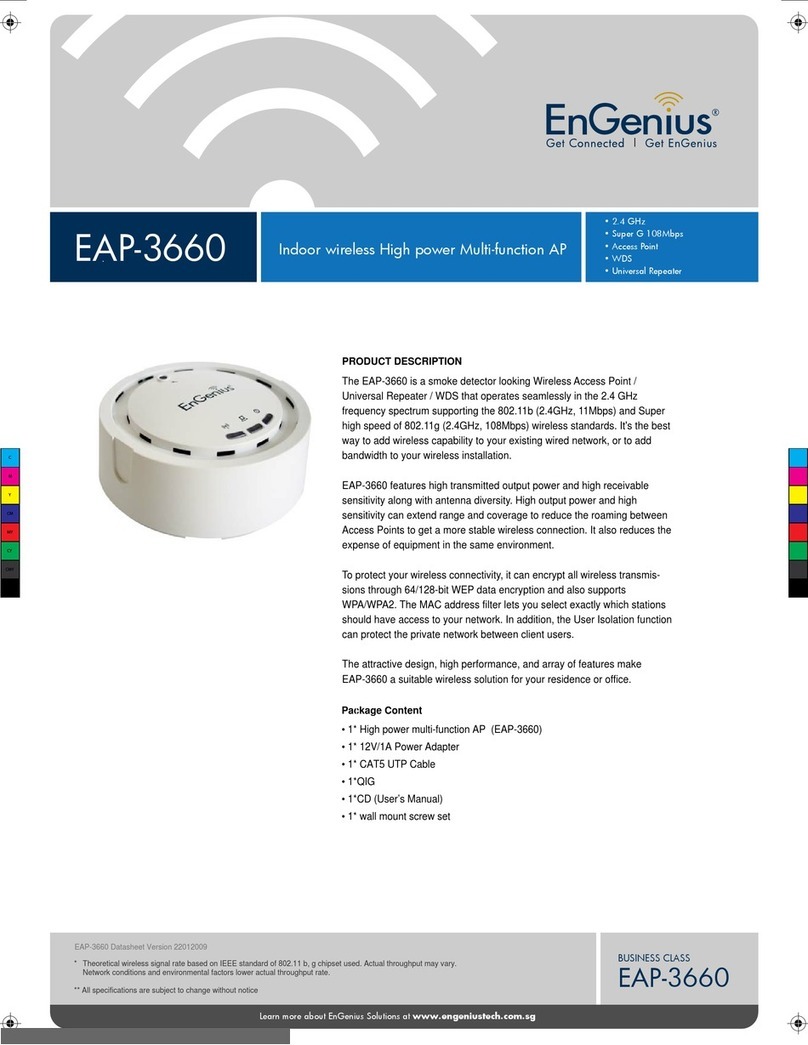
EnGenius EnStation5-ACv2 User manual

EnGenius

EnGenius EnStation5-ACv2 User manual

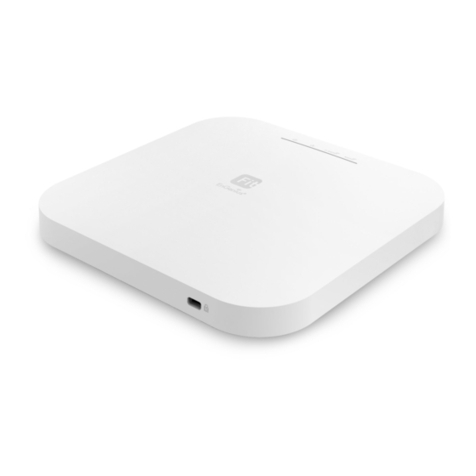
EnGenius EnStation 6 User manual

EnGenius

EnGenius EnStation 6 User manual

EnGenius ESR-1221N User manual

EnGenius

EnGenius ESR-1221N User manual

EnGenius ENS200 User manual

EnGenius

EnGenius ENS200 User manual

EnGenius EWS330AP User manual

EnGenius

EnGenius EWS330AP User manual

EnGenius ECB1750 User manual

EnGenius

EnGenius ECB1750 User manual

EnGenius ENH900EXT User manual

EnGenius

EnGenius ENH900EXT User manual

EnGenius EAP600 User manual

EnGenius

EnGenius EAP600 User manual

EnGenius ECB9500 User manual

EnGenius

EnGenius ECB9500 User manual

EnGenius OA7535 User manual

EnGenius

EnGenius OA7535 User manual

EnGenius EWS500AP User manual

EnGenius

EnGenius EWS500AP User manual

EnGenius EWS370AP User manual

EnGenius

EnGenius EWS370AP User manual

EnGenius ECB1200 User manual

EnGenius

EnGenius ECB1200 User manual

EnGenius ECB-8610 User manual

EnGenius

EnGenius ECB-8610 User manual

EnGenius ENH710EXT User manual

EnGenius

EnGenius ENH710EXT User manual

EnGenius EAP9550 User manual

EnGenius

EnGenius EAP9550 User manual

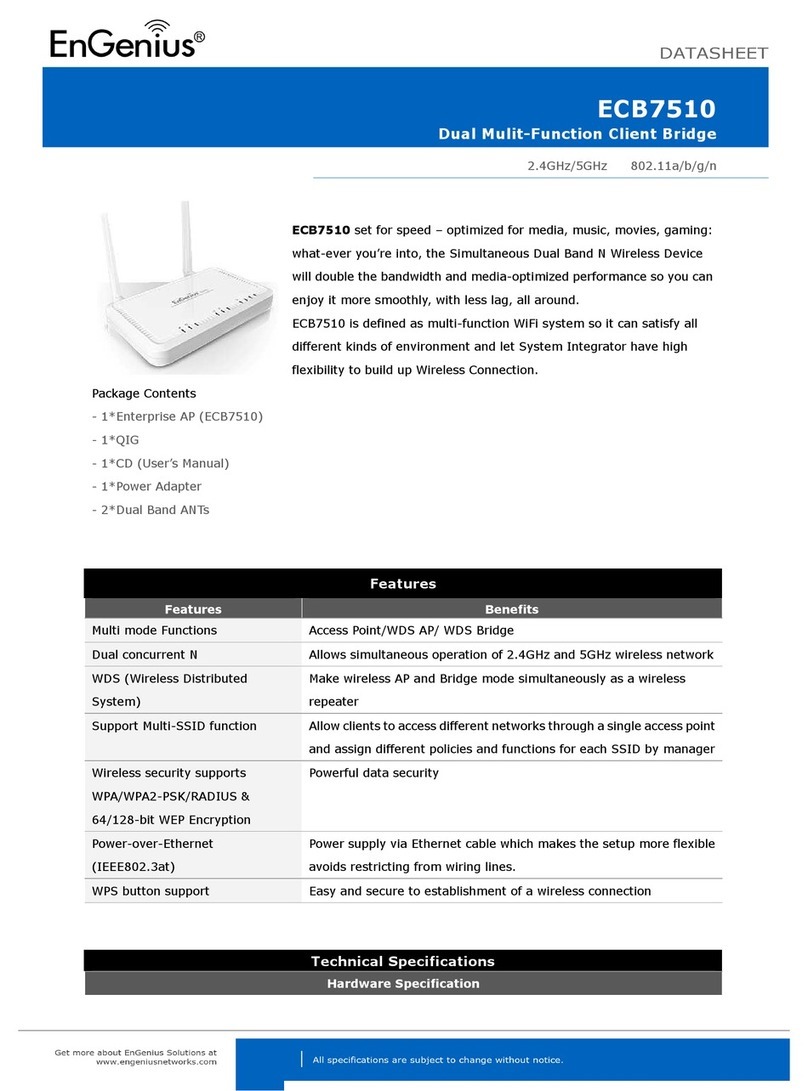
EnGenius ECB7510 User manual

EnGenius

EnGenius ECB7510 User manual

EnGenius ENS202EXT User manual

EnGenius

EnGenius ENS202EXT User manual

EnGenius ECB3500 User manual

EnGenius

EnGenius ECB3500 User manual

EnGenius EOC2611P User manual

EnGenius

EnGenius EOC2611P User manual

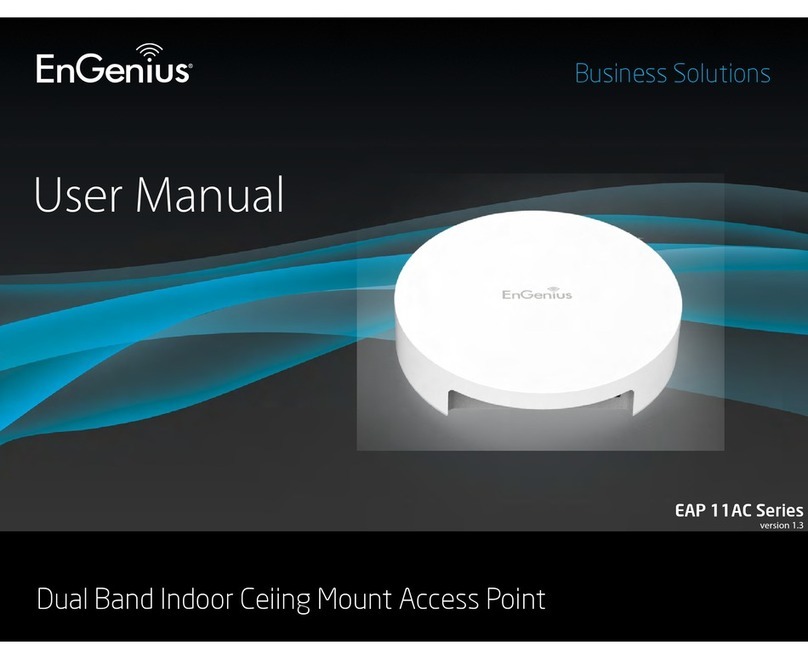
EnGenius EAP 11AC Series User manual

EnGenius

EnGenius EAP 11AC Series User manual

EnGenius EOC1650 User manual

EnGenius

EnGenius EOC1650 User manual

Popular Wireless Access Point manuals by other brands

TRENDnet TPL-410AP user guide

TRENDnet

TRENDnet TPL-410AP user guide

D-Link DWL-6700AP Quick installation guide

D-Link

D-Link DWL-6700AP Quick installation guide

Aerohive Networks Aerohive AP121 Hardware reference guide

Aerohive Networks

Aerohive Networks Aerohive AP121 Hardware reference guide

Vonets VAP11G Step-by-step guide

Vonets

Vonets VAP11G Step-by-step guide

Ubiquiti UniFi AP AC Outdoor quick start guide

Ubiquiti

Ubiquiti UniFi AP AC Outdoor quick start guide

Monoprice MW301A user guide

Monoprice

Monoprice MW301A user guide

D-Link DWL-2700AP - AirPremier Outdoor Wireless Access... user manual

D-Link

D-Link DWL-2700AP - AirPremier Outdoor Wireless Access... user manual

D-Link DWL-2100AP - AirPlus Xtreme G Quick installation guide

D-Link

D-Link DWL-2100AP - AirPlus Xtreme G Quick installation guide

TP-Link Auranet EAP225 Quick installation guide

TP-Link

TP-Link Auranet EAP225 Quick installation guide

D-Link DWL-2100AP - AirPlus Xtreme G Quick installation guide

D-Link

D-Link DWL-2100AP - AirPlus Xtreme G Quick installation guide

Ubiquiti NanoStation NSM2 quick start guide

Ubiquiti

Ubiquiti NanoStation NSM2 quick start guide

Aruba IAP-335 user guide

Aruba

Aruba IAP-335 user guide

Advantek Networks AWN-AP-54MR user manual

Advantek Networks

Advantek Networks AWN-AP-54MR user manual

IP-COM AP355 user guide

IP-COM

IP-COM AP355 user guide

Buffalo AirStation WLA-L11G user manual

Buffalo

Buffalo AirStation WLA-L11G user manual

D-Link DAP-3662 Quick installation guide

D-Link

D-Link DAP-3662 Quick installation guide

Edimax CAP1200 user manual

Edimax

Edimax CAP1200 user manual

xG Technology xMax CN1300 installation guide

xG Technology

xG Technology xMax CN1300 installation guide

manuals.online logo
manuals.online logoBrands
  • About & Mission
  • Contact us
  • Privacy Policy
  • Terms and Conditions

Copyright 2025 Manuals.Online. All Rights Reserved.


EOA3630QuickStartGuide
WirelessMulti‐FunctionAP
TheoutdoorwirelessdeviceEOA3630isapowerful,enhanced,enterprisescale
productwith7multi‐functions.ExternalN‐typeconnectorprovidesantennaextend.
Itfeaturesoutputpowerlevelssetting,Narrowbandwidthselection,TrafficShaping
andReal‐timeRSSIindicator.
EOA3630comeswithwallmountkitandsupportsPoEfunctionforquickoutdoor
installation.Toensurewirelesssecurity,itprovidesfullcoverageofsecurity
encryptionmechanismssupportincludingWEP,WPA/WPA2andIEEE802.1x.
BesideupgradableN‐typeinterfacewhichmakeitascalablesolutionforallpossible
projectrequirements.Stableandhighreliabilitydesignletusersdon’tworryabout
theoperationinharshenvironment.
‐‐‐‐‐‐‐‐‐‐‐‐‐‐‐‐‐‐‐‐‐‐‐‐‐‐‐‐‐‐‐‐‐‐‐‐‐‐‐‐‐‐‐‐‐‐‐‐‐‐‐‐‐‐‐‐‐‐‐‐‐‐‐‐‐‐‐‐‐‐‐‐‐‐‐‐‐‐‐‐‐‐‐‐‐‐‐‐‐‐‐‐‐‐‐‐‐‐‐‐‐‐‐‐‐‐‐‐‐‐‐‐‐‐‐‐‐‐‐‐‐‐‐‐‐‐‐‐‐‐‐‐‐‐‐
IPAddressConfiguration
ThedefaultIPaddressofthedeviceis
192.168.1.1.Inordertologintothisdevice,you
mustfirstconfiguretheTCP/IPsettingsofyour
PC/Notebook.

1. Inthecontrolpanel,doubleclickNetwork
Connectionsandthendoubleclickonthe
connectionofyourNetworkInterfaceCard
(NIC).Youwillthenseethefollowing
screen.
2. SelectInternetProtocol(TCP/IP)andthen
clickonthePropertiesbutton.Thiswill
allowyoutoconfiguretheTCP/IPsettings
ofyourPC/Notebook.
3. SelectUsethefollowingIPAddressradio
buttonandthenentertheIPaddress
(192.168.1.21)andsubnetmask
(255.255.255.0).EnsurethattheIPaddress
andsubnetmaskareonthesamesubnetas
thedevice.
4. ClickontheOKbuttontoclosethis
window,andonceagaintocloseLAN
propertieswindow.
LoggingIn
1. Toconfigurethedevicethroughthe
web‐browser,entertheIPaddressofthe
Bridge(default:192.168.1.1)intothe
addressbaroftheweb‐browserand
pressEnter.
2. AfterconnectingtotheIPaddress,the
web‐browserwilldisplaytheloginpage.
SpecifyadminasthedefaultUserName
andPassword,andthenclickontheLogin
button.

Administration
1. ClickontheAdministrationlinkunderthe
Managementsection.Thisoptionallows
youtomodifytonewusernameand
passwordforthedevice.Forsecurityitis
highlyrecommendedforsecurityreasons.
2. Name:Specifyausernameintothefirst
field.
3. Password:Specifyapasswordintothisfield
andthenre‐typethepasswordintothe
ConfirmPasswordfield.Thenclickonthe
Applybutton.
4. ClickontheApplybuttontosavethe
changes.
SystemProperties
1. ClickontheSystemPropertieslinkonthe
Systemsection.Thisfeatureallowsyouto
configurethedeviceasanAccessPointor
Repeater.
2. DeviceName:Specifyanameforthe
device–thisisnottheSSID.
3. Country/Region:Selecttheregionfromthe
drop‐downlist.
Quick Start Guide v.1.0
Refer to User’s Manual for complete instructions 1
EOA3630QuickStartGuide
WirelessMulti‐FunctionAP
4. OperationMode:SelectAccessPointClient
Bridge,Router,ClientRouter,WDSor
Repeaterradiobutton.
5. ClickontheApplybuttontosavethe
changes.
IPSettings
1. ClickontheIPSettingslinkonthe
Systemsection.Thisfeatureallowsyou
toconfiguretheLANinterfaceusinga
staticIPaddressorasaDHCPclient.
ThisIPaddressisalsousedtoaccessthe
web‐basedinterface.
2. IPNetworkSetting:SelectObtainanIP
addressautomatically(DHCP)radio
buttoniftheAccessPointisconnected
toaDHCPserver.Thiswillallowthe
AccessPointtopassIPaddressestothe
clientsassociatedwithit.

YoumayselectSpecifyanIPAddress
radiobuttonifyouwouldlikethedevice
touseastaticIPaddress.Inthiscase,
youwouldberequiredtospecifyanIP
address,subnetmask,anddefault
gatewayIPaddress.
Quick Start Guide v.1.0
Refer to User’s Manual for complete instructions 2
3. IPAddress:SpecifyanIPaddress
4. IPSubnetMask:Specifythesubnet
maskfortheIPaddress
5. DefaultGateway:SpecifytheIPaddress
ofthedefaultgateway.
6. ClickontheApplybuttontosavethe
changes.
Note:IfyouchangetheIPaddresshere,you
mayneedtoadjustyourPC’snetworksettings
toaccessthenetworkagain.
WirelessNetwork&Security
1. ClickontheWirelessNetworklinkon
theWirelesssection.Thisfeatureallows
youtoconfigurethewirelessmode,
channel,SSID,andsecuritysettings.
2. WirelessMode:Dependingonthetype
ofwirelessclientsthatareconnectedto
thenetwork,youmayselectB,G,or
B/G‐mixed.
3. Channel:Selectachannelfromthe
drop‐downlist.Thechannelsavailable
arebasedonthecountry’sregulation.
4. Youmayconfigureuptofourdifferent
wirelessprofiles.ClickontheEdit
buttontomodifytheprofileandplacea
checkintheEnableboxtoactivatethe
profile.
5. SSID:TheSSIDisauniquenamedshared
amongstallthepointsofthewireless
network.TheSSIDmustbeidenticalon
allpointsofthewirelessnetworkand
cannotexceed32characters.
6. VLANID:IfyouhaveenabledVLAN
taggingonyournetwork,specifythe
VLANtagID.
7. SuppressedSSID:Placeacheckinthis
boxifyouwouldliketohidetheSSID.By
enablingthisfeature,wirelessclients
willnotbeabletoscanthisaccesspoint
inasitesurvey.
8. StationSeparator:Thisisalsoknownas
layer2isolation.Clientsconnectedto
thisAccessPointwillnotbeableto
directlycommunicatewitheachother.
WARNING:
IfdevicefailedtoobtainvalidIPfroma
DHCPserver,thedevicewillbe
inaccessible.Toaccessthedeviceyouwill
havepressresetbuttonfor5secondsto
restoreIPsettingsbackto192.168.1.1.
9. SecurityMode:Bydefault,thesecurity
isdisabled.Refertotheuser’sManual
toconfigurethesecurityfeaturessuch
asWEP,WPA,WPA‐PSK,WPA2,
WPA2‐PSKandWPA‐Mixed.
10. ClickontheApplybuttontosavethe
changes




















