4
INSTALLATION CONSIDERATIONS
ADA Floor Space Requirements for Wheel Chair Manoeuvring
The owner may request the activation device location; however, the press switch must be in view of the
door and not directly on the door or frame. See ANSI 117.1 Safety Code for further guidelines on switch
requirements.
Position #1: should be a minimum of
Two feet from the door latch.
Position #2: should be a minimum of
Five feet from the door face.
NOTE: Activation switches shall have a minimum height of
36” and a maximum height of 48” from finished floors.
If your entrance maneuvering space is limited, and it seems
impossible to meet the ADA requirements, the
Ditec Automatics DS-18 slider operator may solve
the problem.
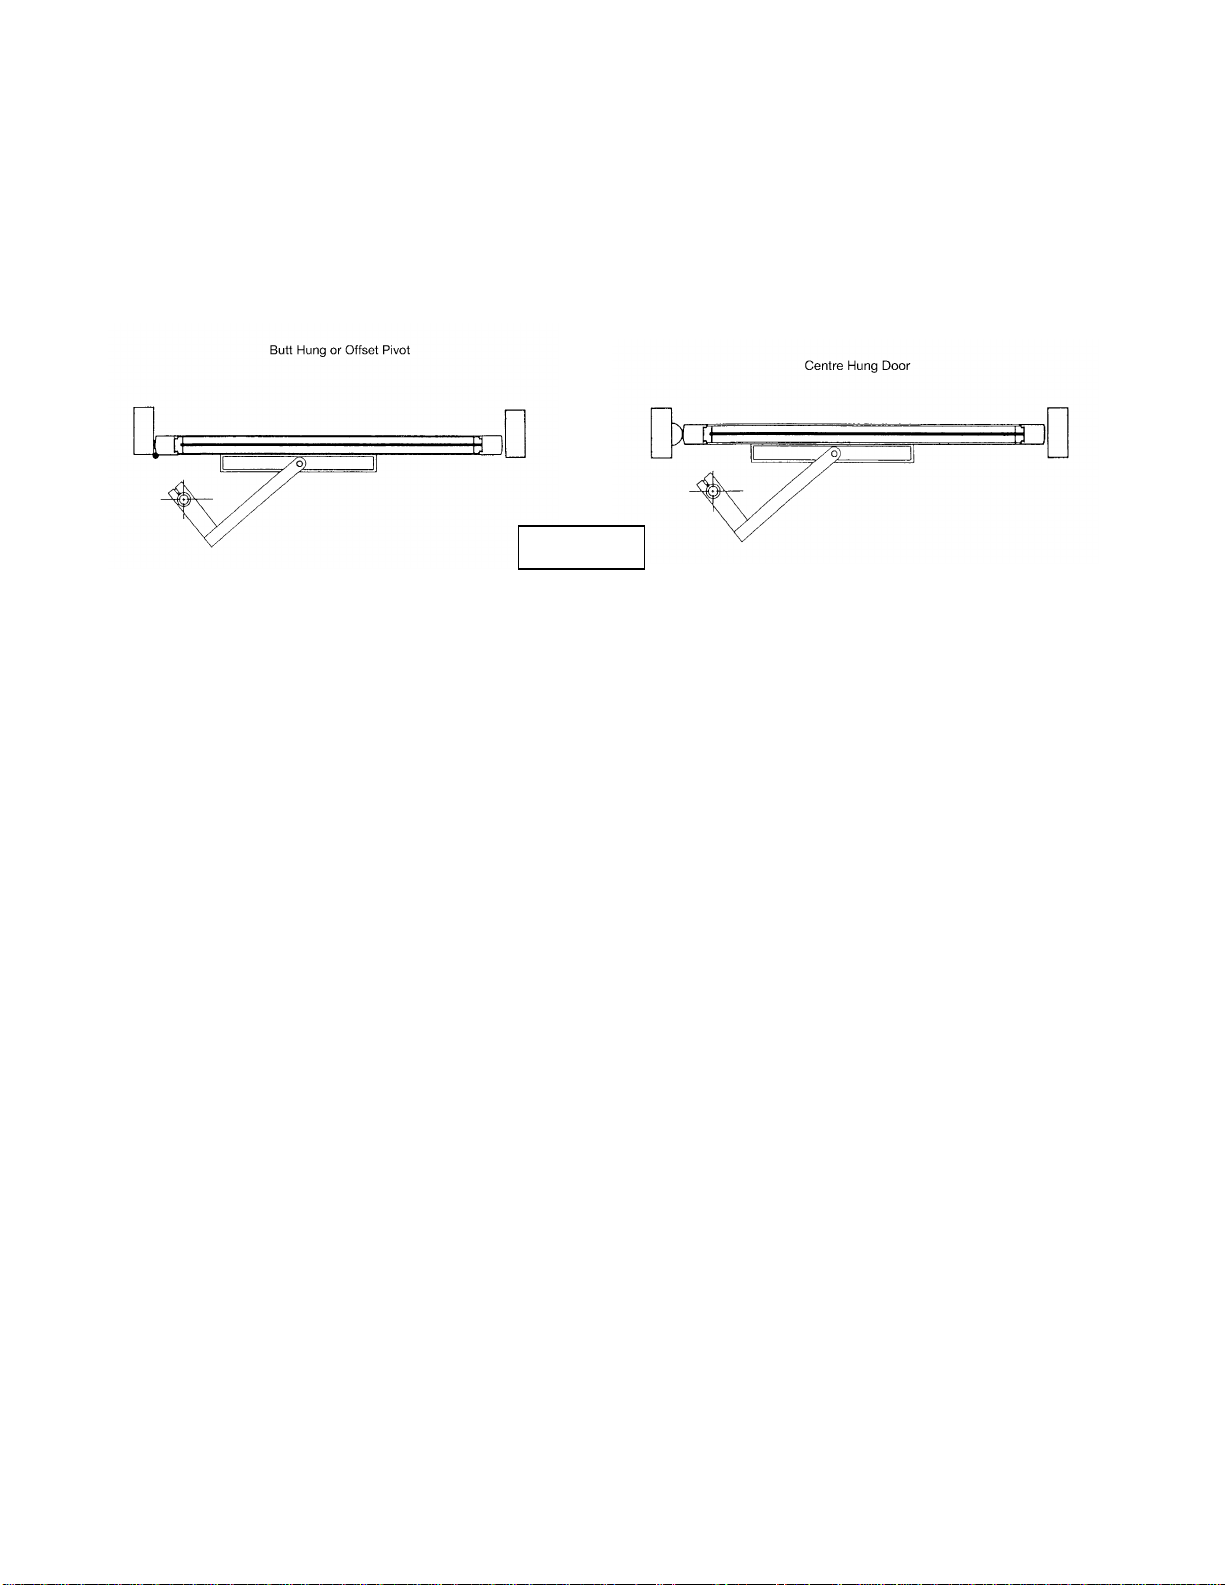
Door condition
Door must move easily open and close (latch) without
excessive force, weather stripping and threshold must not interfere with door movement.
Reveal
For out swing (push) door the reveal must be within the range of 0” to 14” for in swing (pull) 0” to 4” for
special reveals, consult factory.
Wind
When installing on a door in a strong wind condition area, special adjustments should be made to the arm
and doorstop position and possible adjustment to the closer spring tension (See page 13).
Power/control wires
Check that the electrical feed, all conduits, and electrical junction boxes (for push plates or other
activation devices, if required) are correctly located in accordance with final approved shop drawings and
within the guidelines of the enforced local electrical codes.
HEADER AND GEARBOX INSTALLATION
Pre-Mounting Header Box Instructions
Power supply may be pulled into the header at the same time the jamb/header assembly is positioned.
Make sure all power is turned off before handling the supply wires. This should be done by a certified
electrician and within the guidelines of the enforced local electrical codes.
Be sure there is proper support in the wall to secure the header at the vertical jambs, and behind the
header at intervals between the vertical jambs. Secure the header to the top of the doorframe with the
appropriate fasteners as indicated below.
The header is a 2 piece box consisting of the body (portion anchored to the door frame) and the cover
(removable portion used during installation and service). Remove the aluminum header from its carton,
flatten package and use flat package as a station to work on header box. Remove (2) ¼” x 20 NC
Machine Screws anchoring the cover to the end plates. Carefully, set the cover in a location where it will
not be damaged. The figure below illustrates the optimum location for low and high voltage wiring feeds.
Place the body portion of the header on the doorframe (FIGURE 1), mark hole locations for high and low
voltage wiring and drill holes. Also using a 3/8” drill, create a hole for the operator ON/OFF switch on the
header body. This hole is usually on the strike side of the frame.
Holes should have any sharp edges and burrs removed and use an electrical bushing.