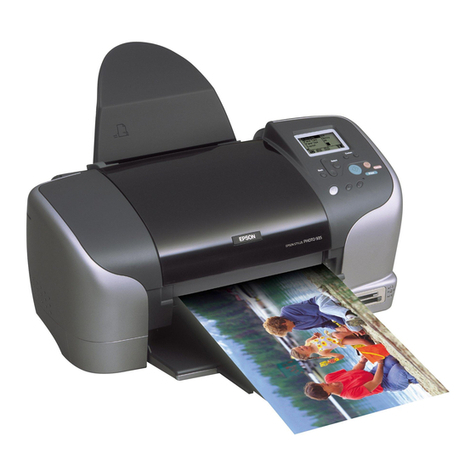
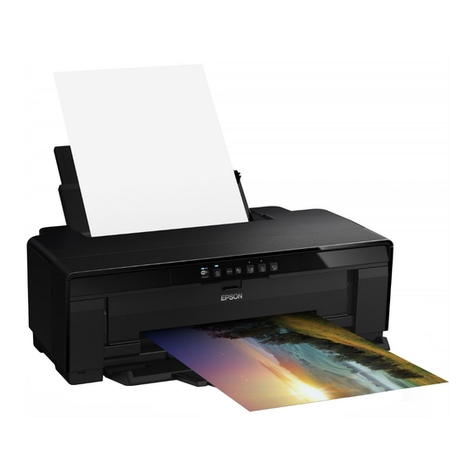
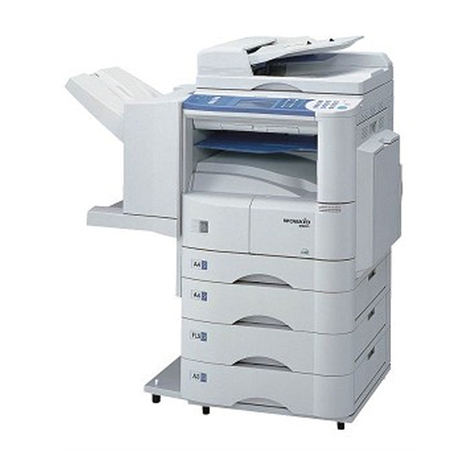
Epson Stylus PRO 7000 User manual

Printer Parts
Front view
Rear view
mounting brackets roll paper cover
paper insertion slot
paper set lever
control panel
ink cartridge
compartment
lower cover
paper guides
optional interface card slot cover
parallel interface connector
USB interface connector
AC inlet

-2

Reference Guide
s
Color Ink Jet Printer
All rights reserved. No part of this publication may be reproduced, stored in a retrieval
system, or transmitted in any form or by any means, mechanical, photocopying, recording,
or otherwise, without the prior written permission of SEIKO EPSON CORPORATION. No
patent liability is assumed with respect to the use of the information contained herein. Neither
is any liability assumed for damages resulting from the use of the information contained
herein.
Neither SEIKO EPSON CORPORATION nor its affiliates shall be liable to the purchaser of
this product or third parties for damages, losses, costs, or expenses incurred by purchaser or
third parties as a result of: accident, misuse, or abuse of this product or unauthorized
modifications, repairs, or alterations to this product, or (excluding the U.S.) failure to strictly
comply with SEIKO EPSON CORPORATION's operating and maintenance instructions.
SEIKO EPSON CORPORATION shall not be liable against any damages or problems arising
from the use of any options or any consumable products other than those designated as
Original Epson Products or Epson Approved Products by SEIKO EPSON CORPORATION.
EPSON and EPSON ESC/P are registered trademarks and EPSON ESC/P 2 is a trademark
of SEIKO EPSON CORPORATION.
Speed, Fontware, FaceLift, Swiss, and Dutch are trademarks of Bitstream Inc.
CG Times and CG Omega are registered trademarks of Miles, Inc.
Univers is a registered trademark of Linotype AG and/or its subsidiaries.
Antique Olive is a trademark of Fonderie Olive.
Albertus is a trademark of Monotype Corporation plc.
Coronet is a trademark of Ludlow Industries (UK) Ltd.
Arial and Times New Roman are registered trademarks of Monotype Corporation plc.
General Notice: Other product names used herein are for identification purposes only and may be
trademarks of their respective owners. EPSON disclaims any and all rights in those marks.
Copyright © 2000 by SEIKO EPSON CORPORATION, Nagano, Japan

ii
Contents
Chapter 1 The Control Panel
Buttons,LightsandMessages ............................ 1-2
Buttons ........................................... 1-2
Lights............................................. 1-4
Statusmessages.................................... 1-6
SelecTypeSettings ...................................... 1-7
WhentouseSelecType.............................. 1-7
BasicSelecTypesettingprocedure.................... 1-7
SelecTypemenus................................... 1-9
Printinganozzlecheckpattern....................... 1-17
Performingtheheadalignment ...................... 1-18
Aligningtheprintheads ............................ 1-18
Settingthepaperthickness .......................... 1-21
Printingastatussheet............................... 1-23
MaintenanceMode...................................... 1-1
Howtoentermaintenancemode..................... 1-1
Items ............................................. 1-1
Hexdump......................................... 1-1
Language ......................................... 1-2
Chapter 2 Printer Software
PrinterSoftwareIntroduction............................. 2-2
AccessingthePrinterSoftware............................ 2-2
AccessingtheprintersoftwareforWindows........... 2-2
AccessingtheprintersoftwareforMacintosh .......... 2-4
UsingthePrinterDriver................................. 2-5
MakingtheMediaTypesetting ...................... 2-5
Using the Automatic, PhotoEnhance, Custom, and Advanced
settings......................................... 2-6
Adjusting page orientation and printable area. . . . . . . . . . 2-14
Fittingdocumentsontothepage ..................... 2-15
UsingtheRollPaperOption......................... 2-17

iii
Previewingyourprintout............................2-19
UsingthePrinterUtilities.................................2-20
Accessingtheprinterutilities.........................2-21
EPSON Status Monitor 3/EPSON StatusMonitor. . . . . . . . 2-22
NozzleCheck ......................................2-22
HeadCleaning .....................................2-23
PrintHeadAlignment...............................2-23
Printer and Option Information (Windows only) . . . . . . . . 2-23
Speed&Progress(Windowsonly) ....................2-25
Configuration(Macintoshonly).......................2-26
GettingInformationthroughOnlineHelp ..................2-27
AccessinghelpfromWindows........................2-27
AccessinghelpfromMacintosh.......................2-27
UpdatingtoWindows98.................................2-1
UpdatingtheDriverinWindowsNT4.0....................2-1
UninstallingthePrinterSoftware(Windowsonly)...........2-1
Chapter 3 Printer Status and Print Job Management
CheckingPrinterandPrintJobStatusforWindows..........3-1
UsingtheProgressMeter ............................3-1
UsingtheEPSONSpoolManager.....................3-2
UsingEPSONStatusMonitor3.......................3-3
CheckingPrinterandPrintJobStatusforMacintosh .........3-1
UsingtheEPSONStatusMonitor......................3-1
MakingConfigurationSettings .......................3-2
UsingEPSONMonitor3..............................3-3
IncreasingthePrintSpeed(Windowsonly).................3-7
Generaltips........................................3-8
UsingSpeed&Progress .............................3-10
Using DMA transfer (For Windows 95 and 98 only) . . . . . 3-11
Using Port Configuration (Windows NT 4.0 only) . . . . . . . 3-13
Chapter 4 Paper Handling
NotesforSpecialMediaandOtherMedia ..................4-1
EPSONspecialmedia ...............................4-2

iv
UsingpaperotherthanEPSONspecialmedia.......... 4-2
UsingRollPaper........................................ 4-3
Attachingtherollpapertothespindle ................ 4-3
Removingtherollpaperfromthespindle ............. 4-4
Attaching and removing the spindle from the printer . . . 4-5
Loadingtherollpaper .............................. 4-7
Usingtherollpaperbelt............................. 4-12
Cuttingrollpaperorprintingpagelines............... 4-13
UsingCutSheetMedia.................................. 4-14
Loading cut sheet media longer than 483 mm (long edge of Super
A3/Bsize) ...................................... 4-14
Loading cut sheets with a length of 483 mm (long edge of Super
A3/B)orshorter................................. 4-17
Printingonthickpaper(0.5to1.6mm)................ 4-18
SettingthePaperBasket ................................. 4-20
Whenfeedingpaperforward ........................ 4-21
Whenfeedingpaperbackward....................... 4-22
Chapter 5 Maintenance and Transportation
ReplacingInkCartridges................................. 5-2
ReplacingthePaperCutter............................... 5-5
CleaningthePrinter..................................... 5-8
If you have not used your printer for a long time . . . . . . . 5-10
TransportingthePrinter................................. 5-10
Alongdistance .................................... 5-10
Ashortdistance.................................... 5-10
Settinguptheprinteraftertransportingit ............. 5-14
Chapter 6 Troubleshooting
PrinterStopsPrintingUnexpectedly....................... 6-3
Head cleaning, ink charging, or ink drying is in progress 6-3
Anerrorhasoccurred............................... 6-3
ThePrinterdoesnotTurnonorStayon.................... 6-7
ThePrinterPrintsNothing............................... 6-8
The printer is not connected to the computer correctly. . . 6-8

v
Your EPSON printer is not selected as the default printer. 6-8
Printer port setting does not match the printer connection port
(Windows).......................................6-9
The printer driver doesn’t have enough available memory (Mac-
intosh) ..........................................6-9
The printer sounds like it is printing, but nothing prints. . 6-10
PrintoutsareNotWhatYouExpected......................6-10
Incorrectorgarbledcharacters........................6-10
Incorrectmargins...................................6-11
Invertedimage .....................................6-11
Blankpagesareprinted..............................6-11
Printed color differs from the color on the screen . . . . . . . . 6-12
Ruledlinesshift ....................................6-12
Printoutshavesmearsonbottomedges................6-13
PrintQualityCouldbeBetter .............................6-14
Horizontalbanding .................................6-14
Verticalmisalignmentorbanding.....................6-14
Incorrectormissingcolors ...........................6-14
Faintprintoutorgaps ...............................6-15
Blurryorsmearedprintout...........................6-16
ColorDocumentsPrintinBlackOnly ......................6-17
PrintingCouldbeFaster..................................6-17
RollPaperCannotbeCut.................................6-18
Paper Feed or Paper Jam Problems Occur Frequently. . . . . . . . . 6-18
RollPaperdoesnotEjectProperly.........................6-20
When feeding paper forward with the optional Stand. . . . 6-20
ClearingPaperJams.....................................6-21
CorrectingUSBProblems.................................6-23
Make sure your computer is a Windows 98 pre-installed model
6-23
Make sure that EPSON USB Printer Devices appears in the De-
viceManagermenu...............................6-23
Printer does not work correctly with a USB cable. . . . . . . . 6-25
Appendix A Product Information
PrinterSpecifications ....................................A-2
Printing............................................A-2

vi
Printablearea...................................... A-3
Mechanical........................................ A-5
Electrical.......................................... A-5
Environmental..................................... A-6
Initialization....................................... A-7
Safetyapprovals ................................... A-7
Paper............................................. A-8
Inkcartridges...................................... A-10
SystemRequirements ................................... A-12
ForusingyourprinterwithaPC ..................... A-12
ForusingyourprinterwithaMacintosh............... A-13
InterfaceSpecifications .................................. A-14
Parallelinterface ................................... A-14
USBinterface...................................... A-15
OptionsandConsumableProducts........................ A-1
Options........................................... A-1
Consumableproducts............................... A-2
EPSONspecialmedia............................... A-3
Appendix B Customer Information
CustomerInformation................................... B-2
Glossary
SelecType Menu List

The Control Panel 1-1
Chapter 1
The Control Panel
Buttons,LightsandMessages.............................1-2
Buttons............................................1-2
Lights.............................................1-4
Statusmessages.....................................1-6
SelecTypeSettings.......................................1-7
WhentouseSelecType ..............................1-7
BasicSelecTypesettingprocedure.....................1-7
SelecTypemenus ...................................1-9
Printinganozzlecheckpattern .......................1-17
Performingtheheadalignment.......................1-18
Aligningtheprintheads.............................1-18
Settingthepaperthickness...........................1-21
Printingastatussheet...............................1-23

1-2 The Control Panel
Buttons, Lights and Messages
The control panel of the printer consists of 8 buttons, 12 lights,
and a 20-character liquid crystal display (LCD). The control panel
layout is shown below.
Buttons
Power Turns the printer on and off. Turn off the printer, then
press this button while pressing and holding the
Pause button to enter the maintenance mode. See
“Maintenance Mode” on page -1.
Cleaning
3Sec.
Print head cleaning is performed when pressed for
threeseconds.Beforecleaning,makesurethat
thick paper is not loaded in the printer.
Pause
(Reset 3 Sec.)
Stops printing temporarily. Press a second time to
resume printing.
Clears print data in the printer memory if pressed
andheldforthreeseconds.
When pressed in SelecType mode, the printer
returns to READY status.

The Control Panel 1-3
SelecType Enters SelecType mode when pressed in READY
status. When pressed in SelecType mode, a desired
menu can be selected.
Paper Source
(Item)
Selects the paper source: Roll Auto Cut, Roll Cutter
Off or Sheet.
When pressed in SelecType mode, a desired item
can be selected from the menu.
Paper Feed u (+) Feeds paper in reverse. When pressed in SelecType
mode, a desired parameter can be selected from
the selected item. Parameters change in forward
order.
Paper Feed d (-) Feeds paper forward. When pressed in SelecType
mode, a desired parameter can be selected from
the selected item. Parameters change in reverse
order.
Cut/Eject
(Enter)
When the Sheet light is on:
Ejects the cut sheet.
When the Roll Auto Cut light is on:
Feeds the roll paper before cutting it.
When the Roll Cutter Off light is on:
Feeds the roll paper a small amount.
When the Roll Cutter Off light is on and the Print
Page Line is on:
Feeds the roll paper and then prints a page line
below the document. See “PAGE LINE” on page
1-10.
Note:
This button is operable during the ink drying
process.
When pressed in SelecType mode, it sets the
selected parameter in the selected item as the
default value. If the selected item is for execution
only, the item will be executed.

1-4 The Control Panel
Lights
o=On,f=Flashing,n=Off
o Operate The printer is on.
f Operate The printer is receiving print data or the power has
been turned off.
n Operate The printer is off.
o Paper Out The paper is out, the paper set lever is released or the
loaded paper is too thick for head cleaning.
f PaperOut Thepaperisjammed,oranotherpaperoutputerror
has occurred. See “Printer Stops Printing
Unexpectedly” on page 6-3.
n Pause The printer is ready to print data.
f Pause The printer mechanism is moving in preparation for
printing, the printed paper is drying for a set time, or
the head is being cleaned.
o Pause The printer is in pause mode or in SelecType mode, or
an error has occurred. See “Printer Stops Printing
Unexpectedly” on page 6-3.
o Ink Out K The black ink is out or the black ink cartridge is not
installed correctly.
f Ink Out K The black ink is low. The black ink cartridge is nearly
empty. Obtain a replacement ink cartridge.
o InkOutC Thecyaninkisoutorthecyaninkcartridgeisnot
installed correctly.
f Ink Out C The cyan ink is low. The cyan ink cartridge is nearly
empty. Obtain a replacement ink cartridge.
o Ink Out M The magenta ink is out or the magenta ink cartridge is
not installed correctly.
f Ink Out M The magenta ink is low. The magenta ink cartridge is
nearly empty. Obtain a replacement ink cartridge.
o Ink Out LC The light cyan ink is out or the light cyan ink cartridge
is not installed correctly.
f Ink Out LC The light cyan ink is low. The light cyan ink cartridge is
nearly empty. Obtain a replacement ink cartridge.

The Control Panel 1-5
o Ink Out LM The light magenta ink is out or the light magenta ink
cartridge is not installed correctly.
f Ink Out LM The light magenta ink is low. The light magenta ink
cartridge is nearly empty. Obtain a replacement ink
cartridge.
o Ink Out Y The yellow ink is out or the yellow ink cartridge is not
installed correctly.
f Ink Out Y The yellow ink is low. The yellow ink cartridge is nearly
empty. Obtain a replacement ink cartridge.
o Roll
Auto Cut
Auto Cut is selected. The roll paper will be
automatically cut after printing.
f Roll
Auto Cut
Roll paper is selected in the printer driver, but Sheet is
selected at the control panel.
o Roll
Cutter Off
Printing occurs continuously without cutting.
f Roll
Cutter Off
Roll paper is selected in the printer driver, but Sheet is
selected at the control panel.
o Sheet Sheet is selected. Printing is on single sheet paper. The
printer ejects the paper.
f Sheet Sheet is selected in the printer driver, but Roll Auto Cut
or Roll Cutter Off is selected at the control panel.
o All lights Reset has been executed by pressing the Pause button
for3secondsormore.

1-6 The Control Panel
Status messages
The following messages show the printer status. For error
messages, see “Printer Stops Printing Unexpectedly”on page 6-3.
READY W* Ready to print data.
POWER OFF The power is off.
INK DRY
NN MIN
W* Drying ink after printing. Wait for “NN” minutes.
RESET The printer is being reset.
PRESS PAUSE
BUTTON
The Pause button should be pressed.
PRINTING W* Receiving print data.
WAIT W* The printer is warming up, charging ink or
initializing.
PAUSE The printer is paused. To resume printing, press
the Pause button.
NO INK CARTRIDGE You are replacing the ink cartridge(s).
INK LOW Ink cartridge(s) is (are) nearly empty. Replace
the ink cartridge(s) indicated by the Ink Out
light(s). When the ink cartridge(s) is (are) out,
printing stops. Printing can be resumed after
empty cartridge(s) have been replaced.
LOAD PAPER The paper set lever is down while loading
paper. When you load paper and pull the set
leverup,PRESSPAUSEBUTTONappears.
TURN PWR OFF AND
ON
After clearing jammed paper, this message
appears. Turn the printer off and on.
INK CHARGING
nnn%
The printer is charging the ink delivery system.
This message shows the progress of the ink
charging process.
TRANSPORT PREP
nn%
The printer is preparing for transportation. This
message shows the progress of the preparation
process.

The Control Panel 1-7
* Indicates the Platen Gap setting is set to WIDE. When AUTO is selected, no
letter appears.
SelecType Settings
When to use SelecType
SelecType mode enables you to make printer settings similar to
those you would normally make in the driver or software, as well
as other additional settings, directly through the control panel.
Keep the following points in mind when making SelecType
settings:
❏Application programs may send commands to the printer that
override SelecType settings. If you are not getting the results
you expect, check your application software settings.
❏To see the current SelecType settings, print a status sheet.
Basic SelecType setting procedure
ThefollowingisthebasicSelecTypesettingprocedure.
1. Enter SelecType mode
Make sure that is displayed on the LCD panel, then
press the SelecType button.
The first menu, is displayed.
2. Select a menu
Press the SelecType button to select a desired menu.
For example:
To return to the READY status, press the Pause button.
MAINTENANCE
REQ. nnnn
A part used in the printer has nearly reached
the end of its service life. Note the error number
“nnnn”and contact your dealer. See
“Customer Information”on page B-2.

1-8 The Control Panel
3. Select an item
Press the Item button. The first item of the selected menu is
displayed. Press the Item button to select a desired item.
For example: = (✽ indicates that the displayed
parameter is the default value.)
If the item is for execution only, press the Enter button to
execute the function for the item. After execution, the printer
exits SelecType mode and returns to READY status.
For example: =(Initializes the current
panel settings to the factory-set values.)
4. Select a parameter
Press the +or -button to select a parameter for the item.
For example:=. Note that the asterisk (✽)
disappears. This means that the selected parameter (OFF)is
not yet stored as the default value.
To display the next item without changing the default value,
press the Item button.
5. Set the parameter
Press the Enter button to store the selected parameter as the
default value.
For example: = is displayed.
Press the Item button to return to step 3 if you want to select
another item.
6. Exit SelecType mode
Press the Pause button.
Note:
❏To exit SelecType mode at anytime, press the Pause button.
❏To return to step 2, press the SelecType button.

The Control Panel 1-9
SelecType menus
ThesixSelecTypemenusaredescribedbelow.
“Printer Setting menu (PRINTER
SETTING MENU)”on page 1-10
Various printer settings are
available.
“Test Print menu (TEST PRINT
MENU)”on page 1-12
You can print a nozzle check
pattern and status sheet.
“Printer Status menu (PRINTER
STATUS MENU)”on page 1-14
You can see the firmware version,
total prints since delivery, and ink
cartridge/parts life, on the LCD.
“Paper Configuration menu
(PAPER CONFIG. MENU)”on page
1-15
You can register the paper
thickness and ink drying time, and
select the specified value.
“Cutter Replacement menu
(CUTTER REPLACE MENU)”on
page 1-16
Follow this menu when you
replace the cutter. For details, see
“Replacing the Paper Cutter”on
page 5-5.
“Head Alignment menu (HEAD
ALIGNMENT MENU)”on page 1-17
You can correct any head
misalignment to obtain optimum
printing results. For details, see
“Performing the head alignment”
on page 1-18.

1-10 The Control Panel
Printer Setting menu (PRINTER SETTING MENU)
This menu allows you to make various settings which change the
operation of the printer.
PLATEN GAP (Platen gap adjustment)
Normally, leave this set to AUTO. If the printed image is smeared,
select WIDE.
PAGE LINE
Select whether page lines are printed on the roll paper.
The Print Page Line operation changes according to the Auto Cut
settings as shown.
Note:
When the Sheet light is on, the Print Page Line setting is not available.
Roll Auto Cut light Print Page Line Printer’s Operation
On On Prints page line on the
right side only, and cuts
paper automatically
after the print job.
On Off Cuts paper
automatically after the
print job.
Roll Cutter Off light Print Page Line Printer’s Operation
On On Prints page lines on the
right side and below the
document.
On Off Does not print page lines
or cut.

The Control Panel 1-11
INTERFACE (Interface selection)
When AUTO is selected, the printer automatically switches
between interfaces depending on which one is receiving data first.
If no more print jobs have been received, the printer returns to an
idle state after 10 seconds ormore. You can also select the interface
from parallel/USB (PARA./USB), or optional (OPTION).
PARA. I/F (Parallel interface mode selection)
Select the parallel interface mode from compatible (COMPAT)
and ECP. If you are using a USB connection, select COMPAT.
CODEPAGE(Codepageselection)
SelectthecodepagefromPC437 and PC850.
ROLL MARG (Roll paper margin selection)
Select margins for roll paper from 3MM,15 MM,andT/B 15 MM.
Note:
The combination of “Top/Bottom =3 mm, Left/Right =15 mm” is not
possible.
Margin settings Top/Bottom Left/Right
3MM 3mm 3mm
15 MM 15 mm 15 mm
T/B 15 MM 15 mm 3 mm

1-12 The Control Panel
When the same image is printed with a 3 mm margin and a 15 mm
margin and compared, you may notice that part of the right side
of the 15 mm margin image is not printed.
PAPER SIZE CHK (Paper width detection)
When you select ON, the printer stops printing and
appears on the printer’s control panel when the paper width
loaded in the printer does not match the image width. When OFF
is selected, the printer continues to print even if the paper width
does not match the images and the printer may print off of paper.
PAPER ALIGN CHK (Paper alignment check)
When you select ON, the printer stops printing and
appears on the printer’s control panel if slippage has
occurredandthepaperwasfedatanangle.IfOFF is selected, the
printer continues to print even if the paper was fed at an angle.
INIT. PANEL (Panel settings initialization)
Erases all the SelecType settings that you have made, and resets
them all to the factory default settings.
Test Print menu (TEST PRINT MENU)
This menu allows you to print test patterns.
Area to be
Clipped
15mm
Right
15mm
Left
Printable area
Leading edge
Bottom
15mm
Print direction
Roll paper
Top
15mm
Table of contents
Other Epson Stylus Printer manuals
Epson Stylus
Epson Stylus PHOTO R800 Manual
Epson Stylus
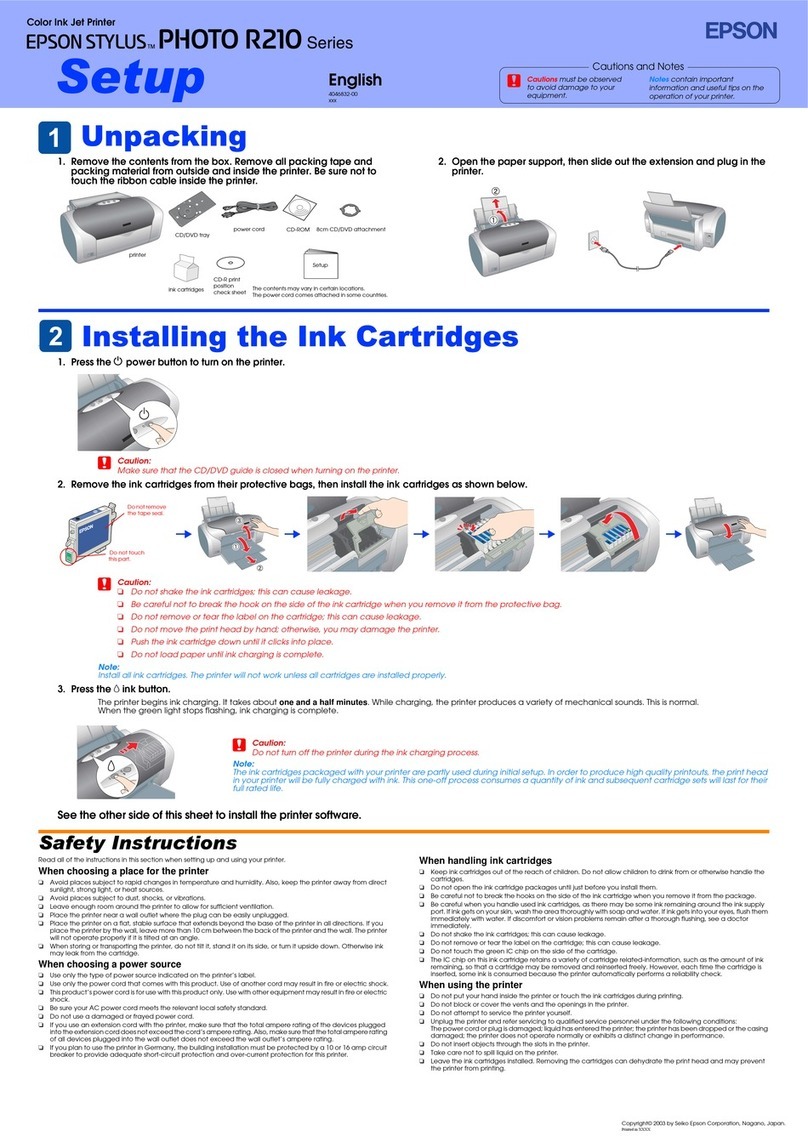
Epson Stylus STYLUS PHOTO R210 Series Manual
Epson Stylus
Epson Stylus PHOTO 830 Series User manual

Epson Stylus
Epson Stylus Photo 1410 Instruction Manual
Epson Stylus
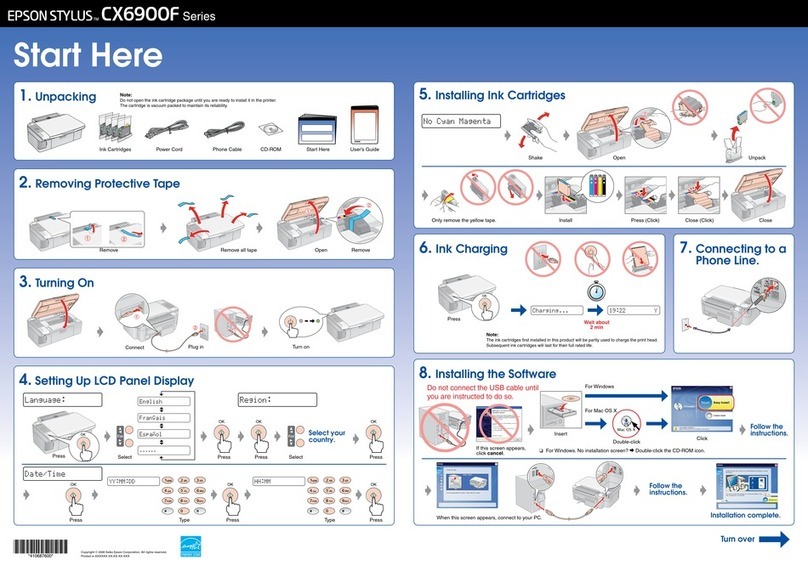
Epson Stylus CX6900F Series User manual

Epson Stylus
Epson Stylus CX5800F Instruction Manual
Epson Stylus
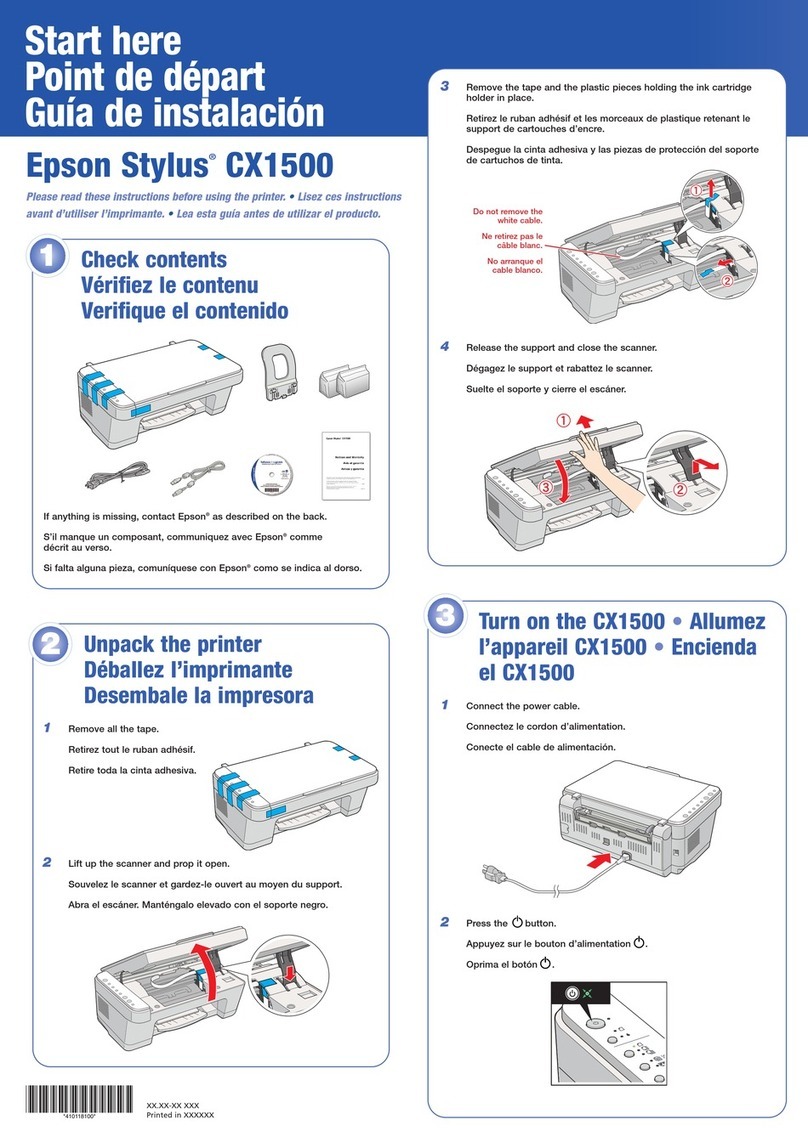
Epson Stylus CX1500 Instruction Manual
Epson Stylus
Epson Stylus Stylus SX410 Series Instruction Manual
Epson Stylus
Epson Stylus Color 580 User manual
Epson Stylus
Epson Stylus Office T30 Instruction Manual

