manuals.online logo
Brands
  1. Home
  2. •
  3. Brands
  4. •
  5. Epson
  6. •
  7. All In One Printer
  8. •
  9. Epson Stylus Scan 2500 Owner's manual

Epson Stylus Scan 2500 Owner's manual

Other manuals for Stylus Scan 2500

13

Other Epson All In One Printer manuals
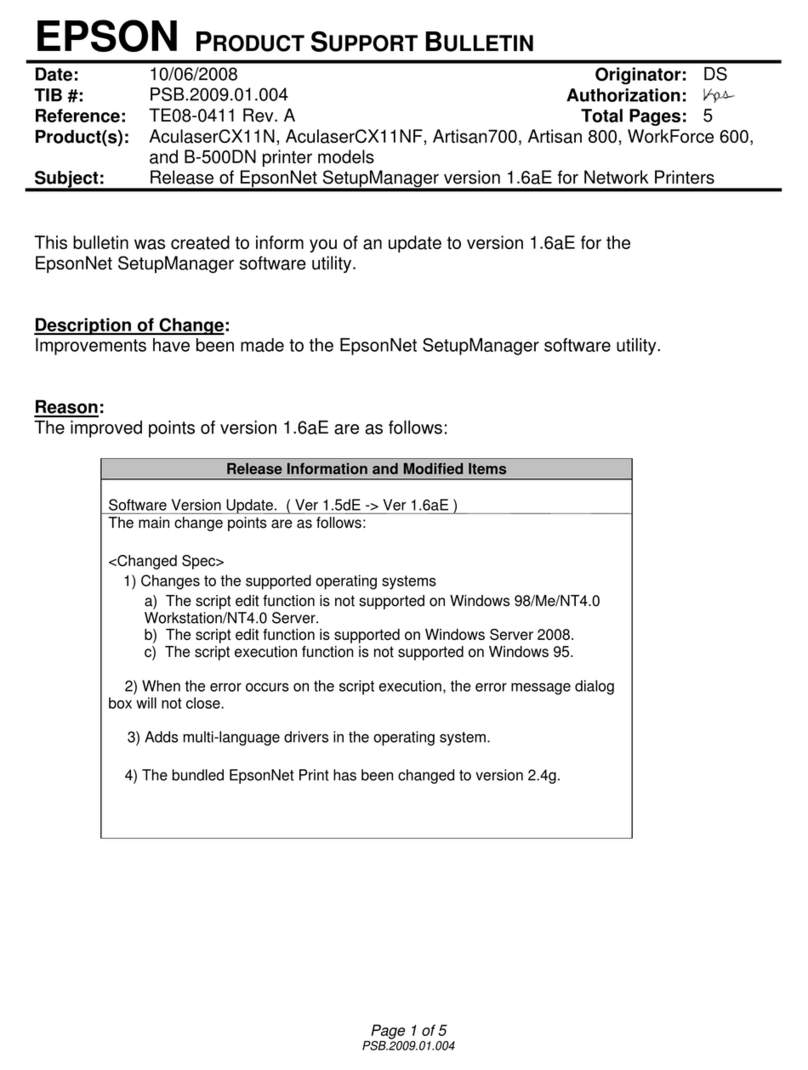
Epson Stylus Scan 2500 User manual

Epson

Epson Stylus Scan 2500 User manual

Epson Epson Stylus NX530 Guide

Epson

Epson Epson Stylus NX530 Guide

Epson RX500 - Stylus Photo Color Inkjet Assembly instructions

Epson

Epson RX500 - Stylus Photo Color Inkjet Assembly instructions

Epson WF-6530 Instruction Manual

Epson

Epson WF-6530 Instruction Manual

Epson Stylus CX9300 User manual

Epson

Epson Stylus CX9300 User manual

Epson WF-M5694 Instruction Manual

Epson

Epson WF-M5694 Instruction Manual

Epson WorkForce WF-7510 Instruction Manual

Epson

Epson WorkForce WF-7510 Instruction Manual

Epson NX400 - Stylus Color Inkjet User manual

Epson

Epson NX400 - Stylus Color Inkjet User manual

Epson Stylus SX210 Series Instruction Manual

Epson

Epson Stylus SX210 Series Instruction Manual

Epson AcuLasaer C1900 User manual

Epson

Epson AcuLasaer C1900 User manual

Epson Stylus Office BX625FWD Assembly instructions

Epson

Epson Stylus Office BX625FWD Assembly instructions

Epson L220 User manual

Epson

Epson L220 User manual

Epson WF-R8590 User manual

Epson

Epson WF-R8590 User manual

Epson L6290 Series User manual

Epson

Epson L6290 Series User manual

Epson Epson Stylus NX330 User manual

Epson

Epson Epson Stylus NX330 User manual

Epson RX680 - Stylus Photo Color Inkjet Instruction Manual

Epson

Epson RX680 - Stylus Photo Color Inkjet Instruction Manual

Epson Stylus Photo RX510 User manual

Epson

Epson Stylus Photo RX510 User manual

Epson Stylus CX6500 User manual

Epson

Epson Stylus CX6500 User manual

Epson WF-3720 series User manual

Epson

Epson WF-3720 series User manual

Epson Artisan 710 Series Instruction Manual

Epson

Epson Artisan 710 Series Instruction Manual

Epson NX515 - Stylus Color Inkjet User manual

Epson

Epson NX515 - Stylus Color Inkjet User manual

Epson WF-C869R User manual

Epson

Epson WF-C869R User manual

Epson Artisan 800 - All-in-One Printer User manual

Epson

Epson Artisan 800 - All-in-One Printer User manual

Epson 3880 - Stylus Pro Color Inkjet Printer Instruction Manual
Epson

Epson 3880 - Stylus Pro Color Inkjet Printer Instruction Manual

Popular All In One Printer manuals by other brands

Brother MFC-J220 Basic user's guide

Brother

Brother MFC-J220 Basic user's guide

Brother MFC-8510DN Basic user's guide

Brother

Brother MFC-8510DN Basic user's guide

Ricoh Aficio FX200 Service training

Ricoh

Ricoh Aficio FX200 Service training

Olivetti d-Copia 16W Operation manual

Olivetti

Olivetti d-Copia 16W Operation manual

Konica Minolta bizhub C3850FS user guide

Konica Minolta

Konica Minolta bizhub C3850FS user guide

Konica Minolta bizhub 758 manual

Konica Minolta

Konica Minolta bizhub 758 manual

Lexmark MX310 Series Service manual

Lexmark

Lexmark MX310 Series Service manual

Ricoh Aficio 3224C operating instructions

Ricoh

Ricoh Aficio 3224C operating instructions

Sagem MF 3625 user manual

Sagem

Sagem MF 3625 user manual

Brother MFC9800 - MFC 9800 B/W Laser owner's manual

Brother

Brother MFC9800 - MFC 9800 B/W Laser owner's manual

Konica Minolta 7033 instruction manual

Konica Minolta

Konica Minolta 7033 instruction manual

Ricoh Aficio MP 161F operating instructions

Ricoh

Ricoh Aficio MP 161F operating instructions

Brother MFC-J430w user guide

Brother

Brother MFC-J430w user guide

Konica Minolta BIZHUB 558 Quick reference guide

Konica Minolta

Konica Minolta BIZHUB 558 Quick reference guide

Lexmark MX710 Series setup sheet

Lexmark

Lexmark MX710 Series setup sheet

Brother MFC-9760 owner's manual

Brother

Brother MFC-9760 owner's manual

Sharp MX-2310U Start guide

Sharp

Sharp MX-2310U Start guide

Lexmark XC8155 user guide

Lexmark

Lexmark XC8155 user guide

manuals.online logo
manuals.online logoBrands
  • About & Mission
  • Contact us
  • Privacy Policy
  • Terms and Conditions

Copyright 2025 Manuals.Online. All Rights Reserved.

Stylus Scan 2500
Rev. C
A5 size USBTRBL.FM
2/1/00 Pass 0
R
Proof Sign-off:
K.Gazan, K. Nishi _______
N.Nomoto _______
J.Hoadley _______
Supplemental Information
This sheet contains supplemental information about
troubleshooting the parallel port and USB installation problems.
It is divided into the following sections:
❏Troubleshooting the parallel port(Windows 98/95)
❏USB (Windows 98) installation problems
Troubleshooting the Parallel Port (Windows 98/95)
Printing or scanning speed is slow
Make sure the ECP mode is turned on in your computer’s BIOS.
For details, see your computer’s documentation.
If the ECP mode is enabled in BIOS and printing and scanning are
still slow, the ECP hardware (a component inside your computer
which processes the ECP protocol) is malfunctioning. When the
Stylus Scan’s ECP port driver senses a problem in the ECP
hardware, the driver switches to software processing of the ECP
protocol to protect your data. Software processing is secure, but
much slower than hardware processing.
A communication error occurs during printing or
scanning
Make sure the ECP mode is turned on in your computer’s BIOS.
For details, see your computer’s documentation.
If the errors continue to occur, follow the steps below:
1. Click Start, then Run.
4011263
C01-00
Copyright© 1999 by SEIKO EPSON CORPORATION,
Nagano, Japan
2
Stylus Scan 2500
Rev. C
A5 size USBTRBL.FM
2/1/00 Pass 0
LProof Sign-off:
K.Gazan, K. Nishi _______
N.Nomoto _______
J.Hoadley _______
2. Type EPLPTDMA in the Open box, then click OK.
3. The following dialog box appears. Clear the check box that
appears beside the name of the port to which you have
connected the Stylus Scan, then click OK.
Note:
Unavailable ports appear dimmed.
4. Restart Windows.
USB (Windows 98) Installation Problems
If the Stylus Scan Driver was not properly installed, uninstall the
Stylus Scan Driver in the manner described in the Setup Guide,
then reinstall it.
If, after doing the above, the Stylus Scan does not work correctly,
check the following:
3
Stylus Scan 2500
Rev. C
A5 size USBTRBL.FM
2/1/00 Pass 0
R
Proof Sign-off:
K.Gazan, K. Nishi _______
N.Nomoto _______
J.Hoadley _______
USB Printer Device Driver or Stylus Scan Driver (Printer)
Problems
Make sure your computer had Windows 98 pre-installed
Your computer must have Windows 98 pre-installed. The printer
driver may not function properly on a computer that has been
upgraded from Windows 95 to 98.
For details about your computer, contact your dealer.
Check that the USB driver was installed correctly
Use the following procedure to confirm that the USB driver was
installed correctly.
1. Click the Start button, point to Settings and click the Printers
folder. Make sure that the icon for the printer appears in the
Printers folder.
2. Click the printer icon, and select Properties from the File
menu.
4
Stylus Scan 2500
Rev. C
A5 size USBTRBL.FM
2/1/00 Pass 0
LProof Sign-off:
K.Gazan, K. Nishi _______
N.Nomoto _______
J.Hoadley _______
3. Click the Details tab and make sure that EPUSBx: (EPSON
Stylus Scan 2500) is displayed in the Print to the following
port list box
4. If the correct port is not displayed, remove the USB cable, then
connect the Stylus Scan to the first tier of the hub, or connect
the Stylus Scan to the computer’s USB port directly.
Make sure that EPSON USB Printer Devices appears in the
Device Manager menu
If you canceled the plug-and-play driver installation before the
procedure completed, either the USB printer device driver or the
printer driver may be incorrectly installed.
Follow the steps below to check the installation and reinstall the
drivers.
1. Turn the Stylus Scan on. Plug the USB cable into the Stylus
Scan and the computer.
2. Right-click the My Computer icon on your desktop, then click
Properties.
3. Click the Device Manager tab.
5
Stylus Scan 2500
Rev. C
A5 size USBTRBL.FM
2/1/00 Pass 0
R
Proof Sign-off:
K.Gazan, K. Nishi _______
N.Nomoto _______
J.Hoadley _______
If your drivers are correctly installed, EPSON USB Printer
Devices should appear in the Device Manager menu.
If EPSON USB Printer Devices does not appear in the Device
Manager menu, click the plus (+) sign beside Other Devices
to view the installed devices. If USB Printer appears under
Other Devices, the USB printer device driver is not installed
correctly. If EPSON Stylus Scan 2500 appears under Other
Devices, the printer driver is not installed correctly.
If neither USB Printer nor EPSON Stylus Scan 2500 appears under
Other Devices, click Refresh or unplug the USB cable from the
Stylus Scan, then plug it into the Stylus Scan again.
6
Stylus Scan 2500
Rev. C
A5 size USBTRBL.FM
2/1/00 Pass 0
LProof Sign-off:
K.Gazan, K. Nishi _______
N.Nomoto _______
J.Hoadley _______
4. Under Other Devices, click USB Printer or EPSON Stylus Scan
2500, then click Remove and OK.
5. Click close to close the System Properties window.
6. Unplug the USB cable from the Stylus Scan, then plug it into
the Stylus Scan again.
7. The following dialog box appears. Install the driver again,
following the instructions in the Setup Guide.
7
Stylus Scan 2500
Rev. C
A5 size USBTRBL.FM
2/1/00 Pass 0
R
Proof Sign-off:
K.Gazan, K. Nishi _______
N.Nomoto _______
J.Hoadley _______
Stylus Scan driver (scanner) problems
Check if your Stylus Scan name appears under Imaging Device
hardware type without a ? or ! mark in the Device Manager menu.
To view this menu, right-click the My Computer icon on the
Desktop. If your scanner appears with a ? or ! mark, or appears
as an Unknown Devices hardware type, make sure your Stylus
Scan is turned on and connected, the click Remove to remove it
from the Device Manager menu.
Note:
If the EPSON Stylus Scan Disk is requested when reinstalling the
driver, make sure the EPSON Stylus Scan 2500 Software for Windows
CD is still in the CD-ROM drive and check that the correct drive letter,
the EPSON folder, the folder of your preferred language, and the Win98
folder are specified.
Make sure that EPSON Stylus Scan 2500 appears in the Device
Manager menu
If you canceled the plug-and-play driver installation before the
procedure was completed, EPSON Stylus Scan FB TWAIN may
be incorrectly installed.
Follow the steps below to check the installation.
1. Turn the Stylus Scan on. Plug the USB cable into the Stylus
Scan and the computer.
2. Right-click the My computer icon on your desktop, then click
Properties.
3. Click the Device Manager tab.
If your EPSON Stylus Scan FB TWAIN is correctly installed,
EPSON Stylus Scan 2500 should appear under Imaging
Device when you click the plus (+) sign next to Imaging
Device.
8
Stylus Scan 2500
Rev. C
A5 size USBTRBL.FM
2/1/00 Pass 0
LProof Sign-off:
K.Gazan, K. Nishi _______
N.Nomoto _______
J.Hoadley _______
If EPSON Stylus Scan 2500 appears under Other Devices with
a ? mark or under Imaging Device with ! mark, the EPSON
Stylus Scan FB TWAIN file is not installed correctly. Follow
the instructions to reinstall the driver.
If EPSON Stylus Scan 2500 appears under Other Devices
Note:
Make sure the Stylus Scan is on and connect to your computer. If the
Stylus Scan is off or not connected to your computer, you cannot
reinstall the driver properly.
9
Stylus Scan 2500
Rev. C
A5 size USBTRBL.FM
2/1/00 Pass 0
R
Proof Sign-off:
K.Gazan, K. Nishi _______
N.Nomoto _______
J.Hoadley _______
1. If ? EPSON Stylus Scan 2500 appears under Other Devices,
click ? EPSON Stylus Scan 2500. Then click Remove and
OK.
2. Click Close to close the System Properties window.
3. Make sure the Stylus Scan is on and restart your computer.
4. The following dialog box appears. To install the driver again,
follow the instructions in the Setup Guide.
10
Stylus Scan 2500
Rev. C
A5 size USBTRBL.FM
2/1/00 Pass 0
LProof Sign-off:
K.Gazan, K. Nishi _______
N.Nomoto _______
J.Hoadley _______
If EPSON Stylus Scan 2500 appears under Imaging Device
Note:
Make sure the Stylus Scan is on and connected to your computer. If the
Stylus Scan is off or not connected to your computer, you cannot
reinstall the driver properly.
1. If ! EPSON Stylus Scan 2500 appears under Imaging Device,
click ! EPSON Stylus Scan 2500. Then click Remove and OK.
2. Click Close to close the System Properties Window.
3. Make sure the Stylus Scan is on and restart your computer.
4. When the following dialog appears, insert the EPSON Stylus
Scan 2500 Software for Windows CD-ROM in the CD-ROM
drive, then click OK.