Installation instructions
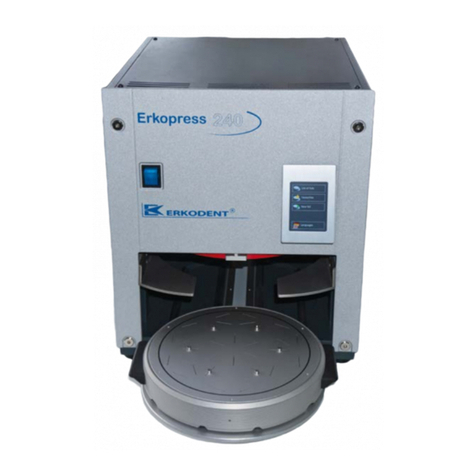
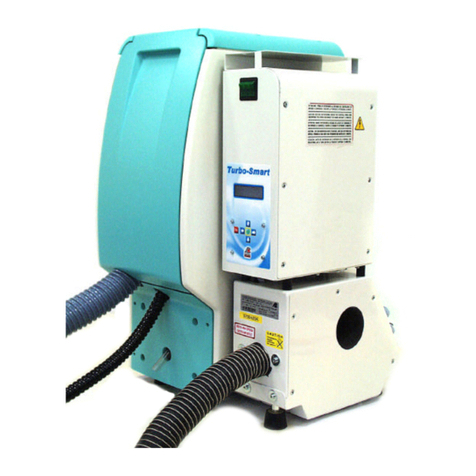
The ERKOFORM-RVE is connected to electricity independent on compressed air equipment.
In order to avoid water getting into the appliance (for example water splashes), the appliance
should be installed in dry conditions.
When working with the ERKOFORM-RVE unit, please observe the general instructions for
avoidance of accidents. If the appliance is not used, separate it from electricity.
Supplies:
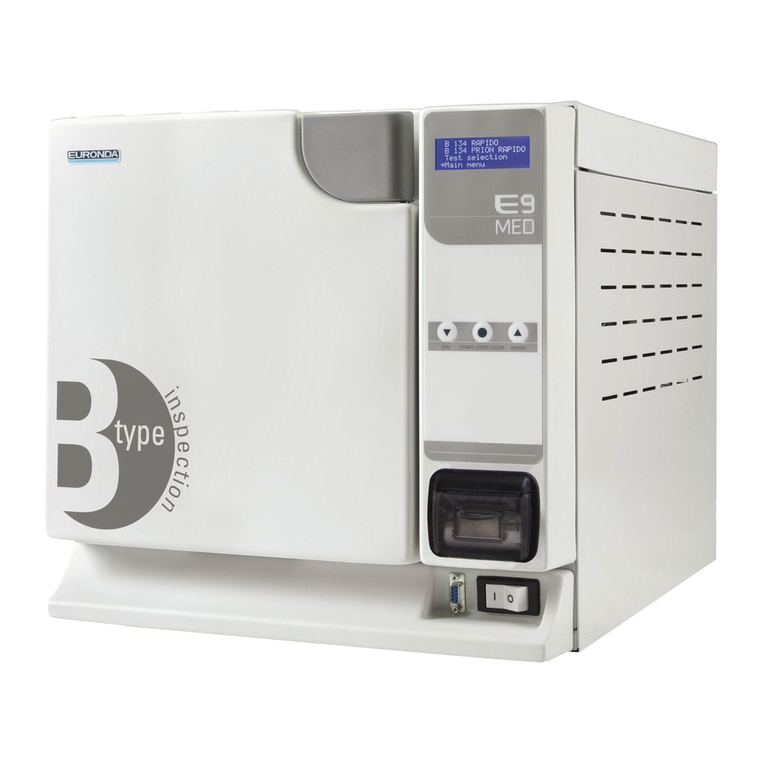
188 000 ERKOFORM-RVE
with foil introductory kit,
net model support, filling
granules, collecting con-
tainer for filling granules
Technical data:
H 31 cm/W 24 cm/D 35 cm
weight app. 10.2 kg
max. vacuum 0.8 bar
noise level < 70 dB(A)
Electrical data:
230/240 or 115/100 Volt~
330 Watt
Heating element 280 Watt
Fuse 2 x T-2A (230/240 V)
or 2 x T-4A (100/115 V)
GHandle of foil frame
AMain switch
BConfirmation
timing switch
CHeater timing
switch
DDisplay heating and
pre-heating time
EControl light
heating time/
pre-heating time
Spare sealing
NForm pot
(order no. 188017)
Heater below
protective cage
Foil frame
Foil cover ring
Securing screws
for foil cover ring
Container for filling
granules
Net model support
for filling granules
Spare sealing
Foil frame
(
order no. 188011)
F
H
I
J
L
K
M
1
23
4
5
6
Operation:
The machine should always be filled with granules (ill. 1).
To fill it in, hold on the foil frame (H) and lift it upwards with
the aid of the handle (G) and turn forwards round the pivot
until the stop is reached. Smooth out granules. Surplus gra-
nules should be brushed away with supplied brush and col-
lected in the granule overflow reservoir (L). Please ensure
that no granules remain on the seals. Recommendation:
Test the movement of the foil frame when the appliance is
switched off. The below instructions relate to the construc-
tion of a splint made from ERKODUR thickness 1 mm.
Please note that other thicknesses and materials require
different heating time.
1. Switch on main switch (A).
2. The visual display flashes (D).
3. Enter heating time referring to our recommended time
chart (foil heating times) by pressing switch (C) (ill. 2),
ERKODUR 1 mm = 50 sec. (press top of switch to
increase time, press bottom of switch to decrease time,
to speed press switch firmly).
4. Confirm the heating time by pressing switch (B) (ill. 3).
This will initiate the pre-heating time 1.45 (105 sec.).
Keep the switch pressed until the time at the visual
display changes to 1.45. The red control light becomes
illuminated (E). If the unit remains switched on, the pre-
heating time for all further thermoforming processes
will be 1 min. 30 sec. The change of the pre-heating
time will be made automatically so that the operation
will be as usual.
5. If not already done, move foil frame (H) upwards and
then forwards.
6. Place the model in filling granules (ill. 4) or on top of
the net model support (K) (ill. 5). If this support is set in,
the filling granules should be level with the top of the
form pot so that the support lies flatly (this can be done
before entering the heating time).
7. Release the foil cover ring (I) by rotating the securing
screws (J) and take it off (ill. 6).
Putting into operation
Fit the supplied plug in the
rear socket of the machi-
ne. Plug in at the wall sok-
ket, the unit is operational.
ATTENTION!
Security advices
Do not touch heater - hot surface!
Operate the unit only under supervision.
Do not keep slightly inflammable materials in direct area
of the machine. Heat and work only with suitable thermo-
forming materials.

