manuals.online logo
Brands
  1. Home
  2. •
  3. Brands
  4. •
  5. Cattani
  6. •
  7. Dental Equipment
  8. •
  9. Cattani 035000 User manual

Cattani 035000 User manual

Assemblaggio Carenatura -035000-Kit Box Assembly Instructions.
035000 Assembly Instructions February ‘06 1
Assemblaggio Carenatura -035000-Kit Box Assembly Instructions.
035000 Assembly Instructions February ‘06 2
Assemblaggio Carenatura -035000-Kit Box Assembly Instructions.
035000 Assembly Instructions February ‘06 3
Legenda dei simboli -Symbol legend
Questo simbolo significa il pericolo di scosse elettriche.
Una scossa elettrica può comportare il pericolo per la salute e il pericolo di
morte.
This symbol indicates an electrical shock hazard.
An electrical shock implies risks for health and even danger of death.
Questo simbolo richiama l’attenzione sulla necessità di indossare le
protezioni necessarie per evitare contaminazioni con materiali
biologicamente pericolosi.
This symbol warns about the need for necessary protections to avoid
contamination by biologically dangerous materials.
Questo simbolo significa un immediato pericolo di morte e per la salute delle
persone. La non osservanza di queste avvertenze ha degli effetti gravissimi
sulla salute e può perfino causare delle ferite che comportano il pericolo di
morte.
This symbol indicates an immediate danger for health and of death.
Failing to take note of this warning can have grave effects on health, and can
cause wounds that may result in death.
Questo simbolo richiama l’attenzione sulle parti a temperature elevate.
This symbol warns about areas of very high temperature.
Questo simbolo richiama l’attenzione sulla necessità di indossare le
protezioni dell’udito.
This symbol indicates the need for ear protection.
Questo simbolo indica il senso e la direzione dei flussi o delle rotazioni.
This symbol indicates the direction of flows and rotations.
Assemblaggio Carenatura -035000-Kit Box Assembly Instructions.
035000 Assembly Instructions February ‘06 4
E’ disponibile il kit carenatura Turbo-Smart (cod. 035000).
Qui di seguite trovate le istruzioni per il montaggio.
1) Pannello lato sinistro
2) Pannello lato destro
3) Coperchio superiore
4) Pannello posteriore
5) Pannello rimovibile anteriore
6) Pannello anteriore.
The kit box (code 035000) for Turbo-Smart is now
available. Assembly instructions are as follows:
1) Left side panel
2) Right side panel
3) Top cover
4) Back panel
5) Front removable panel
6) Front panel
Fig 1
Kit di montaggio carenatura (cod. 254000) Box assembly kit (code 254000)
Fig.2
Assemblaggio Carenatura -035000-Kit Box Assembly Instructions.
035000 Assembly Instructions February ‘06 5
Avvitare i 4 perni (223120) nella parte inferiore delle
fiancate.
Montare i due angolari (220431) e la piastra superiore
(223230) utilizzando le viti 250943, le rondelle grover
250722 e le rondelle piane 250735 (Fig. 3).
Tighten the 4 screws (223120) on the bottom of the side
panels.
Use the screws 250943, the lock washers 250722 and the
disc rings 250735 to screw the 2 angle bars (220431) and
the top plate (223230)together (Fig. 3).
Fig. 3
Montare la piastra anteriore (223228) quindi la piastra
posteriore (223229) utilizzando le viti 250937 (Fig. 4 e
Fig. 5).
Mount the front plate (223228) and the back plate
(223229)using the screws 250937 (Fig. 4 and Fig. 5).
Fig. 4
Fig. 5
Assemblaggio Carenatura -035000-Kit Box Assembly Instructions.
035000 Assembly Instructions February ‘06 6
Inserire il pannello sinistro (1 Fig. 1) agganciando i due
perni sul basamento del Turbo-Smart (Fig. 6)
Inserire le rondelle piane 250703 sulle viti 250937 quindi
avvitarle parzialmente sugli inserti filettati (Fig. 7).
Assemble the left panel (1 Fig.1) inserting the 2 screws in
the holes of the Turbo-Smart base(Fig. 6).
Assemble the disc rings 250703 with the screws 250937,
then fasten the screws on the thread inserts but not
completely (Fig. 7).
Fig. 6
Fig. 7
Inserire il pannello destro (2 Fig. 1) facendo attenzione al
cavo Flat del sensore d’amalgama, agganciare i due perni
sul basamento del Turbo-Smart, quindi inserire le viti
250937 con rondelle 250703 avvitandole parzialmente
(Fig. 8), fare la stessa operazione sul lato posteriore del
Turbo-Smart.
Disporre il coperchio (3 Fig. 1) ed avvitarlo con viti
251113 e rondelle piane 250735 (Fig. 9).
Place the right panel (2 Fig. 1) in its seat paying attention
not to cut the Flat cable of the amalgam sensor. Insert the
screws in the holes of the Turbo-Smart base, assemble the
disc rings 250703 with the screws 250937, then fasten the
screws on the thread inserts but not completely (Fig.8), carry
out the same operation on the back side of Turbo-Smart.
Place the cover in its seat (3 Fig. 1) and fasten it with the
screws 251113and the disc rings 250735 (Fig. 9).
Fig. 8
Fig. 9
Assemblaggio Carenatura -035000-Kit Box Assembly Instructions.
035000 Assembly Instructions February ‘06 7
Inserire il pannello posteriore (4 Fig. 1) nella parte
superiore (Fig. 10).
Fissarlo con le viti 251113 e rondelle piane 250735 (Fig.
11)
Insert the backpanel (4 Fig. 1) in the upper part of the box
(Fig. 10).
Fasten it with the screws 251113 and the disc rings 250735
(Fig. 11).
Fig. 10
Fig. 11
Inserire il pannello anteriore (6 Fig. 1) come mostrato in
Fig. 12, quindi fissarlo con le viti 251113 e le rondelle
piane 250735 (Fig. 12)
Avvicinare i due pannelli laterali destro e sinistro, quindi
attraverso i fori sul pannello anteriore serrare le viti
sottostanti (Fig. 13).
Position the front panel (6 Fig. 1) as shown in Fig.12 and
fasten it with the screws 251113 and the disc rings 250735
(Fig. 12).
Place the 2side panels in the correspondingseats, then insert
the screws below in the holes of the front panel and fasten
them (Fig. 13).
Fig. 12
Fig. 13
Assemblaggio Carenatura -035000-Kit Box Assembly Instructions.
035000 Assembly Instructions February ‘06 8
Avvicinare i due pannelli laterali destro e sinistro, quindi
attraverso i fori sul pannello posteriore serrare le viti
sottostanti (Fig. 14).
Place the 2 side panels in the correspondingseats, then
insert the screws below in the holes of the back panel and
fasten them (Fig. 14).
Fig. 14
Assemblaggio Carenatura -035000-Kit Box Assembly Instructions.
035000 Assembly Instructions February ‘06 9
Assemblaggio Carenatura -035000-Kit Box Assembly Instructions.
035000 Assembly Instructions February ‘06 10
Assemblaggio Carenatura -035000-Kit Box Assembly Instructions.
035000 Assembly Instructions February ‘06 11
Assemblaggio Carenatura -035000-Kit Box Assembly Instructions.
035000 Assembly Instructions February ‘06 12
CATTANI S.p.A. Via Natta 6/A –43100 Parma ITALY –Tel. +39 0521 607624 Fax +39 0521 607628-607855
ESAM S.p.A. Via Natta4/A –43100 Parma ITALY –Tel. +39 0521 607613 Fax +39 0521 607628-607855
http://www.cattani.it Email: [email protected] –http://www.esam.it Email: [email protected]

Other Cattani Dental Equipment manuals
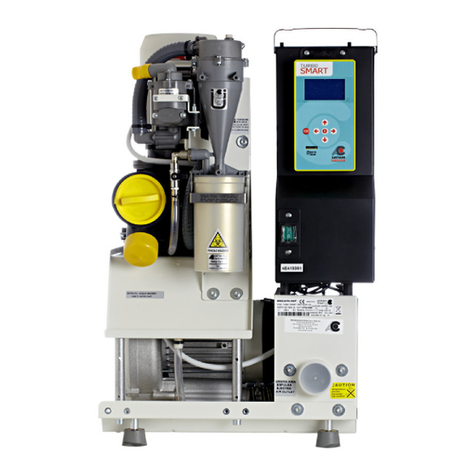
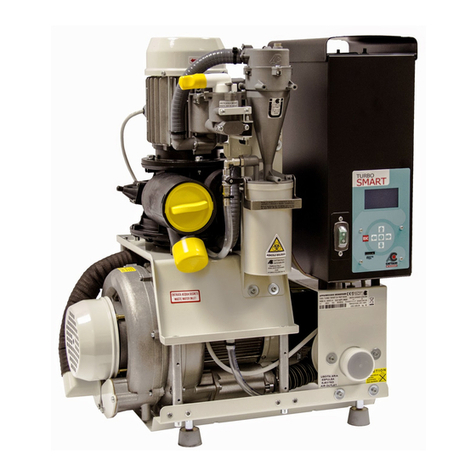
Cattani turbo smart Operating instructions

Cattani

Cattani turbo smart Operating instructions

Cattani SMART Series User manual

Cattani

Cattani SMART Series User manual

Cattani HYDROCLICLONE ISO Service manual

Cattani

Cattani HYDROCLICLONE ISO Service manual

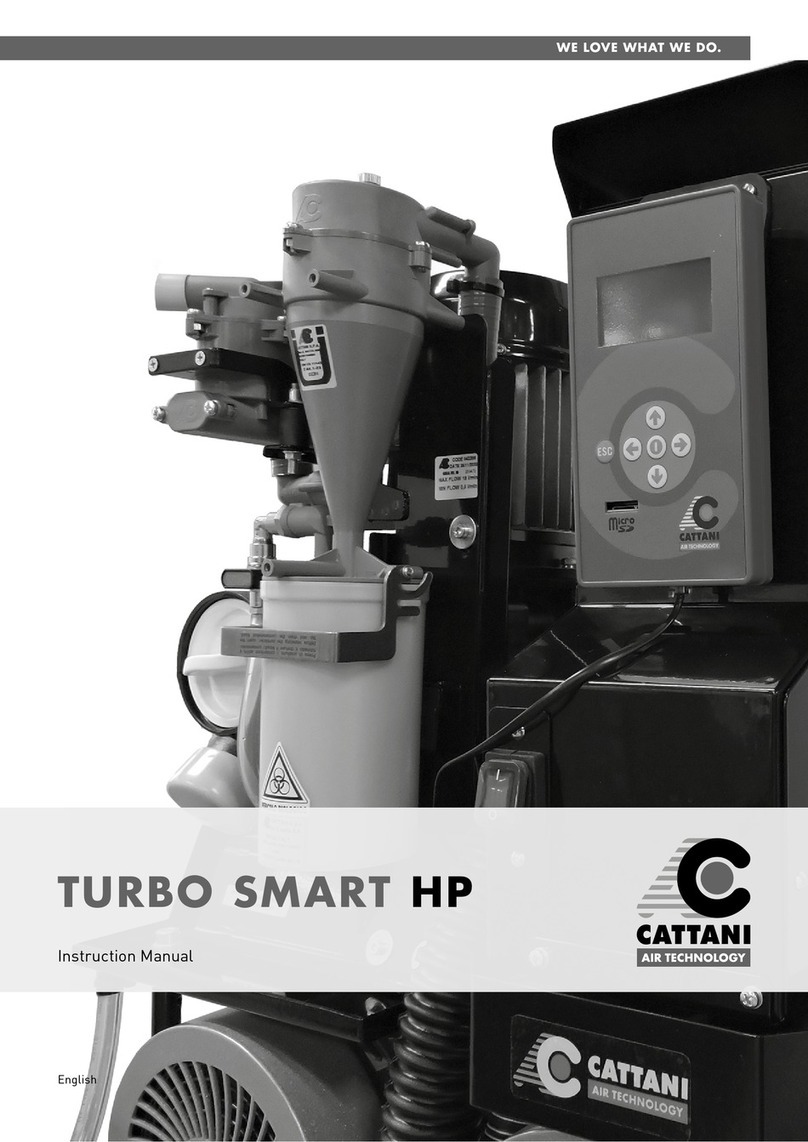
Cattani TURBO SMART HP User manual

Cattani

Cattani TURBO SMART HP User manual

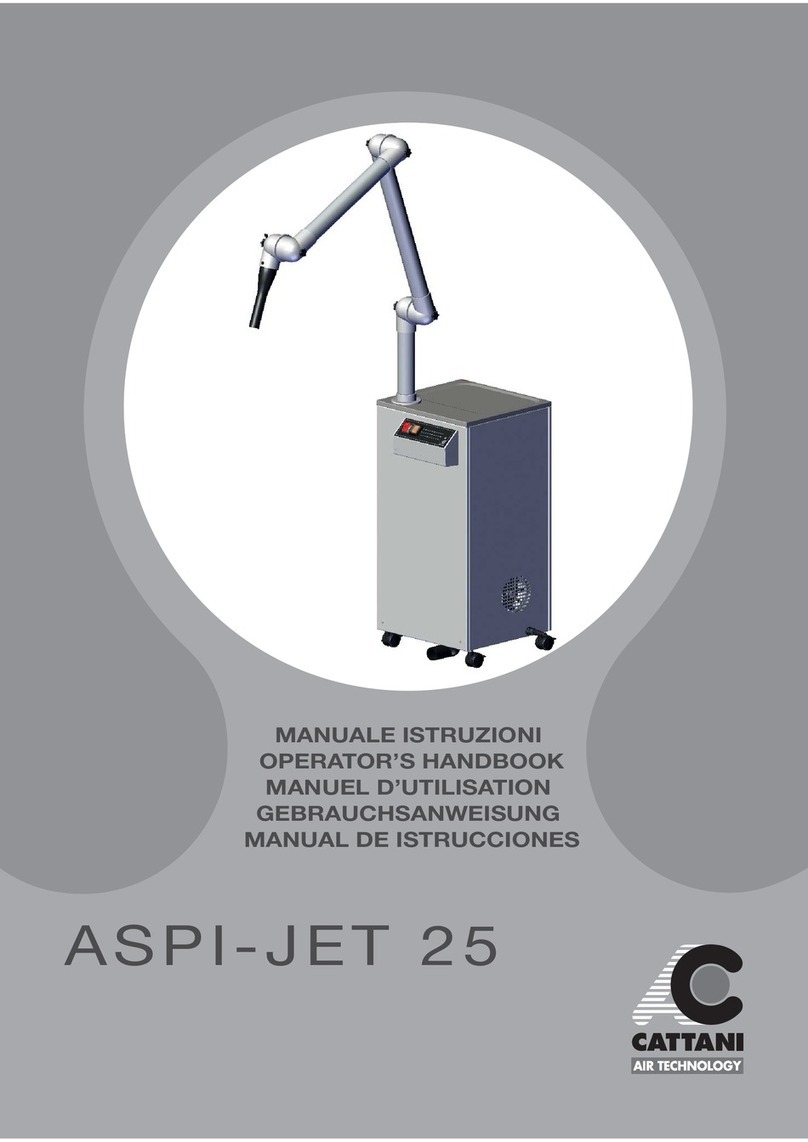
Cattani ASPI-JET 25 Service manual

Cattani

Cattani ASPI-JET 25 Service manual

Cattani Mono-Jet Series Service manual

Cattani

Cattani Mono-Jet Series Service manual

Cattani MICRO SMART Service manual

Cattani

Cattani MICRO SMART Service manual

Cattani TURBO-SMART Service manual

Cattani

Cattani TURBO-SMART Service manual
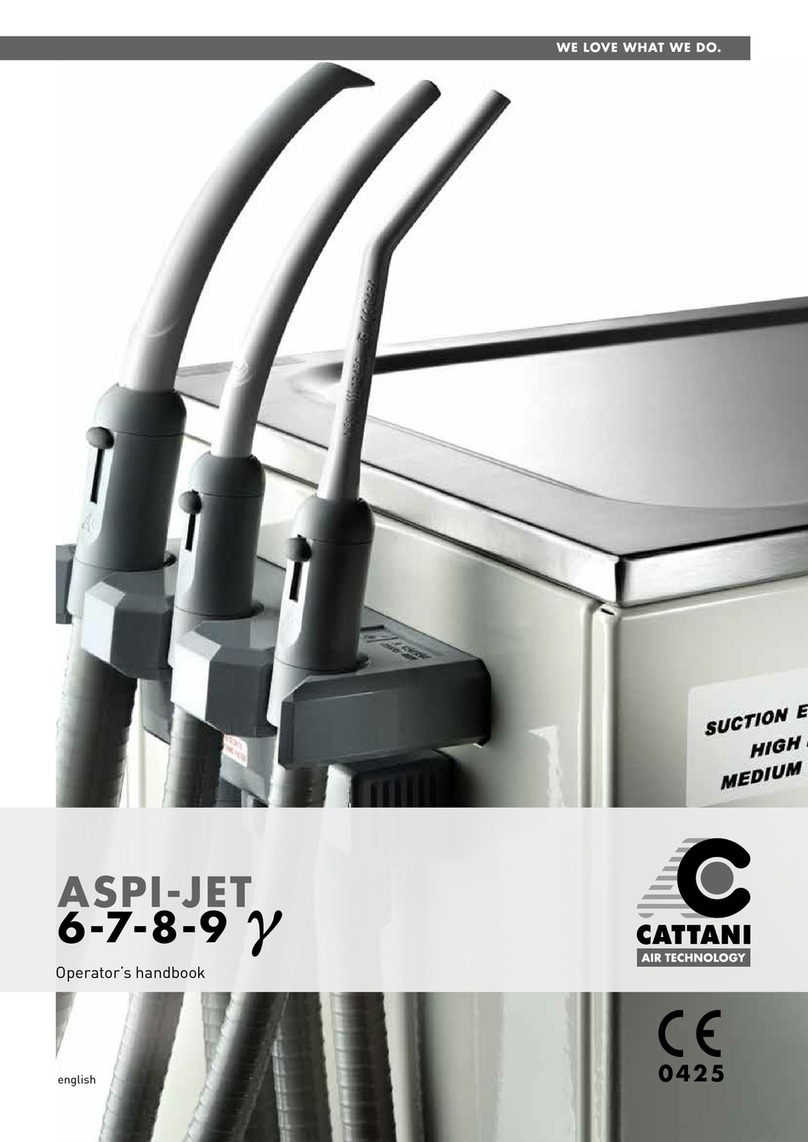
Cattani ASPI-JET 6 y Service manual

Cattani

Cattani ASPI-JET 6 y Service manual

Cattani ISO 18 User manual

Cattani

Cattani ISO 18 User manual

Cattani Aspi-Jet 6 G Service manual

Cattani

Cattani Aspi-Jet 6 G Service manual

Cattani MAXI SMART Service manual

Cattani

Cattani MAXI SMART Service manual

Cattani turbo smart Service manual

Cattani

Cattani turbo smart Service manual

Cattani MICRO SMART Service manual

Cattani

Cattani MICRO SMART Service manual

Popular Dental Equipment manuals by other brands

Waterpik WF-10W012 manual

Waterpik

Waterpik WF-10W012 manual

Durr Dental Hygoclave 50 Installation and operating instructions

Durr Dental

Durr Dental Hygoclave 50 Installation and operating instructions

NSK Ti-Max X450L Operation manual

NSK

NSK Ti-Max X450L Operation manual

Owandy Radiology OwandyCam Installation and user manual

Owandy Radiology

Owandy Radiology OwandyCam Installation and user manual

KaVo DIAGNOdent 2191 Instructions for use

KaVo

KaVo DIAGNOdent 2191 Instructions for use

SybronEndo Touch 'n Heat 5004 Instructions & guidelines

SybronEndo

SybronEndo Touch 'n Heat 5004 Instructions & guidelines

Coltene CanalPro Assembly guide

Coltene

Coltene CanalPro Assembly guide

Dentsply Sirona SiroCam UAF Plus Instructions for use

Dentsply Sirona

Dentsply Sirona SiroCam UAF Plus Instructions for use

KaVo DSE Compact 5195 Instructions for use

KaVo

KaVo DSE Compact 5195 Instructions for use

mk-dent EM1190K instruction manual

mk-dent

mk-dent EM1190K instruction manual

Dentsply Sirona Ceram.x Spectra ST Directions for use

Dentsply Sirona

Dentsply Sirona Ceram.x Spectra ST Directions for use

Aseptico AMC-20CF Operation & maintenance manual

Aseptico

Aseptico AMC-20CF Operation & maintenance manual

Ritter Ultimate manual

Ritter

Ritter Ultimate manual

DENTSPLY Cavitron Directions for use

DENTSPLY

DENTSPLY Cavitron Directions for use

Wassermann Wapo-Mat III user manual

Wassermann

Wassermann Wapo-Mat III user manual

Dreve Drufosmart Working instructions

Dreve

Dreve Drufosmart Working instructions

Diplomat ADEPT DA 270 Instructions for use

Diplomat

Diplomat ADEPT DA 270 Instructions for use

Bien Air CA 1: 2.5 L MS Instructions for use

Bien Air

Bien Air CA 1: 2.5 L MS Instructions for use

manuals.online logo
manuals.online logoBrands
  • About & Mission
  • Contact us
  • Privacy Policy
  • Terms and Conditions

Copyright 2025 Manuals.Online. All Rights Reserved.