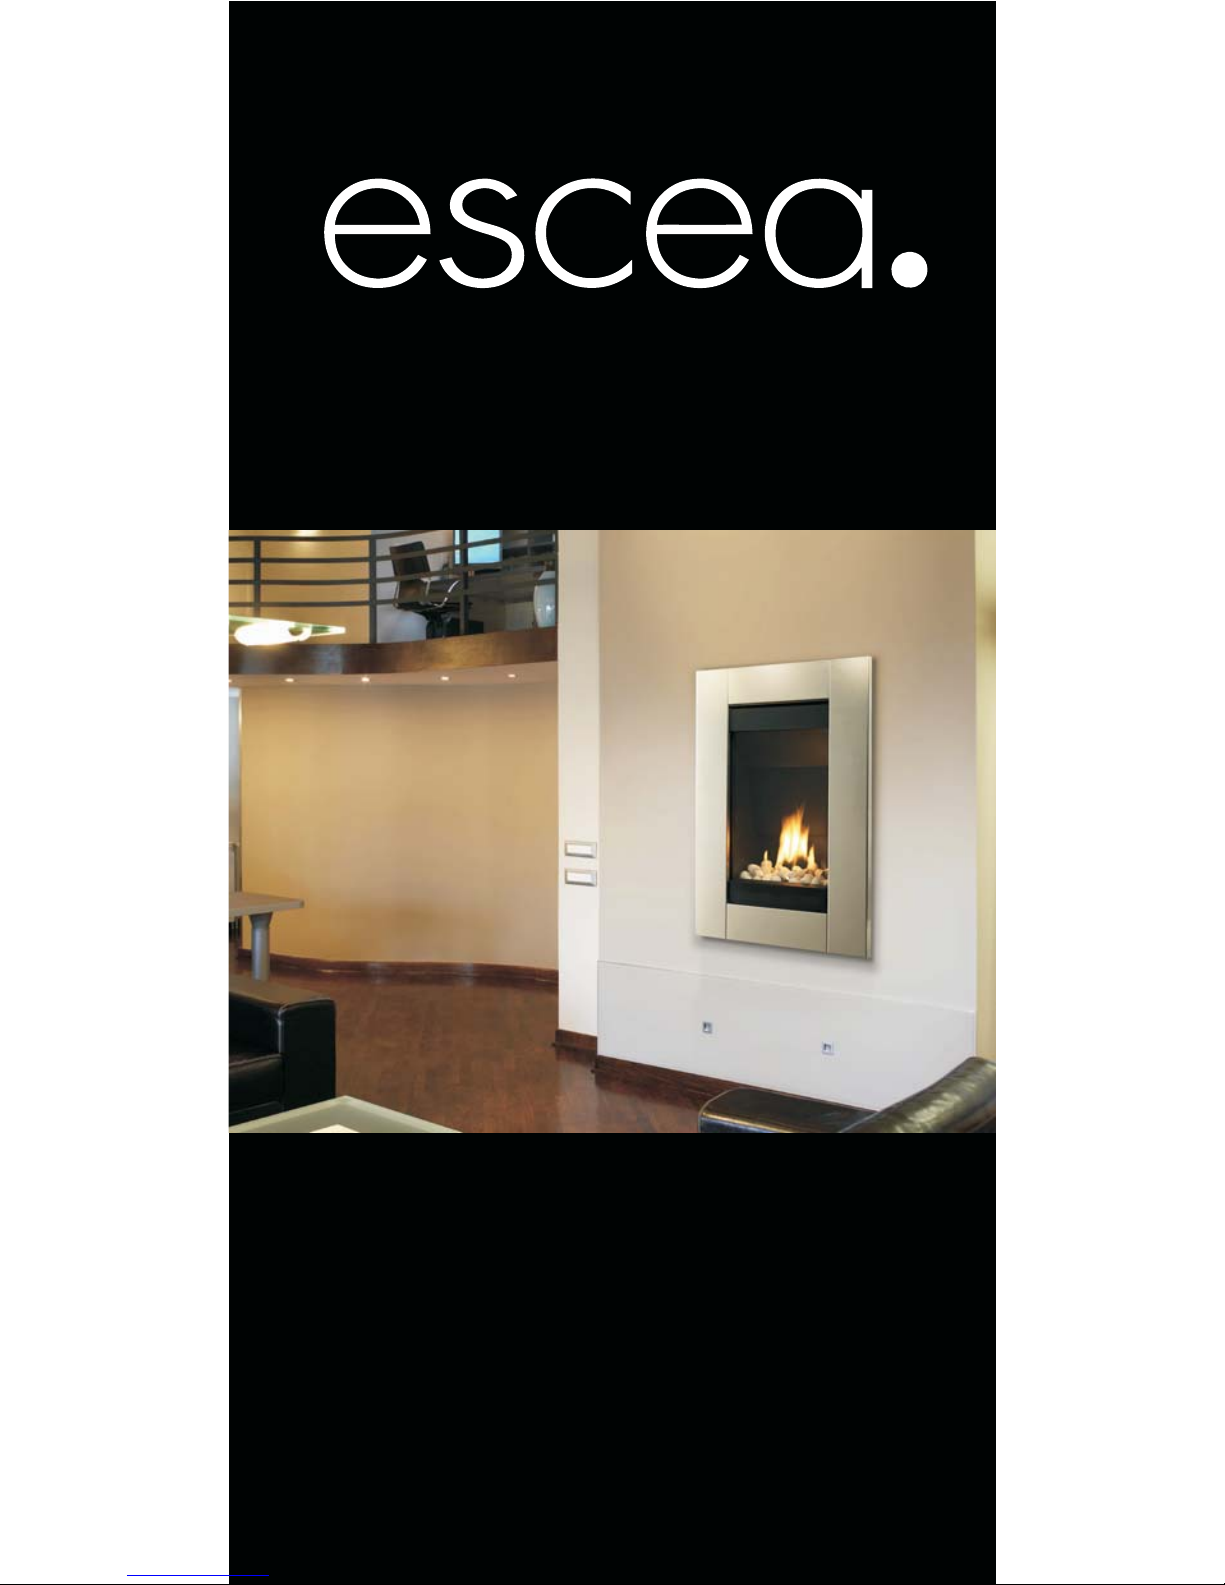
Escea ST500 User manual


Other manuals for ST500
1
Other Escea Indoor Fireplace manuals

Escea
Escea EF5000 User manual

Escea
Escea ST900 User manual

Escea
Escea EK1250 Mounting instructions

Escea
Escea DFS730 Manual

Escea
Escea DL850 Installation and maintenance instructions

Escea
Escea DS1400 Quick guide

Escea
Escea DN1150 Corner 400 User manual

Escea
Escea ST900 User manual

Escea
Escea ST900 User manual

Escea
Escea EF5000 Installation and maintenance instructions

Escea
Escea EF5000 - NZ User manual

Escea
Escea IB1100 User manual

Escea
Escea AF700 Installation and maintenance instructions

Escea
Escea IB850 User manual

Escea
Escea IB1100 User manual

Escea
Escea ST900 User manual

Escea
Escea DS Series User manual

Escea
Escea EW5000 Mounting instructions

Escea
Escea AF700 User manual

Escea
Escea KS-Series User manual


Popular Indoor Fireplace manuals by other brands

Napoleon
Napoleon NEFL42CHD-1 manual

Masport
Masport WOOD FIRE installation guide

JAYLINE
JAYLINE SS280 Installation & operation instructions

Heat-N-Glo
Heat-N-Glo SL-32S Installation

kozy heat
kozy heat Bellingham 52 quick start guide

Paragon Fires
Paragon Fires ROOM SEALED INSET LIVE FUEL EFFECT GAS FIRE owner's manual

Monessen Hearth
Monessen Hearth LCUF32CR-B Installation & owner's manual

PuraFlame
PuraFlame Galena owner's manual

Dimplex
Dimplex Toluca Deluxe instruction manual

SEI
SEI TENNYSON FA8544AO Assembly instructions

Dru
Dru G25 installation manual

Capital fireplaces
Capital fireplaces Designline DL700 Installation and user instructions

IronStrike
IronStrike VINTAGE VINT-DVS-U Installation and operation

ACR Heat
ACR Heat HERITAGE N25 Installation and operating instruction manual

European Home
European Home HVF-42 Installation, operation and owner's manual

Quadra-Fire
Quadra-Fire MTVERNINSAE-MBK Owner's manual operation & care

Harman Home Heating
Harman Home Heating Accentra Insert Installation & operating manual

Trimline Fires
Trimline Fires Zircon 1024 installation instructions