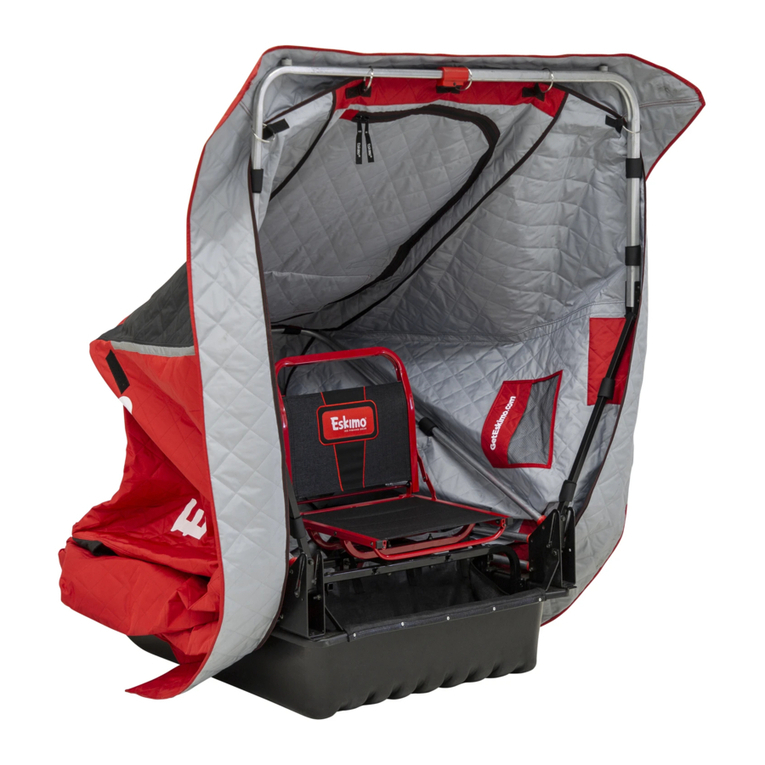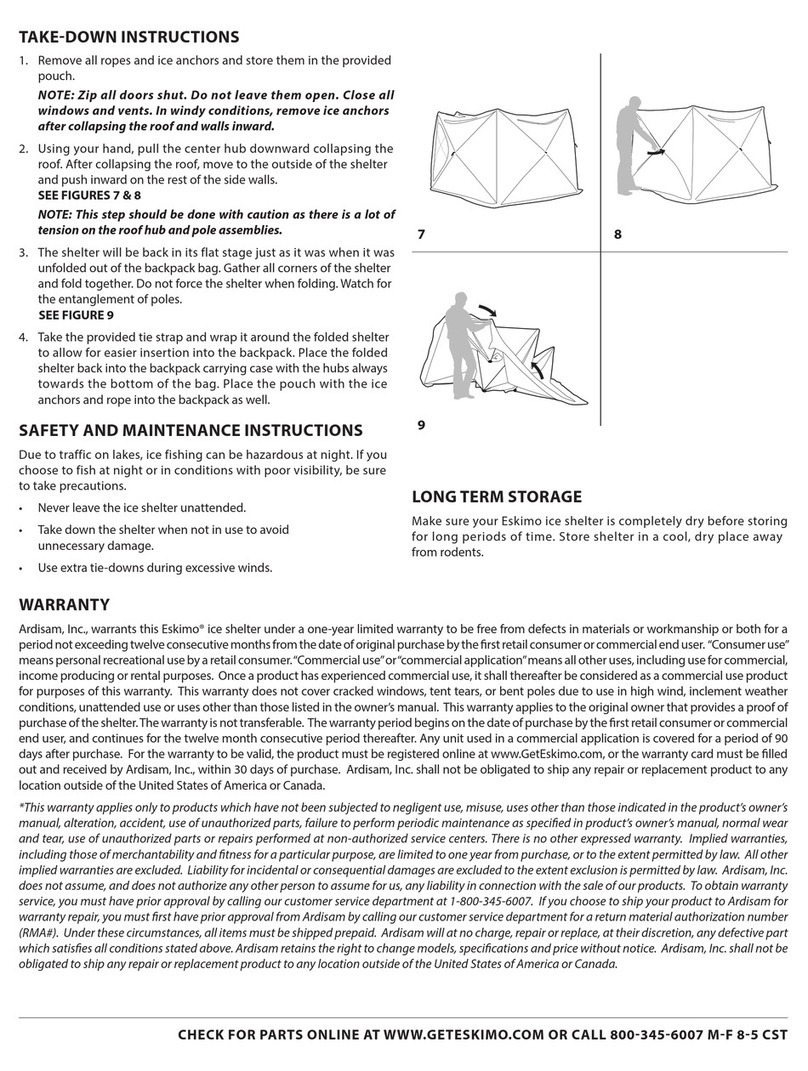
ILLUSTRATION 6
WALL
ILLUSTRATION 7
ROOF
ILLUSTRATION 8
GARANTIE LIMITÉE D’UN AN
Ardisam, Inc., le fabricant, garantit cet abri pour la pêche sur glace Eskimo contre tous
les défauts de fabrication ou de matériaux pour une période d’une année à partir de la
date d’achat. Durant la période de garantie d’une année de ce produit, Ardisam, à sa
discrétion, fournira des pièces et/ou de la main d’œuvre pour la correction des défauts
causés par une malfaçon ou des matériaux défectueux. Cette garantie ne s’applique
pasauxfenêtres ssurées,auxdéchiruresdela toileou auxmâts pliésrésultantde vents
violents ou d’un manque de surveillance. Les réparations sous garantie doivent être
envoyéesdirectement à Ardisam,Inc.ouà un centrede service mandaté. Pour recourir
auservicesousgarantievousdevezavoirune autorisation préalable enappelant
notreserviceà la clientèleau 1-800-345-6007. Tous lesitems doivent nousparvenir
port payé. Ardisam, Inc. réparera ou remplacera sans frais, à sa discrétion, toute pièce
quia unedéfaillance etqui tombesous lesconditionsmentionnées ci-dessus. Ardisam
conserve le droit d’eectuer des changements de modèles, de caractéristiques ou de
prixsans avispréalable. Ceproduit,s’ilest utilisécommeprévu, vousfournira desannées
d’utilisation sans problèmes. Nous espérons que vous proterez de la qualité de nos
produits dans les années à venir. Pour des pièces de remplacement, communiquez
avec nous par téléphone au 1-800-345-6007 ou en ligne au GetEskimo.com.
Cette garantie s’applique seulement au premier acheteur muni d’une preuve d’achat et n’est
pas transférable. Cette garantie remplace toute autre garantie implicite ou explicite et toute
autre obligation ou responsabilité de notre part. Ardisam, Inc. décline toute responsabilité et
n’autorise aucune autre personne à assumer de notre part, une responsabilité quelconque
relativementà laventedenos produits. Cettegaranties’appliqueuniquementauxproduitsqui
n’ont pasétéutilisésde façonnégligente,quin’ontpas étémalutilisés,quin’ontpasété altérés,
quin’ont pas étéaccidentésou qui n’ont pasétéréparéspar unepersonnenon mandatée par
Ardisam, Inc. Cette garantie est nulle à moins que la carte d’enregistrement de la garantie ne
soit remplie correctement et reçue par Ardisam, Inc., dans les 30 jours suivant la date d’achat.
AVERTISSEMENT
LISEZ BIEN ET MAÎTRISEZ TOUTES LES INSTRUCTIONS
FOURNIES CONCERNANT LE MONTAGE, L’INSPECTION ET
L’UTILISATION DE CE PRODUIT AVANT CHAQUE UTILISATION.
LE NONRESPECT DES INSTRUCTIONS POURRAIT AVOIR
COMME CONSÉQUENCE DES BLESSURES GRAVES OU MÊME
LA MORT.
N’UTILISEZ PAS D’APPAREIL À CHAUFFAGE À FEU NU DANS
VOTRE ABRI POUR LA PÊCHE SUR GLACE.
GARDEZ TOUTE SOURCE DE CHALEUR ET TOUTE FLAMME
LOIN DU TISSU DE CETTE TENTE.
CETTE TENTE EST FABRIQUÉE D’UN TISSU QUI RENCONTRE
LES NORMES CPAI84 POUR LA RÉSISTANCE À LA FLAMME.
ELLE N’EST PAS À L’ÉPREUVE DU FEU. CE TISSU BRÛLERA
S’IL DEMEURE EN CONTACT CONTINUEL AVEC UNE FLAMME
QUELLE QU’EN SOIT LA SOURCE.
SÉRIE FATFISH
DIRECTIVES D’ASSEMBLAGE ET D’UTILISATION
Eskimo, une division de Ardisam, Inc.
1160 Eighth Avenue; P.O. Box 666
Cumberland, Wisconsin 54829
800-345-6007 · Téléc. (715) 822-4180
Se procurer des pièces en ligne au
www.GetEskimo.com
INSTRUCTIONS POUR LE DÉMONTAGE:
1. Enlevez toutes les cordes et les ancres à glace et rangez-les dans la
pochette prévue à cet eet.
REMARQUE : Fermez toutes les fermetures éclair de porte. Ne les
laissez pas ouvertes. Fermez toutes les fenêtres ettous les évents.
lorsqu’il vente, enlevez les ancres à glace après avoir plié le toit
et les murs vers l’intérieur. lorsqu’il vente, enlevez les ancres à
glace après avoir plié le toit et les murs vers l’intérieur.
2. À la main, poussez le moyeu central du toit et des murs vers l’intérieur
jusqu’àce qu’ilsse replient.L’abris’aaissedelui-même sur laglace. VOIR
ILLUSTRATIONS 6 ET 7.
3. L’abri sera alors complètement à plat
sur la glace comme il l’était au mo-
ment de le sortir du sac de transport.
Ramenez les coins de l’abri ensemble
et repliez-les. VOIR ILLUSTRATION
8. N’UTILISEZ PAS une trop grande
force lorsque vous pliez l’abri.
Assurez-vous que les perches ne
sont pas mêlées.
4. Placezlasangled’attacheautour del’abri
replié pour faciliter son insertion dans
le sac à dos. Placez l’abri replié dans le
sac à dos de transport avec les moyeux toujours vers le fond du sac. Placez
aussi la pochette contenant les ancres à glace et les cordes dans le sac de
transport.
INSTRUCTIONSPOURL’ENTRETIENETL’UTILISATION
SÉCURITAIRE:
À cause de la circulation sur les lacs, la pêche sur glace la nuit peut être dan-
gereuse. Si vous décidez de pêcher durant la nuit, ou lorsque la visibilité n’est
pas bonne, prenez toutes les précautions nécessaires.
Ne laissez jamais l’abri sans surveillance.
Pour éviter les dommages, démontez l’abri si vous ne l’utilisez pas.
Utilisez des points d’attache supplémentaires lorsqu’il y a du vent.
REMISAGE POUR UNE LONGUE PÉRIODE:
Assurez-vous que votre abri Eskimo est complètement sec avant de le remiser
pour une longue période.
Rangez l’abri dans un endroit sec et frais, loin des rongeurs.
INSTRUCTIONS POUR LE MONTAGE:
1. Sortez l’abri pour la pêche sur glace du sac à dos de transport. Enlevez
la sangle d’attache qui entoure l’abri.
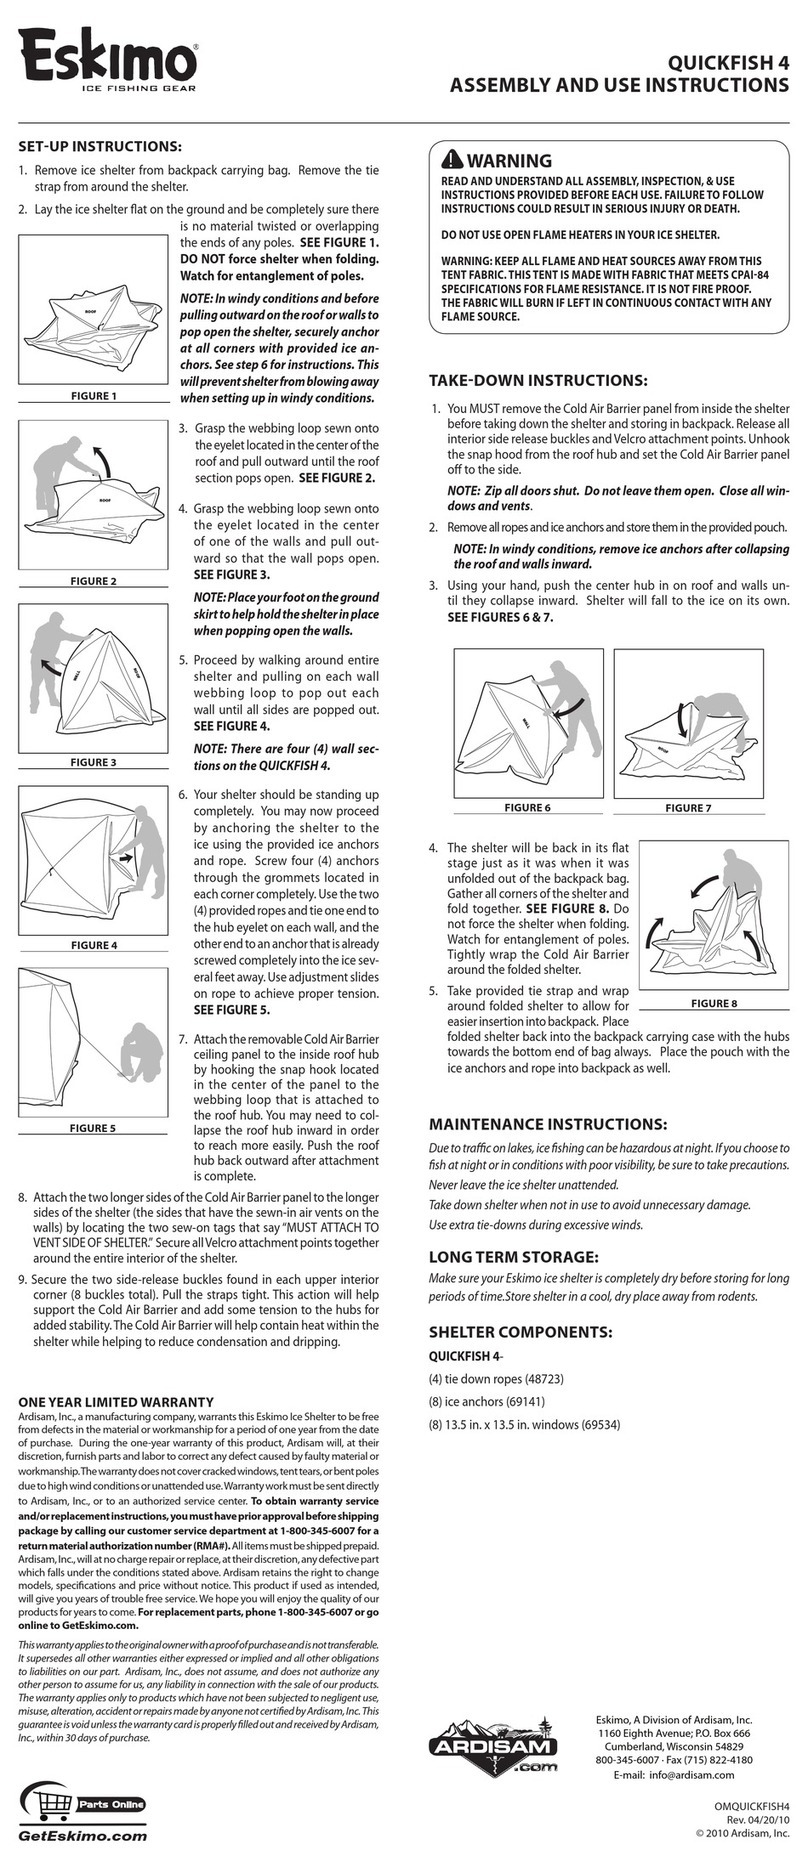
2. Placez l’abri pour la pêche sur glace à
plat sur le sol et assurez-vous que le
tissu n’est pas tordu ou ne déborde pas
sur les extrémités des perches. VOIR
ILLUSTRATION 1. N’UTILISEZ PAS
une trop grande force lorsque vous
pliez l’abri ou déplier. Assurez-vous
que les perches ne sont pas mêlées.
NOTEZ BIEN: lorsqu’il y a du vent et
avantde tirersur lesmurs etle toitpour
mettrel’abrien place,xeztousles coins
del’abri àl’aide desancresà glace.Cette
manœuvre empêchera l’abri d’être
emporté lorsqu’il y a du vent.
3.
Saisissez la ganse de filet cousue à l’œillet
situé au centre du toit et tirez vers le haut
jusqu’à ce que le toit de l’abri se place en
position.Pourl’abriFatFish9416,effectuezla
mêmeopérationpourl’autre sectiondetoit.
Lesdeuxsectionsdetoitdevraient mainten-
ant être en place. VOIR ILLUSTRATION 2.
4. Saisissez la ganse de let cousue à
l’œillet situé au centre de l’un des
murs et tirez vers l’extérieur pour
que le mur se place en position.
VOIR ILLUSTRATION 3.
NOTEZ BIEN: placez votre pied sur la
jupette de la toile de fond pour tenir
l’abri en place lorsque vous placez
les murs en position.
5.
Faites le tour de l’abri en tirant sur
chacune des ganses xées aux murs
pour mettre ceux-ci en position.
VOIR ILLUSTRATION 4.
NOTEZ BIEN: les modèles FF767,
FF949 and FF949i possèdent quatre
(4)mursetleFF9416 possède 6 murs.
6. Votre abri devrait être érigé mainten-
ant.Vous pouvez maintenant xer
l’abri à la glace à l’aide des ancres
à glace et de la corde fournis. VOIR
ILLUSTRATION 5. FF767, FF949, et
FF949i - Vissez complètement les
ancres (4) dans les rondelles situées
dans chacun des coins. Du côté le plus
venteux de l’abri, visser les ancrages
restants à plusieurs pieds des moyeux.
Utiliser les cordes fournies et attacher
une extrémité à l’œillet du moyeu sur
chaque mur, et l’autre extrémité à un
des ancrages que vous venez de visser.
Utilisez les tendeurs sur la corde pour
obtenir la tension idéale. FF9416
-Vissez complètement les ancres
(6) dans les rondelles situées dans
chacun des coins et sur les côtés les
plus longs de l’abri. Du côté le plus
venteux de l’abri, visser les ancrages
restants à plusieurs pieds des moyeux. Utiliser les cordes fournies et
attacher une extrémité à l’œillet du moyeu sur chaque mur, et l’autre
extrémité à un des ancrages que vous venez de visser. Utilisez les ten-
deurs sur la corde pour obtenir la tension idéale.
ILLUSTRATION 1
ROOF
ILLUSTRATION 2
ILLUSTRATION 3
ROOF
WALL
ILLUSTRATION 4
ILLUSTRATION 5
ROOF
