3
Check for parts online at www.GetEskimo.com or call 800-345-6007 M-F 8-5 CDT
ENGLISH
Operator’s Manual
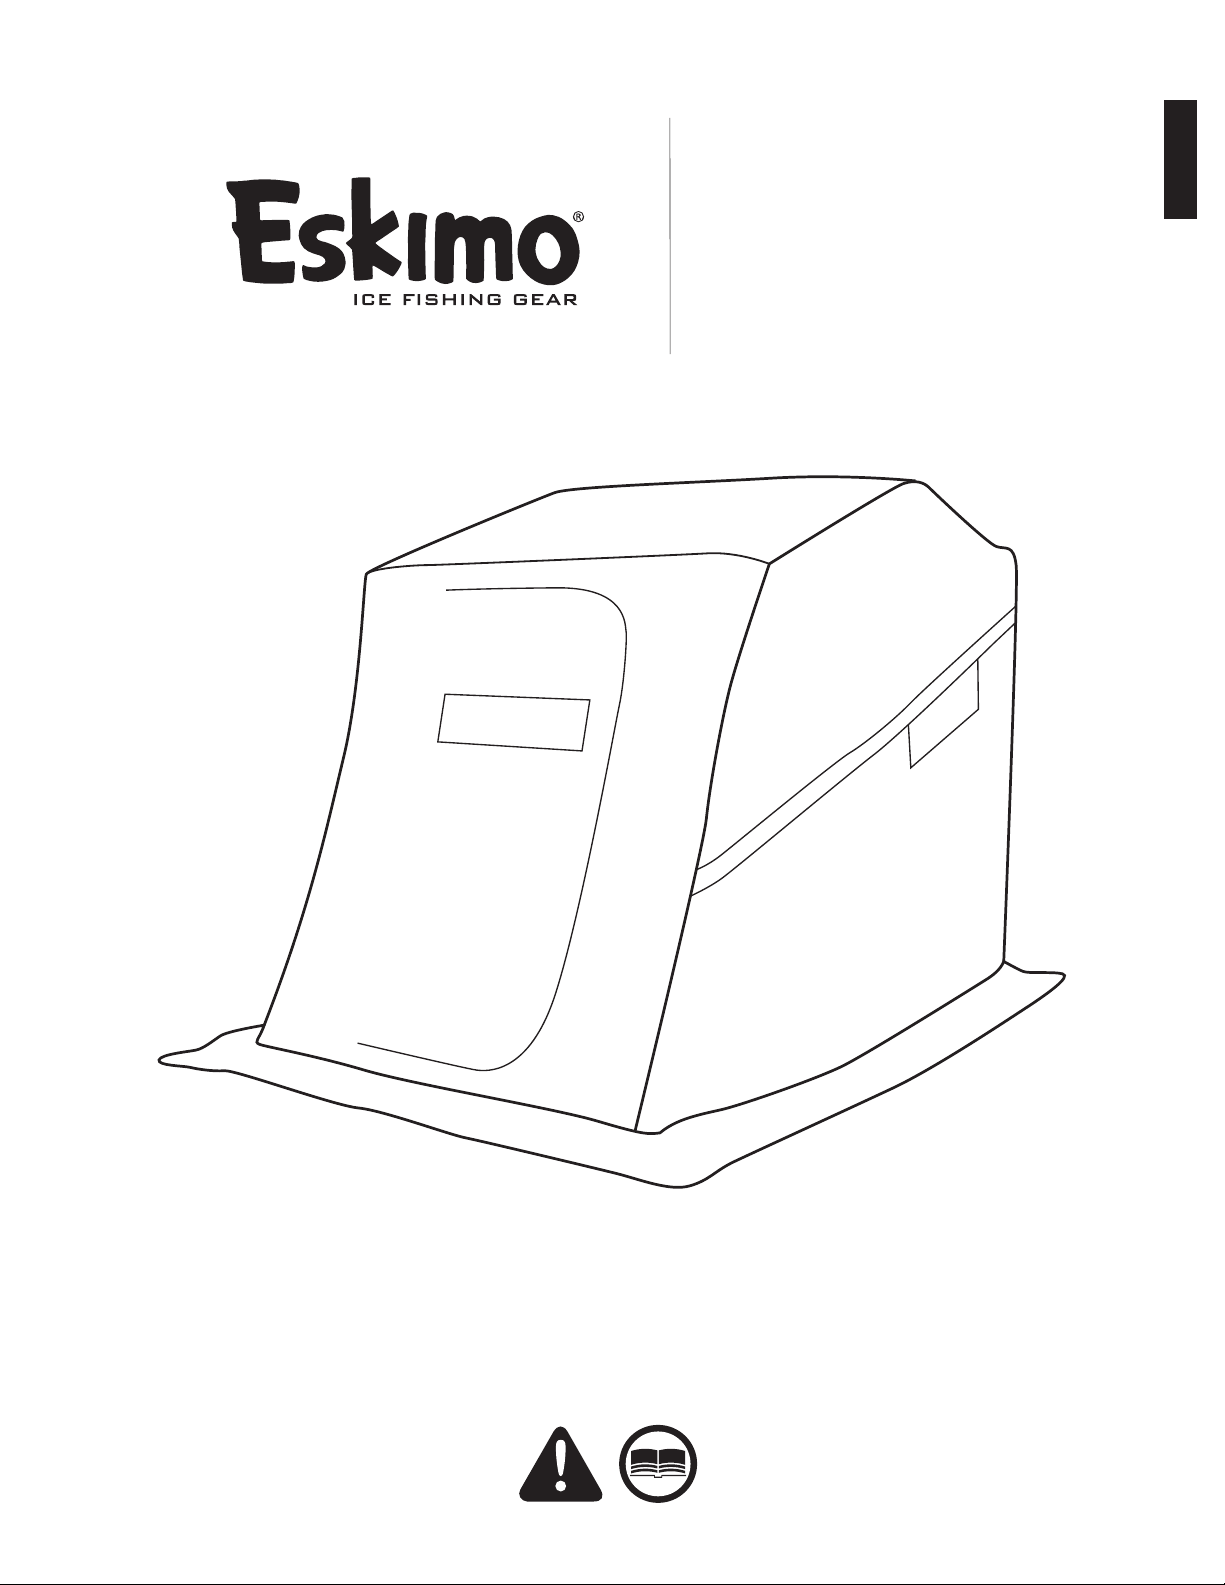
26500 |Grizzly™ Flip-Style Sled Shelter
WARNING
WARNING INDICATES A HAZARD WHICH, IF NOT
AVOIDED, COULD RESULT IN DEATH OR SERIOUS
INJURYTO PERSONNEL AND/OR PROPERTY DAMAGE.
CAUTION
CAUTION INDICATES YOUR EQUIPMENT CAN BE
DAMAGED IF THE SAFETY INSTRUCTIONS THAT
FOLLOW THIS SIGNAL WORD ARE NOT OBEYED.
IMPORTANT
INDICATES HELPFUL INFORMATION FOR PROPER
ASSEMBLY, OPERATION, OR MAINTENANCE OF
YOUR EQUIPMENT.
IMPORTANT SAFETY PRECAUTIONS
This shelter is made with ame resistant fabric, however
it is not reproof. The fabric will burn if left in continuous
contact with any ame source. The application of any
foreign substance to the shelter fabric may render the
ame resistant properties ineective.
Fuel-based heat sources burn oxygen and may emit carbon
monoxide (an odorless, colorless, poison gas). Breathing
carbon monoxide can cause headaches, drowsiness,
nausea, dizziness, confusion and eventually death. Use
caution with heaters. Be sure you have adequate fresh
ventilation, including open windows and doors. All vents
must be opened when using fuel-based heaters in your
shelter.
• Do not use candles, matches or open ames of any
kind in or near an ice shelter.
• Do not cook inside the shelter.
• Exercise extreme caution when using fuel-powered
lanterns or heaters inside a tent. Use battery-operated
lanterns whenever possible.
• Do not refuel lamps, heaters or stoves inside a tent.
• If you are shing and falling asleep intermittently, turn
o all lanterns and heaters.
• Do not smoke in shelter.
• Do not store ammable liquids inside of the shelter
.
WARNING
READ, UNDERSTAND AND FOLLOW ALL ASSEMBLY,
SAFETY, SETUP & USE INSTRUCTIONS PROVIDED
BEFORE USE. FAILURE TO FOLLOW ALL WARNINGS AND
INSTRUCTIONS COULD RESULT IN SERIOUS INJURY OR
DEATH.
DO NOT USE OPEN FLAME HEATERS INYOUR ICE SHELTER.
WARNING: KEEP ALL FLAME AND HEAT SOURCES AWAY
FROM THIS TENT FABRIC. THIS TENT IS MADE WITH FLAME
RESISTANT FABRIC. IT IS NOT FIRE PROOF. THE FABRIC
WILL BURN IF LEFT IN CONTINUOUS CONTACT WITH ANY
FLAME SOURCE.
DUE TO TRAFFIC ON LAKES, ICE FISHING CAN BE
HAZARDOUS AT NIGHT. IF YOU CHOOSE TO FISH AT
NIGHT OR IN CONDITIONS WITH POOR VISIBILITY, BE
SURE TO TAKE PRECAUTIONS.
NEVER LEAVE THE ICE SHELTER UNATTENDED.
SECURELY ANCHOR THE ICE SHELTER TO THE ICE IN
HIGH WIND CONDITIONS.