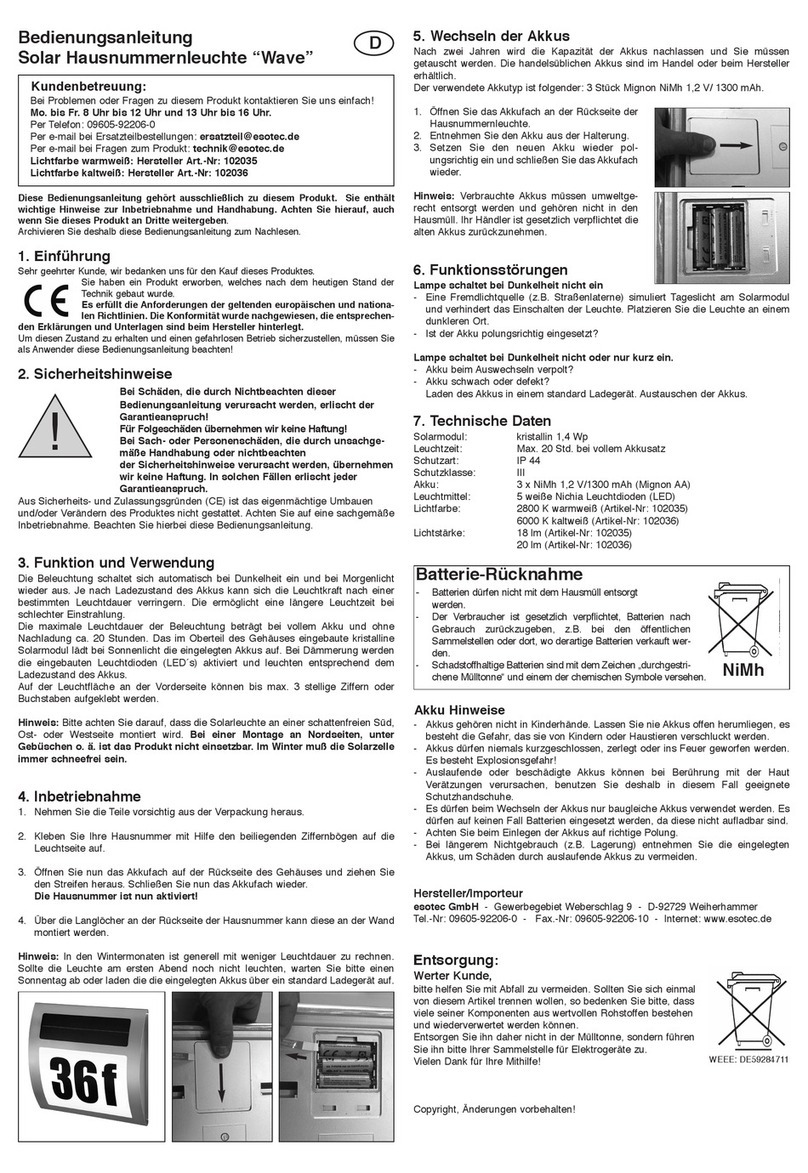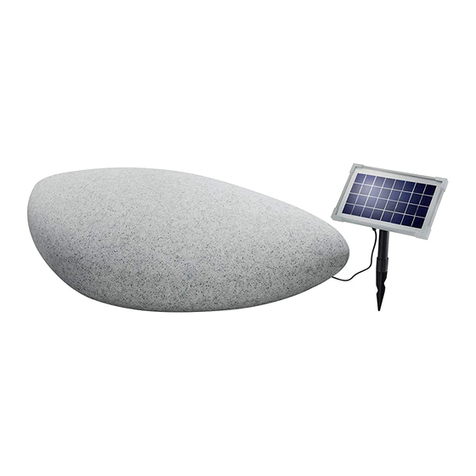
Usage instructions
solar lighting „Cube 30“
These instructions relate ONLY to this product and contain important
information for using the product for the first time. Please keep these
instructions for later reference and should always accompany the
product in the event of transference to a new user.
1. Introduction
Dear Costumer,
Thank you for purchasing the solar light. With this solar light you purchased a product
manufactured according to the current state of technology.
This product fulfils all requirements of the valid European and nati-
onal regulations. The conformity was proved. The relevant decla-
rations and documentation are deposited with the manufacturer.
To maintain this state and guarantee a safe operation, you as the user
will have to follow this operating manual!
2. Safety Instructions
- In case of damages caused by not following this operating
manual, the warranty rights will expire! We exclude liability for
any consequential damages!
- We exclude liability for property or personal damages caused
by inappropriate handling or not following the safety instructions.
- In these cases any guarantee rights will expire.
Due to safety and admission reasons (CE) it is not allowed to arbitrarily reconstruct
and/or change the solar light.
Therefore, please keep to the operating manual.
The accident prevention rules of the association of the industrial trade cooperative
association for electric plants and working material are to be considered in industrial
environments
3. Intended Use
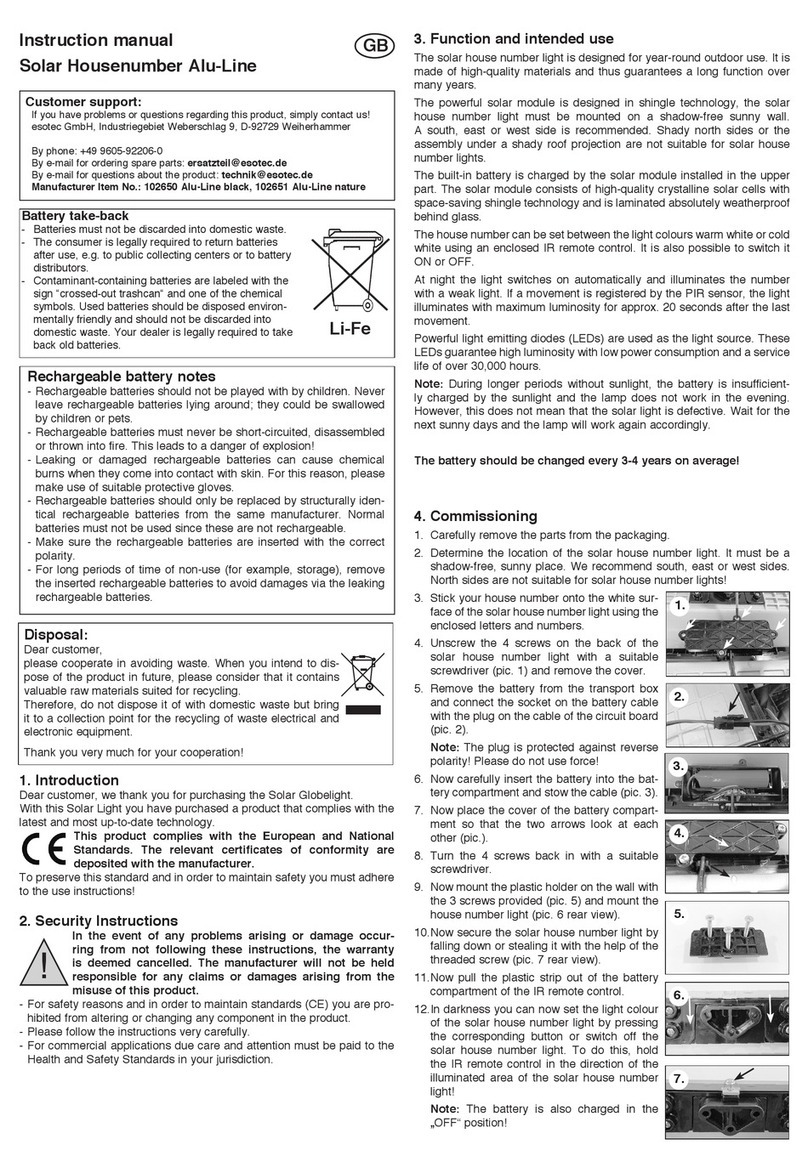
The solar light is designed for all-season outdoor use. The solar module and the light
source are inside the cube.
The integrated accumulator is charged by the integrated solar cells. The light cube
is automatically switched on at darkness and switched out at the break of dawn. 1
RGB light emitting diode (LEDs) is used as light source. Those LED ensure a high
luminosity with low power consumption.
-- Please note that the duration of illumination may be impaired in case of
insufficient solar irradiation onto the solar module. --
Note: In case of longer periods without solar irradiation, the accumulator won’t be
charged sufficiently in order to ensure a permanent operational readiness. The built-in
discharge protection then switch off the LED in the cube. To activate the cube again
simply press the button on the bottom and choose your desired light color.
4. Initiation
1. Please carefully take all parts out of the package and make sure that you don’t
scratch the cube.
2. Take the enclosed metal tool and firmly tighten the lid at the bottom side of the
cube (see illustration 1).
Note: This check is absolutely required prior to the initiation. The screw connec-
tion may come loose due to the transport and the cube will no longer be tight.
Attention: Please use this tool with care. Risk of injury due to slipping off.
3. Firmly press in the button below the rubber gasket at the bottom part of the cube
(see illustration 2). The cube light has now been activated!
4. In darkness you can change the lighting clour whenyou press the button below
the rubber gasket at the bottom part of the cube. The selected colour is fixed and
no automatically color changing.
Please note: The duration of illumination is strongly dependent of the intensity and
duration of sunshine during the day. In case the light should not give light on the first
evening, please wait for a sunny day.
5. Exchange of the Accumulators
1. Switch off the cube by pressing the button at the
bottom side of the cube (illustration 2).
2. Now carefully unscrew the lid at the bottom side
with the enclosed tool anticlockwise (ill. 3).
Attention: Please use this tool with care. Risk
of injury due to slipping off.
3. Unscrew the six screws in the upper side of the lid
and carefully dismantle the parts (ill. 4).
4. Take out the used accumulators from the battery
compartment. Insert new and identically construc-
ted accumulators into the battery compartment
with correct polarity. We recommend charging the
new accumulator in a charger before inserting it
(ill. 5).
5. Close the cube in reverse order and, in doing so,
pay attention to the correct fit of the gasket.
6. Switch on the cube by means of the button at the
bottom side.
Note: Used batteries or accumulators must be
disposed of in a non-polluting way and do not
belong into the domestic waste. Your dealer is
required by law to take back old accumulators.
GB
Battery Recycling:
- Used batteries or accumulators must be disposed in the
domestic waste.
- The consumer is legally obliged to bring back old accumu-
lators upon usage, e.g. to public waste collecting locations
or to the place (shops, etc.) where those batteries are
sold.
- Batteries that contain harmful substances are marked with
the “strike through dustbin” and one of the chemical sym-
bols.
NiMh
Customer support:
If you have problems or questions regarding this product, simply contact us!
Monday to Friday 8 am to 12 noon and 1 pm to 4 pm.
By phone: +49 9605-92206-0 Internet: www.esotec.de
Product: Manufacturer Item No.: 102118 WEEE: DE59284711
Rechargeable battery notes
- Rechargeable batteries should not be played with by children. Never leave
rechargeable batteries lying around; they could be swallowed by children or
pets.
- Rechargeable batteries must never be short-circuited, disassembled or thrown
into fire. This leads to a danger of explosion!
- Leaking or damaged rechargeable batteries can cause chemical burns when
they come into contact with skin. For this reason, please make use of suitable
protective gloves.
- Rechargeable batteries should only be replaced by structurally identical rechar-
geable batteries from the same manufacturer. Normal batteries must not be
used since these are not rechargeable.
- Make sure the rechargeable batteries are inserted with the correct polarity.
- For long periods of time of non-use (for example, storage), remove the inserted
rechargeable batteries to avoid damages via the leaking rechargeable batteries.
!
Disposal:
Dear customer,
please cooperate in avoiding waste. When you intend to dispose of
the product in future, please consider that it contains valuable raw
materials suited for recycling.
Therefore, do not dispose it of with domestic waste but bring it to a
collection point for the recycling of waste electrical and electronic
equipment.
Thank you very much for your cooperation!
3
4
5
close
ON/OFF and selecting
the lighting color
12


