Essilor Instruments Mr Blue 2.0 Sun and Sport Edition User manual
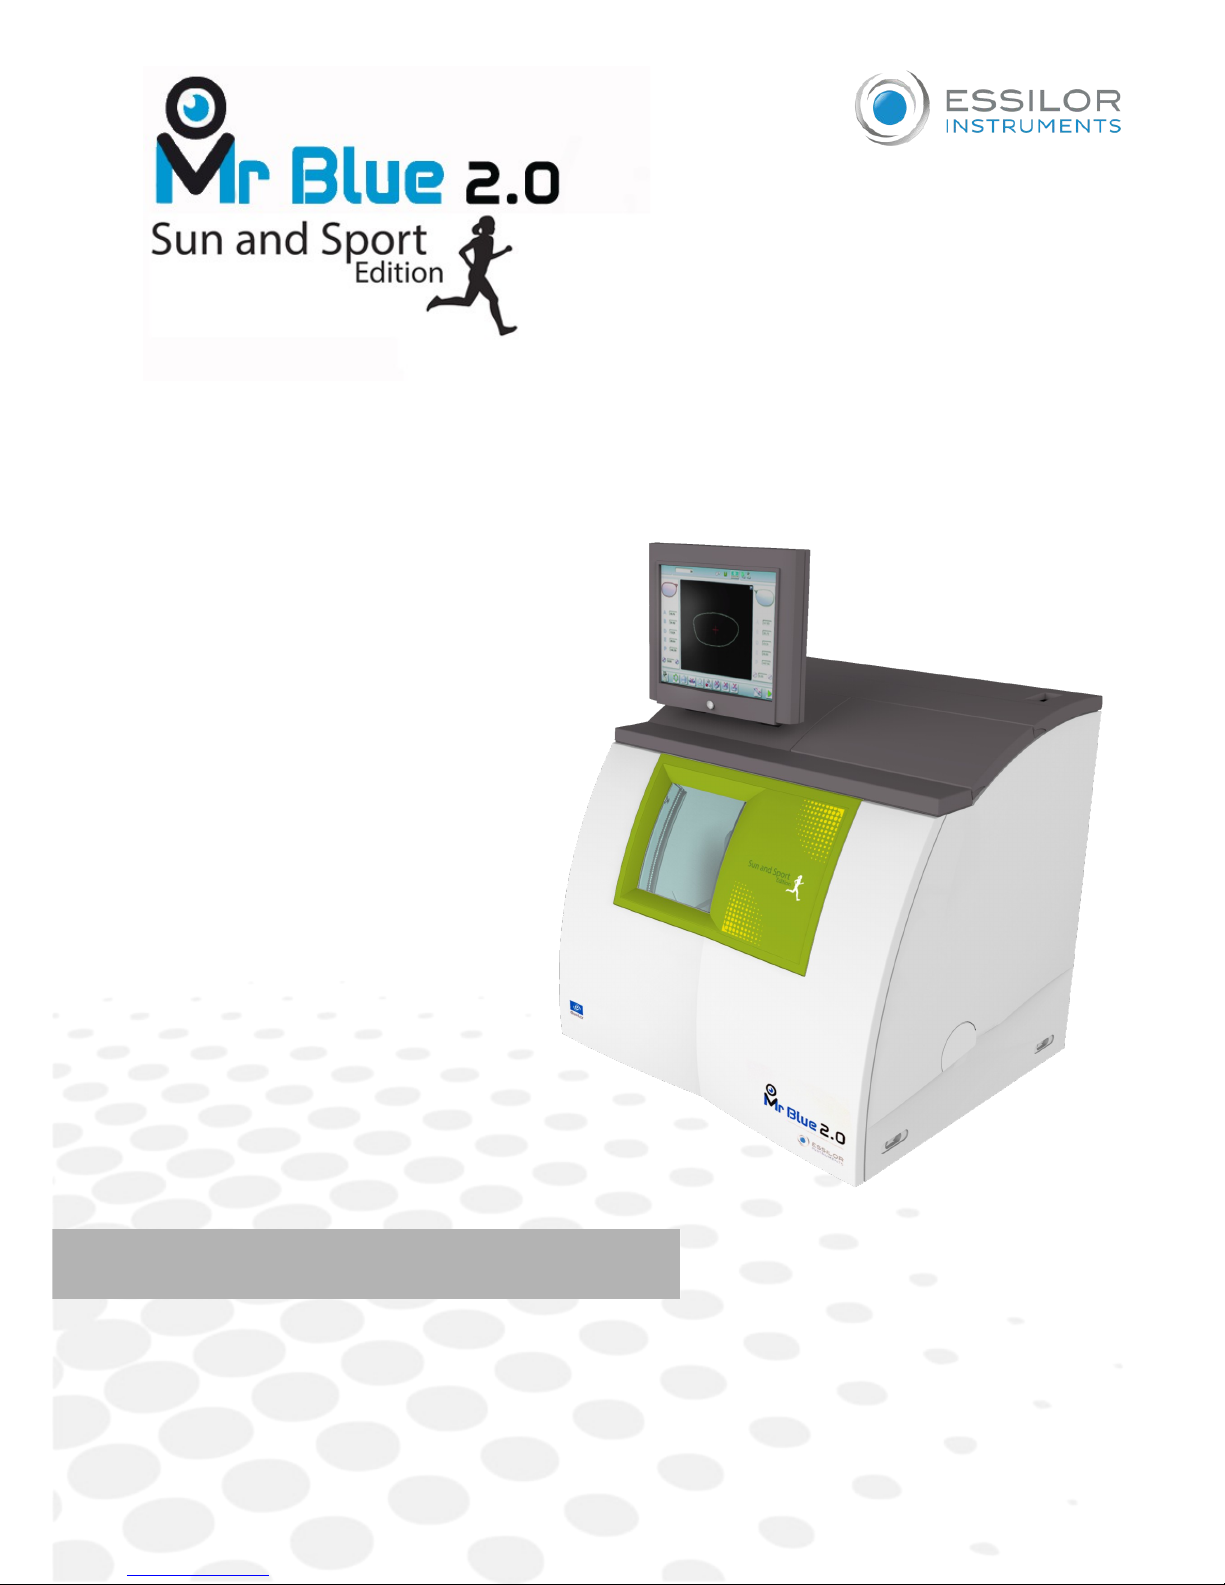
User manual

CONTENTS
MR BLUE SUN & SPORT EDITION
I. PERFORM A CHEMISTRIE TM JOB 7
1. Prerequisites 8
2. Prepare the Chemistrie TM lenses 9
3. Perform a Chemistrie TM job 10
II. CARRY OUT A HALF JACKET JOB 13
1. Outline the step bevel trajectory on a Half Jacket shape 14
a. Call up the form 14
b. Set the step bevel trajectory 17
2. Finalize the step bevel settings in “front surface follow-up” mode 27
3. Modify the shape on Essibox 29
III. CARRY OUT A STEP BEVEL => " NEW STEP ++ TOOL” 33
1. Install the step bevel tool 3
2. Step bevel specificities with the new “step ++” tool 39
USER MANUAL> CONTENTS

MR BLUE SUN & SPORT EDITION
Mr Blue Sun & Sport Edition has:
•two new features:
•an improvement to the edging time on the step bevel with the addition of a “step ++” new tool:
USER MANUAL> MR BLUE SUN & SPORT EDITION
5
Mr Blue 2.0 Sun & Sport Edition > V1.0 04/2018

I. PERFORM A CHEMISTRIE TM JOB

is a technical solution that, through a magnet system, allows you to superimpose
a pair of additional “CLIP” lenses on the “ophthalmic” lenses.
1. PREREQUISITES
You must center and block the lens before placing it in the edger.
Before calling up the job on the edger, you must select and configure beforehand the clips which you
wish to carry out on the tracer.
Only the selected clips will appear on the edger’s work screen.
Tracer Edger
It is recommended to start systematically with the edging of the ophthalmic lenses
Mr Blue 2.0 Sun & Sport Edition > V1.0 04/2018
8
USER MANUAL> I. PERFORM A CHEMISTRIE TM JOB

2. PREPARE THE CHEMISTRIE TM LENSES
To assemble the two lenses, position them as indicated and apply light pressure in the opposite direction
of the curve of the lenses.
Check visually that the lens can accommodate the shape.
For more precision, you can verify it using the tracer, by using the centering function.
Position the posiblock in the center of the lens.
The lenses are ready to be edged.
>
1
2
3
USER MANUAL> I. PERFORM A CHEMISTRIE TM JOB
9
Mr Blue 2.0 Sun & Sport Edition > V1.0 04/2018

3. PERFORM A CHEMISTRIE TM JOB
Press to call up the desired shape located on the tracer.
The shape is displayed on the edger work screen with the selected clips:
Press on to select the ophthalmic lenses: .
Configure edging:
1. Select lens material.
2. Select the type of cycle.
3. Select the finish,
4. Choose whether or not to polish and/or chamfer your lens.
Place the lens in the posiblock holder.
Place the metal peg of the posiblock upwards and the positioner downwards: a magnet is used to
hold the lens in position on the axis.
>
1
2
3
4
Mr Blue 2.0 Sun & Sport Edition > V1.0 04/2018
10
USER MANUAL> I. PERFORM A CHEMISTRIE TM JOB

You can clamp the lens manually by pressing .
Make sure you move your hand well away before you start the edging cycle.
Press to start the cycle.
Proceed to a retouch if necessary, then carry out the edging of the second lens.
> With the ophthalmic lenses now edged, carry out the edging of the Chemistrie lenses TM.
Select the Chemistrie clipTMthat you wish to edge.
The following screen is displayed:
Place the two lenses (prepared beforehand) in the posiblock holder.
Place the metal peg of the posiblock upwards and the positioner downwards: a magnet is used to
hold the lens in position on the axis.
>
5
6
7
8
USER MANUAL> I. PERFORM A CHEMISTRIE TM JOB
11
Mr Blue 2.0 Sun & Sport Edition > V1.0 04/2018

You can clamp the lens manually by pressing .
Make sure you move your hand well away before you start the edging cycle.
Check that the Chemistrie lensesTM are still properly in place during the clamping phase. They must
remain clipped together.
Configure edging:
For the clips and , by default, edging is configured as follows:
Material
Finishing wheel
Edging mode
Type of cycle
Polishing
For the clips and , by default, edging is configured as follows:
Material
Finishing wheel
Edging mode
Type of cycle
Polishing
Press to start the cycle.
Re-start the procedure for as many times as you have Chemistrie clipsTM to perform.
9
10
Mr Blue 2.0 Sun & Sport Edition > V1.0 04/2018
12
USER MANUAL> I. PERFORM A CHEMISTRIE TM JOB

II. CARRY OUT A HALF JACKET JOB

We highly recommend that you edge a test lens before carrying out the edging of the final lens.
Preferably use a test lens that has a base unit equivalent to the ophthalmic lens.
1. OUTLINE THE STEP BEVEL TRAJECTORY ON A HALF JACKET SHAPE
a. Call up the form
Press to call up the desired shape located on the tracer.
The shape is displayed on the edger work screen.
Press to select the Half Jacket finish.
Select lens material.
The cycle is automatically configured in “Customized”.
Choose to create or not to create a small or a large chamfer on the rear surface of the lens.
For more information, refer to the section Edging a lens > Polishing and Edging a lens >
Chamfering in the complete Mr Blue 2.0 manual.
>
1
2
3
4
Mr Blue 2.0 Sun & Sport Edition > V1.0 04/2018
14
USER MANUAL> II. CARRY OUT A HALF JACKET JOB

Press .
The door closes, the lens is clamped and then felt.
The step bevel finishing screen is displayed by default.
Press on to create step bevel shelf bevel, Half Jacket specific.
>
>
5
6
USER MANUAL> II. CARRY OUT A HALF JACKET JOB
15
Mr Blue 2.0 Sun & Sport Edition > V1.0 04/2018

The following screen will appear:
1. Front surface tracking step bevel screen
2. Work area
Image of the shape to be edged:
Frame shape at bottom of groove
Bevel trajectory on rear surface
Bevel trajectory on rear surface if the lens used is too thin to achieve the desired finish.
3. Access to step bevel definition screen
4. Zoom window
Represents the bevel profile at the position of the cursor.
5. Width of the flat side of the bevel
The value of the flat side of the bevel must be between 0.4 mm and 2 mm.
6. Front surface tracking value
The value of front surface tracking must be between 0 mm and 1.3 mm. This value is definable only in
the “front surface tracking” screen.
7. Lens base
8. Frame base
9. Reminder of size reduction/increase applied to lens diameter
10. Bevel Base Range of values of the lens base necessary for the frame
If the lens base used is out of range: the range values are shown in red.
>
Mr Blue 2.0 Sun & Sport Edition > V1.0 04/2018
16
USER MANUAL> II. CARRY OUT A HALF JACKET JOB

11. Window showing the bevel trajectory on the lens section
Centre of the flat side of the bevel
Front surface/rear surface of lens
12. Number of shelf bevel values
Transition from 4 to 8 shelf bevel values.
Transition from 8 to 4 shelf bevel values.
Transition into free shelf bevel creation mode. NEW
13. Navigation
◦ Stop the cycle
◦ Back to the main edging screen
◦ Start the edging cycle
b. Set the step be el trajectory
Captioned screen
From the customized screen for the step outline, press , then next to access the step bevel outline
screen. The following screen appears:
1. Display and shape work zone
2. Scale 1 shape display window.
USER MANUAL> II. CARRY OUT A HALF JACKET JOB
17
Mr Blue 2.0 Sun & Sport Edition > V1.0 04/2018

3. Tool bar
: Selection of the shelf bevel area for modification.
When the form is selected:
◦the button changes: ,
◦the “non-machinable” zone appears in red ( ) on the screen.
: Addition of points to outline the shelf bevel trajectory.
> When the button is selected, it changes:
: Deletion of points to outline the shelf bevel trajectory.
> When the button is selected, it changes:
To add or remove points, the shape must be selected beforehand.
Use the stylus to set the bevel trajectory with precision.
Once the points are set, they appear in blue ( ).
: Front zoom
: Back zoom
: Cancel the preceding action
: Repeat the preceding action.
: Confirm
: Cancel
Mr Blue 2.0 Sun & Sport Edition > V1.0 04/2018
18
USER MANUAL> II. CARRY OUT A HALF JACKET JOB

Create the step bevel trajectory
From the customized screen for the step outline, press to select the shape, then to add
points.
The following screen will appear:
Press and hold the stylus to set the first point of the step bevel trajectory.
An audible signal informs you that the first point is registered.
The point is displayed in blue within the work space and in the display window on scale 1.
>
>
>
1
2
USER MANUAL> II. CARRY OUT A HALF JACKET JOB
19
Mr Blue 2.0 Sun & Sport Edition > V1.0 04/2018

Press and hold the stylus to set the second point of the step bevel trajectory.
A green segment ( ) is created between the points.
An audible signal informs you that the second point is registered.
The segment is displayed in blue within the work space and in the display window on scale 1.
If you raise the stylus, the bevel curve is displayed in green, it is calculated automatically.
You can redo this trajectory by setting the third points using the stylus.
Press and hold the style to set the other points of the step bevel trajectory, the ones behind the others.
>
>
>
3
4
Mr Blue 2.0 Sun & Sport Edition > V1.0 04/2018
20
USER MANUAL> II. CARRY OUT A HALF JACKET JOB

With each audible signal, raise the stylus a few seconds before setting a new point by pressing and
holding
It is preferable to create a greater number of points at the angles to gain precision, if you wish to
adjust more precisely the bevel trajectory using the zoom.
Conversely, for easier handling, it is preferable to reduce the number of points on the curves so
the adjustment is more effective.
The step bevel trajectory is set.
The orange trajectory ( ) cannot be performed, because the tool cannot reach it.
The trajectory in green ( ) will be performed (it is not necessary to modify the trajectory).
For more information, consult the Set step bevel section > Adjust the trajectory (F p.24)
>
USER MANUAL> II. CARRY OUT A HALF JACKET JOB
21
Mr Blue 2.0 Sun & Sport Edition > V1.0 04/2018

Go into zoom mode
You can zoom in on a specific point or outline an area.
Increase a particular point
Press to switch into Zoom mode.
Press and hold the stylus on the point of the shape that you want to see more precisely.
Press on the Frame shape at bottom of groove in white ( ).
An audible signal informs you that the information is registered.
The image is displayed:
1. Locate the form on scale 1.
2. Movement arrow
Movement to the top of the shape
Movement to the bottom of the shape
>
1
2
Mr Blue 2.0 Sun & Sport Edition > V1.0 04/2018
22
USER MANUAL> II. CARRY OUT A HALF JACKET JOB

Press again to enlarge the area.
When the enlargement is at a maximum, the icon is grayed .
Press again to shrink the area.
Enlarge a defined area
Press to switch into Zoom mode.
Using the stylus press on a point of the shape.
Move the stylus over the shape.
The defined segment appears in yellow.
Press and hold to set the end of the segment outlining the area that you want to enlarge.
An audible signal sounds 3 times.
The area is displayed:
>
>
>
3
4
1
2
3
4
USER MANUAL> II. CARRY OUT A HALF JACKET JOB
23
Mr Blue 2.0 Sun & Sport Edition > V1.0 04/2018
Table of contents
Other Essilor Instruments Medical Equipment manuals

Essilor Instruments
Essilor Instruments EyeViz 300 User manual

Essilor Instruments
Essilor Instruments VISION-R 700 User manual

Essilor Instruments
Essilor Instruments DELTA User manual

Essilor Instruments
Essilor Instruments Retina 800 User manual

Essilor Instruments
Essilor Instruments VISIOSMART 500 User manual

Essilor Instruments
Essilor Instruments Vision-C 600 User manual

Essilor Instruments
Essilor Instruments Vision-R 800 User manual

Essilor Instruments
Essilor Instruments AKR 800 User manual

Essilor Instruments
Essilor Instruments Retina 550 User manual

Essilor Instruments
Essilor Instruments APH 550 User manual