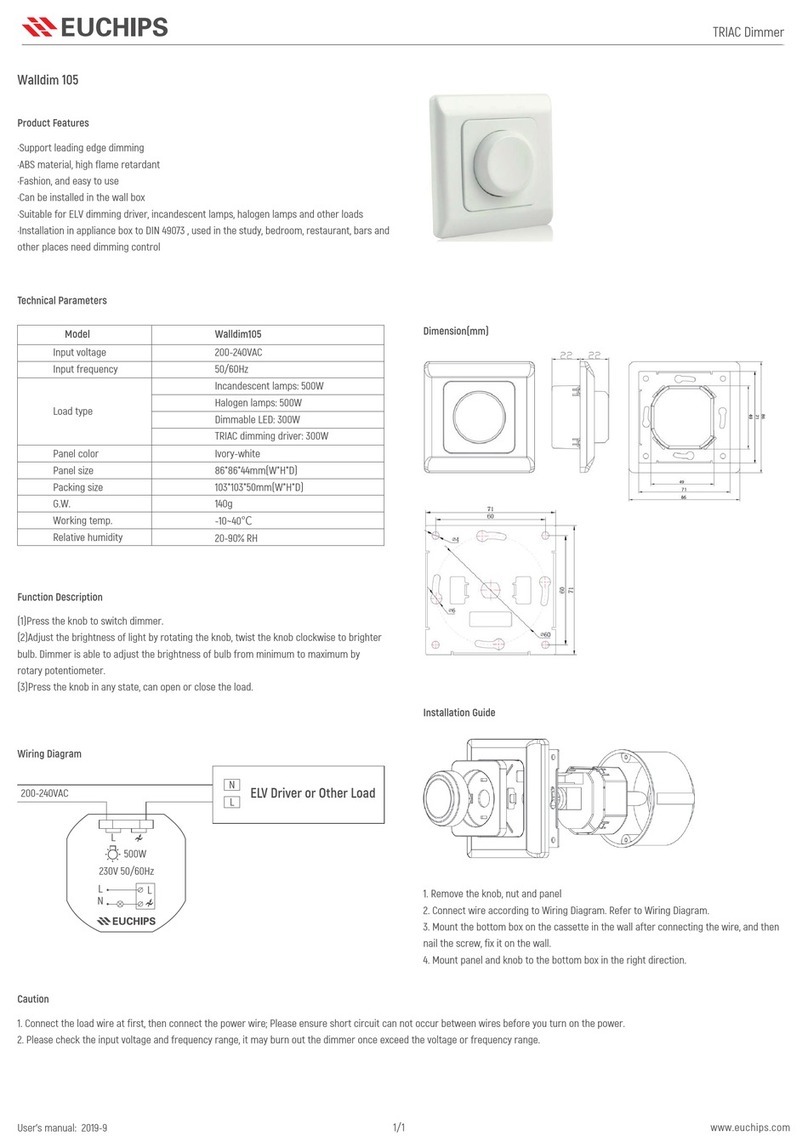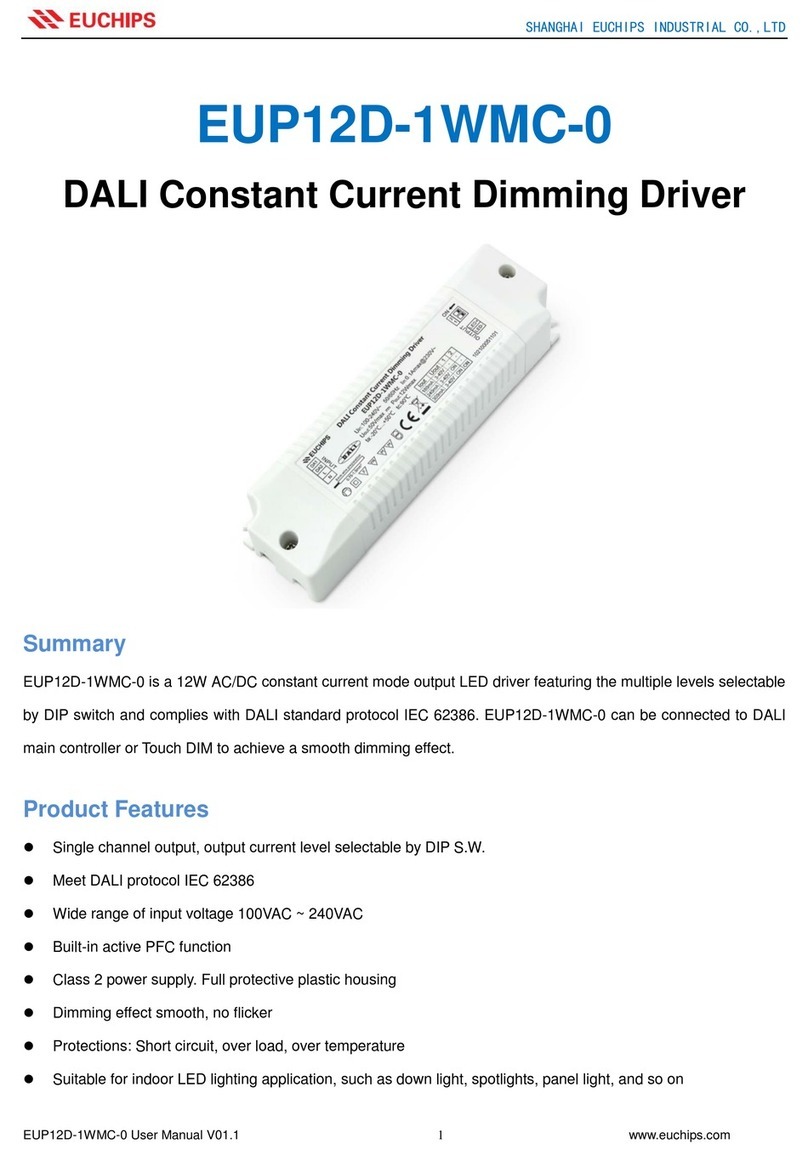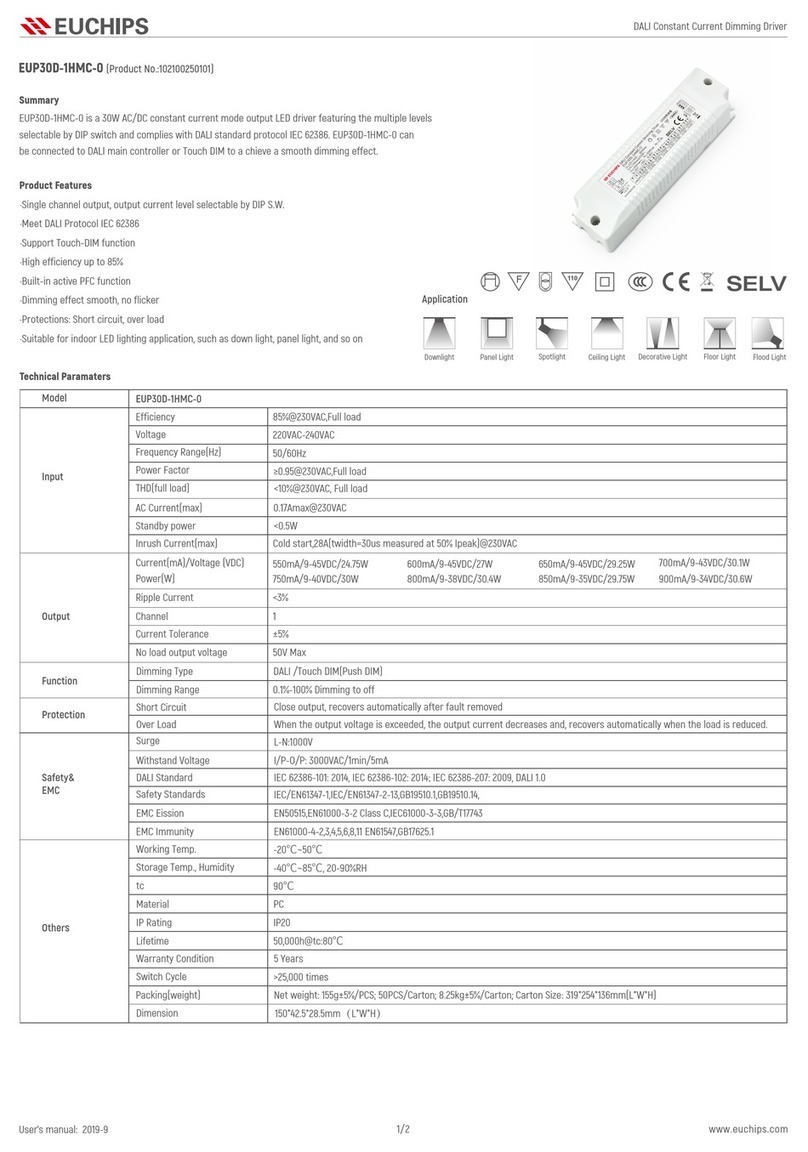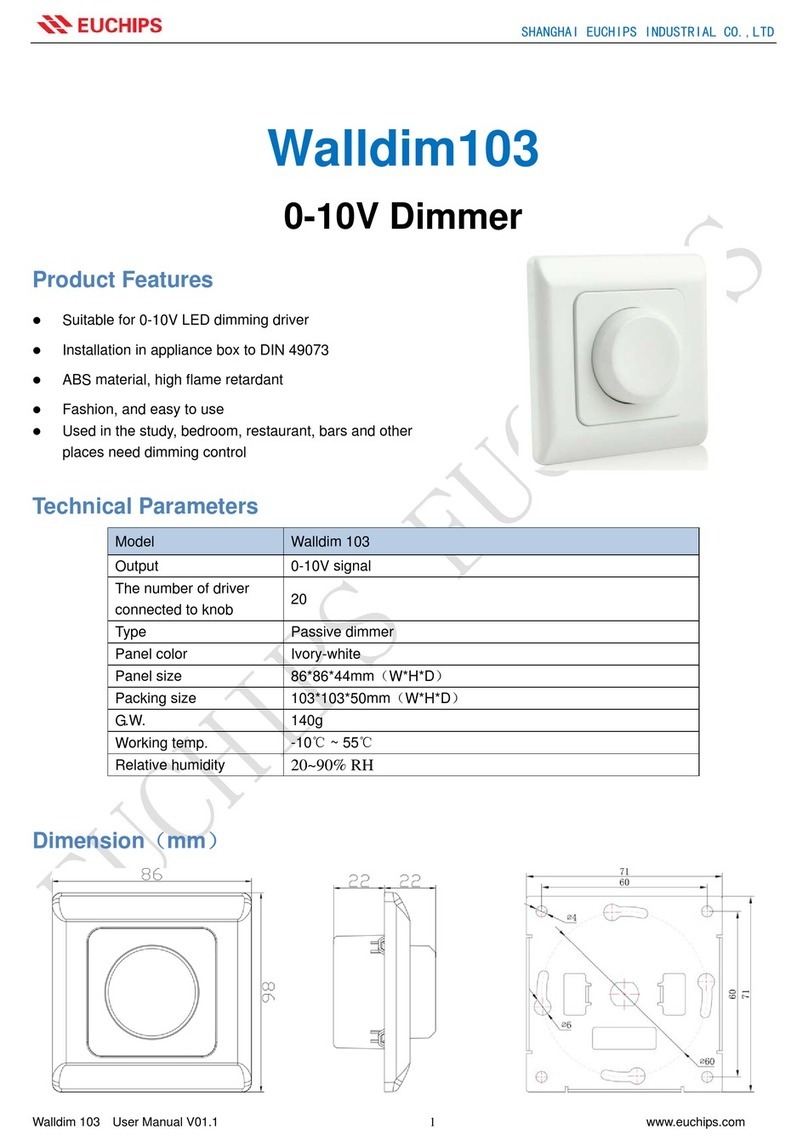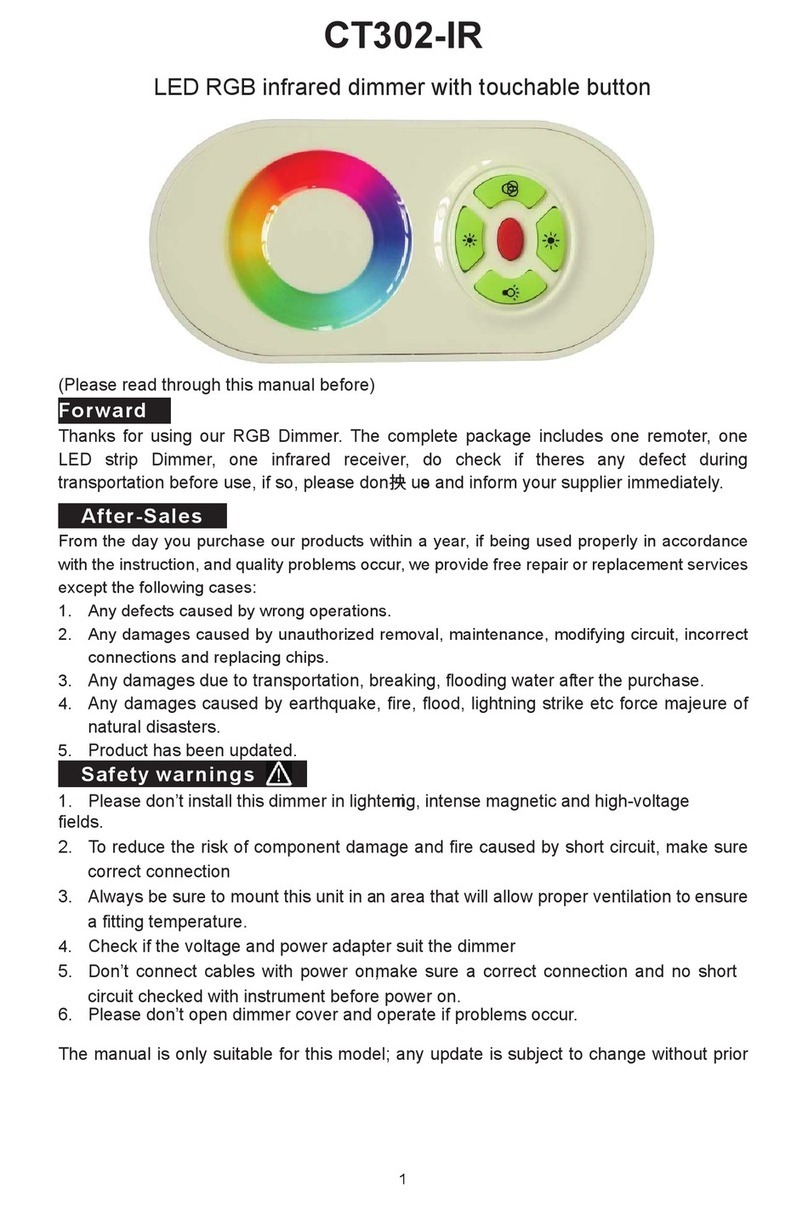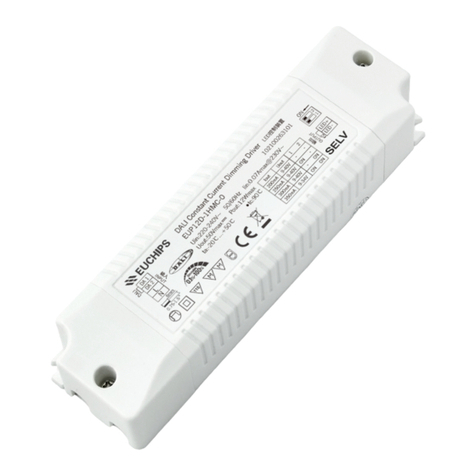
Dimension(mm) Wiring Diagram
Ambient Temperature(℃)
Load
(%)
0
20
40
60
80
100
120
-20 -10 10 20 30 40 50 600
22.6
110.0
29.6
0.985
0.986
0.984
0.983
0.982
0.981
60 70 80 90 100
Load(%)
PF
230Vac
70.00
75.00
80.00
85.00
90.00
95.00
60% 70% 80% 90% 100%
Load(%)
Eff.(%)
EUP10D-1HMC-0-350
L
N
DA1
DA2
OUTPUT
LED -
LED+
220-240VAC
Input
DALI Master
Lamp
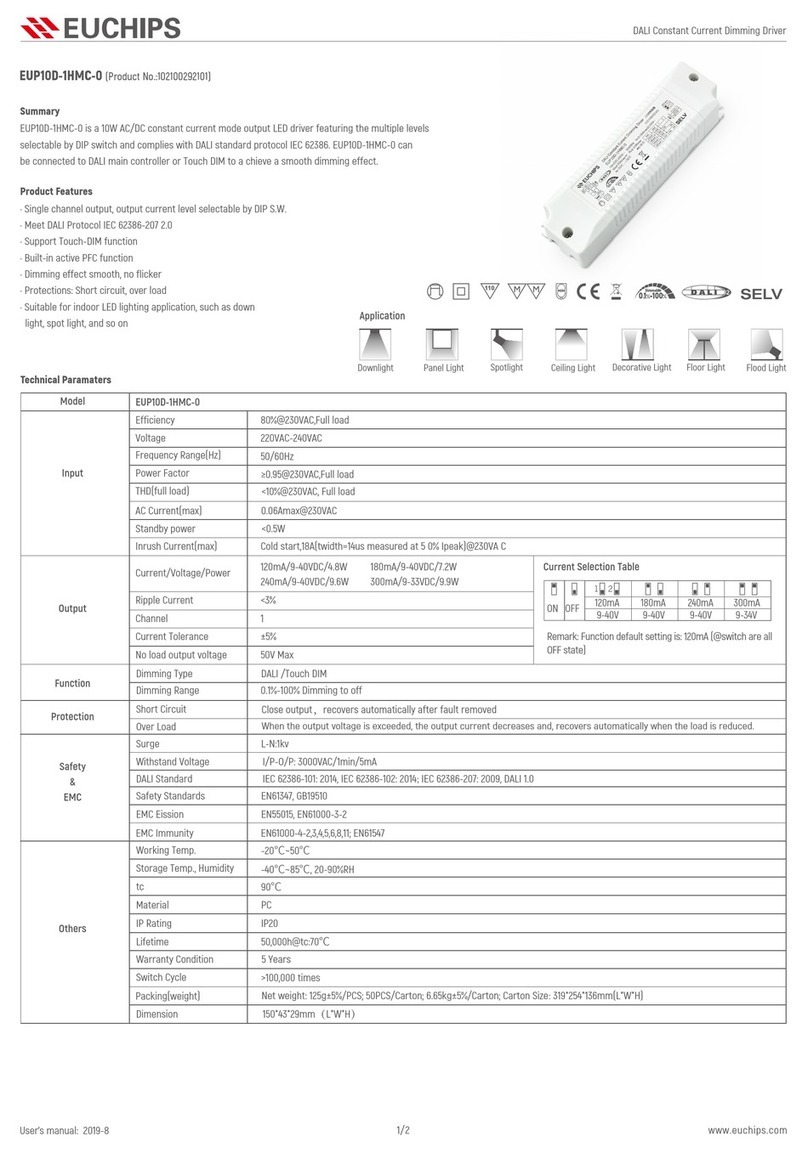
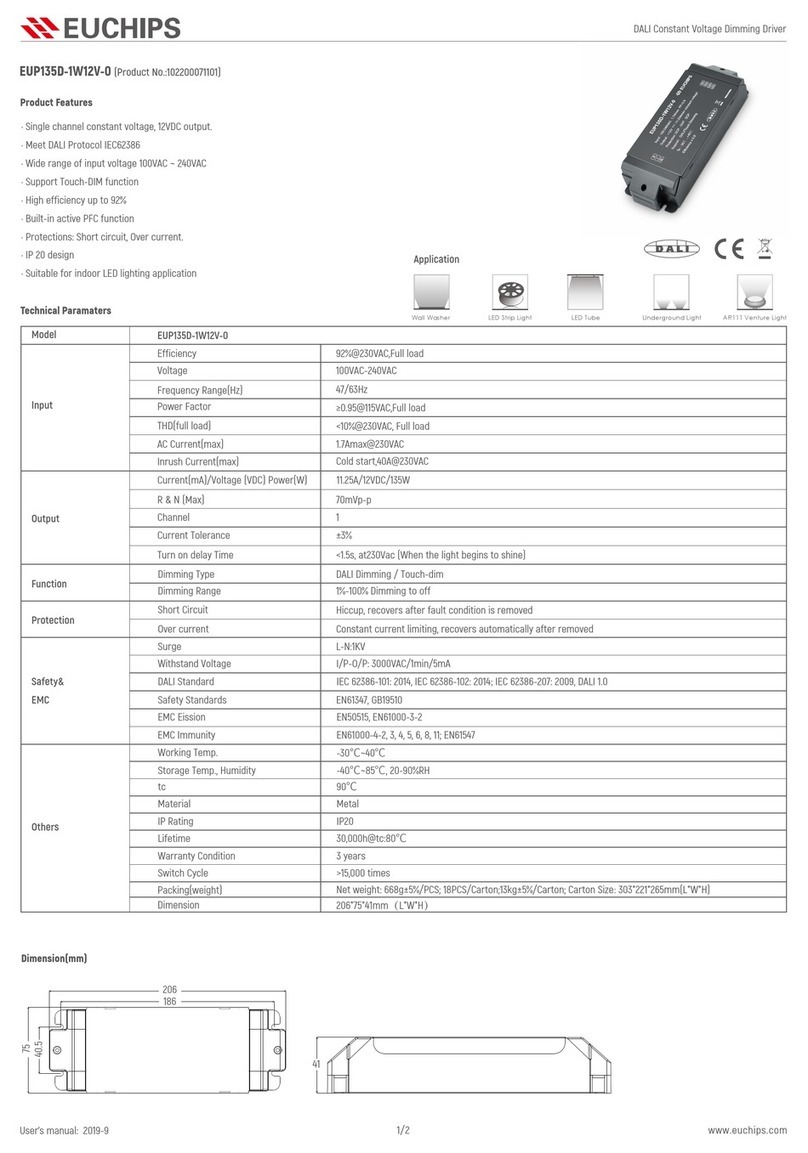
DALI Constant Current Dimming Driver
2/2
User’s manual: 2019-8 www.euchips.com
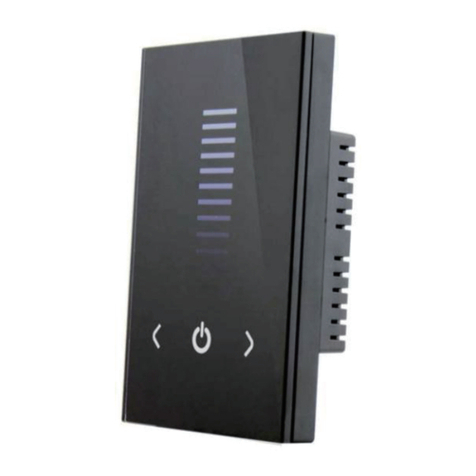
Push DIM(Touch DIM) Diagram
Push DIM Function
1. Press the Touch DIM switch for 8s or more,the driver can be controlled via Touch DIM switch.
2. Short press the Touch DIM switch (<0.5s) to control the lamp on or off.
3. Long press the Touch DIM switch (>0.5s) to dim the brightness of light. The dimming direction will change every time after pressing switch.
4. Double-click the Touch DIM switch (<0.3s), then all lamps connected on the device will be set maximum brightness.
5. The brightness adjustment range is 1%-100%, and the light can be turned off through short pressing when doing the adjustment with long
pressing Touch DIM switch.
6. With the Power off memory function, the power-down state will be recovered when power on again.
DALI Wiring Diagram
Remarks: use only open push switch (without indicator light). When using synchronous connection, the line length between each device and equipment shall not exceed 20 meters.
DALI Driver 1
DA
DA LED-
LED+
L
N
DALI Driver 2
DA
DA LED-
LED+
L
N
L
N
DALI Controller
DALI Driver 1
DA
DA LED-
LED+
L
N
DALI Driver 2
DA
DA LED-
LED+
L
N
Push DIM Pannel(Touch DIM)
LN
Dimming Curve Derating Curve PF vs Load Eff. vs Load
※The contents of this manual are updated without prior notice. If the function of the product you are using is inconsistent with the instructions, the function of the product shall prevail.Please contact us if you have any
questions .
0120 40 60 80 100 120 140 160 180 200 220 240 254
20
40
60
80
100
120
DALI Dimming Level
Output Current(%)
Cautions
1.This product should be installed by qualified personnel.
2.This product is non waterproof, need to avoid sun and rain.In case of outdoor use, please ensure it is mounted in a water proof enclosure.
3.Good heat dissipation conditions extend product life. Please install the product in a well-ventilated environment.
4.Please make sure LED power supply output voltage, current is used to meet the product requirements.
5.Please ensure that adequate sized cable is used from the controller to the LED lights to carry the current. Please also ensure that the cable is secured tightly in the connector.
6.Due to safety concerns, PVC or rubber cord of 0.75- 1.5mm²is recommended for input and output terminal(s)(excluding signal terminals). Flat power cord is not suitable.Ensure all wire
connections and polarities are correct before applying power to avoid any damages to the LED lights.
7.In case of malfunction, do not repair it yourself.
