manuals.online logo
Brands
  1. Home
  2. •
  3. Brands
  4. •
  5. Euroboor
  6. •
  7. Grinder
  8. •
  9. Euroboor AGR.2200/180 User manual

Euroboor AGR.2200/180 User manual

USER MANUAL
AGR.2200/180
AGR.2200/230
Euroboor Angle Grinder
EUROBOOR
FOR PROFESSIONALS BY PROFESSIONALS
Congratulations on your purchase of the Euroboor Angle Grinder AGR.2200/180 / AGR.2200/230.
efore operating your new Angle Grinder, please read all instructions first. These include the
Operator’s Manual and Warning Label on the unit itself.
With proper use, care and maintenance, your model will provide you with years of effective
performance.
TO REDUCE T E RISK OF INJURY USER MUST READ AND UNDERSTAND ALL INSTRUCTIONS
EUROBOOR BV
Kryptonstraat 110
2718 TD Zoetermeer
Netherlands
T +31 79 361 49 90
F +31 79 361 49 89
[email protected]
www.euroboor.com
Symbol Term, meaning Explanation
Read documentation
e absolutely sure to read the enclosed
documentation such as the Instruction Manual and
the General Safety Instructions.
Wear ear protection
Use ear protection during operation.
Wear eye protection
Use eye-protection during operation.
Danger/warning/caution
Observe the information in the adjacent text!
European conformity symbol
Confirms the conformity of the power tool with
the directives of the European Community.
Class of protection I
Product with basic insulation and exposed
(touchable), conductive parts additionally
connected to the protective earth conductor.
mm
Millimeter
Unit of measure for length, width, height or depth
kg
Kilogram
Unit of measure for the mass
V
Volt
Unit of measure for the electric voltage
A
Ampere
Unit of measure for the electric current intensity
W
Watt
Unit of measure for the output
N
Newton
Unit of measure for the force
min
Minutes
Unit of measure for the time
no
No-load speed
Revolution speed at no-load
1/min
per minute
Unit of measure for number of revolutions,
strokes, impacts or oscillations per minute.
Euroboor Angle Grinder – AGR.2200/180, AGR.2200/230
Overview
1. Switch trigger
2. Drive shaft
3. Side handle
4. Gear box
5. Housing handle
6. Protective cover
7. Lock button
8. External flange spanner
9. External flange with thread
10. Internal flange
11. Lock off button
12. Hex key
General Safety Instructions for Electric Tools
This device is exclusively for private use! It is not fit for commercial use!
WARNING! Read all instructions. Failure to follow all instructions listed below may result in electric
shock, fire and/or serious injury :
SAVE T ESE INSTRUCTIONS
1 )Work area
• Keep work area clean and well lit. Cluttered and dark areas invite accidents
• Do not operate machines in explosive atmospheres, such as in the presence of flammable liquids,
gases or dust. Machines create sparks which may ignite the dust or fumes.
• Keep children and bystanders away while operating a machine. Distractions can cause you to lose
control.
2) Electrical safety
• Machine plugs must match the outlet. Never modify the plug in any way. Do not use any adapter
plugs with earthed (grounded) machines. Unmodified plugs and matching outlets will reduce risk of
electric shock.
• Avoid body contact with earthed or grounded surfaces such as pipes, radiators, ranges and
refrigerators. There is an increased risk of electric shock if your body is earthed or grounded.
• Do not expose machines to rain or wet conditions. Water entering a machine will increase the risk
of electric shock.
• Do not abuse the cord. Never use the cord for carrying, pulling or unplugging the machine. Keep
cord away from heat, oil, sharp edges or moving parts. Damaged or entangled cords increase the
risk of electric shock.
• When operating a machine outdoors, use an extension cord suitable for outdoor use. Use of a cord
suitable for outdoor use reduces the risk of electric shock.
3)Personal safety
• Stay alert, Watch what you are doing and use common sense when operating a machine. Do not
use a machine while you are tired or under the influence of drugs, alcohol or medication. A
moment of inattention while operating machines may result in serious personal injury.
• Use safety equipment. Always wear eye protection. Safety equipment such as dust mark, non-skid
safety shoes, hard hat, or hearing protection used for appropriate conditions will reduce personal
injuries.
•Avoid accidental starting. Ensure the switch is in the off position before plugging in. Carrying
machines with your finger on the switch or plugging in machines that have the switch on invites
accidents.
•Remove any adjusting key or wrench before turning the machine on. A wrench or a key left
attached to a rotating part of the machine may result in personal injury.
•Do not overreach. Keep proper footing and balance at all times. This enables better control of the
machine in unexpected situations.
• Dress properly. Do not wear loose clothing or jewellery. Keep your hair, clothing and gloves away
from moving parts. Loose clothes, jewellery or long hair can be caught in moving parts.
• If devices are provided for the connection of dust extraction and collection facilities, ensure these
are connected and properly used. Use of these devices can reduce dust related hazards.
4)Machine use and care
• Do not force the machine. Use the correct machine for your application. The correct machine will
do the job better and safer at the rate for which it was designed.
•Do not use the machine if the switch does not turn it on and off. Any machine that can not be
controlled with the switch is dangerous and must be repaired.
•Disconnect the plug from the power source before making any adjustments, changing accessories,
or storing machines. Such preventive safety measures reduce the risk of starting the machine
accidentally.
• Store idle machines out of the reach children and do not allow persons unfamiliar with the machine
or these instructions to operate the machine. Machines are dangerous in the hands of untrained
users.
• Maintain machines. Check for misalignment or binding of moving parts, breakage of parts and any
other condition that may affect the machines operation. If damaged, have the machine repaired
before use. Many accidents are caused by poorly maintained machines.
•Keep cutting tools sharp and clean. Properly maintained cutting tools with sharp cutting edges are
less likely to bind and are easier to control.
• Use the machine, accessories and tool bits etc., in accordance with these instructions and in the
manner intended for the particular type of machine, taking into account the working conditions and
the work to be performed. Use of the machine for operations different from intended could result
in a hazardous situation.
5)Service
• Have your machine serviced by a qualified repair person using only identical replacement parts.
This will ensure that the safety of the machine is maintained.
Safety warning specific for grinding operations:
1. use only wheel types that are recommended for your power tool and the specific guard designed
for the selected wheel. Wheels for which the power tool was not designed can not be adequately
guarded and are unsafe.
2. the guard must be securely attached to the power tool and positioned for maximum safety, so
the least amount of wheel is exposed towards the operator. The guard helps to protect operator
from broken wheel fragments and accidental contact with wheel.
3. wheels must be used only for recommended applications. For example: do not grind with the
side of cut-off wheel. Abrasive cut-0off wheels are intended for peripheral grinding, side forces
applied to these wheels may cause them to shatter.
4. always use undamaged wheel flanges that are of correct size and shapes for your selected wheel.
Proper wheel flanges support the wheel thus reducing the possibility of wheel breakage. Flanges
for cut-off wheels may be different from grinding wheel flanges.
5. do not use worn down wheels from larger power tools. Wheel intended for larger power tool is
not suitable for the higher speed of a smaller tool and may burst.
earing protection
• In case of a sound pressure greater than 85.0 d (A) wear hearing protection to avoid damage to
your hearing!
Switch action
This model is safety switch, this means the switch can’t be locked on, and need two action to power
on. If you need power on, press the lock off button (11), then press the switch trigger (1). If you need
power off, just release the switch trigger (1)
Mounting the Side andle
During operation, keep one hand on the housing handle (5) and the other on the side handle (3). In
order to mount the side handle, screw it into the screw hole of the gear box (4).
Correct Fitting of the Protective Device
Ensure that the protective cover (6) is fitted correctly and that the fixing screws have been tightened!
efore tightening the fixing screws, switch off the machine and remove the mains plug!
Grinding and Surface Processing
In order to grind surfaces you should use a coarse abrasive disk with a sunken centre. You can use
abrasive disks with diameter of 180mm/230mm. The maximum thickness is 6mm.
Inserting the Wheels/Disks
Please proceed as follows when inserting the wheel/disk:
1. efore mounting, remove the mains plug from the socket release the switch trigger (1) to power
off the tool ! Ensure that the protective device is correctly installed.
2. Place the internal flange (10) on the drive shaft (2). Ensure that it is in contact with the two flat
areas.
3. Now place the abrasive disk on the drive shaft (2) and the internal flange (10). Ensure that it is
correctly in place.
4. Now attach the external flange with the thread (9), ensuring that it is facing the right direction
according to the type of disk/wheel used. In the case of abrasive disks, the flange (9) is inserted
with the higher side pointing towards the disk. In the case of cutting off wheels, the flange (9) is
inserted with the flat side pointing towards the wheel.
5. Depress and hold the lock button (7) so that cannot turn and then tighten the external flange (9)
with the external flange spanner (8).
Abrasive Disks
• Ensure that the speed to which the machine is set is sufficient for the accessories chosen.
• Use only abrasive disks with a diameter of 180 mm / 230mm!
• efore mounting the disk, remove the mains plug from the socket and push the on and release the
switch trigger (1) to power off the tool
1. Place the internal flange (10) on to the drive shaft (2).
2. Place the abrasive disk on the drive shaft (2) and ensure that it is correctly in place.
3. Attach the external flange with the thread (9) and tighten it as described above with the external
flange spanner (8).
NOTE: Expect a "rain of sparks" when the disk comes into contact with metal. While grinding, always
maintain the correct angle between the disk and the working surface of 15°. This produces ideal
results and avoids overloads.
NOTE: After operation, always switch off the tool and wait until the wheel has come to a complete
stop before putting the tool down.
Overload
The motor of your right angle grinding machine may be damaged when overloaded. This results from
excessive working pressure over a prolonged period. Therefore you should not try to accelerate your
working speed by increasing pressure on your machine. The abrasive disks work more efficiently if
only slight pressure is exerted on the grinding machine, thus avoiding a drop in the grinding speed.
Maintenance
• The protective cover, air slits and motor housing should be kept as free of dirt and dust as possible.
• Rub off the device with a clean cloth or use compressed air at a low pressure to blow out any dust
or dirt. Excessive amounts of metal dust may result in electricity from the internal components
being conducted on to exposed metal parts!
• Do not subject the grinding machine to any overload! Overloading will lead to a reduction in the
speed and performance and cause the machine to overheat! If this should happen, switch the
grinding machine off and let it cool down for approximately 30 minutes or to room temperature!
NOTE: Turning off the grinding machine while it is being subjected to a load will reduce the working
life of the operating switch!
Cleaning and Care
• efore cleaning the machine, remove the mains plug from the socket and release the switch trigger
(1) to power off the tool
• For cleaning purposes, only use a slightly damp but not wet cloth!
• Do not use any abrasive additives (petrol, turpentine etc) as these may damage the plastic housing!
• A mild soap is suitable for cleaning the machine!
• Ensure that no moisture is allowed to get inside the machine!
• After cleaning, wipe the machine with a dry cloth!
EC Conformity Declaration
We hereby declare that the angle grinder AGR.1400 fulfils the requirements of directive: 2006/42/EC,
2006/95/EC, 2004/108/EC
This appliance conforms to the CE directives for radio interference suppression and low voltage
safety and has been built to meet current safety requirements. Subject to technical changes without
prior notice!
Technical Data
Model AGR.2200/180 AGR.2200/230
Rated input 230V~50Hz 230V~50Hz
Rated power 2200W 2200W
No load speed 8000/min 6000/min
Disc size: 180mm 230mm
Class of tool
回
回
Sound pressure
level(Lpa)
d (A) K=3 d (A) d (A) K=3 d (A)
Sound power level(Lwa) d (A) K=3 d (A) d (A) K=3 d (A)
Vibration m/s
2
K=1.5 m/s
2
m/s
2
K=1.5 m/s
2
ENVIRONMENTAL PROTECTION
Waste electrical products should not be disposed of with household waste.
Please recycle where facilities exist.
Check with your local authority or retailer for recycling advice.

This manual suits for next models

1

Other Euroboor Grinder manuals

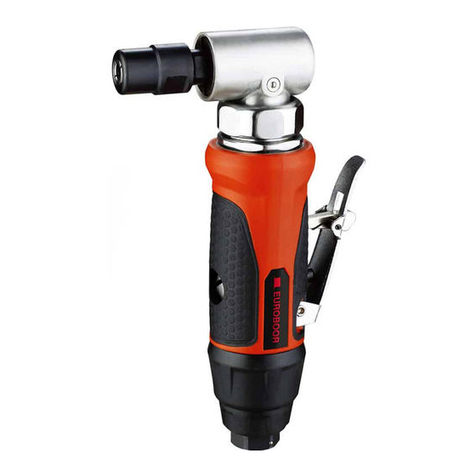
Euroboor ERM.100/3 User manual

Euroboor

Euroboor ERM.100/3 User manual

Euroboor ADG.2A User manual

Euroboor

Euroboor ADG.2A User manual

Euroboor AGR.1200 User manual

Euroboor

Euroboor AGR.1200 User manual

Euroboor ADG.2E User manual

Euroboor

Euroboor ADG.2E User manual

Euroboor AGR.1400 User manual

Euroboor

Euroboor AGR.1400 User manual

Euroboor ADG.2A User manual

Euroboor

Euroboor ADG.2A User manual

Euroboor EDG.600 User manual

Euroboor

Euroboor EDG.600 User manual

Euroboor ADG.2S User manual

Euroboor

Euroboor ADG.2S User manual

Euroboor EDG.600 User manual

Euroboor

Euroboor EDG.600 User manual

Euroboor AGR.840 User manual

Euroboor

Euroboor AGR.840 User manual

Popular Grinder manuals by other brands

Parkside 284661 Translation of the original instructions

Parkside

Parkside 284661 Translation of the original instructions

DeWalt XR DCG440 Original instructions

DeWalt

DeWalt XR DCG440 Original instructions

Woodstar wg 08 Translation from the original instruction manual

Woodstar

Woodstar wg 08 Translation from the original instruction manual

Fiorenzato F64E instruction manual

Fiorenzato

Fiorenzato F64E instruction manual

Neary 555 Operator's manual

Neary

Neary 555 Operator's manual

Rupes BA210D Translation of original operating instructions

Rupes

Rupes BA210D Translation of original operating instructions

DeWalt DW754 instructions

DeWalt

DeWalt DW754 instructions

Hyundai HYSG150-2 user manual

Hyundai

Hyundai HYSG150-2 user manual

Hitachi G 13SQ Handling instructions

Hitachi

Hitachi G 13SQ Handling instructions

Makita GA7063R instruction manual

Makita

Makita GA7063R instruction manual

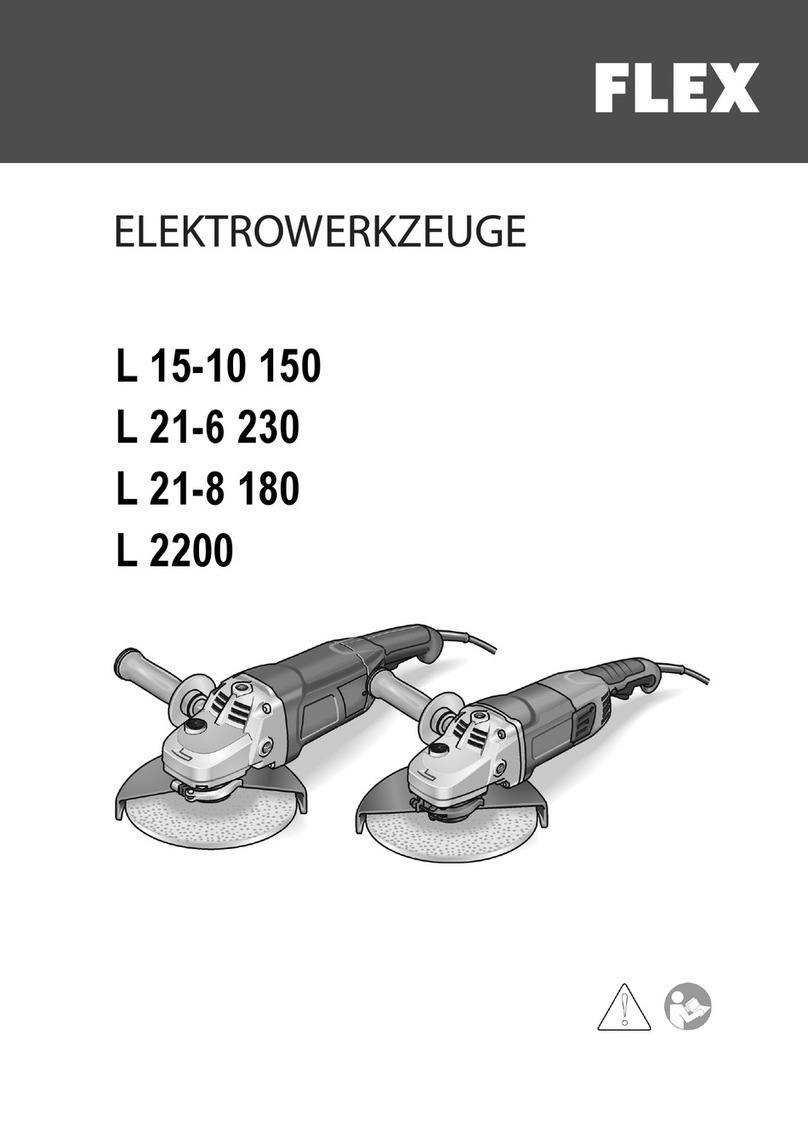
Flex L 2200 Original operating instructions

Flex

Flex L 2200 Original operating instructions

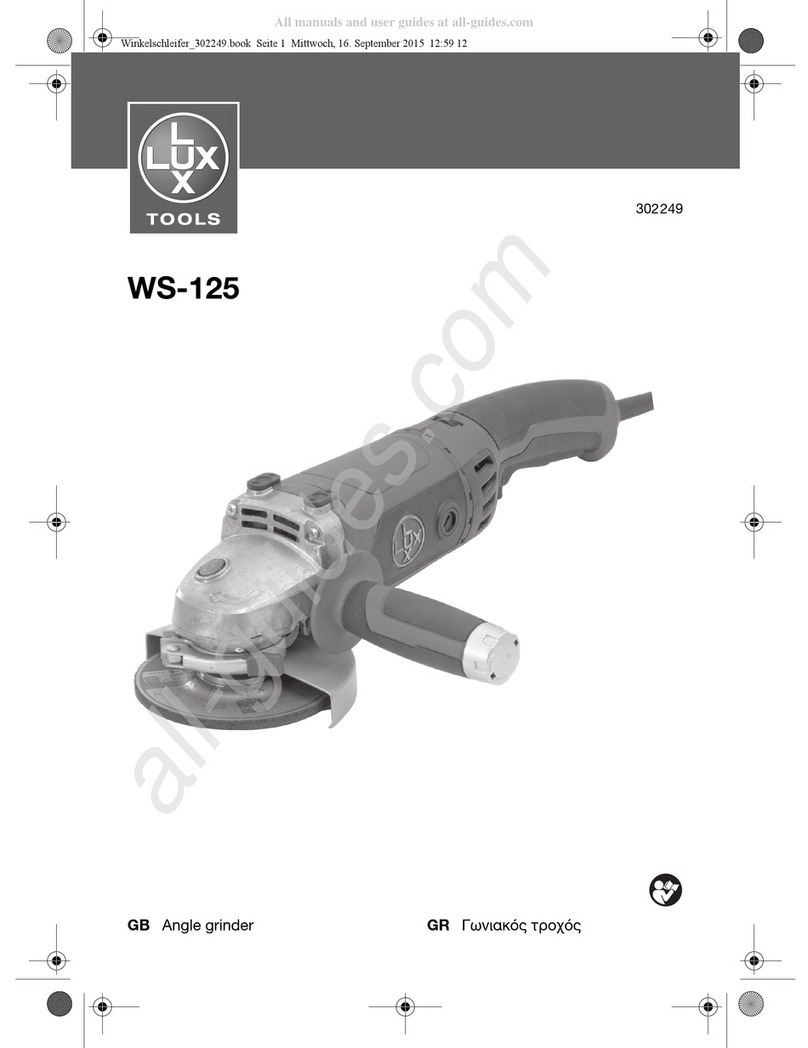
Lux Tools WS-125 Original instructions

Lux Tools

Lux Tools WS-125 Original instructions

Drill Master 60625 Owner's manual & safety instructions

Drill Master

Drill Master 60625 Owner's manual & safety instructions

DeWalt DWE46152 instruction manual

DeWalt

DeWalt DWE46152 instruction manual

Clarke CAT133 Operating & maintenance instructions

Clarke

Clarke CAT133 Operating & maintenance instructions

Bosch GSS 140 A Professional Original instructions

Bosch

Bosch GSS 140 A Professional Original instructions

Matco Tools MT1887 operating instructions

Matco Tools

Matco Tools MT1887 operating instructions

Makita GA9020R instruction manual

Makita

Makita GA9020R instruction manual

manuals.online logo
manuals.online logoBrands
  • About & Mission
  • Contact us
  • Privacy Policy
  • Terms and Conditions

Copyright 2025 Manuals.Online. All Rights Reserved.