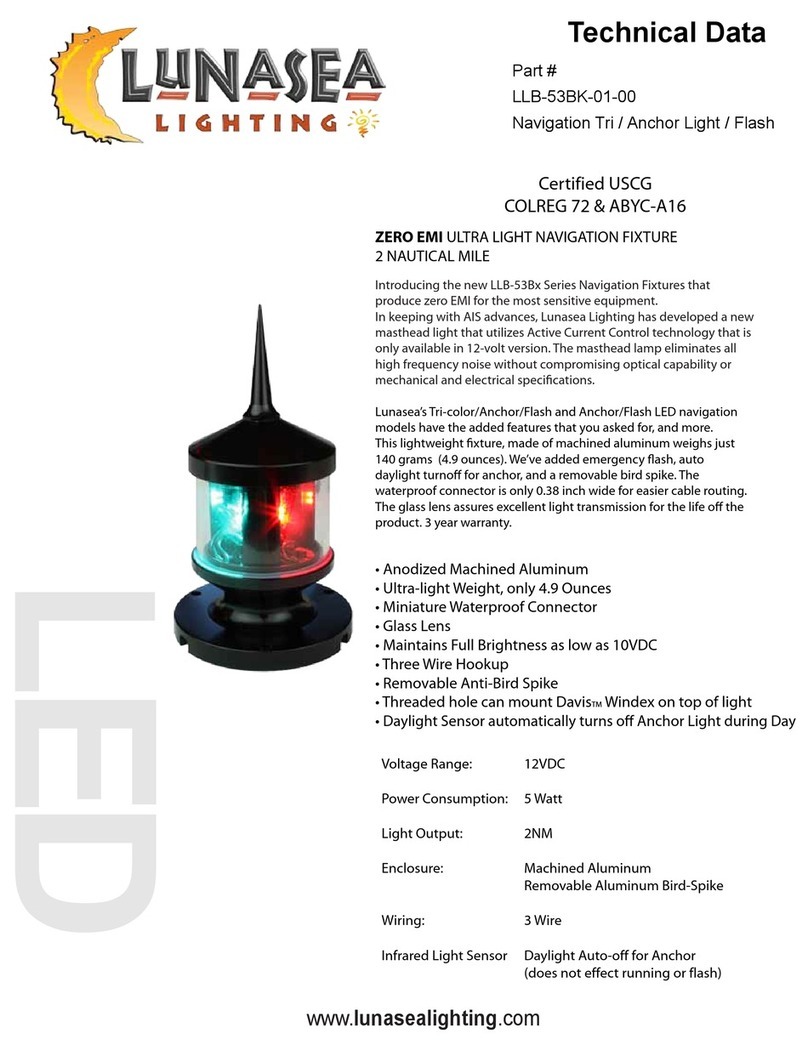
• Fitting: Plastic.
• Class: Class 2
• IP Rating: IP 20
• Voltage: 220V - 240V ~ 50Hz / DC 6V input
• Dimensions: (Ø)120mm x (H)175mm
• Lamp Type: 36 x Integrated LED 220 - 240V
• Battery: 4V 2000mAh sealed Lithium-ion rechargeable battery
• Battery Charge time: approximately 24 Hours
• Battery Life: 3 - 4 Hours (Bright setting) | 6 - 8 Hours (Dim setting)
• The light source of this luminaire is not replaceable. When the light source reaches its end of life the
whole luminaire should be replaced, or the light source should only be replaced by the manufacturer.
SPECIFICATIONS
CLEANING
MAINTENANCE
HOW TO OPERATE
• Beforecleaningalwaysensurethepowersupplyisturnedo.
• Do not immerse the luminaire in water.
• No abrasive products, solvents, detergent may be used to clean this luminaire.
• Ensure that the luminaire does not come in contact with corrosive chemicals, etc.
• Please Charge the unit for 8 hours before initial use.
• Make sure the voltage is correct before plugging in.
• Please keep always recharge the lantern when the light goes dim.
• Periodically charge the unit at least 8 hours when the unit is not inuse for over 3 months, ortherwise the
battery will be over-exhauseted and can not be recharge again.
• Please place the switch in OFF position when the lantern is not in use
• Theeciencymaydecreaseiflanternisusedorchargedwhen
temperaturares are below 0˚ or above 40˚.
• Donotimmersethextureintowaterorkeepinhumidityenvironment
• Never use strong or volatile chemicals to clean the lantern
• Toavoiddamageoflantern,pleasedonotuseotherspeciedbattery.
• Toavoidelectricalshock,pleasedonotopentheunitunlessqualiedperson.
1. Turn on the switch to light up the unit.
2. Plug into an AC power socket to charge or use the solar panel to charge by putting the Lantern in
direct sunlight.
3. The red LED indicator will light up when the lanrtern is being recharged.
4. It needs approximately 20 hours for a full charge.
5. The built-in charger may become slightly warm during recharging.
6. Switch Lantern OFF when not in use.
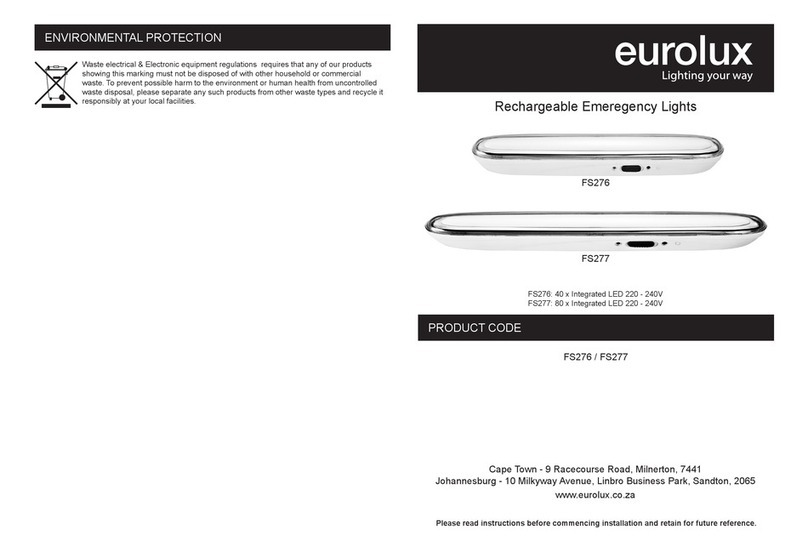
FS214 - attachments:
Iftheexternalexiblecableorcordofthisluminaireisdamaged,itshouldbeexclusivelyreplacedby
themanufacturerorhisserviceagentorasimilarqualiedpersoninordertoavoidahazard.
To ensure that you get maximum longevity and maximum use out of your luminaire, please
observe the following safety instructions.
Electrical products can cause death, injury, or damage to property. Installation of the luminaire must
becarriedoutbyaqualiedelectrician,inaccordancewithSANS10142.Oncompletionof
installation,ensurethattheCerticateofComplianceisupdated.
• Before connecting this luminaire, ensure that voltage indicated on the rating label corresponds with the
mains voltage in your home.
• Whenchangingthelamp,ensurethatthepoweristurnedo.
• This luminaire is checked in full for conformity to the quality standards and safety requirements.
• The manufacturer / supplier is not responsible for any damage of properties and persons, caused by
the incorrect use or installation of the luminaire.
• Should you be unsure of how to install this luminaire correctly, please consult a professional electrician
or your supplier for assistance.
• Ensure all items/ components, threads and screws are tightly secured.
IMPORTANT:
• Tampering with this luminaire, i.e.using silicon sealers or incorrect cabling, will invalidate
your warranty.
• When the protection glass is damaged, it should be replaced immediately. The luminaire
must not be used without the protection glass.
• Please check whether the connection of the power cord is safe and reliable before installation.
• Always ensure that the mains supply voltage is correct.
• Always replace the lamp with one of an identical rating.
• Ensure that you do not place the luminaire near any combustible materials and / or surfaces.
• Choking hazard: May contain small parts. Keep away from children.
• Donotinsertyourngersoranypartofyourbodyintotheelectricalcontactandsocketsofthisproduct
whilst it is connected to the electricity supply.
• Item may vary slightly from the picture on the carton.
• Coastalhumiditymayeectthelongevityoftheluminaire.
• Outdoor luminaires must be cleaned to prevent rust occurring.
• Use a copper grease on all screws or strings.
IMPORTANT SAFEGUARDS


