manuals.online logo
Brands
  1. Home
  2. •
  3. Brands
  4. •
  5. Cooper Lighting
  6. •
  7. Lighting Equipment
  8. •
  9. Cooper Lighting HALO miniLUME LA5300 User manual

Cooper Lighting HALO miniLUME LA5300 User manual

• SAFETY INFORMATION
• IMPORTANT SAFETY
INSTRUCTIONS
• READ CAREFULLY FOR YOUR
PROTECTION AND SAVE ALL
INSTRUCTIONS
•Disconnect power before installing light fixture on track.
•Wear rubber-soled shoes and work on a sturdy wooden ladder.
•This fixture must be installed according to the National Electric
Code and local building codes.
•To avoid a hazard to children, account for all parts and destroy all
packing materials.
•If you are unsure about the installation or use of this fixture con-
sult a qualified electrician.
•CAUTION: To reduce the risk of fire and electrical shock, use only
fixtures and fittings intended for use with Halo and Lazer by Halo
track systems only.
Installation Instructions for LA5300, LF5300
& L5300 Adjustable Beam Lampholders
HALO®
HALO®
Operation
This device has an internal ceramic metal halide transformer allowing it to operate
on Halo and Lazer by Halo line voltage track. Make sure you are using the correct
lamp type and wattage for your track fixture. In the event of a shutdown the lamp
will re-strike in approximately 5 minutes
NOTICE: THIS EQUIPMENT CONTAINS A R.F. BALLAST THAT HAS BEEN TESTED AND
FOUND TO COMPLY WITH THE LIMITS PURSUANT TO PART 18C NON-CONSUMER
LIMITS OF THE FCC RULES. THESE LIMITS ARE DESIGNED TO PROVIDE REASONABLE
PROTECTION AGAINST HARMFUL INTERFERENCE WITH ELECTRONIC DEVICES SUCH
AS: RADIOS, TELEVISIONS, WIRELESS TELEPHONES OR REMOTE CONTROLS. IF
INTERFERENCE OCCURS IT MAY BE POSSIBLE TO CORRECT THE INTERFERENCE BY
ONE OR MORE OF THE FOLLOWING MEASURES:
• REORIENT OR RELOCATE ANTENNA OF THE RECEIVING DEVICE.
• INCREASE THE SEPARATION BETWEEN THIS EQUIPMENT AND THE DEVICE.
• CONNECT THIS EQUIPMENT OR THE DEVICE INTO A DIFFERENT OUTLET OR CIR-
CUIT.
THIS EQUIPMENT SHOULD NOT BE USED:
• CLOSER THAN THREE (3) FEET FROM ANY SENSITIVE ELECTRONIC EQUIPMENT.
• NEAR MARITIME SAFETY, NAVIGATION, OR COMMUNICATIONS EQUIPMENT.
Service
There are no user serviceable parts inside. Opening unit will void
warranty. Contact point of purchase for service.
Installation Instructions for
L5300 Series Track Fixture (Fig. 1A, 1B, 1C & 1D)
The L5300 track fixture can be used with Halo and Lazer by Halo
single circuit track and Halo-2 two-circuit track. An adjustable con-
tact allows you to select the circuit position. Use a narrow blade
screwdriver as shown (Fig.1A) to adjust the contact. Lift or lower
the contact until it touches the upper or lower plastic stop of the
contact assembly.
To use with Halo or Lazer by Halo single circuit track the
adjustable contact must be in the circuit #1 or lower position. To
use with Halo-2 two circuit track adjust the contact position to the
desired circuit position, circuit #1 down or circuit #2 up position
(Fig. 1B).
DOWN
POSITION UP
POSITION
ADJUSTABLE
CONTACT
FIG. 1A
FIG.1B
Customer First Center • 1121 Highway 74 South • Peachtree City, GA 30269 • 770.486.4800 • FAX 770.486.4801
11/06 rev.4 702505
Customer First Center • 1121 Highway 74 South • Peachtree City, GA 30269 • 770.486.4800 • FAX 770.486.4801
11/06 rev.4 702505
FOCUSING
KNOB
HORIZONTAL
LOCK
9/64" ALLEN
WRENCH
FIG.13
VERTICAL
LOCK
9/64" ALLEN
WRENCH
FIG. 12
FIG. 11
Changing Media
The fixture bezel assembly can accept two clear glass lenses or one color
filter with or without a clear lens.
Focusing Beam
Focus by rotating knob 1/4 turn on fixture. Beam can be adjusted from a
spot to a flood (Fig. 11).
Instructions for Lockable Aiming
Lockable aiming is only available for L530070E series fixtures.
Step 1 Aim fixture to desired position.
Step 2 Insert 9/64 allen wrench, provided by others, into hole under track
adapter. Turn clockwise to tighten. This will lock vertical rotation
(Fig.12).
Step 3 Insert 9/64 allen wrench into hole near on/off switch. Turn clock-
wise to tighten. This will lock horizontal rotation (Fig. 13).
HALO®
SWITCH
LAMP
(do not twist)
Do not touch
lamp with bare
fingers - hold
lamp with cloth
FIG. 7 FIG. 10
HALO®
TRACK
POLARITY
GROOVE
INSERT FIXTURE
IN TRACK AND
THEN TWIST 90°
FIXTURE
POLARITY
GROOVE
FIXTURE
POLARITY
GROOVE
THUMB
LATCH
FIG. 1C
FIG. 1D
To install the fixture to the track, insert the contact assembly into the track and
rotate the fixture neck 90° so the polarity line on the power supply aligns with
the polarity line on the track. Pull back and release the thumb latch allowing
the power supply to lock into position (Fig 1C and 1D).
To remove the fixture, slide thumb latch down until latch is clear of the track
channel opening. Twist the fixture neck and turn (90°) until the contact
assembly is free and remove power supply from track.
Installation Instructions for
LA5300 Series Track Fixture (Fig. 2)
The LA5300 track fixture can be used with Halo two circuit Architectural Track.
Fixture can be rotated 180° to second circuit.
To install fixture into track, open switch cover so that contacts are concealed
inside fixture. Insert fixture into track so the contact will engage the desired
circuit. Close switch cover.
To remove fixture, rotate switch cover 90° and remove from track. (Fig. 2)
Installation Instructions for
LF5300 Series Track Fixture (Fig. 3)
The LF5300 track fixture can be used with Halo ‘LF’ series 2 two-circuit track
only.
Step 1. Open connector cover by pulling downward on the connector sleeve
and connector cover so that the contacts are exposed.
Step 2. Raise fixture to track with contacts facing intended circuit.
Step 3. Move connector into position and close connector cover until it snaps
into position.
To remove fixture from track.
Step 1. Open connector cover by pulling downward on the connector sleeve.
Step 2. Raise fixture from track and remove.
Note: To access the other circuit, rotate fixture 180 degrees and follow
installation instruction above.
Relamping Instructions
Warning: Before working on fixture, be sure to turn off AC power or remove
fixture from track.
Step 1 Allow unit to cool then remove from track
Step 2 Remove bezel and glass assembly by rotating assembly counter-
clockwise (Figs 4 & 5).
Step 3 Remove glare shield by pulling both ends of the glare shield straight
out (Fig. 6).
Step 4 Locate the relamp label on the outer surface of the reflector to deter-
mine the required lamp wattage for proper fixture operation (Fig. 6).
Step 5 Remove the existing lamp by pulling straight out.
Step 6 Using a soft cloth to avoid contacting the new lamp with bare hands,
insert the replacement lamp into the socket by carefully aligning the
lamp pins to the socket and pushing the lamp straight into the
socket without twisting (Fig. 7). Insure lamp pins are inserted
properly into the socket for proper lamp function.
FIG. 2
FIG. 3
BEZEL & GLASS
ASSEMBLY
FIG. 4
CONNECTOR COVER
CONNECTOR
SLEEVE
Customer First Center • 1121 Highway 74 South • Peachtree City, GA 30269 • 770.486.4800 • FAX 770.486.4801
11/06 rev.4 702505
Customer First Center • 1121 Highway 74 South • Peachtree City, GA 30269 • 770.486.4800 • FAX 770.486.4801
11/06 rev.4 702505
FIG. 9
REFLECTOR
HOUSING
FIG.8
LUGS
Step 7 Replace the glare shield and bezel and glass assembly by carefully
engaging all three lugs on the bezel with the corresponding lugs on the
reflector housing (Fig. 8). Turn the bezel and glass assembly clockwise
until the positive ‘click’ is felt, indicating the home position has been
engaged in the reflector housing (Fig. 9). Verify the bezel and glass
assembly is securely retained in the reflector housing.
Step 8 DO NOT OPERATE FIXTURE WITHOUT GLASS LENS. RISK OF FIRE.
Be sure on-off switch is returned to ON position (Fig 10).
FIG. 5
FIG. 6
GLARE SHIELD
BEZEL &
GLASS
ASSEMBLY
RELAMP
LABEL
This manual suits for next models

2

Other Cooper Lighting Lighting Equipment manuals

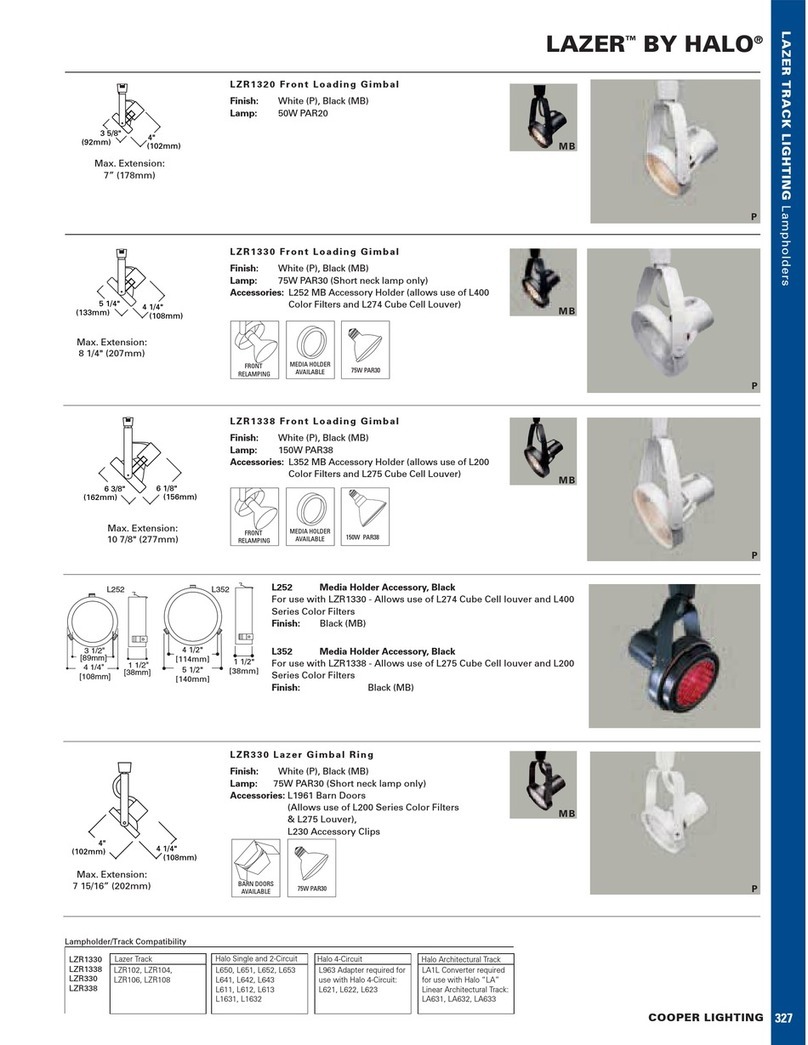
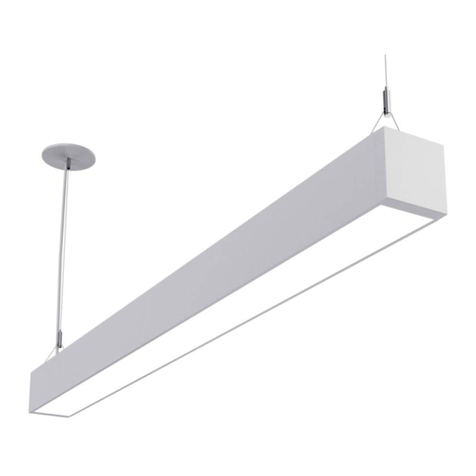
Cooper Lighting LINEA Series Installation guide

Cooper Lighting

Cooper Lighting LINEA Series Installation guide

Cooper Lighting LZR102 User manual

Cooper Lighting

Cooper Lighting LZR102 User manual

Cooper Lighting MIGHT LIGHT LED130 User manual

Cooper Lighting

Cooper Lighting MIGHT LIGHT LED130 User manual

Cooper Lighting Halo LZE800SL User manual

Cooper Lighting

Cooper Lighting Halo LZE800SL User manual

Cooper Lighting Halo Lazer LZR302 User manual

Cooper Lighting

Cooper Lighting Halo Lazer LZR302 User manual

Cooper Lighting Halo LF603 User manual

Cooper Lighting

Cooper Lighting Halo LF603 User manual

Cooper Lighting RFM300 User manual

Cooper Lighting

Cooper Lighting RFM300 User manual

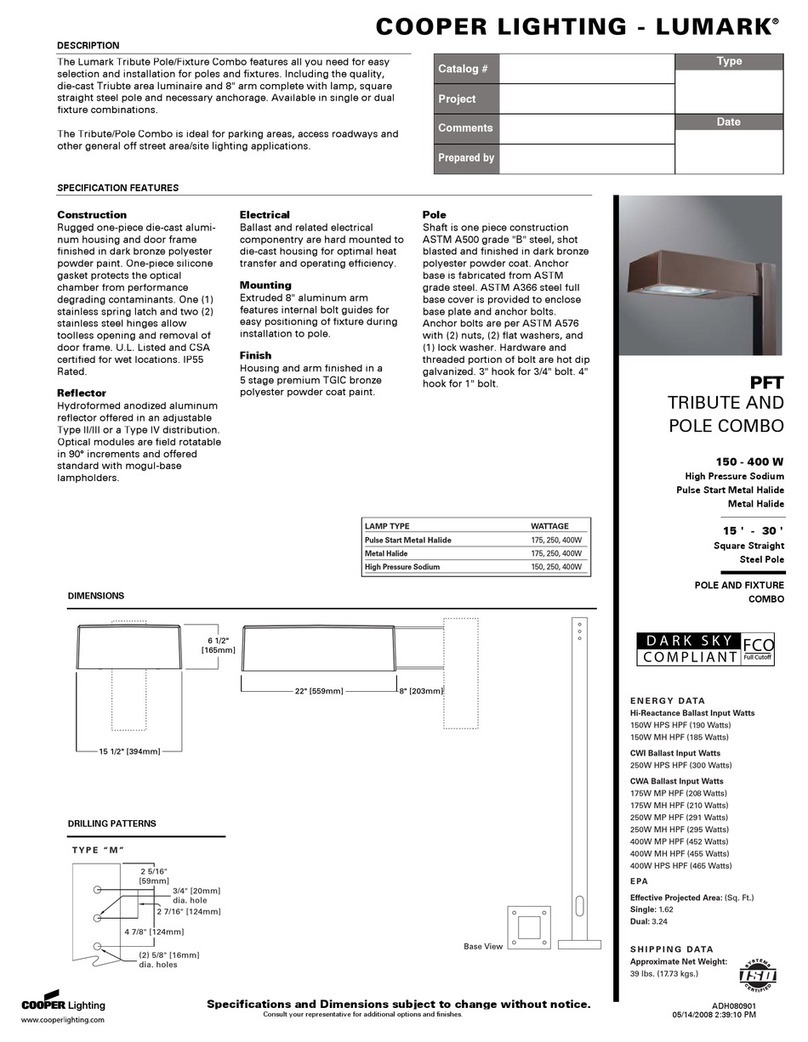
Cooper Lighting ADH080901 User manual

Cooper Lighting

Cooper Lighting ADH080901 User manual

Cooper Lighting TQS1000 User manual

Cooper Lighting

Cooper Lighting TQS1000 User manual

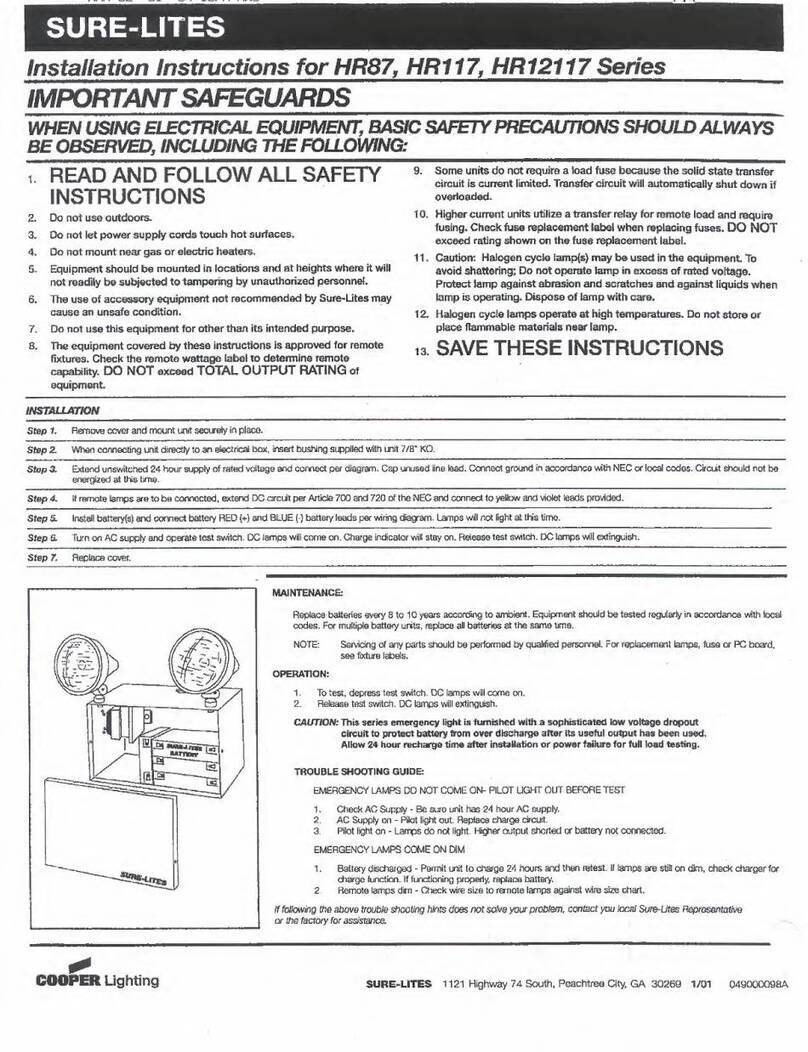
Cooper Lighting SURE-LITES HR87 Series User manual

Cooper Lighting

Cooper Lighting SURE-LITES HR87 Series User manual

Cooper Lighting ALL-PRO AL3050LPC Series User manual

Cooper Lighting

Cooper Lighting ALL-PRO AL3050LPC Series User manual

Cooper Lighting COMBOLIGHT CR220M70 User manual

Cooper Lighting

Cooper Lighting COMBOLIGHT CR220M70 User manual

Cooper Lighting HALO RL6 User manual

Cooper Lighting

Cooper Lighting HALO RL6 User manual

Cooper Lighting Halo TGS3S401DSRB User manual

Cooper Lighting

Cooper Lighting Halo TGS3S401DSRB User manual

Cooper Lighting Halo Lazer LZR330 User manual

Cooper Lighting

Cooper Lighting Halo Lazer LZR330 User manual

Cooper Lighting IRIS E4RPINSR User manual

Cooper Lighting

Cooper Lighting IRIS E4RPINSR User manual

Cooper Lighting Halo L611 User manual

Cooper Lighting

Cooper Lighting Halo L611 User manual

Cooper Lighting MS185R User manual

Cooper Lighting

Cooper Lighting MS185R User manual

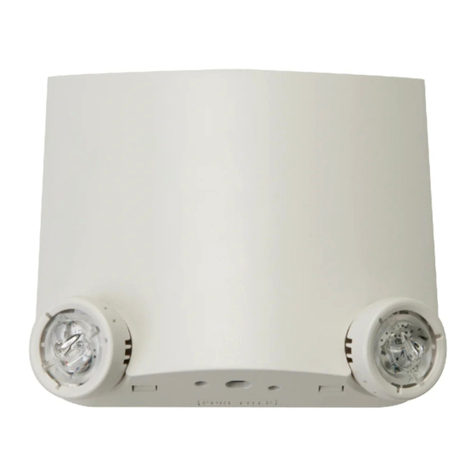
Cooper Lighting SURE-LITES CX Series User manual

Cooper Lighting

Cooper Lighting SURE-LITES CX Series User manual

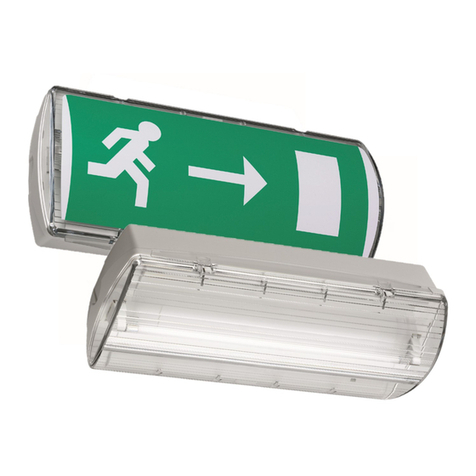
Cooper Lighting FAIL-SAFE CFE-4 Series User manual

Cooper Lighting

Cooper Lighting FAIL-SAFE CFE-4 Series User manual

Cooper Lighting Corelite Continua SQ4 User manual

Cooper Lighting

Cooper Lighting Corelite Continua SQ4 User manual

Cooper Lighting WaveLinx Lite Owner's manual

Cooper Lighting

Cooper Lighting WaveLinx Lite Owner's manual

Cooper Lighting IRIS MH4CFL42E User manual

Cooper Lighting

Cooper Lighting IRIS MH4CFL42E User manual

Cooper Lighting HALO Home MicroEdge HLB6 User manual

Cooper Lighting

Cooper Lighting HALO Home MicroEdge HLB6 User manual

Popular Lighting Equipment manuals by other brands

Feniex L-22109 Installation and operational guide

Feniex

Feniex L-22109 Installation and operational guide

INNOVAPLAS BILTMOR 5001 quick start guide

INNOVAPLAS

INNOVAPLAS BILTMOR 5001 quick start guide

Emos CLASSIC quick guide

Emos

Emos CLASSIC quick guide

Facom 779.EYE instruction manual

Facom

Facom 779.EYE instruction manual

Vision & Control LDLF30x480-B470/UDC Instructions for use

Vision & Control

Vision & Control LDLF30x480-B470/UDC Instructions for use

juwel HeliaLux LED instruction manual

juwel

juwel HeliaLux LED instruction manual

CCS HLDL2 Series Instruction guide

CCS

CCS HLDL2 Series Instruction guide

Shehds LED Flat Par 54x3W VIOLET user manual

Shehds

Shehds LED Flat Par 54x3W VIOLET user manual

Ansell AFALED/ER/3NM/ST installation instructions

Ansell

Ansell AFALED/ER/3NM/ST installation instructions

Trime X-START Use manual

Trime

Trime X-START Use manual

Ltech L-BUS WiFi-106 manual

Ltech

Ltech L-BUS WiFi-106 manual

North Light WX-4.5VLED20-36W-1-1 quick start guide

North Light

North Light WX-4.5VLED20-36W-1-1 quick start guide

UVP B-100SP operating instructions

UVP

UVP B-100SP operating instructions

EuroLite LED Silent PAR 6 user manual

EuroLite

EuroLite LED Silent PAR 6 user manual

Bruck 700052 instruction manual

Bruck

Bruck 700052 instruction manual

LITETRONICS EB40 installation instructions

LITETRONICS

LITETRONICS EB40 installation instructions

PureEdge Lighting ZSD-2S Series installation instructions

PureEdge Lighting

PureEdge Lighting ZSD-2S Series installation instructions

EuroLite Tourlight 200 user manual

EuroLite

EuroLite Tourlight 200 user manual

manuals.online logo
manuals.online logoBrands
  • About & Mission
  • Contact us
  • Privacy Policy
  • Terms and Conditions

Copyright 2025 Manuals.Online. All Rights Reserved.