Exhausto-FireDampersKitVEX40T-Inst-11029950B - 03/2021 - RCS Lyon 956 506 828 - Aldes - Imprimé en France/ Printed in France
5. DESCRIPTION OF FUNCTIONS AND SETTINGS • BESKRIVELSE AF FUNKTIONER OG INDSTILLINGER
EN
**This kit requires the VEX40T unit software 1.10 or more recent.
Please check your software version in the HMI menu INFORMATION
> Product ID > Software version > Software unit **
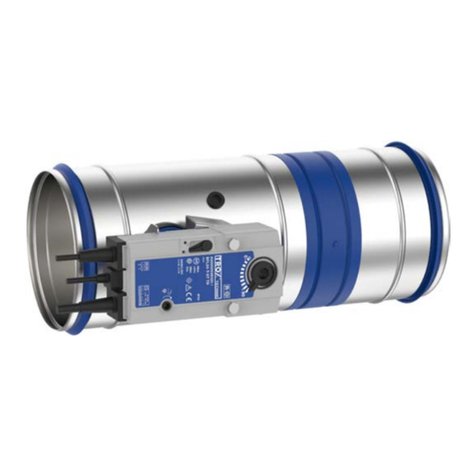
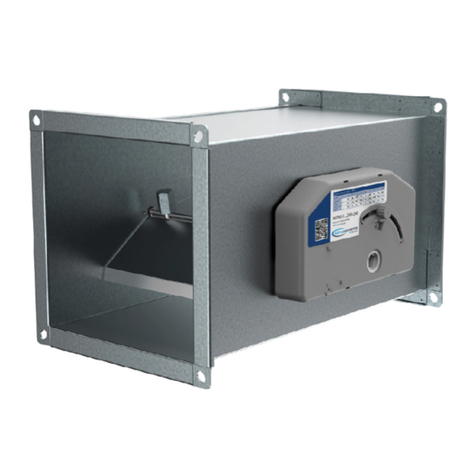
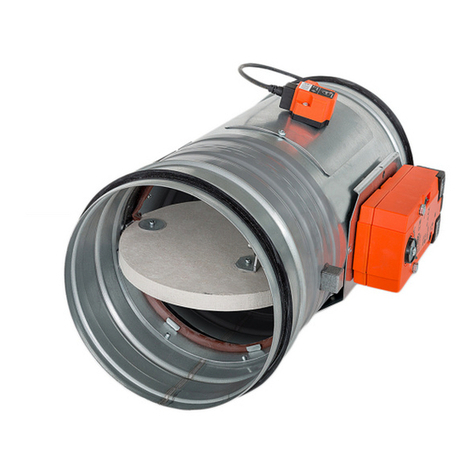
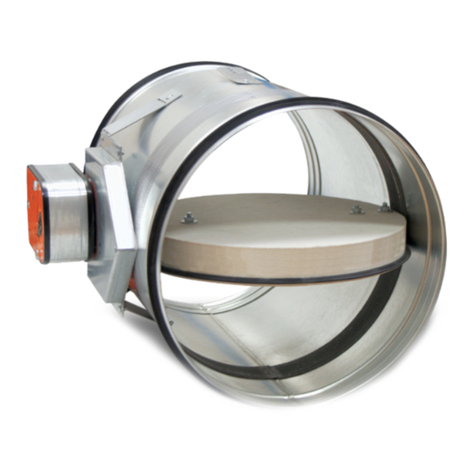
This fire dampers box allows the ventilation unit to pilot and
test regularly one or two fire dampers. This box is not a security
component. The fire dampers are the only security elements of the
installation. In case of fire dampers activation, the unit will stop
automatically.
The status of the fire-dampers can be tested regularly and saved in
the unit history.
Settings available via HMI or can be done with Aldes Configurator. In
HMI > Installer > Connectivity > Fire Dampers
DA
** Dette kit kræver VEX40T aggregat med software version 1.10 eller
nyere. Check din software version i HMI-menuen: INFORMATION >
Produkt-id > Software > SW Ver. VEX40T**
Brandspjæld-kit for VEX40T muliggør regelmæssig afprøvning og
testning af en eller to brandspjæld via ventilationsaggregatet. Dette
Brandspjæld-kit er ikke en sikkerhedskomponent. Brandspjældene
er installationens eneste sikkerhedselementer. Hvis brandspjældene
aktiveres, vil anlægget automatisk stoppe.
Brandspjældenes status kan testes regelmæssigt og gemmes I
enhedens historik.
Indstillinger er tilgængelige via HMI eller kan udlæses med Aldes
Configurator. I HMI: INSTALLATØR > Tilbehør > Brandspjæld
Settings / Indstillinger Possible values / Mulige værdier
Number of dampers / Antal spjæld 1 or 2 /1 eller 2
Frequency (in days) / Frekvens (i dage) 7-14-21-28
Hours / Timer From 00:00 to 23:59 / Fra 00:00 til 23:59
Day / Dag Monday to Sunday / Mandag til søndag
6. TEST, STATUS, ERROR AND HISTORIC • TEST, STATUS, FEJL OG HISTORIK
EN
The tests will be performed according to the settings of the
regulation (factory parameter: every 28 days / on Monday / at
10:00).
Or it can be force with the HMI by a qualified worker:
Installer> Connectivity > Fire-dampers > Test
In case of errors, following codes may appear:
DA
Testene udføres ifølge reguleringsindstillingerne (fabriksindstilling:
hver 28 dag) / mandag / kl. 10:00).
Eller kan forceres med HMI'et via Installationsmenu kræver
password:
INSTALLATØR > Tilbehør > Brandspjæld > Test
I tilfælde af fejl kan følgende koder blive vist:
Error code
Fejlkode
Description
Beskrivelse
Behaviour of VEX40T
Reaktion på VEX40T
Correction
Korrigerende handling
90 Fire damper test failed
Brandspjældtest mislykkedes The unit HMI displays the Error.
The unit stops working
after 2 min.
HMI-enheden viser fejlen.
Anlægget stopper
efter 2 min.
Check the fire-dampers, the connection to the
kit and to the unit. When everything
is conform. Cut the unit power supply and
restart it. Perform a manual fire damper test to
check correct function.
Check brandspjældene samt forbindelsen til
brandspjældboksen og anlægget. Når alt er
korrekt forbundet, afbryd da strømmen
og genstart anlægget. Udfør en manuel
brandspjældstest for at kontrollere korrekt
funktion.
91 Fire damper fault on 1 or 2 fire dampers
Fejl på 1 eller 2 brandspjæld
92 Lost communication between the unit, the box and/or the fire-damper(s)
Ingen kommunikation mellem anlæg, brandspjældsboks og brandspjæld
EN
All test dates and status are stored in the unit historic. To download
the historic:
This operation must be done by trained operators.
The unit must stay ON during all steps:
- Open the green channel by removing the screw
- Connect a USB stick to VEX40T USB port. The USB stick must be blank
- Wait up to 2 minutes during data log download and remove the USB
stick
- Connect the USB stick to your PC and use Aldes Configurator to read the
.hst file or send it to EXHAUSTO service team.
DA
Alle testdata samt status gemmes i enhedens historik. Download af
historikken:
Dette skal udføres af fagpersonale.
Enheden skal forblive TÆNDT under alle trin:
- Åbn den grønne dæksel ved af fjerne skruen
- Tilslut et USB-stik til USB-porten på VEX40T. USB-stikket skal være
tomt
- Vent op til 2 minutter mens data log downloades og fjern herefter
USB-stikket
- Tilslut USB-stikket til din PC og brug Aldes Configurator for at
udlæse .hst-filen eller send den til EXHAUSTO Service team.
7. INSTALLATION RECOMMENDATIONS • ANBEFALINGER TIL INSTALLATIONEN
EN
The fire damper box must be fixed on wall and remains accessible
for maintenance anytime.
Four screws are necessary to fix the box on the wall adapted to the
type of wall (not included in the delivery).
DA
Brandspjæld-kit skal monteres på væggen og skal til hver en tid
være tilgængelig for vedligeholdelse.
Der kræves fire skruer til fastgørelse af kassen på væggen, tilpasset
vægtypen (ikke omfattet i leveringsomfanget).


