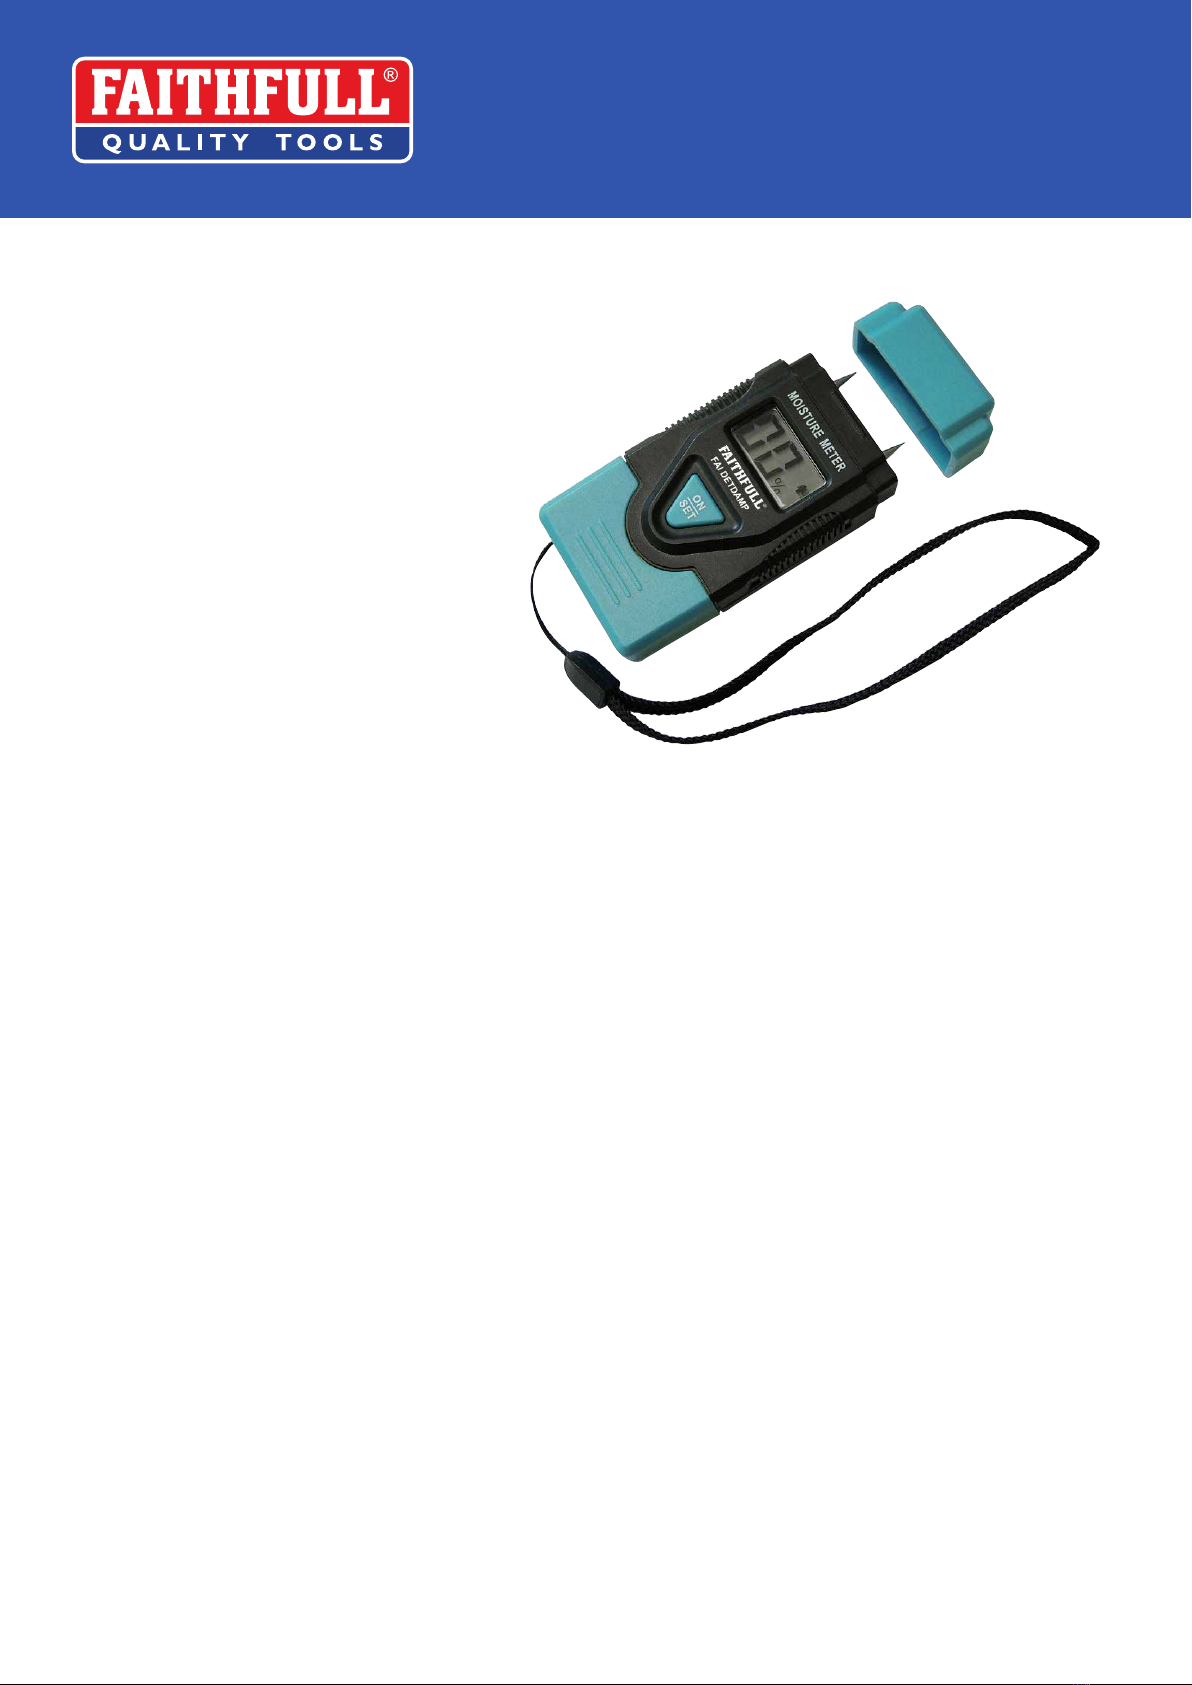
Faithfull FAI DETDAMP User manual

FAI DETDAMP - Damp and Moisture Meter
Specication
Display: LCD
Meter Measurement Range:
Wood: 6 ~ 42%
Hard Material: 0.2 ~ 2.0%
Temperature: 0 ~ 40°C, or 32 ~ 99°F
Resolution:
Wood: 1%
Material: 0.1%
Temperature: 1°C/2°F
Accuracy:
Wood: reading < 30% : ±2%
reading ≥ 30% : ±4%
Hard Material: reading < 1.4% : ±0.1%
reading ≥ 1.4% : ±0.2%
Temperature: Not specied
OL = Out of Limits
Introduction
Testing for dampness using a conductivity
‘pin’ type meter is intended to allow the user
to compare readings in order to interpret the
pattern and deduce the likely cause(s).
Do not use the meter to justify expensive
building works without consulting a qualied
expert as high conductivity readings can be
caused by ‘salts’, foil backed plasterboard,
aluminium paints etc.
Visual Clues
Make a plan of the walls and any related area
you are intending to test, inspect them looking
for the following symptoms then mark them on
your plan.
▪Water stains, discoloured paint, paper.
▪White crunchy salts on the surface, paint
being pushing off or mould on the wallpaper.
▪Black or green tide mark, often a wavy line
along the wall (note the height) at low level.
▪Loose crumbly plaster, or hollow sound
when tapped with the knuckles.
▪Skirting board creasing, inward or outward
or splitting into cubes.
▪Is the plaster right down to the oor
(‘bridging’ the DPC) - tap the skirting boards
with your knuckles, they should sound
hollow at the base.
▪Soft, sagging, bouncy or rotting oor boards
(check air bricks – size and number)
▪Insect holes (measure the diameter, use a
magnier)
▪Chimney breast stains (which oor, any
ventilation?)
▪Solid oor damp - check the wall to oor
joint at the edges.
▪Water leaks from kitchen or bathroom
xtures or machines.
▪Leaking gutters, downpipes, drains.
Defective pointing or ashing.
▪High external ground levels relative to DPC.
How to test for damp guide
1

Testing
1. Press the meters pins lightly on the surface
of the walls and note readings. Take readings
in damp affected areas every 100mm (4”) up
and across the wall to establish the extent of
the problem.
2. In the areas of highest readings try to push
the pins further into the wall. Are these
readings higher, is the plaster soft or hard or
too hard to penetrate?
3. Take readings from an unaffected area in the
same room to see how much of the reading
is ‘normal’ for that building at that time of
year. A steady, low background reading in an
old building does not necessarily indicate a
problem.
Analysis
1. Rising dampness is generally indicated by
readings which start in the skirting board and
continue to between 150mm (6”) and 500mm
(20 “) up the wall, with a sharp cut off, from
high reading (say 2%) to zero over the space
of 50mm (2”) or less.
2. Penetrating dampness can occur at any
height from the ground, look for external
defects and high readings around the defect,
gradually declining away from the affected
area. Typically caused by poor mortar joints
(‘pointing’), leaking gutters, blocked drains,
downpipes or overow pipes, pipes or wires
penetrating the wall, plants or creepers
attached to the wall, gate posts, abutting
garden walls and faulty hollow render.
3. Condensation is usually indicated by mould,
generally black or green in colour with low
meter readings spread evenly across the
wall.
4. Cold spots can give rings or patches of
mould, these are often caused by isolated
small outside defects in solid walls or by
dirty wall ties or gaps in cavity insulation in
cavity walls.
5. Chimney breast staining, sometimes
spread into adjacent alcoves, is caused by
‘salts’, resins and chemicals being slowly
washed through the walls as the result
of moisture in the chimney. The moisture
can come from open pots, poor ashings,
poor chimney stack pointing, leaking back
boilers or condensation. Condensation
in chimney voids can be caused by lack
of ventilation in the ues, breasts or in
covered pots.
How to Take Readings
WALLS
How to test for damp guide
2

Timber
1. Check timber oors and skirting boards
with the meter and read the timber scale.
Check the air bricks, size, position (above
ground?) and number.
2. Any readings over 12% are a cause for
concern: above 18% timber is vulnerable to
decay by wood rotting fungi.
3. If necessary take readings through the
carpet and underlay.
4. Jump up and down to assess the stability of
the oor.
5. Look for insect holes – insects prefer damp
timber.
Solid
1. Check solid oors and skirting boards with
the meter and read the timber and masonry
scales. Check the edge of the oors, where
they join the walls. This joint is often damp
due to poor nishing.
2. Any readings over 1.5% in a solid oor
are a cause for concern, there may not
be a waterproof membrane beneath the
concrete or the surface screed or their may
be a water leak.
3. If necessary an overnight test can be
carried out by sticking down a patch of
clear plastic sheeting with insulation tape,
moisture under the plastic sheet the next
day indicates a damp problem.
4. Water leaks are very common in kitchens
and bathrooms and can spread through
concrete and screeds up the walls, giving
rising damp symptoms.
5. Check the outside ground level, which
should be below the inside oor level. The
damp proof course should be a minimum
150mm (6”) above outside ground level.
Summary
▪Draw a sketch of the area and walls
▪Take lots of readings
▪Note the readings
▪Look for the pattern
During your tests look for any obvious
causes of damp such as the following;
Internally: Water leaks from kitchen or
bathroom xtures or machines.
Externally: Leaking gutters, downpipes
or drains. Defective pointing or ashing.
High external ground levels relative to or
above the damp proof course. Blocked
air bricks.
If your readings indicate that you have a
serious damp problem that you are unable
to pinpoint and rectify by simple means you
should have your property checked by an
‘expert’ and correct the issue accordingly.
How to test for damp guide
FLOORS
3
Table of contents