Fall Guardian
Fall Protection
Monitor 3000
Installation and
Use Instructions
• Reduces in room alert noise
• Monitor can be set to silent
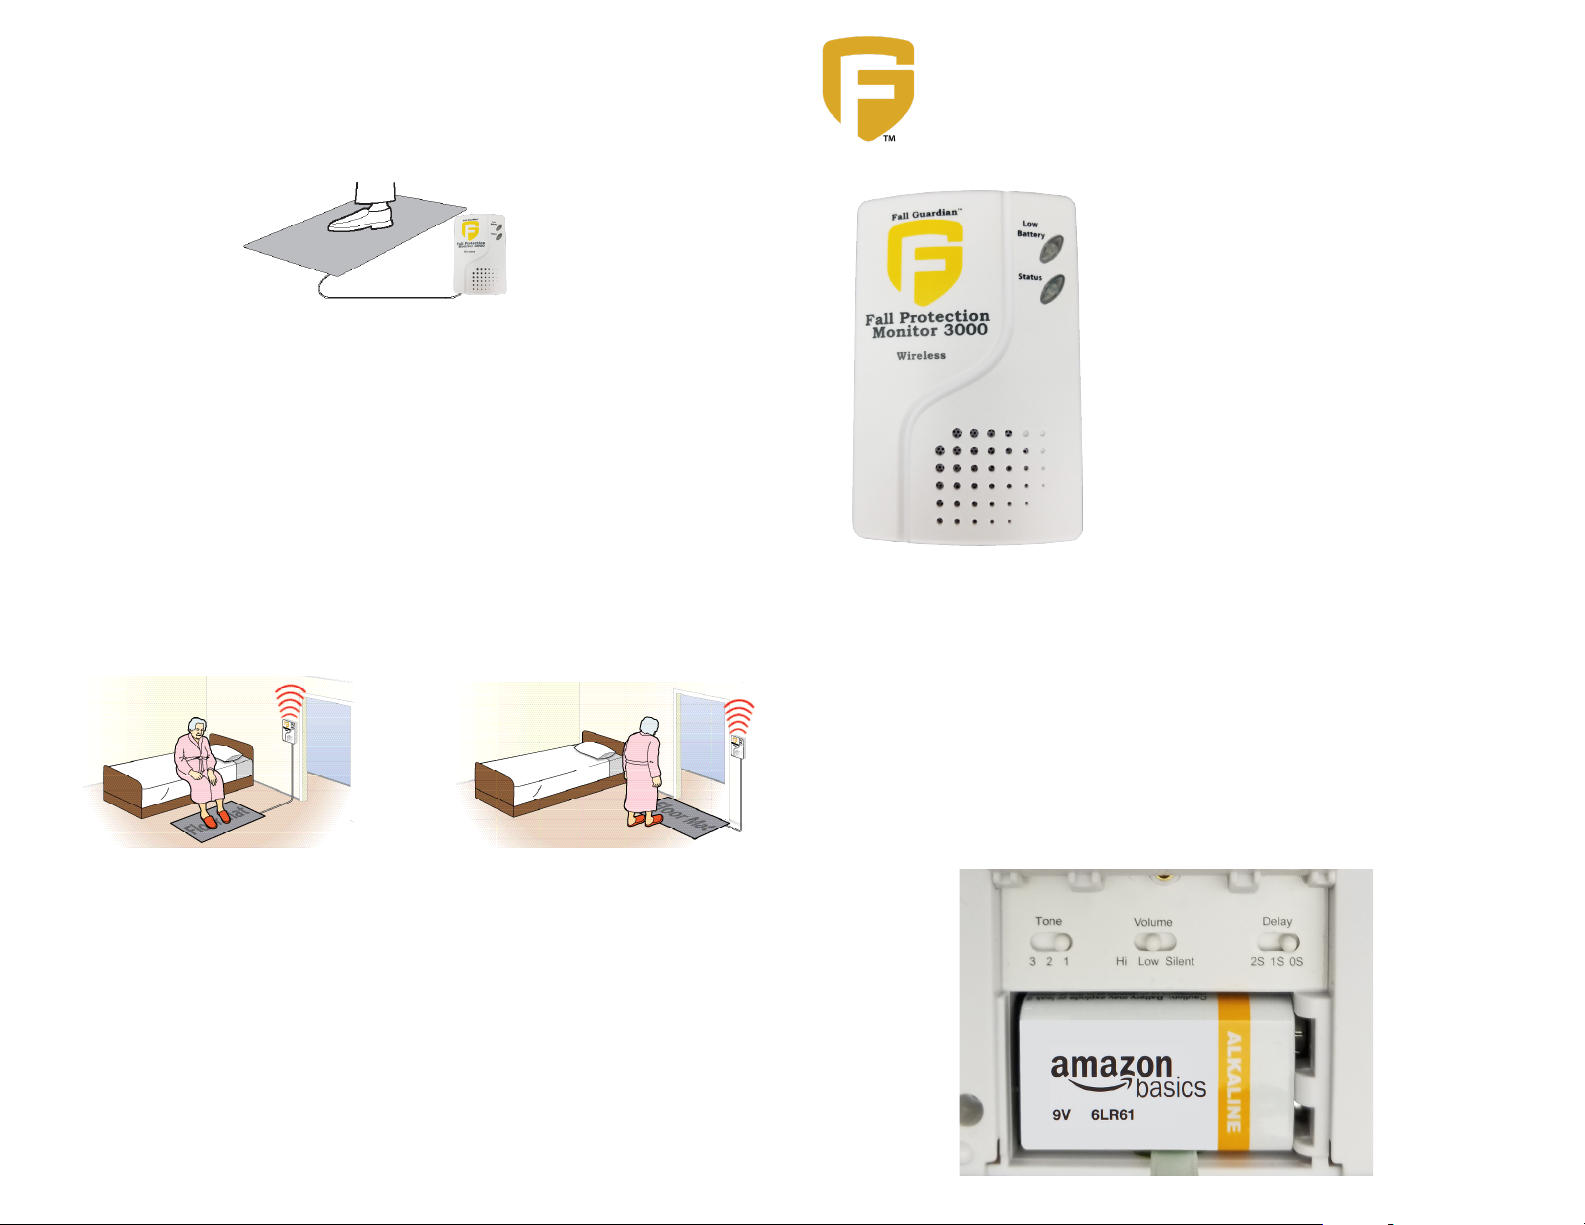
• Works with corded weight-sensing pads and oor mats
Weight-Sensing Floor Mats
Step on the oor mat. The alert tone will sound. Press the
Reset button to reset the monitor.
Repeat steps 1–4 if system is not working properly.
The SCG devices are designed to be installed by the end user. As such, it is the entire responsibility of the buyer to insure that the system is properly
installed and tested. Further, the system is not designed to replace good caregiving practices including, but not limited to:
A.) Direct patient supervision
B.) Adequate training for staff personnel for fall prevention and elopement
C.) Testing of the system before each use
Read the instructions and Legal Disclaimer.
Limited Warranty: Seller warrants that the goods sold will be free from defects of workmanship and manufacturing, for a warranty period from the date
of sale. Other than this limited warranty, seller makes no express or implied warranties. Except for this limited warranty. No express or implied warranties
are given and no afrmation of seller, by words or action will constitute a warranty. The goods being purchased are being sold on a “with all faults” basis.
The entire risk as to the quality and performance of the goods is with the buyer. Should the goods prove defective following their purchase, the buyer, and
not the manufacturer, distributor or retailer, assumes the entire cost of all necessary installation, servicing or repairs.
WARNING: The manufacturer does not claim that this device will stop elopement and/or stop falls. This device is designed to augment caregivers’
comprehensive resident mobility management program. Failure to comply with the warning may result in injury or death. This device is not suitable for
all individuals. Other devices may be required. This device is not a substitute for visual monitoring by a caregiver.
Where permissible, it is the seller’s intent to limit any liability for special, consequential or incidental economic damages to refund of the purchase price
or replacement of the goods. Seller disclaims any liability for compensatory or other damages arising out of the use of the goods.
IMPORTANT INFORMATION: Cordless and Wireless Systems rely on wireless technology which is subject to physical and environmental
considerations. Please be aware that the transmitter will not be 100% accurate if it is out of range at any time. It is the end-user’s responsibility to make
sure that the product is used correctly and within range of each other. Cordless and wireless systems and devices are intended as an adjunct to good
caregiving practices and are not a substitute for proper stafng and patient management practices. We recommend that all caregivers receive periodic
training in the operation of these systems and that the devices are tested daily. It is important to read and follow the directions.
Floor Mat Placement
• Place the oor mat in the desired location such as a critical doorway or next to a
bed.
• Place the monitor out of reach of resident. Suitable mounting locations include the
back of the headboard, wall or under the bed so the resident cannot tamper with
the monitor.
Test the System
• Step on Floor Mat to set off the alert. The monitor is now active. The alert will
sound whenever weight is on the oor mat.
• When the alert is activated, press the “Reset” button on the side of the monitor to
silence the alarm.
NOTE: The Status Light does not blink when using oor mats.
FG3000
8-1-19
Wireless Fall Protection Monitor
1Install 9 Volt Battery
• Using a small Phillips screwdriver, unscrew battery cover.
• Insert 1 new 9 Volt battery as shown.
• Optional:
- Monitor can be used with AC Adapter (AC-02)
- AC Adapter port is located on side of monitor.