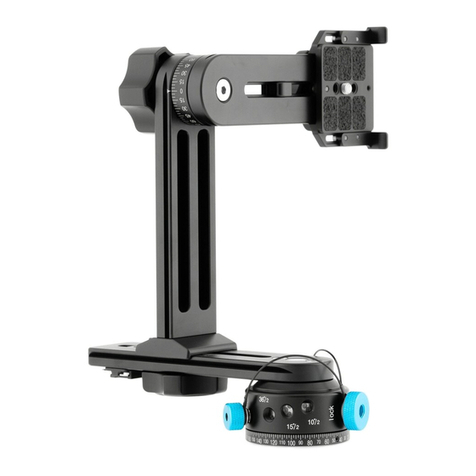
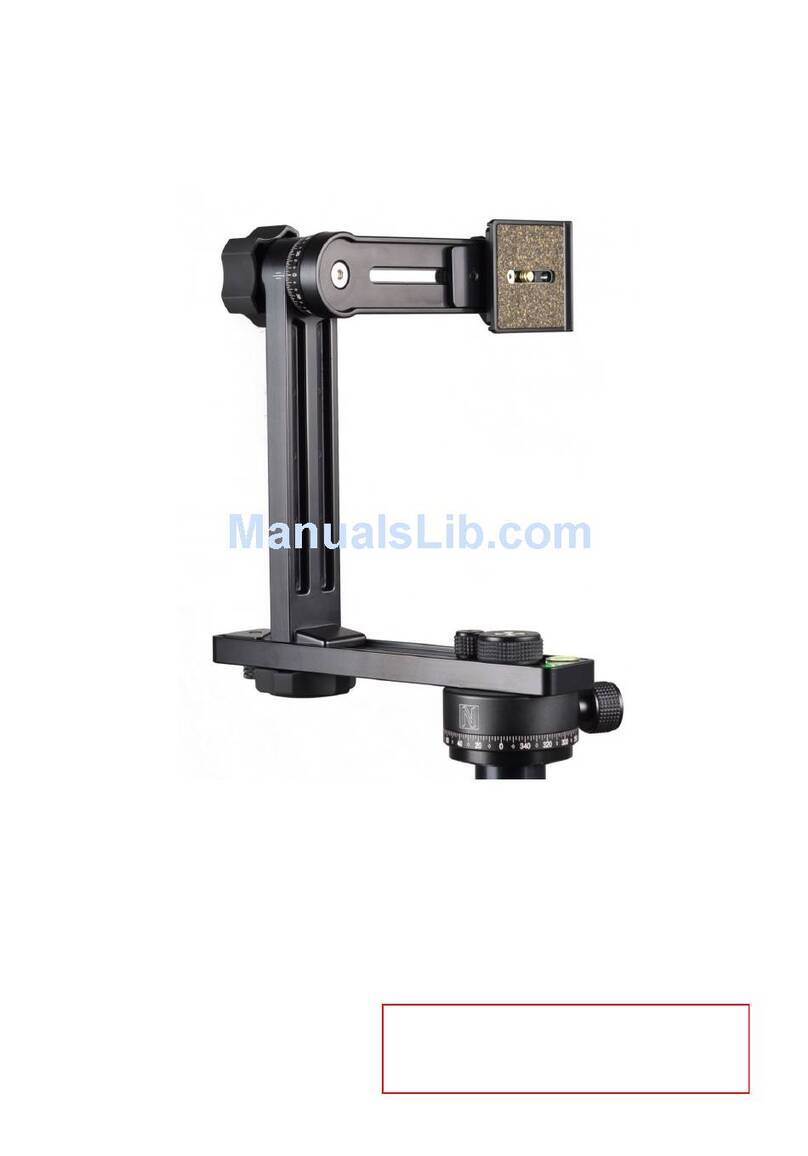
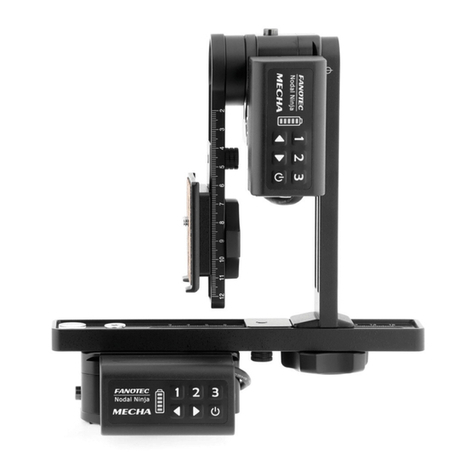
Fanotec Nodal Ninja 6 Series User manual

i
Nodal Ninja 3 MK3 Operating Manual v.1.1
Copyright © 2020 Nodal Ninja
OPERATING MANUAL
November 24, 2020
Nodal Ninja 6

ii
Nodal Ninja 6 Operating Manual v.1.2
Copyright © 2020 Nodal Ninja
Contents
Introduction........................................................... 4
Features of the NN6 Series.................................. 5
Bullet Point Features Include: ........................................................... 6
Basic Step by Step Setup Instructions................ 7
Basic steps in setting up your Nodal Ninja...................................... 7
NN6 Upper Rotator..............................................15
Exploded View of NN6 Parts...............................16
Congurations .....................................................18
NN6 + Nadir Adapter w/Lower Rotator RD10..................... 19
NN6 w/Lower Rotator RD10 ................................................. 20
NN6 w/No Lower Rotator + Nadir Adapter ........................ 21
NN6 w/No Lower Rotator ..................................................... 22
Additional Congurations..................................................... 23
Dual Camera Multi-row Attachment SKU# F6043......................... 23
Features: ............................................................................................ 23
Dual Axis MECHA E2 C1 with NN6 and Nadir Adapter SKU# F9908
...................................................................................................................24
Other Models........................................................25
Specications........................................................26
Accessories ...........................................................27
Using the Nadir Adapter ....................................................... 28
U5 30mm Tripod Offset Bracket .......................................... 29
Small Camera Mounting Knob ............................................. 31

iii
Nodal Ninja 6 Operating Manual v.1.2
Copyright © 2020 Nodal Ninja
Finding the No-Parallax Point of a Lens............34
Lower rail setting: .................................................................. 34
Upper rail setting:.................................................................. 35
Abbreviations .......................................................37
Warranty ...............................................................39
Copyright Information ........................................40
Resources..............................................................41
Disclaimer .............................................................42

4
Nodal Ninja 6 Operating Manual v.1.2
Copyright © 2020 Nodal Ninja
Introduction
Panoramic photography, for our purpose of this manual, is better defined as
capturing multiple adjoining images and stitching them together with the
use of third-party software to form a single seamless higher resolution
composite.
There are various types of panoramic
photography one of which is creating
a full 360°x180° spherical image.
These types of images are easy and
fun to shoot and produce. Wide-angle
lenses such as the Sigma 8mm when
used with full-frame DSLR’s are
capable of capturing a full 360°x180°
spherical image in as little as 4 shots.
Some field workflows can be shot in
seconds and post-production
completed within minutes.
Another type of panoramic
photography is multi-row/multi-column composite/mosaic shooting in
rows and columns. The resulting image becomes an extremely detailed
and high-resolution composite.
The Nodal Ninja 6 ‒ NN6 ‒ series heads can also act as a free movement
gimbal head, giving added use and flexibility, making it ideal for wildlife
photography as well.
While the market is currently dominated with lower-cost one-shot solutions,
there is no substitution for quality output when using DSLR, Micro-Four-
Thirds, or even compact cameras. Our heads allow the photographer to
adjust a camera/lens precisely over its horizontal and vertical axis points
(called the entrance pupil, aka Nodal Point). This eliminates parallax error
when shooting multiple images side by side. Without parallax, a
photographer can seamlessly stitch multiple photographs together,
forming a larger, higher resolution composite image.
The Nodal Ninja 6 series heads are well suited for entry-level as well as semi-
professional and even professional use.
Wikipedia:”Panoramic photography is a technique of photography,
using specialized equipment or software, that captures images with
horizontally elongated fields of view. It is sometimes known as wide
format photography.”

Features of the NN6 Series
Adjustable camera mounting plate
1/4 camera mounting thread
with easy grip knob
Anti-skid rubber
Adjustable
anti-twist rails
Upper rail stop
Vertical rail
Upper rotator easy
grip tightening knob
Upper rotator with
2.5º demarcations and
10º numbered markings
Lever locks in 7.5 degree positions
Unlock for compression locking
Easy to read reference markers
Arca-Swiss upper rail
Optional Nadir Adapter
for 180º vertical
assembly rotation
Arca-Swiss lower rail
Lower rail stop
integrated with hex-
key magnetic holder
2ea adjustable tension
detent plunger knobs
Adjustable index ring with
2.5º demarcations and 10º
numbered markings
RD10 Advanced Rotator
w/10 stops
5º (72 stops)*
7.5º (48 stops)*
10º (36 stops)
15º (24 stops)
18º (20 stops)*
30º (12 stops)*
36º (10 stops)
45º (8 stops)*
60º (6 stops)
90º (4 stops)
*Uses 2nd detent plunger (incl).
Nadir Adapter easy grip lock knob
Precision
spirit level
Plunger knob retaining wire
Rotator lock knob with
screw-in 2nd plunger
knob stowage
5
Nodal Ninja 6 Operating Manual v.1.2
Copyright © 2020 Nodal Ninja

6
Nodal Ninja 6 Operating Manual v.1.2
Copyright © 2020 Nodal Ninja
Fanotec began the development of Nodal Ninja in 2004. The latest
generation heads are created using state of the art computer-controlled
cutting (CNC) machines resulting in greater precision, uniformity, and cross-
compatibility.
Small, sleek, and very attractive. By comparison to other panoramic heads,
the NN6 is still lightweight, compact, and very durable. And it’s Arca-Swiss
compatible making it suitable for most cameras to include compact
cameras, Micro Four Thirds (MFT) mirrorless cameras, DSLR’s, and even
some medium format cameras using these mounts.
The NN6 is similar in design and function to its little brother, the NN3 “MK3”.
Bullet Point Features Include:
● Small, lightweight, and still very compact.
● Built for precision and durability with very high tolerances.
● Upgradable and can be reconfigured to better suit user needs.
● Pre-assembled at the factory, quick and easy to setup, and begin
shooting.
● Built-in spirit level to aid in leveling.
● Upper and lower Rail Stops help to remember a camera/lens position.
● Closed rail design – assures your expensive camera won’t slip off
accidentally.
● Large knurled knobs making operation easy, especially if using gloves.
● Small Rotator Base – smaller nadir (down shot) to edit during post-
production.
● Numerical demarcations on horizontal and vertical rotators for easy
reference.
● Universal – fits a wide array of cameras including many medium format
cameras.
● Double axis rotation allows for full 360° horizontal panning and 180°
vertical panning.
● Can be used for shooting in landscape mode with the camera mounted
on the lower rail for horizontal panning – ideal for landscape
photography.
● Can be used as a gimbal arm, making it useful for wildlife photography.
● Upper rotator on/off lockable 7.5° stops.

7
Nodal Ninja 6 Operating Manual v.1.2
Copyright © 2020 Nodal Ninja
● Attractive finish – “non-glare” matt black.
● Full parts and labor lifetime warranty against any manufacturer defects.
Basic Step by Step Setup
Instructions
When purchased as a complete package, all Nodal Ninjas are pre-assembled
at the factory. The user has the flexibility to swap out or add some
components such as the lower rotator and Nadir Adapter and Offset T-
adapter.
To learn more about finding the NPP of a lens, visit section Finding the No-
Parallax Point.
In this section, we show the setup of the NN3 series, which is very near
identical to the same way user would setup the NN6.
Basic steps in setting up your Nodal Ninja

8
Nodal Ninja 6 Operating Manual v.1.2
Copyright © 2020 Nodal Ninja
Step 3
Loosen upper rotator knob by
turning counter-clockwise.
Step 2
Mount vertical assembly to lower rail and
tighten using the large knurled vertical rail
mounting knob. Note the relative position
of vertical assembly before mounting.
Step 1
Mount rotator to the tripod. Every
Nodal Ninja uses a 3/8” female
mounting system. We also include
a 3/8”-1/4” thread adapter for free
to accommodate mounts using ¼”
male threads.
Mount rotator
to tripod.
Loosen upper rotator knob.
Mount vertical assembly
to lower rail and tighten
vertical rail knob.

9
Nodal Ninja 6 Operating Manual v.1.2
Copyright © 2020 Nodal Ninja
Tighten upper
rotator knob.
Flip up the
upper rail.
Remove the hex key
from its holder.
Step 5
After the rail is rotated to a vertical
position, tighten using the upper rail
rotator knob turning clockwise.
Step 6
Located on the underside of the lower rail
is the hex key holder. Remove the hex key
by rotating and pulling straight out. The
hex key is held in place by a magnet located
inside its holder.
Step 4
Flip or rotate upper assembly rail
180°.

10
Nodal Ninja 6 Operating Manual v.1.2
Copyright © 2020 Nodal Ninja
Loosen the screws of
anti-twist plates slightly
using the hex key.
Lift up the anti-
twist plates.
Retighten screws slightly
to keep them in place.
Step 7
Loosen the 4 set screws of the anti-twist plates
slightly using the provided hex key.
Step 8
Lift or slide upwards the
anti-twist plates.
Step 9
Retighten set screws slightly to hold them
in place.

11
Nodal Ninja 6 Operating Manual v.1.2
Copyright © 2020 Nodal Ninja
Mount the camera to the
camera mounting plate.
Tighten gently.
Check the camera is
aligned to upper rail by
looking from bottom
view of camera.
Use straight line
features as assistance.
Twist the camera as
needed.
Step 10
Mount your camera/lens onto
the camera mounting plate
and secure by gently
tightening the camera
mounting knob being careful
not to overtighten.
Step 11
Check to ensure the camera is aligned to the
upper rail by looking from the bottom view
side of the camera.
Use straight-line features as assistance. Rotate
the camera slightly if needed. Note how the
red line centers through the barrel of the lens
and runs parallel to upper rail. If your camera
appears offset (the mount is not in line with
the centerline of the lens) you may need the
U5 T-Adapter with offset (SKU# F3315) to
correct this.

12
Nodal Ninja 6 Operating Manual v.1.2
Copyright © 2020 Nodal Ninja
Loosen the screw
of anti-twist
plates.
Step 13
After set screws are loosened,
slide the anti-twist tabs
downward so they rest against
the back of the camera “body”
and retighten.
NOTE: THE ANTI-TWIST PLATES
SHOULD NOT BE PRESSING OR
RESTING AGAINST OR ON THE
CAMERA’S REAR DISPLAY
DIRECTLY. USE INCLUDED
FITTINGS FOR ADDED
CLEARANCE.
Press the anti-twist plates
against the back of camera
body.
Step 12
Once you are satisfied with the
camera/lens alignment, finish by
tightening the “camera”
mounting knob securely. Next,
loosen the set screws of the anti-
twist plates with the provided
hex key.

13
Nodal Ninja 6 Operating Manual v.1.2
Copyright © 2020 Nodal Ninja
Step 14
Loosen upper rotator
knob and rotate upper rail
so camera/lens is pointed
towards the horizon.
Next, while holding the
camera, loosen the
camera mounting knob
and slide the camera to
the no-parallax point
(NPP) of the lens, after
which tighten securely
using the camera
mounting knob.
Slide the stop plate
against the camera
mounting plate.
Tighten screw to
set position for
that camera and
lens.
Slide camera to the
non-parallax point
(NPP) of the lens.
Tighten securely
using camera
mounting knob.
Step 15
Slide the upper rail stop
plate against the camera
mounting plate. Using the
provided hex key, tighten
the set screw to aid in
remembering the position
of this rotational axis.
Note: Depending on the
camera/lens, the stop
plate can also be
positioned at the rear of
the camera.

14
Nodal Ninja 6 Operating Manual v.1.2
Copyright © 2020 Nodal Ninja
Step 16
While holding the camera,
loosen the vertical rail
mounting knob just
enough to allow the vertical
assembly to slide back and
forth on the lower
horizontal rail.
Loosen the vertical rail
mounting knob slightly.
Holding camera!
Loosen the screw of hex
key holder, which also
acts as a stop plate.
Step 17
Slide camera and
position so the center
of the lens is directly
positioned over the
center of the lower
rotator. Next, slide the
stop plate against the
vertical rail and tighten
to remember this
position.

15
Nodal Ninja 6 Operating Manual v.1.2
Copyright © 2020 Nodal Ninja
This concludes the basic setup. The example we showed was the NN3 MK3
with Rotator Mini V2 (SKU# F3302-1). This setup guide can also be used for
the NN6 and other models as well – some steps may vary slightly.
NN6 Upper Rotator
One unique feature of the NN6 is its upper rotator. The upper rotator
incorporates a locking level. There are two positions for the lever, unlock and
lock/7.5°.
In the unlock position, the upper rotator/horizontal rail can be positioned at
“any” point from 0° to 90°. When in the lock position, and after the upper
rotator knob is loosened, the upper rotator can be positioned and locked
into any 7.5° increment. You could also use any combination of 7.5°
increments such as 15°, 30°, etc. In the lock position with the knob slightly
loosened, you will actually “feel” these 7.5° positions as you rotate.
This feature is particularly useful when you are trying to achieve repeatable
and consistent results.

16
Nodal Ninja 6 Operating Manual v.1.2
Copyright © 2020 Nodal Ninja
Exploded View of NN6 Parts
The NN6 comes preassembled
from the factory.
This is a basic breakdown of the
major components.

17
Nodal Ninja 6 Operating Manual v.1.2
Copyright © 2020 Nodal Ninja
This is a more detailed view of the build components of the NN6.

18
Nodal Ninja 6 Operating Manual v.1.2
Copyright © 2020 Nodal Ninja
Configurations
The NN6 series can be configured in many
ways to include using with or without Lower
Rotator RD10 (double plunger F1140) as well
as with or without a Nadir Adapter (F6026).
Many pre-existing customers may already
own lower rotators, hence the ability to
purchase without a lower rotator. A lower
rotator IS NEEDED for proper operation.
Other lower rotators to fit NN6 include
RD16, RD16-II, RD12, RD8, RD6, and RD5. If
you are not sure what rotator you have,
please send an image of it to the
manufacturer:
https://www.fanotec.com/contact/20
Each of the products listed in the manual
(noted by SKU’s) is provided as packages.
These packages give the user everything an
average user needs to begin shooting
including a case, hex keys, spare washers,
etc. Only a small percentage of users may
need additional components such as offset
adapters. We will list some of the popular
optional accessories with each configura-
tion.
Configurations discussed in this operating
manual include:
● NN6 w/Lower Rotator RD10 + Nadir
Adapter SKU# F6002
● NN6 Starter Package w/Lower Rotator
RD10 SKU# F6001
● NN6 NO Lower Rotator + Nadir Adapter
SKU# F6003
● NN6 NO Lower Rotator SKU# F6006
SKU# F6002
SKU# F6001
SKU# F6003
SKU# F6006

19
Nodal Ninja 6 Operating Manual v.1.2
Copyright © 2020 Nodal Ninja
NN6 + Nadir Adapter w/Lower Rotator
RD10
The RD10 lower rotator is convenient when shooting with different lenses or
variable focal lengths. Changing click stops is quick and easy and only
requires moving the detent plunger knob to the desired click stop option.
This model does not include a nadir adapter.
The RD10 rotator is compact and lightweight. It incorporates 10 different
detent options that can be changed quickly on the fly. The range of intervals
is suitable for shooting super wide fisheye lenses to longer lenses up to
200mm equivalent focal length.
10 different degree stop increments are included (with an equivalent
number of stops around):
● SKU# F6002
● Load limit: 3.5lb (1.59kg)
● Weight: 2lb (920g)
● Upper rail length: 190mm
● Lower rail length: 200mm
● Level: Amateur - Pro
● Lenses: 8mm - 200mm focal
length (DSLR)
● Popular Uses: Real Estate full
360x180 Panoramas,
Landscape, Wildlife, Gigapixel
● Cameras: Up to larger DSLR's
with battery pack
○ 5 (72 stops)*
○ 7.5 (48 stops)*
○ 10 (36 stops)
○ 15 (24 stops)
○ 18 (20 stops)*
○ 30 (12 stops)*
○ 36 (10 stops)
○ 45 (8 stops)*
○ 60 (6 stops)
○ 90 (4 stops)
* Listed stops
marked with an
asterisk requires
the use of both
plunger knobs.

20
Nodal Ninja 6 Operating Manual v.1.2
Copyright © 2020 Nodal Ninja
NN6 w/Lower Rotator RD10
The RD10 lower rotator is convenient when shooting with different lenses or
variable focal lengths. Changing click stops is quick and easy and only
requires moving the detent plunger knob to the desired click stop option.
This model does not include a nadir adapter.
The RD10 rotator is compact and lightweight. It incorporates 10 different
detent options that can be changed quickly on the fly. The range of intervals
is suitable for shooting ultra-wide fisheye lenses to longer lenses up to
200mm equivalent focal length.
10 different degree stop increments are included (with the equivalent
number of stops around) include:
● SKU# F6001
● Load limit: 3.5lb (1.59kg)
● Weight: 2lb (920g)
● Upper rail length: 190mm
● Lower rail length: 200mm
● Level: Amateur - Pro
● Lenses: 8mm - 200mm focal
length (DSLR)
● Popular Uses: Real Estate 360
Panoramas, Landscape,
Wildlife, Gigapixel
● Cameras: Up to larger DSLR's
with battery pack
○ 5 (72 stops)*
○ 7.5 (48 stops)*
○ 10 (36 stops)
○ 15 (24 stops)
○ 18 (20 stops)*
○ 30 (12 stops)*
○ 36 (10 stops)
○ 45 (8 stops)*
○ 60 (6 stops)
○ 90 (4 stops)
* Listed stops
marked with an
asterisk requires
the use of both
plunger knobs.
Table of contents
Other Fanotec Camera Accessories manuals