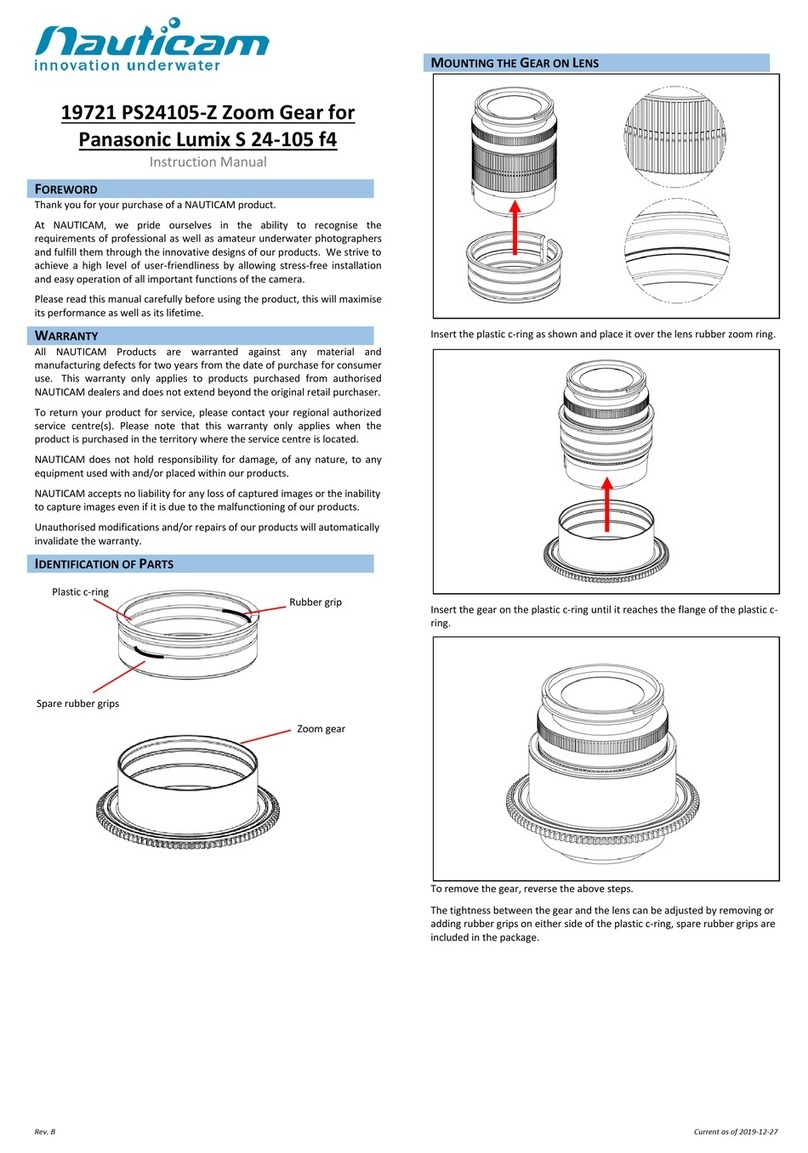
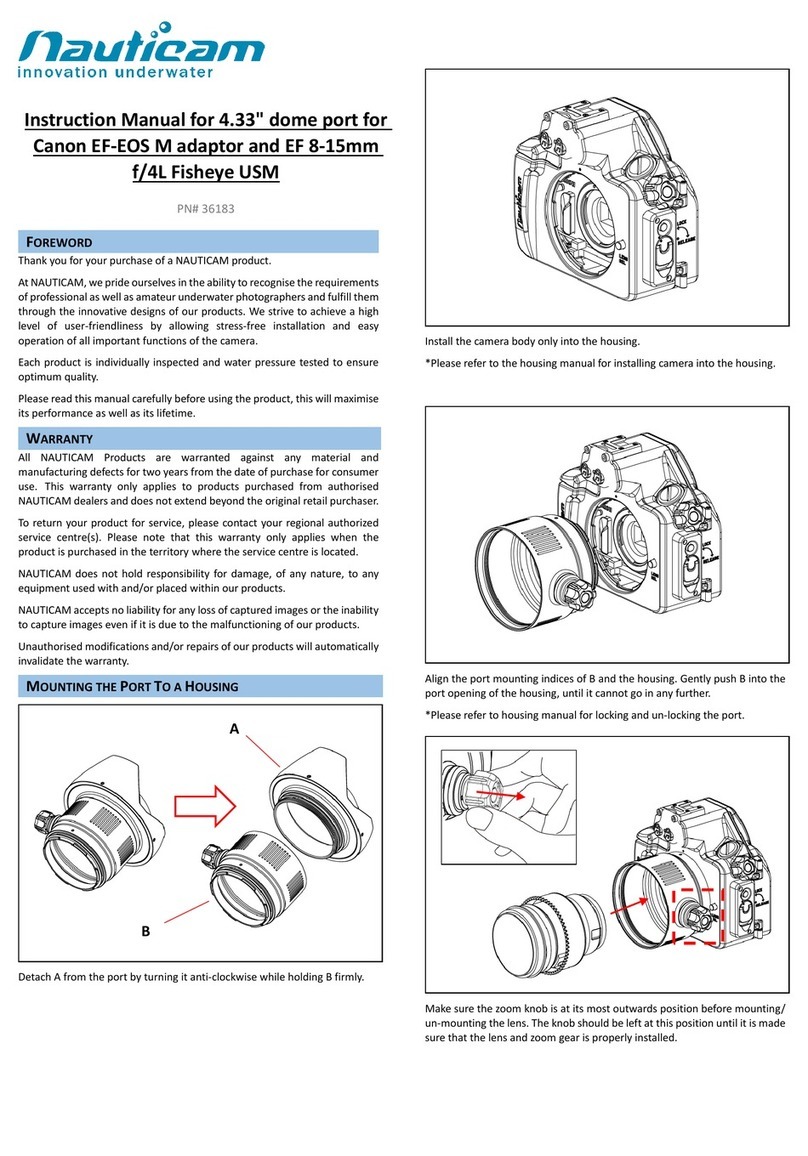
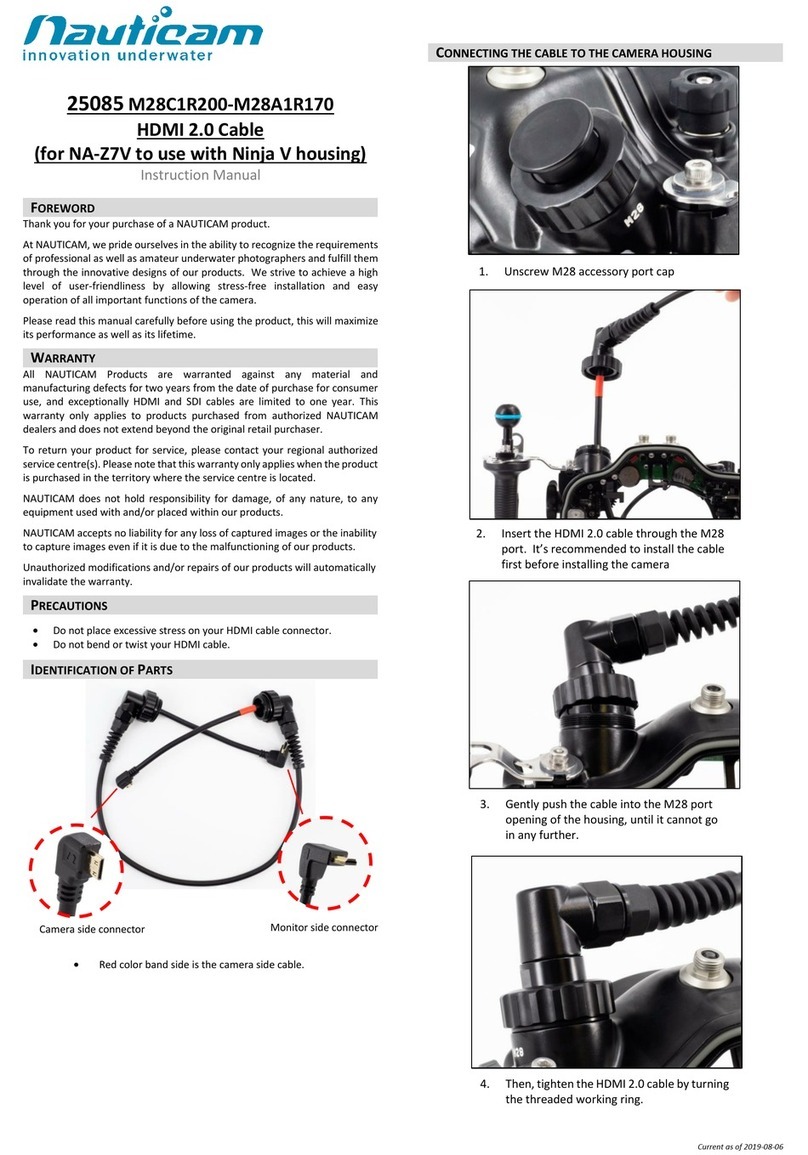
Nauticam TTL Flash Trigger User manual
Other Nauticam Camera Accessories manuals
Nauticam
Nauticam NA-RX100VII User manual

Nauticam
Nauticam 87512 User manual
Nauticam
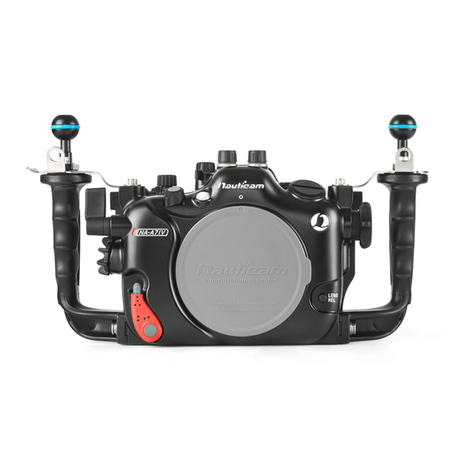
Nauticam NA-A7 User manual
Nauticam
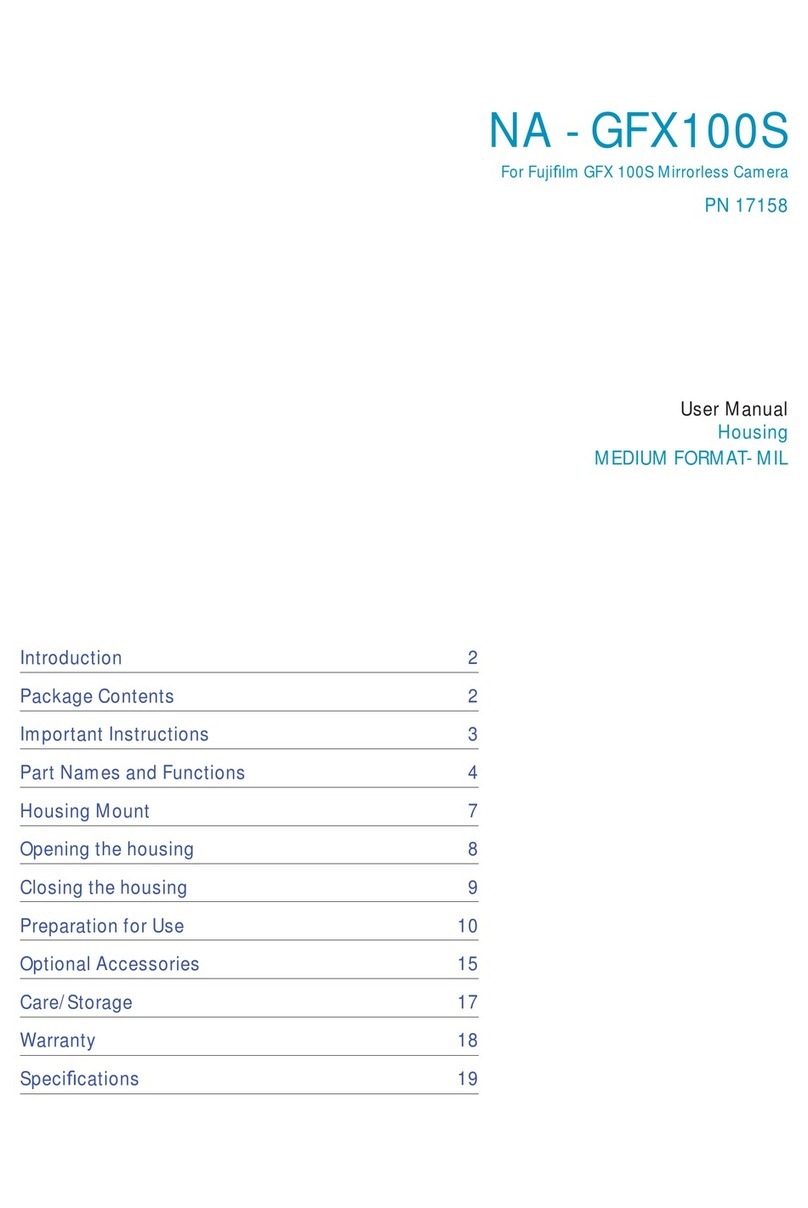
Nauticam NA-GFX100S User manual

Nauticam
Nauticam NA-GH4 User manual
Nauticam
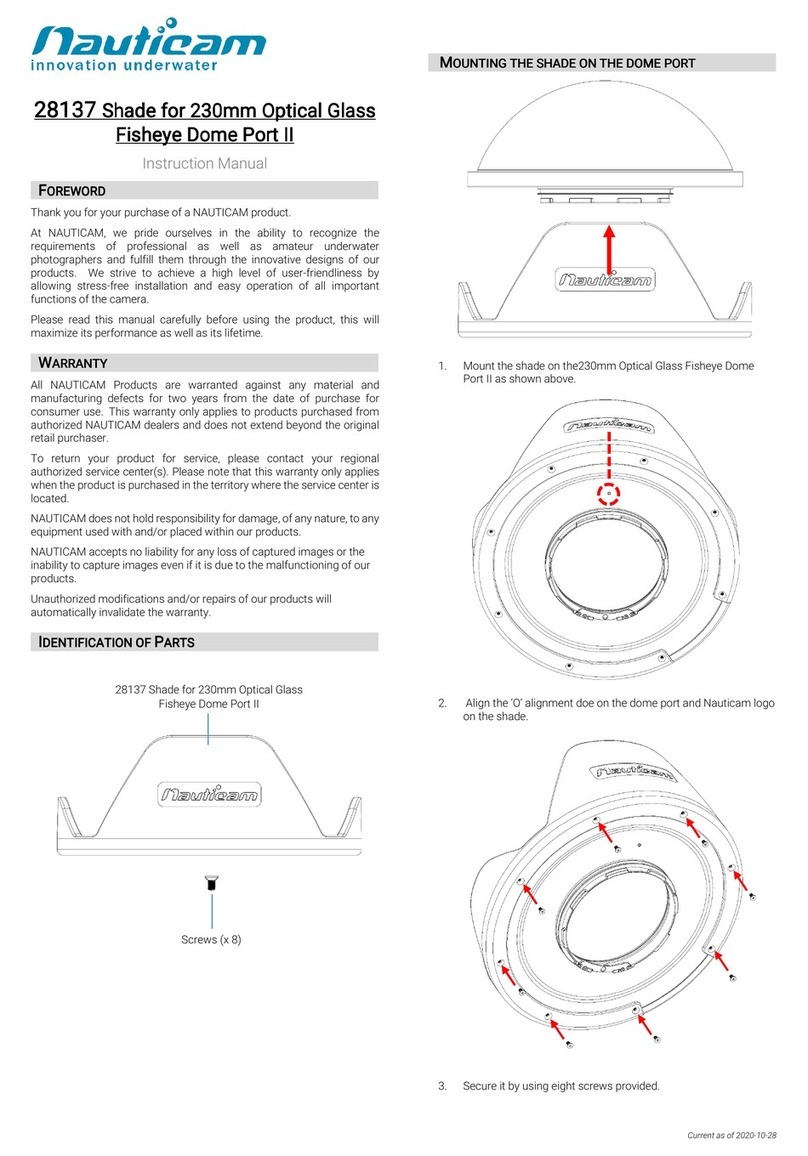
Nauticam 28137 User manual
Nauticam
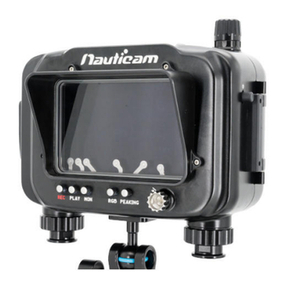
Nauticam NA-Ninja V User manual
Nauticam
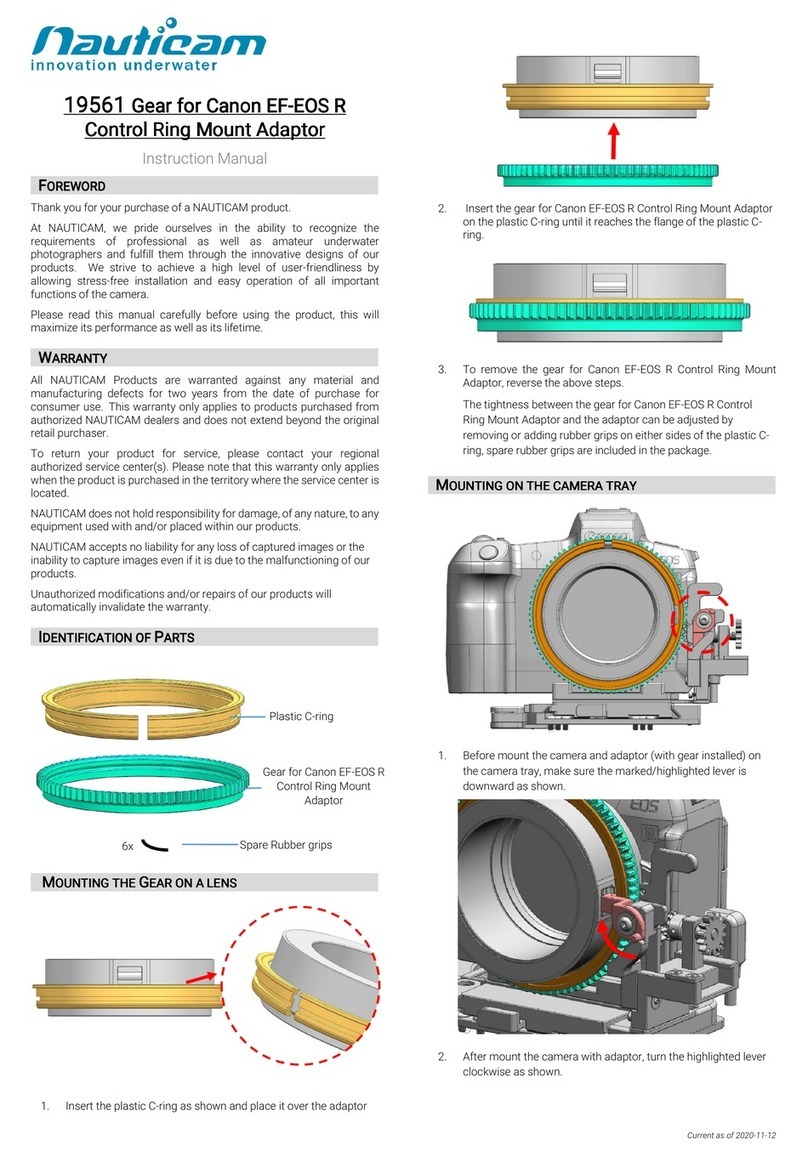
Nauticam 19561 User manual

Nauticam
Nauticam NA-D700 User manual

Nauticam
Nauticam M67 User manual
Nauticam
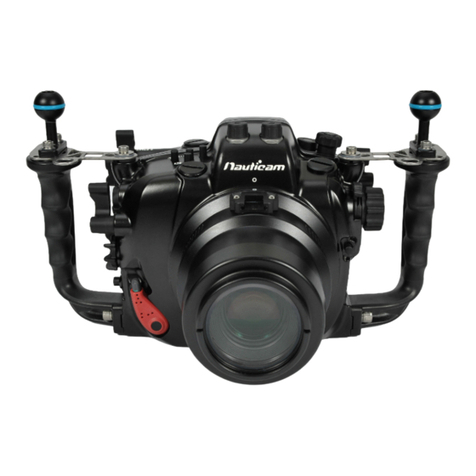
Nauticam NA-70D User manual
Nauticam
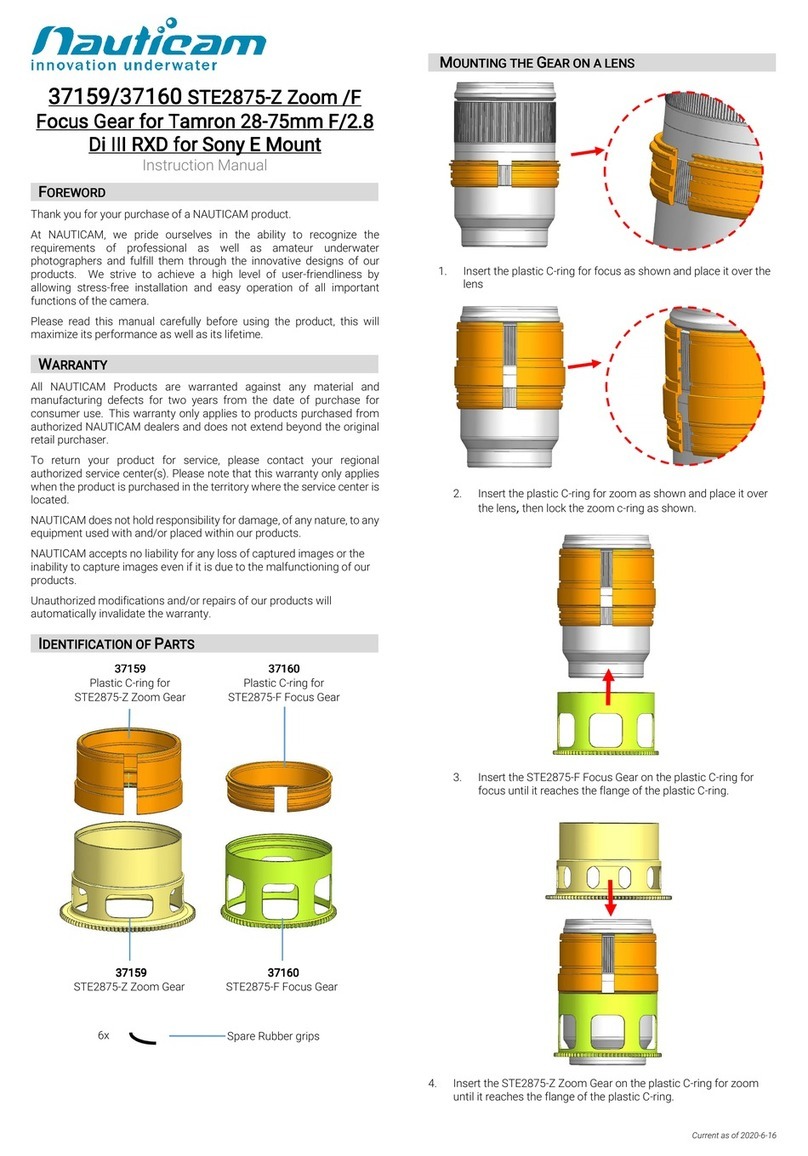
Nauticam 37159 User manual

Nauticam
Nauticam 87513 User manual
Nauticam
Nauticam N100 X1024-Z User manual

Nauticam
Nauticam SE1020-Z User manual
Nauticam
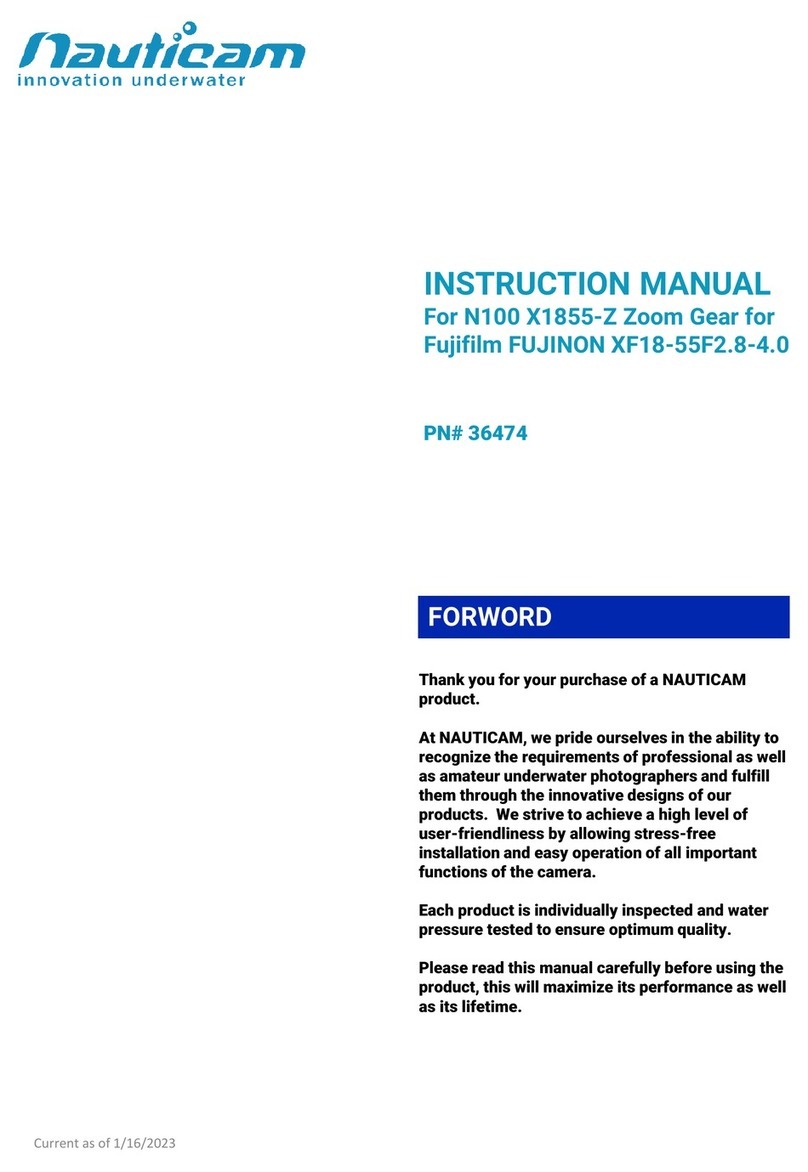
Nauticam N100 X1855-Z User manual
Nauticam
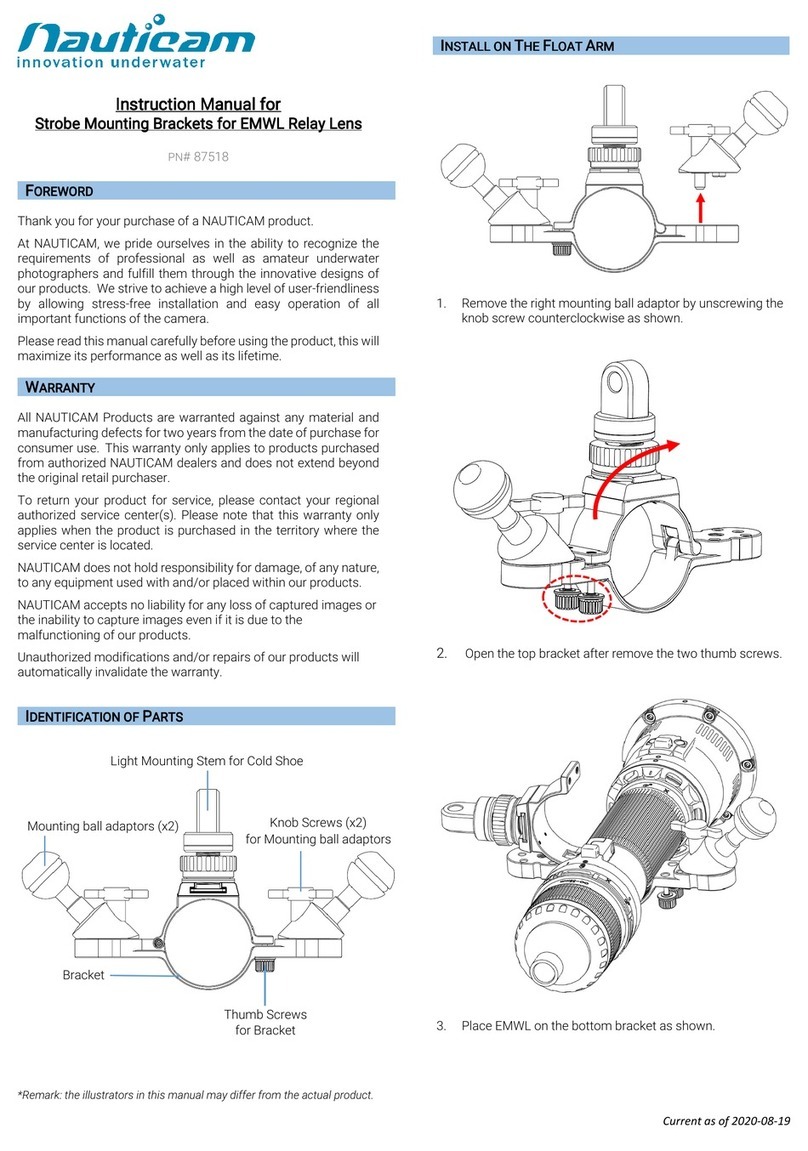
Nauticam 87518 User manual

Nauticam
Nauticam 26306 User manual
Nauticam
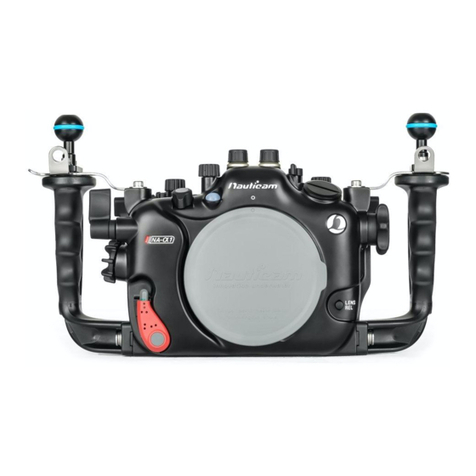
Nauticam NA-a1 User manual

Nauticam
Nauticam WACP-1B User manual
Popular Camera Accessories manuals by other brands

Viltrox
Viltrox EF-NEX Mount instructions

Calumet
Calumet 7100 Series CK7114 operating instructions

Ropox
Ropox 4Single Series User manual and installation instructions

Cambo
Cambo Wide DS Digital Series Main operating instructions

Samsung
Samsung SHG-120 Specification sheet

Ryobi
Ryobi BPL-1820 Owner's operating manual

