manuals.online logo
Brands
  1. Home
  2. •
  3. Brands
  4. •
  5. Fantec
  6. •
  7. Storage
  8. •
  9. Fantec QB-X8US3 User manual

Fantec QB-X8US3 User manual

Note
Operation Environment
Temperature 0 ~ 50 °C Humidity 90 %RH
eSATA transfer data up to 3.0Gbps
USB 3.0 transfer data up to 5.0Gbps
USB 1.1 / 2.0 / 3.0 compatible
2.
Interface of USB / eSATA can not be used at the same time.
3.
References
Smart fan controlled by the built-in thermal sensor
and it comes with 2 modes (auto/ manual) and 3 levels of speed:
1.
Level 1: higher than 55 °C
Level 2: 45 °C ~ 54 °C
Level 3: below 45 °C
2,500rpm
1,800rpm
1,200rpm
~
~
~
3,500rpm
2,500rpm
1,800rpm
Version 1.0
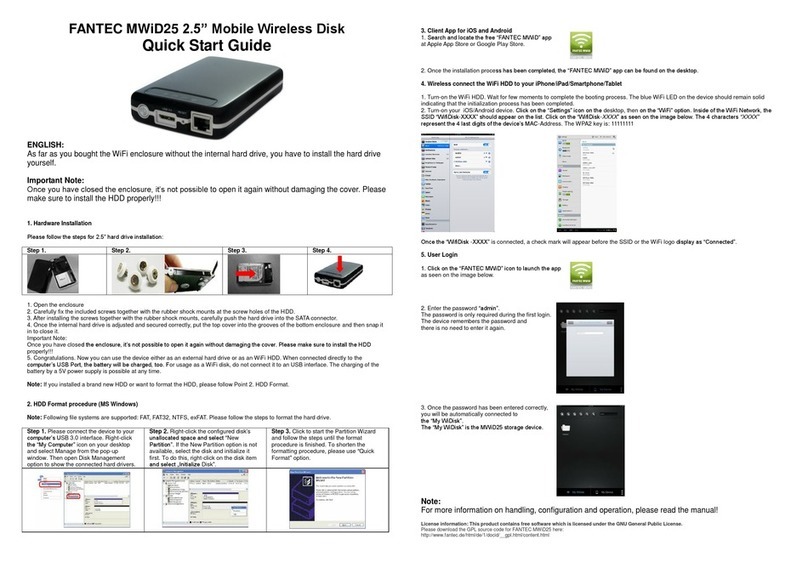
8x3,5" SATA HDD USB3.0 eSATA
FANTEC QB-X8US3
Reminders
Front Panel Overview
LED Indication / Button
Descriptions
2.
eSATA Link interface use
3.
USB Link interface use
Blue
Orange Power on
Sleep mode
4.
Link interface optioneSATA
5.
Link interface optionUSB
6.
Smart Fan automatic mode
7.
Smart Fan manual mode
8.
Fan speed level 1
9.
Fan speed level 2
10.
13.
Interface button
14.
Synchronization mode button
15.
Smart fan button : auto, manual and fan speed from level 1
to level 3
16.
Blue
Purple active
access
HDD1 / HDD2 / HDD3 / HDD4 / HDD5 / HDD6 / HDD7 / HDD8
17.
Key slot
Fan speed level 3
11.
12.
Synchronization comes in 3 modes:
When the PC is off, the device goes off In 15 seconds.
When the PC is off, the device goes to sleep mode.
Synchronization is off.
Blue
Orange
Off
657 8 9 10 11 12 13 14 15
17
16
www.fantec.eu
www.fantec-forum.com
Please visit our website for more information:
STEP
1
STEP
2
STEP
3
Under Windows Vista / 7, users can enable GPT when initializing
HDD with a total capacity of more than 2TB.
4.
Via eSATA port a controller with port multiplier (PM)
is required.
5.
1 2 34
1.
It needs to be pressed and held for 3 seconds
to power off.
This design prevents accidental power off.
Power button
Quick Installation Guide
• Follow all instructions.
• Do not place this device near water.
• Clean only with dry cloth.
• Do not block any ventilation openings.
• Only use attachments/accessories.
• Do not drop or shake the device.
• Do not move the device when it is powered on.
Operation System
Windows XP (32/64bit), Windows Vista (32/64bit), Windows 7 (32/64bit)
MAC OS 10.5 or later
It needs to be pressed and held for 3 seconds
to power off.
This design prevents accidental power off.
Quick Installation Guide
1.
Please use screws to secure the handles
to the HDDs.
2.
Unlock the cover with the key supplied and press onto the lock
to open the cover.
3.
Open the inner covers.
1
1
4
3
2
Descriptions
Fan
eSATA port
USB 3.0 / USB 2.0 port
AC Input port
1.
2.
1.
3.
4.
Rear Panel Overview
Rear Panel
HDD Handle
Keys
4.
Install the HDDs from up to down.
HDD 1
HDD 2
HDD 3
HDD 4
5.
Close and secure the covers.
6.
Plug in USB or eSATA cable
USB interface is the default setting and if users wish to change to
eSATA, press and hold "Interface" for 3 seconds.
STEP
4
STEP
5
Initialization
1.
Start disk initialization.
3.
HDD format completed.
2.
Create new partition and format disk.
If the HDD is uninitialized, you may have to initialize it by doing steps as
followed: At first click “Start” at your PC and key in
“diskmgmt.msc”. After that please press “OK” key.
MS Windows (32/64 bit)
Note: Please enable GPT (Vista/7) if the total capacity is more than 2TB and enable MBR if the total capacity is less than 2TB.
Start disk initialization.
Activate MBR if total volume is less than 2TB
MBR (Master Boot Record)
Activate GPT if total volume is more than 2TB
GPT (GUID Partition Table)
2.
HDD initialize...
1.
Click on Programs > Utility > Disk Utility icon.
Mac O.S. 10.5 or later
3.
Click Erase
4.
Click Erase
5.
HDD format in process
6.
Format completed
STEP
6
Trouble Shooting
STEP
7
1.
If the device (8 HDDs installed) is connected to the PC with eSATA cable and the SATA HDD icon does not come out in 8, please check if the eSATA
interface card supports Port Multiplier or update the eSATA driver version.
2.
If the transfer rate is not normal, please check if the jumper at the SATA HDD is set to 1.5 or 3.0Gbps.
If there is noise with the fan, unscrew and take out the fan cover, pull out the power cord, clean the fan and assemble it back.
3.
4.
If the noise is still present, change the fan with another fan of size 80x80x20mm 2 pins.
Black cableRed cable
Positive
(electrode) Negative
(electrode)
5.
To take the HDD out of the device, slightly press down the handle and pull it out.

Other Fantec Storage manuals

Fantec MR-35DU3 User manual

Fantec

Fantec MR-35DU3 User manual

Fantec SQ-X2RU3e User manual

Fantec

Fantec SQ-X2RU3e User manual

Fantec MR-2535DUAL User manual

Fantec

Fantec MR-2535DUAL User manual

Fantec MWiD25 User manual

Fantec

Fantec MWiD25 User manual

Fantec MD-26U3 640GB User manual

Fantec

Fantec MD-26U3 640GB User manual

Fantec MB-X2U31R User manual

Fantec

Fantec MB-X2U31R User manual

Fantec MR-35US3R User manual

Fantec

Fantec MR-35US3R User manual

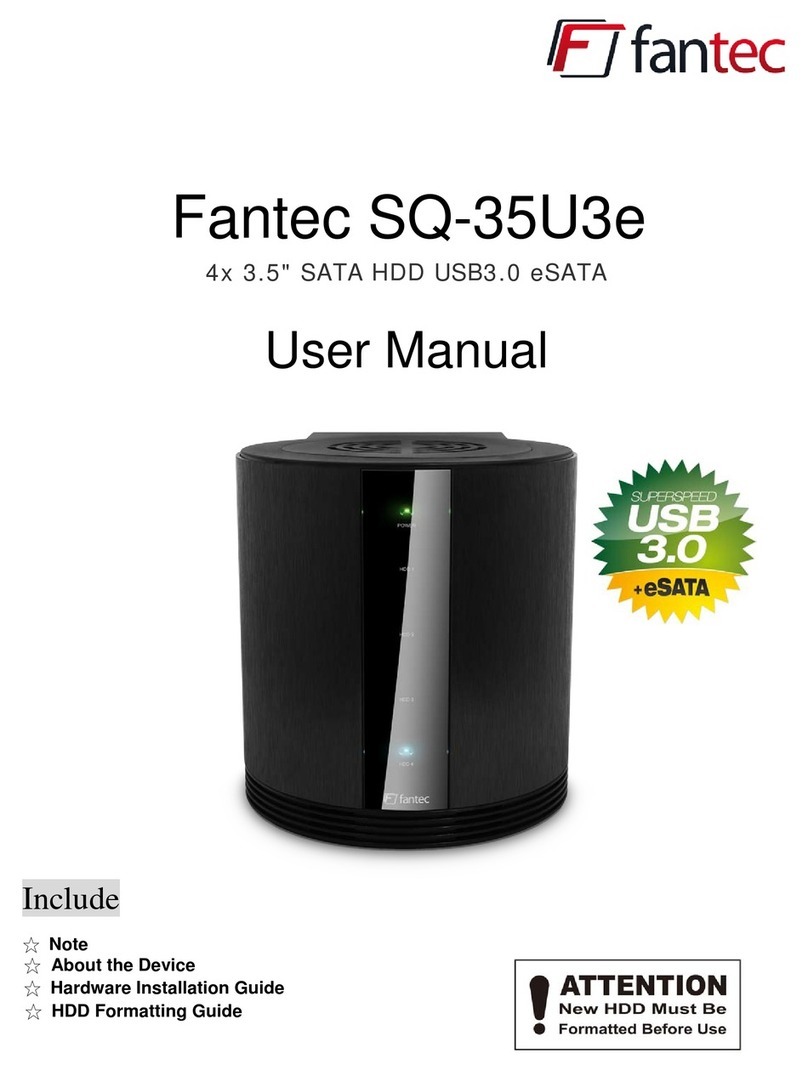
Fantec SQ-35U3e User manual

Fantec

Fantec SQ-35U3e User manual

Fantec SQ-35U3e User manual

Fantec

Fantec SQ-35U3e User manual

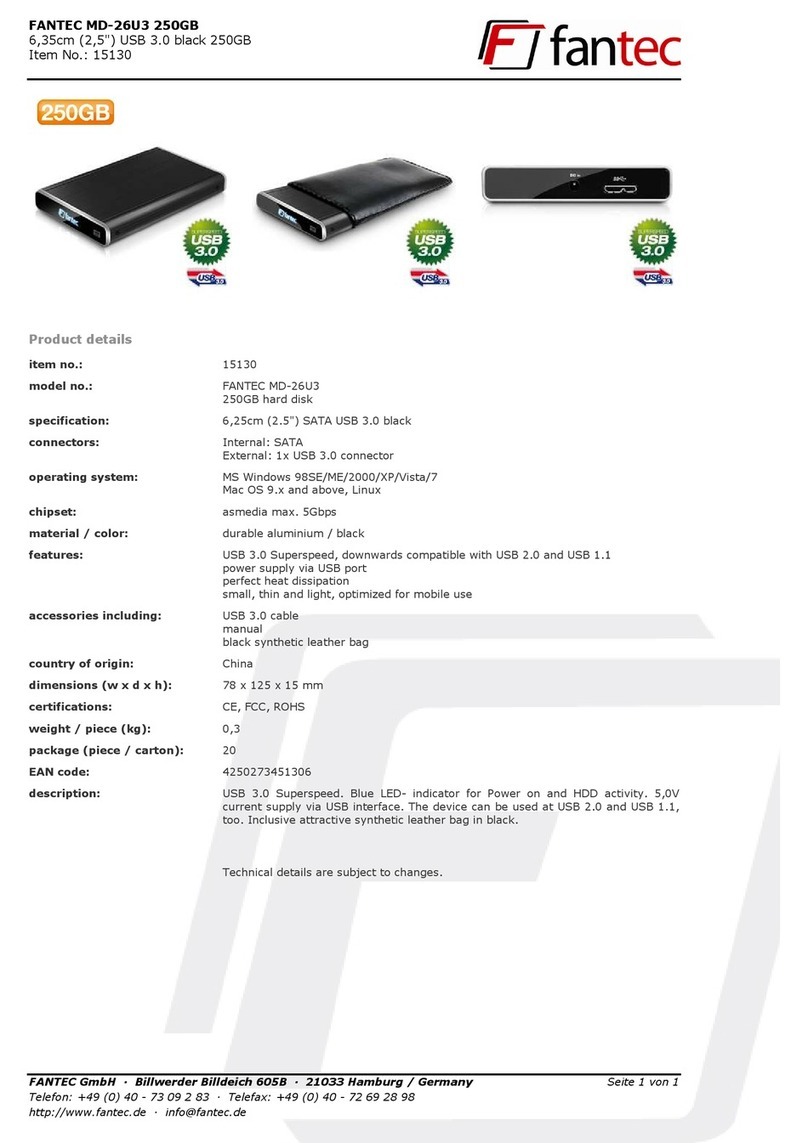
Fantec MD-26U3 320GB User manual

Fantec

Fantec MD-26U3 320GB User manual

Fantec MD-26U3 250GB User manual

Fantec

Fantec MD-26U3 250GB User manual

Fantec MWiD25 User manual

Fantec

Fantec MWiD25 User manual

Fantec DB-R35DUS User manual

Fantec

Fantec DB-R35DUS User manual

Fantec QB-X2US3R User manual

Fantec

Fantec QB-X2US3R User manual

Fantec MD-26U3 User manual

Fantec

Fantec MD-26U3 User manual

Fantec DB-228U3 User manual

Fantec

Fantec DB-228U3 User manual

Fantec LD-H35U3 User manual

Fantec

Fantec LD-H35U3 User manual

Fantec MD-26U3 500GB User manual

Fantec

Fantec MD-26U3 500GB User manual

Popular Storage manuals by other brands

Seagate ST33000650NS product manual

Seagate

Seagate ST33000650NS product manual

Samsung MU-PS1T0B User manual and warranty statement

Samsung

Samsung MU-PS1T0B User manual and warranty statement

Gigabyte AORUS GP-ASACNE2200TTTDA user manual

Gigabyte

Gigabyte AORUS GP-ASACNE2200TTTDA user manual

AKRO-MILS 02420 Assembly instructions

AKRO-MILS

AKRO-MILS 02420 Assembly instructions

Intel SSR212MA install guide

Intel

Intel SSR212MA install guide

EMC VNX Series Parts Location Guide

EMC

EMC VNX Series Parts Location Guide

Seagate ST32000641AS - Barracuda XT 2 TB Hard Drive datasheet

Seagate

Seagate ST32000641AS - Barracuda XT 2 TB Hard Drive datasheet

Transcend StoreJet 25M3 user manual

Transcend

Transcend StoreJet 25M3 user manual

Transcend StoreJet 25M2 user manual

Transcend

Transcend StoreJet 25M2 user manual

DataLocker Sentry K350 user guide

DataLocker

DataLocker Sentry K350 user guide

LaCie LaCinema Rugged HD Quick install guide

LaCie

LaCie LaCinema Rugged HD Quick install guide

garofalo EASY ROLL 170.S/2/PS user manual

garofalo

garofalo EASY ROLL 170.S/2/PS user manual

NI CF-6004 USER GUIDE AND SPECIFICATIONS

NI

NI CF-6004 USER GUIDE AND SPECIFICATIONS

WiebeTech SIS5-UR user manual

WiebeTech

WiebeTech SIS5-UR user manual

Proware EP-3164D-GAS3 user manual

Proware

Proware EP-3164D-GAS3 user manual

Buffalo TeraStation WSS 5000R2 user manual

Buffalo

Buffalo TeraStation WSS 5000R2 user manual

THOMSON K2 instruction manual

THOMSON

THOMSON K2 instruction manual

LevelOne WAP-0007 user manual

LevelOne

LevelOne WAP-0007 user manual

manuals.online logo
manuals.online logoBrands
  • About & Mission
  • Contact us
  • Privacy Policy
  • Terms and Conditions

Copyright 2025 Manuals.Online. All Rights Reserved.