manuals.online logo
Brands
  1. Home
  2. •
  3. Brands
  4. •
  5. faucet strommen
  6. •
  7. Plumbing Product
  8. •
  9. faucet strommen 30908 User manual

faucet strommen 30908 User manual

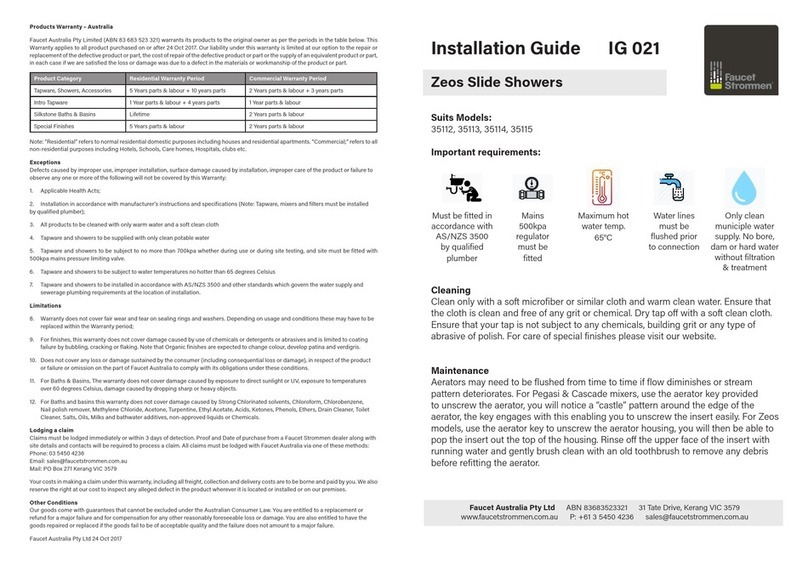
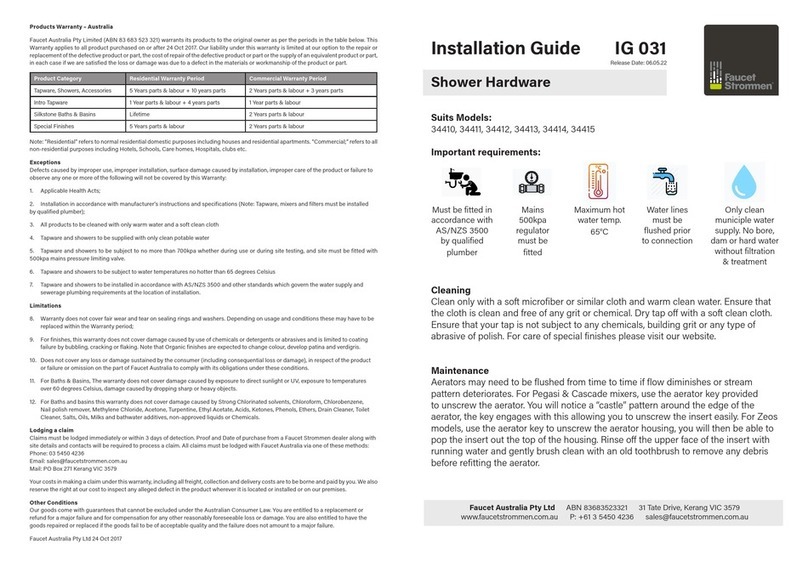
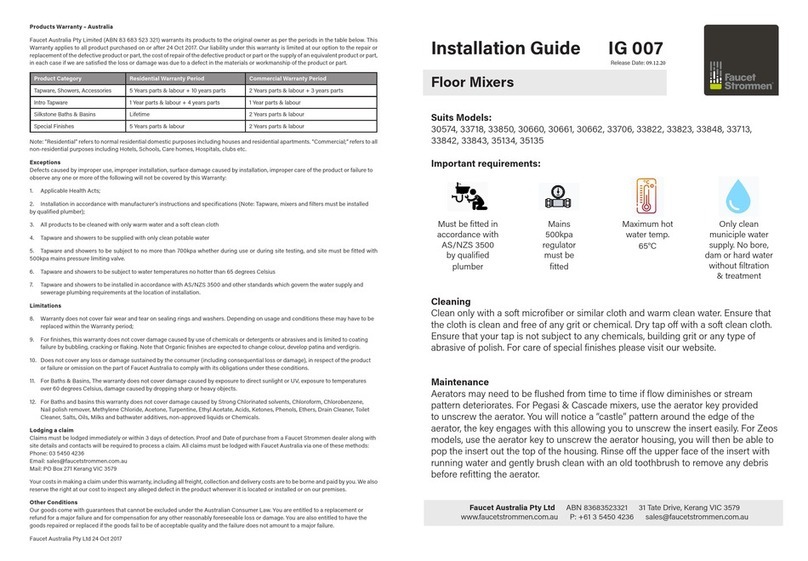
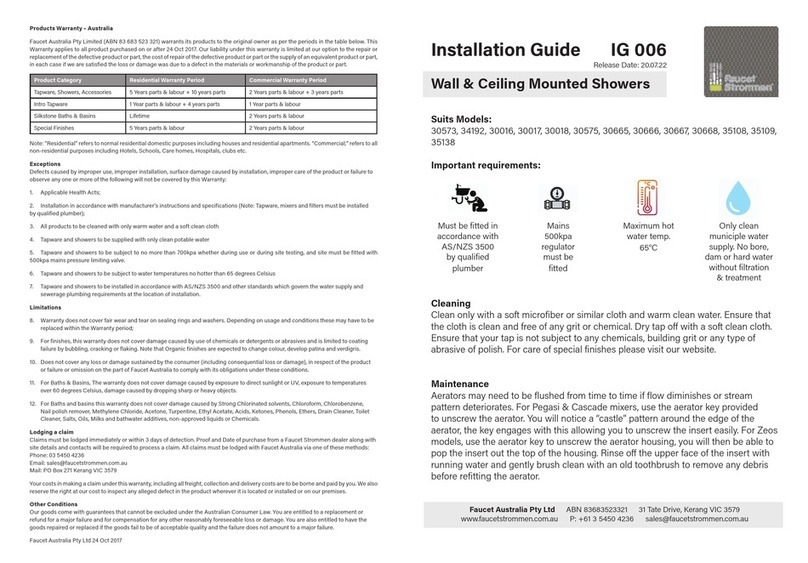
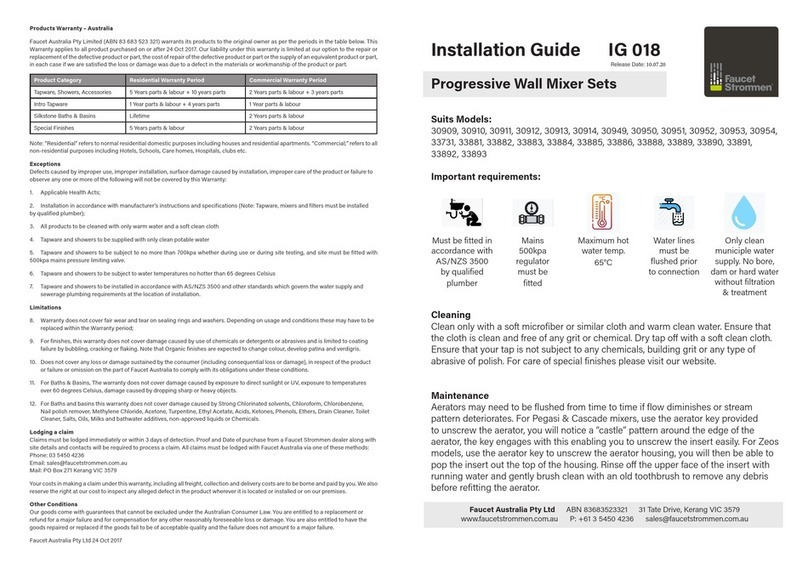
Suits Models:
30908, 30948, 33730, 33880, 33887, 35346, 35360
Important requirements:
Cleaning
Clean only with a soft microfiber or similar cloth and warm clean water. Ensure that
the cloth is clean and free of any grit or chemical. Dry tap o with a soft clean cloth.
Ensure that your tap is not subject to any chemicals, building grit or any type of
abrasive of polish. For care of special finishes please visit our website.
Maintenance
Aerators may need to be flushed from time to time if flow diminishes or stream
pattern deteriorates. For Pegasi & Cascade mixers, use the aerator key provided
to unscrew the aerator, you will notice a “castle” pattern around the edge of the
aerator, the key engages with this enabling you to unscrew the insert easily. For Zeos
models, use the aerator key to unscrew the aerator housing, you will then be able to
pop the insert out the top of the housing. Rinse o the upper face of the insert with
running water and gently brush clean with an old toothbrush to remove any debris
before refitting the aerator.
Installation Guide IG 017
Progressive Wall Mixers
Products Warranty – Australia
For warranty details see our website:
https://www.faucetstrommen.com.au/warranty/
Faucet Australia Pty Ltd ABN 83683523321 31 Tate Drive, Kerang VIC 3579
www.faucetstrommen.com.au P: +61 3 5450 4236 [email protected]u
Must be fitted in
accordance with
AS/NZS 3500
by qualified
plumber
Mains
500kpa
regulator
must be
fitted
Maximum hot
water temp.
65°C
Water lines
must be
flushed prior
to connection
Only clean
municiple water
supply. No bore,
dam or hard water
without filtration
& treatment
Release Date: 15.02.23
Rough In
1. Ensure that the in-wall nogging depth is correct and that the nogging is plumb. Position
the noggin such that the front face of the noggin is 62mm behind the front face of the
finished tiled surface. (note that there is a maximum of ± 8mm adjustment at fit o).
See diagram A
2. Fix the body to the stud with the outlet facing upwards, Cold inlet to the right & hot
inlet to the left. Mount the plate level . See diagram B
3. Connect the Hot supply to the inlet port on the left marked “H” and the Cold supply to
the right side Inlet marked “C” and connect the outlet line to the top outlet port.
4. Once plumbing is all connected pressure test the system. Do not exceed 500kpa
pressure testing whether dynamic or static. Testing over 500 kpa will void the
warranty for this product.
5. The body is fitted with a black shroud (also a tile guide). This should always remain in
place. The red dust cover may be removed for testing, but otherwise should remain in
place.
6. Wall sheeting and tiling can be laid close to the shroud and waterproofing membrane
and grout can be adhered to the shroud.
7. An indicator on the end of the shroud shows the range that can be accommodated at fit
o for the finished tile face position.
8. When tiling, note that the dress ring is 51mm diameter, so be sure to tile close to the
shroud so there are no gaps showing after fit o. See diagram C
Fit O
1. Remove excess tile grout from around the shroud to allow a flush fitment of the cover
ring.
2. Remove the red dust cap and use a sharp knife to cut away the black shroud that
protrudes past the finished tile surface and ensure that the area around the shroud is
flat and free of protrusions.
3. Place the red fiber washer onto the locking sleeve and screw the sleeve onto the body
until up against the tiles. Nip up gently being careful not to damage or crack the tiles.
See diagram C
4. Note that there are 2 splined adaptors supplied. For shallower installations use the
shorter adaptor, for deeper installations use the longer adaptor. (tip, if you had to cut o
more than 8mm of black plastic shroud, use the short adaptor, if you cut o less than
8mm of shroud use the long adaptor)
5. Note that the valve spline and the adaptor spline have un-splined segments it is
important that these properly mesh and align when the adaptor is fitted.
6. Ensure that the valve is in the o position (all the way anticlockwise), then fit the
adaptor to the valve spline such that one of the milled slots is facing up and the other
to the left.
7. Ensure that the adaptor is oriented such that the grooved face is facing out, See
diagram D
8. Press the adaptor all the way on and fasten in place with the hex drive screw provided.
9. Note that the dress ring includes indication markings. Place the ring over the locking
sleeve and position such that the “I” symbol is facing the top, then loosely fit the 3
attachment screws.
10. To ensure that the dress ring is perfectly concentric to the valve, we have supplied a
round plastic Concentricity spacer. Slide this over the adaptor and locate it into the
cover ring, then fasten the ring in place ensuring the “I” symbol is to the top.
11. Remove and discard the concentricity spacer.
12. Note that there is a pre inserted grub screw in the handle that just protrudes into the
bore.
13. Place the black slip ring onto the step machined in the back of the handle then press
the handle onto the tap with the wave form to the top. The handle should slide over the
adaptor with the grub screw engaging in the slot.
14. The handle should slide on until it presses smoothly up to the dress ring, square and flat.
15. To fasten, rotate the handle through 90 degrees clockwise until the waveform passes
over the small fastening hole in the dress ring. Inters the allen key through the hole and
tighten the handle by fastening the grub screw onto the adaptor.
16. The handle should now operate smoothly and freely to control the tap through 180
degrees (half a turn)
1 7. Progressive valves open clockwise, over the first 90 degrees of rotation the cold water
opens to full flow, then from 90-180 degrees the valve goes from warm to hot.
18. Thoroughly check operation and seek assistance from Faucet Strommen should anything
not be functioning to expectation.
Diagram D
This manual suits for next models

6

Other faucet strommen Plumbing Product manuals

faucet strommen 30401 User manual

faucet strommen

faucet strommen 30401 User manual

faucet strommen 30909 User manual

faucet strommen

faucet strommen 30909 User manual

faucet strommen IG 021 User manual

faucet strommen

faucet strommen IG 021 User manual

faucet strommen 34410 User manual

faucet strommen

faucet strommen 34410 User manual

faucet strommen 30574 User manual

faucet strommen

faucet strommen 30574 User manual

faucet strommen 30560 User manual

faucet strommen

faucet strommen 30560 User manual

faucet strommen IG 020 User manual

faucet strommen

faucet strommen IG 020 User manual

faucet strommen 30573 User manual

faucet strommen

faucet strommen 30573 User manual

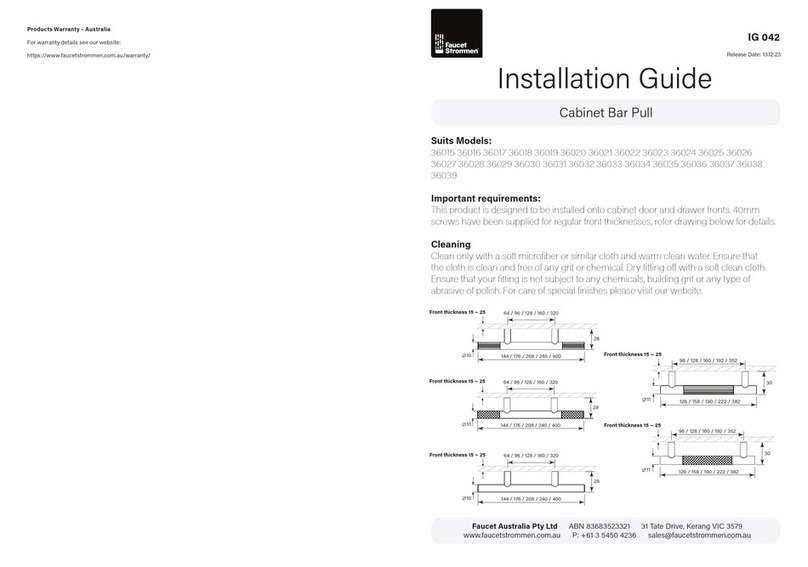
faucet strommen 36015 User manual

faucet strommen

faucet strommen 36015 User manual

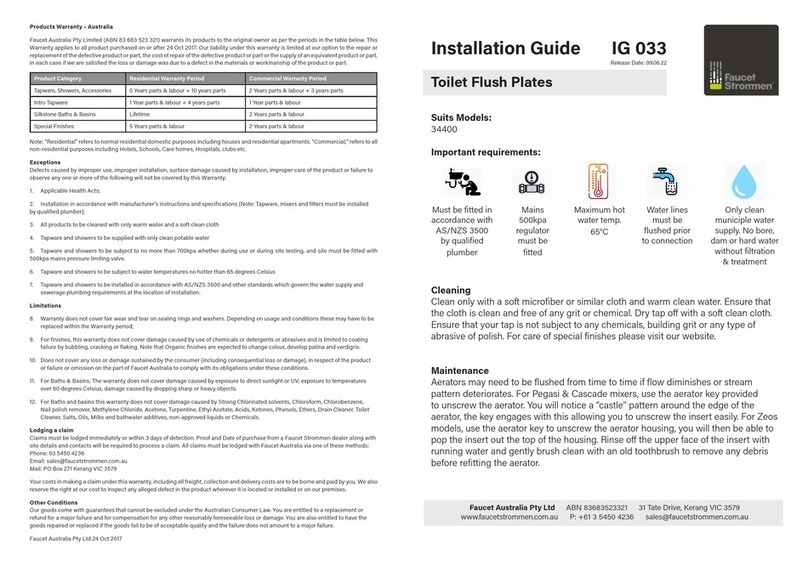
faucet strommen IG 033 User manual

faucet strommen

faucet strommen IG 033 User manual

faucet strommen 34351 User manual

faucet strommen

faucet strommen 34351 User manual

faucet strommen 30571 User manual

faucet strommen

faucet strommen 30571 User manual

Popular Plumbing Product manuals by other brands

Abode Genio manual

Abode

Abode Genio manual

Gessi ORIGINI 66088 manual

Gessi

Gessi ORIGINI 66088 manual

Moen 62320 installation guide

Moen

Moen 62320 installation guide

Kohler LUSTRA installation instructions

Kohler

Kohler LUSTRA installation instructions

VIGO LINUS VG03013 manual

VIGO

VIGO LINUS VG03013 manual

Hans Grohe iBox Hub 25020180 Instructions for use/assembly instructions

Hans Grohe

Hans Grohe iBox Hub 25020180 Instructions for use/assembly instructions

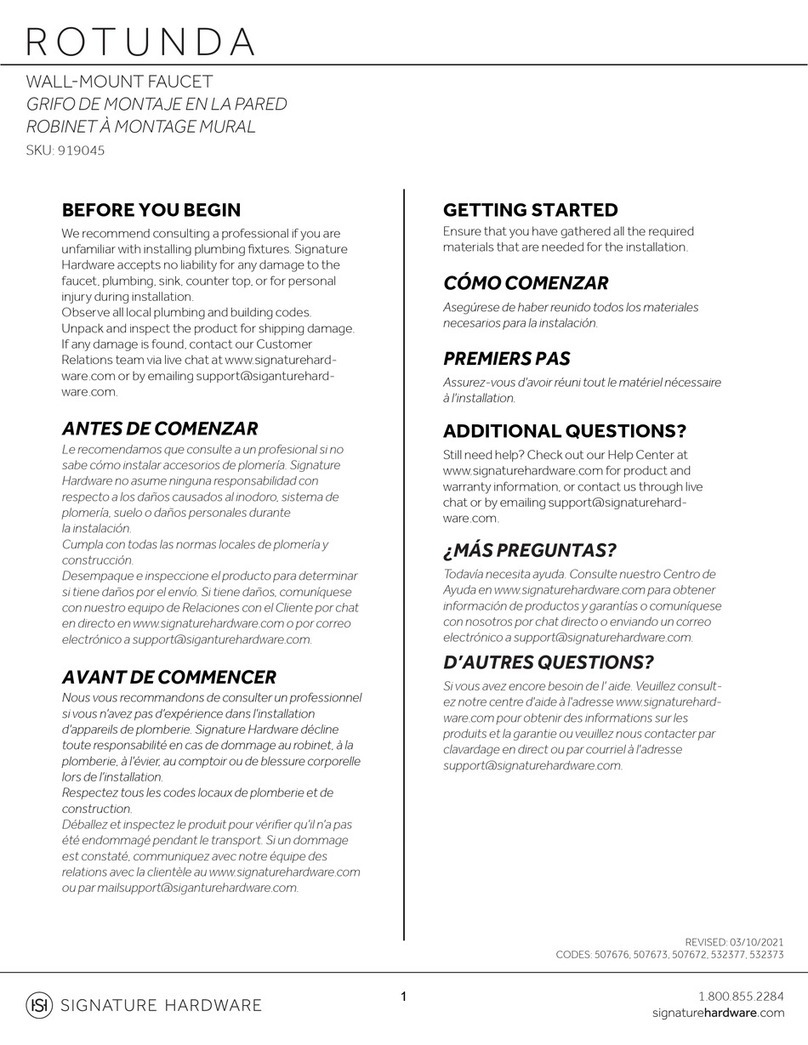
Signature Hardware ROTUNDA 919045 installation instructions

Signature Hardware

Signature Hardware ROTUNDA 919045 installation instructions

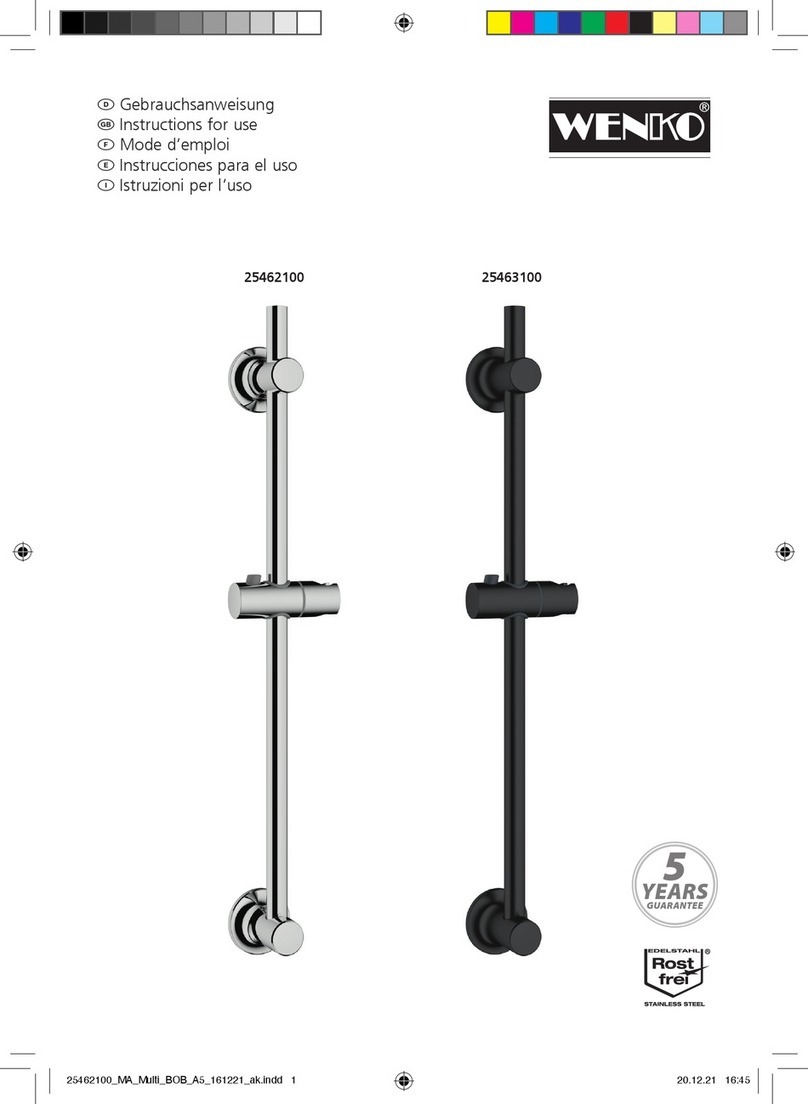
WENKO 25462100 Instructions for use

WENKO

WENKO 25462100 Instructions for use

Hans Grohe AXOR ShowerCollection 10650180 Assembly instructions

Hans Grohe

Hans Grohe AXOR ShowerCollection 10650180 Assembly instructions

Spectrum Brands Pfister Saxton LG49-GL0K Quick installation guide

Spectrum Brands

Spectrum Brands Pfister Saxton LG49-GL0K Quick installation guide

SmartBidet SB-100R user manual

SmartBidet

SmartBidet SB-100R user manual

Plumbworld Rangemaster Aquatrend TRE1SPR quick start guide

Plumbworld

Plumbworld Rangemaster Aquatrend TRE1SPR quick start guide

Linki ACC038 quick start guide

Linki

Linki ACC038 quick start guide

Moen TS4211 installation instructions

Moen

Moen TS4211 installation instructions

VEMA TIBER STEEL MFVTB1004 instructions

VEMA

VEMA TIBER STEEL MFVTB1004 instructions

Grohe Tectron 37749 manual

Grohe

Grohe Tectron 37749 manual

Grohe Blue HOME 31 498 manual

Grohe

Grohe Blue HOME 31 498 manual

BELLOSTA funtanin joy 8003 installation instructions

BELLOSTA

BELLOSTA funtanin joy 8003 installation instructions

manuals.online logo
manuals.online logoBrands
  • About & Mission
  • Contact us
  • Privacy Policy
  • Terms and Conditions

Copyright 2025 Manuals.Online. All Rights Reserved.