manuals.online logo
Brands
  1. Home
  2. •
  3. Brands
  4. •
  5. faucet strommen
  6. •
  7. Plumbing Product
  8. •
  9. faucet strommen IG 021 User manual

faucet strommen IG 021 User manual

Suits Models:
35112, 35113, 35114, 35115
Important requirements:
Cleaning
Clean only with a soft microfiber or similar cloth and warm clean water. Ensure that
the cloth is clean and free of any grit or chemical. Dry tap o with a soft clean cloth.
Ensure that your tap is not subject to any chemicals, building grit or any type of
abrasive of polish. For care of special finishes please visit our website.
Maintenance
Aerators may need to be flushed from time to time if flow diminishes or stream
pattern deteriorates. For Pegasi & Cascade mixers, use the aerator key provided
to unscrew the aerator, you will notice a “castle” pattern around the edge of the
aerator, the key engages with this enabling you to unscrew the insert easily. For Zeos
models, use the aerator key to unscrew the aerator housing, you will then be able to
pop the insert out the top of the housing. Rinse o the upper face of the insert with
running water and gently brush clean with an old toothbrush to remove any debris
before refitting the aerator.
Installation Guide IG 021
Zeos Slide Showers
Products Warranty – Australia
Faucet Australia Pty Limited (ABN 83 683 523 321) warrants its products to the original owner as per the periods in the table below. This
Warranty applies to all product purchased on or after 24 Oct 2017. Our liability under this warranty is limited at our option to the repair or
replacement of the defective product or part, the cost of repair of the defective product or part or the supply of an equivalent product or part,
in each case if we are satisfied the loss or damage was due to a defect in the materials or workmanship of the product or part.
Note: “Residential” refers to normal residential domestic purposes including houses and residential apartments. “Commercial;” refers to all
non-residential purposes including Hotels, Schools, Care homes, Hospitals, clubs etc.
Exceptions
Defects caused by improper use, improper installation, surface damage caused by installation, improper care of the product or failure to
observe any one or more of the following will not be covered by this Warranty:
1. Applicable Health Acts;
2. Installation in accordance with manufacturer’s instructions and specifications (Note: Tapware, mixers and filters must be installed
by qualified plumber);
3. All products to be cleaned with only warm water and a soft clean cloth
4. Tapware and showers to be supplied with only clean potable water
5. Tapware and showers to be subject to no more than 700kpa whether during use or during site testing, and site must be fitted with
500kpa mains pressure limiting valve.
6. Tapware and showers to be subject to water temperatures no hotter than 65 degrees Celsius
7. Tapware and showers to be installed in accordance with AS/NZS 3500 and other standards which govern the water supply and
sewerage plumbing requirements at the location of installation.
Limitations
8. Warranty does not cover fair wear and tear on sealing rings and washers. Depending on usage and conditions these may have to be
replaced within the Warranty period;
9. For finishes, this warranty does not cover damage caused by use of chemicals or detergents or abrasives and is limited to coating
failure by bubbling, cracking or flaking. Note that Organic finishes are expected to change colour, develop patina and verdigris.
10. Does not cover any loss or damage sustained by the consumer (including consequential loss or damage), in respect of the product
or failure or omission on the part of Faucet Australia to comply with its obligations under these conditions.
11. For Baths & Basins, The warranty does not cover damage caused by exposure to direct sunlight or UV, exposure to temperatures
over 60 degrees Celsius, damage caused by dropping sharp or heavy objects.
12. For Baths and basins this warranty does not cover damage caused by Strong Chlorinated solvents, Chloroform, Chlorobenzene,
Nail polish remover, Methylene Chloride, Acetone, Turpentine, Ethyl Acetate, Acids, Ketones, Phenols, Ethers, Drain Cleaner, Toilet
Cleaner, Salts, Oils, Milks and bathwater additives, non-approved liquids or Chemicals.
Lodging a claim
Claims must be lodged immediately or within 3 days of detection. Proof and Date of purchase from a Faucet Strommen dealer along with
site details and contacts will be required to process a claim. All claims must be lodged with Faucet Australia via one of these methods:
Phone: 03 5450 4236
Email: [email protected]om.au
Mail: PO Box 271 Kerang VIC 3579
Your costs in making a claim under this warranty, including all freight, collection and delivery costs are to be borne and paid by you. We also
reserve the right at our cost to inspect any alleged defect in the product wherever it is located or installed or on our premises.
Other Conditions
Our goods come with guarantees that cannot be excluded under the Australian Consumer Law. You are entitled to a replacement or
refund for a major failure and for compensation for any other reasonably foreseeable loss or damage. You are also entitled to have the
goods repaired or replaced if the goods fail to be of acceptable quality and the failure does not amount to a major failure.
Faucet Australia Pty Ltd 24 Oct 2017
Product Category Residential Warranty Period Commercial Warranty Period
Tapware, Showers, Accessories 5 Years parts & labour + 10 years parts 2 Years parts & labour + 3 years parts
Intro Tapware 1 Year parts & labour + 4 years parts 1 Year parts & labour
Silkstone Baths & Basins Lifetime 2 Years parts & labour
Special Finishes 5 Years parts & labour 2 Years parts & labour
Faucet Australia Pty Ltd ABN 83683523321 31 Tate Drive, Kerang VIC 3579
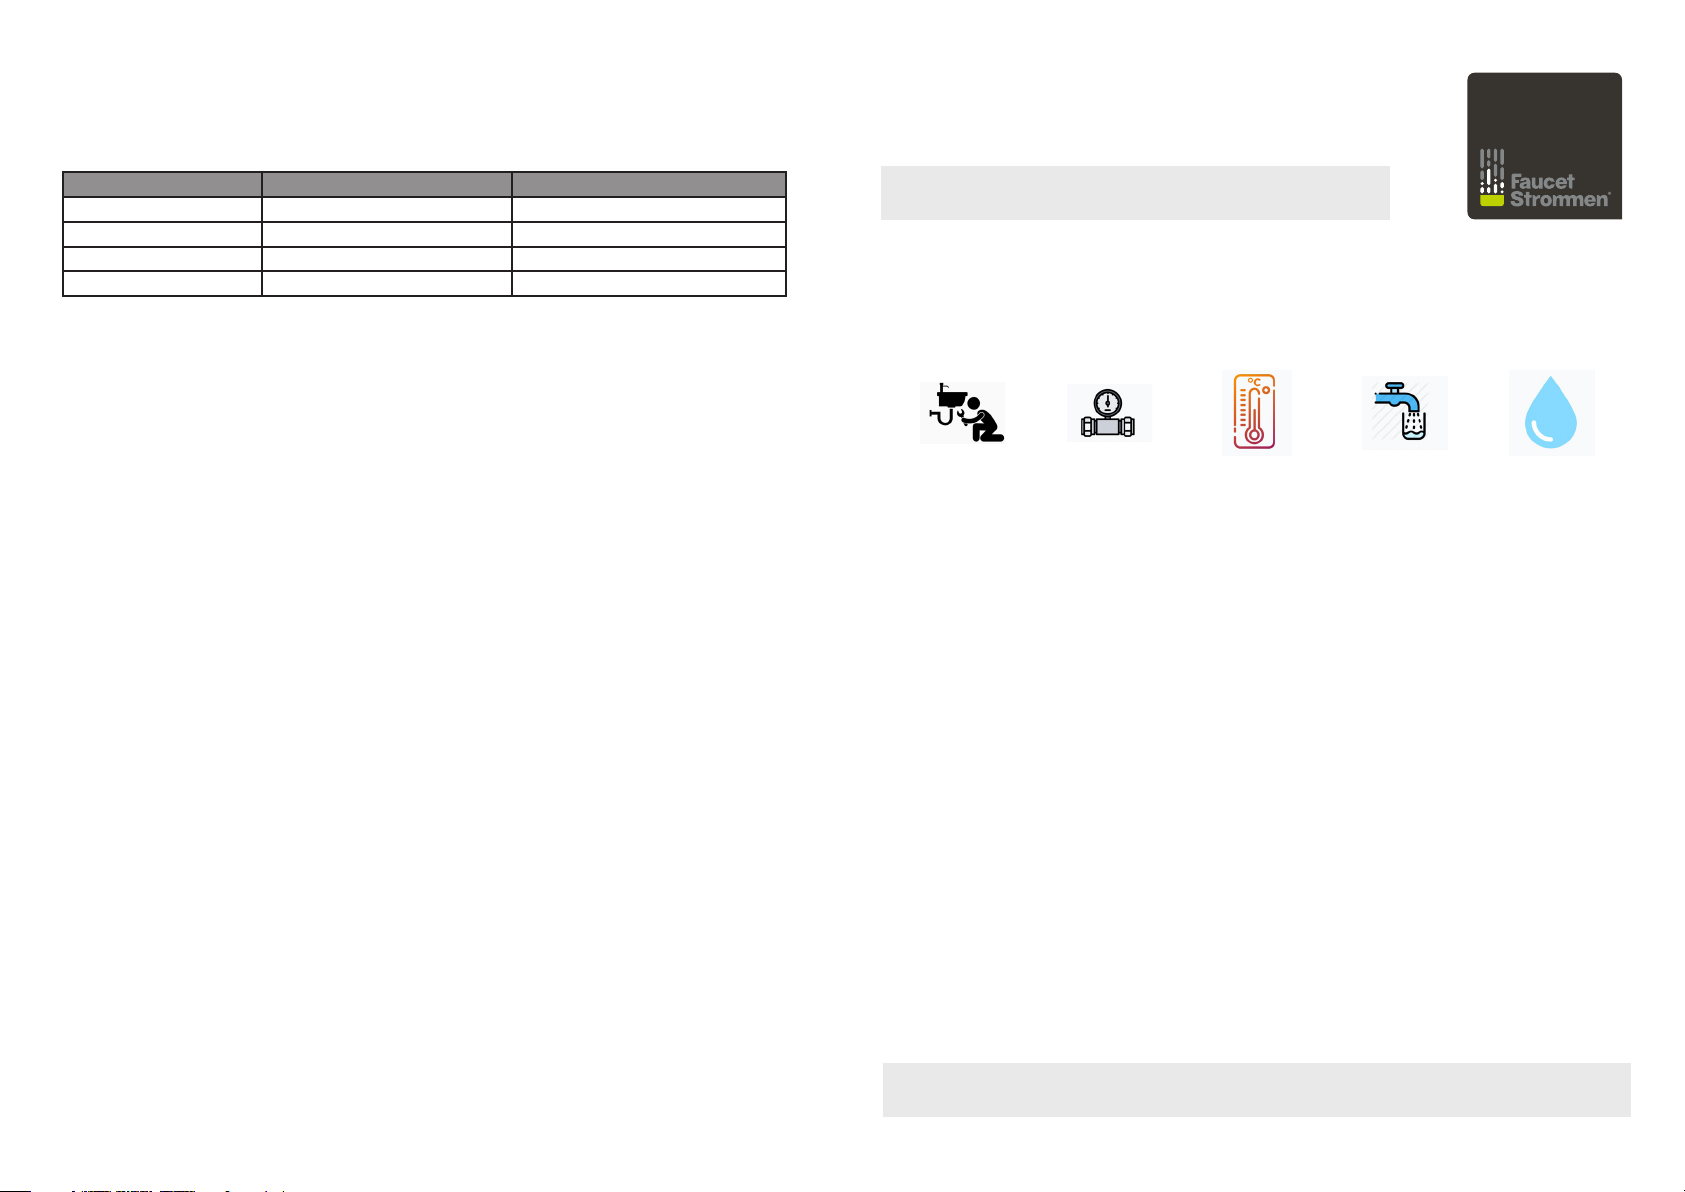
www.faucetstrommen.com.au P: +61 3 5450 4236 [email protected]
Must be fitted in
accordance with
AS/NZS 3500
by qualified
plumber
Mains
500kpa
regulator
must be
fitted
Maximum hot
water temp.
65°C
Water lines
must be
flushed prior
to connection
Only clean
municiple water
supply. No bore,
dam or hard water
without filtration
& treatment
1. Ensure that the ½” water supply lug is not protruding from the wall more than 15mm.
Remove any debris or tile glue from the lug, wind suicient thread tape onto the lug.
(For adjust version skip to step 6)
Inflow Versions (35112, 35113) (water enters the top bracket and flows through
the rail)
2. Place the flat stainless washer over the lug and screw on the brass adaptor supplied
using a shifting spanner. Screw this on until it is up against the stainless steel washer.
3. Remove the black protector cap and flush the water line by running a liberal amount of
water into a bucket.
4. Accurately mark the position of the bottom bracket. Be sure to check the length of
the shower rail that you have received as there are 2 models, 600mm and 900mm.
This measurement refers to the centre to centre dimension between the top and
bottom bracket. If the bottom bracket is located in this exact position it will neatly
cover the joint between the hose nut and the rail. The bottom bracket can, however be
mounted higher up if necessary.
5. Drill through the tiles and screw the plastic mount spigot to the wall with the stainless
screw provided.
(Continue to step 10)
Adjust Version (35114, 35115) (water enters via a separate elbow)
6. Fit a flange to the back of the elbow assy and screw this over the water supply thread
until the back is almost touching the tiles and the outlet faces down, then slide the
cover flange up against the wall
7. Flush the water line by running a liberal amount of water into a bucket.
8. Mark the mount positions for the top and bottom slide shower brackets. Be sure to
check the length of the shower rail that you have received as there are 2 models,
600mm and 900mm. This measurement refers to the centre to centre dimension
between the top and bottom bracket. The bottom bracket can, however be mounted
higher up if necessary.
9. Drill through the tiles and screw the 2 plastic mount spigots to the wall with the
stainless screws provided.
10. Remove the cover flanges from the box and press these onto the top and bottom
spigots and press up against the wall. (For Inflow versions remove the protector cap
from the top water supply spigot)
11. Lift the slide shower and press it onto the wall over the top and bottom mount pieces.
Make sure that it is pushed right back until it is touching the flanges.
12. Insert the small grub screws and fasten the shower to the mount spigots using the
small Allen key supplied. Check that the shower is properly secured and cannot come
o the wall.
13. Loosen and rotate the slider bracket so that the handle knob is to the left. Rotate the
click action holder bracket so that the opening is to the back.
14. Remove the handshower and hose from the package and screw one end of the hose
to the handshower and the other end to the threaded bottom end of the rail or elbow
outlet (Hand-tight only) Place the handshower in the holder bracket. Smooth PVC
hoses may take some time to settle into a natural hanging shape.
15. Run the shower and test operation.
Inflow (models 35112 & 35113) Adjust (models 35114 & 35115)

This manual suits for next models

4

Other faucet strommen Plumbing Product manuals

faucet strommen 30908 User manual

faucet strommen

faucet strommen 30908 User manual

faucet strommen 30401 User manual

faucet strommen

faucet strommen 30401 User manual

faucet strommen 30571 User manual

faucet strommen

faucet strommen 30571 User manual

faucet strommen 36015 User manual

faucet strommen

faucet strommen 36015 User manual

faucet strommen IG 020 User manual

faucet strommen

faucet strommen IG 020 User manual

faucet strommen IG 033 User manual

faucet strommen

faucet strommen IG 033 User manual

faucet strommen 30574 User manual

faucet strommen

faucet strommen 30574 User manual

faucet strommen 34351 User manual

faucet strommen

faucet strommen 34351 User manual

faucet strommen 30909 User manual

faucet strommen

faucet strommen 30909 User manual

faucet strommen 30560 User manual

faucet strommen

faucet strommen 30560 User manual

faucet strommen 34410 User manual

faucet strommen

faucet strommen 34410 User manual

faucet strommen 30573 User manual

faucet strommen

faucet strommen 30573 User manual

Popular Plumbing Product manuals by other brands

Elkay Pacemaker PSFR3319 Specifications

Elkay

Elkay Pacemaker PSFR3319 Specifications

Hans Grohe Ecostat 1001 SL Care 13284000 Instructions for use/assembly instructions

Hans Grohe

Hans Grohe Ecostat 1001 SL Care 13284000 Instructions for use/assembly instructions

American Standard Williamsburg 078016-0020A parts list

American Standard

American Standard Williamsburg 078016-0020A parts list

PEERLESS PTT4523 Series manual

PEERLESS

PEERLESS PTT4523 Series manual

Hans Grohe Metropol 74532000 Instructions for use/assembly instructions

Hans Grohe

Hans Grohe Metropol 74532000 Instructions for use/assembly instructions

OMAL S.p.A HERCULES manual

OMAL S.p.A

OMAL S.p.A HERCULES manual

Galvin Engineering GalvinAssist CP installation instructions

Galvin Engineering

Galvin Engineering GalvinAssist CP installation instructions

Hans Grohe AXOR Urquiola 11422 1 Series Installation instructions / warranty

Hans Grohe

Hans Grohe AXOR Urquiola 11422 1 Series Installation instructions / warranty

Grohe Atrio 25 010 manual

Grohe

Grohe Atrio 25 010 manual

Wellis Mariner instruction manual

Wellis

Wellis Mariner instruction manual

Grohe Grohtherm 2000 New manual

Grohe

Grohe Grohtherm 2000 New manual

AWT E1806XL Installation and operation instruction

AWT

AWT E1806XL Installation and operation instruction

Sterling ClearWater TOPAZ Fitting Instructions and Parts List

Sterling

Sterling ClearWater TOPAZ Fitting Instructions and Parts List

Hans Grohe Raindance Showerpipe Eco 27165000 Instructions for use/assembly instructions

Hans Grohe

Hans Grohe Raindance Showerpipe Eco 27165000 Instructions for use/assembly instructions

Delinia Daniel instruction manual

Delinia

Delinia Daniel instruction manual

Tylo Prime 1812 Assembly instructions

Tylo

Tylo Prime 1812 Assembly instructions

Grohe 36 264 manual

Grohe

Grohe 36 264 manual

Kohler K-8499 Installation and care guide

Kohler

Kohler K-8499 Installation and care guide

manuals.online logo
manuals.online logoBrands
  • About & Mission
  • Contact us
  • Privacy Policy
  • Terms and Conditions

Copyright 2025 Manuals.Online. All Rights Reserved.