Page 10
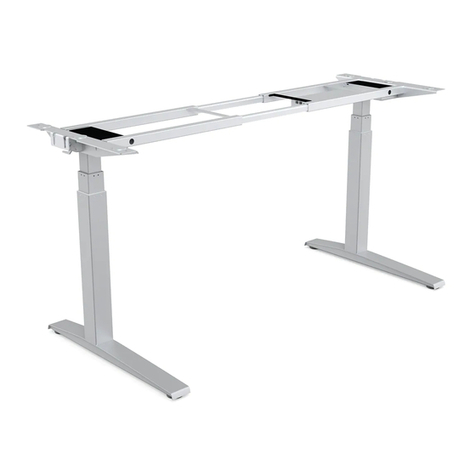
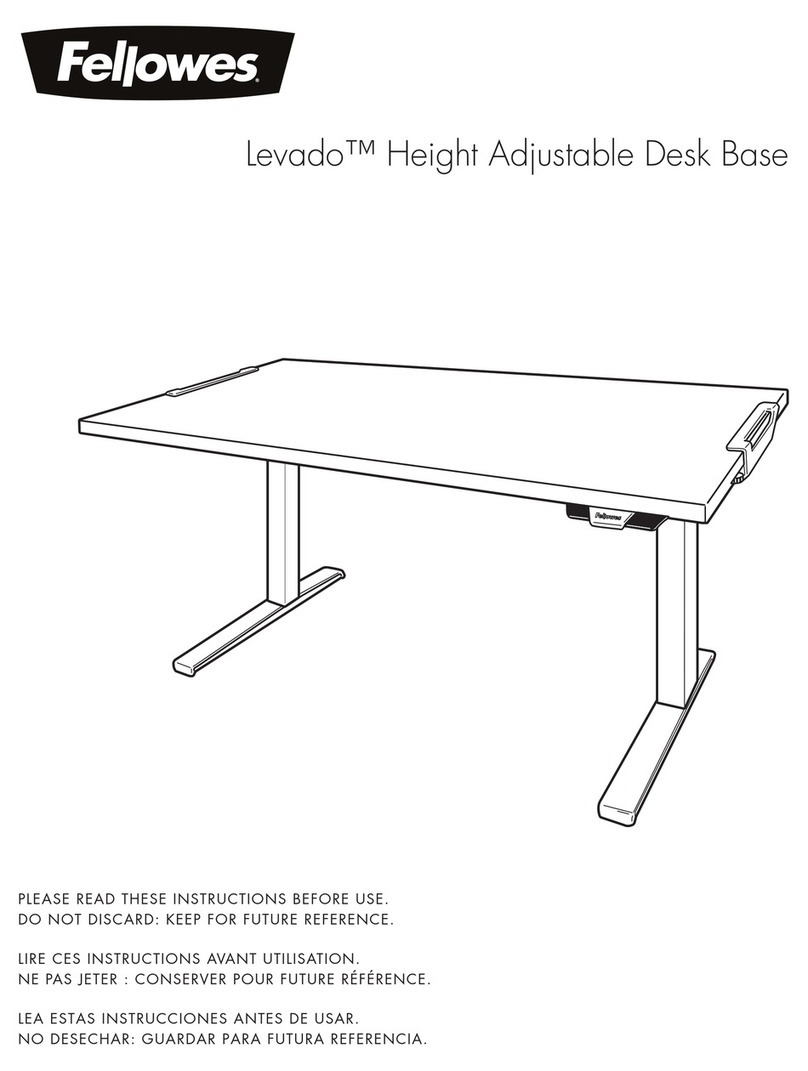
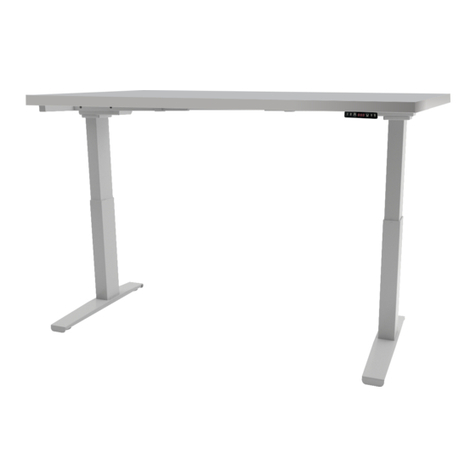
Brisa™electric table base operation
CAUTION: The initialization procedure
must be completed before operating
the table. See Step 12 on page 9.
star
button
gear
button
lift up or press downkeypad lever
LED height display
(inches or centimeters)
general operation
• Move the table by lifting the lever up to raise it or pressing the lever down
to lower it.
• The table will continue to move up or down until you release the lever or
until the maximum or minimum height is reached.
Table movement stops when you release the lever.
NOTE: The table must stop prior to reversing directions.
memory stop positions
Two memory stop positions can be used to save specific heights of the
worksurface. To set a specific position:
• Raise or lower the table to the first position you want to save.
• Touch the star button for more than three seconds and then release.
— The LED display flashes and stop position #1 is saved.
• Raise or lower the table to the second position you want to save.
• Touch the star button for more than three seconds.
— The LED display flashes and stop position #2 is saved.
If you try to set a third memory position, you will reset position #2.
To move the worksurface to a memory stop position:
• Lift or press the lever until the table stops. Release the lever.
— If you continue to lift or press the lever after it stops, the table will
continue to move up or down.
If you release the memory button before the saved position is reached, table
movement will stop.
To delete a memory stop position:
• Move the worksurface to the memory stop position you wish to delete.
• Touch the star button for more than three seconds.
— The LED display flashes. Release the star button.
— The stop position is deleted.
To delete both memory stop positions at the same time:
• Touch the star button for more than eight seconds.
— The LED display flashes and will show “CLr”.
— Release the star button. Both stop positions are deleted.
top height limit
To set the top height limit (the maximum height of the table):
• Use the lever to move the table to the desired maximum height.
• Touch the gear button six times. The display reads “F01”.
• Lift or press the lever until the display reads “F03”.
• Touch the gear button for three seconds. The display reads “–L–”.
— Release the gear button. The top height limit is set.
If there is a memory stop position higher than the top height limit, the
memory stop will be erased.
To erase the top height limit:
• Use the lever to move the table to any position.
• Touch the gear button six times. The display reads “F01”.
• Lift or press the lever until the display reads “F04”.
• Touch the gear button for three seconds. The display reads “–C–”.
— Release the gear button. The top height limit is erased.
If there was a memory stop position higher than the top height limit, the
memory stop needs to be set again.
bottom height limit
To set the bottom height limit (the minimum height of the table):
• Use the lever to move the table to the desired minimum height.
• Touch the gear button six times. The display reads “F01”.
• Lift or press the lever until the display reads “F05”.
• Touch the gear button for three seconds. The display reads “–L–”.
— Release the gear button. The bottom height limit is set.
If there is a memory stop position lower than the bottom height limit, the
memory stop will be erased.
To erase the bottom height limit:
• Use the lever to move the table to any position.
• Touch the gear button six times. The display reads “F01”.
• Lift or press the lever until the display reads “F06”.
• Touch the gear button for three seconds. The display reads “–C–”.
— Release the gear button. The bottom height limit is erased.
If there was a memory stop position lower than the bottom height limit, the
memory stop needs to be set again.
