FIELDKING Max Reversible MB Plough User manual

Operator Manual
† Service Manual
† Part Catalogue
†
Max Reversible MB Plough

Sometime in the future your max reversible mould board plough may need new parts
to replace which are worn out or broken. If so, go to your dealer and provide him
equipment’s detail like model and part number.
This manual contains valuable information about your new “FIELDKING” max
reversible mould board plough. It has been carefully prepared to give you helpful
suggestions for operating, adjusting, servicing and ordering spare parts.
Keep this manual in a convenient place for quick and easy reference. Study it
carefully. You have purchased a dependable and sturdy max reversible mould board
plough but only by proper care and operation you can expect to receive the service
and long life designed and built into it.
Name ______________________________________________
Purchased From ______________________________________
Date of Purchase _____________________________________
Model No. ___________________________________________
Serial No. ___________________________________________
TO THE PURCHASER
CUSTOMER INFORMATION
As an authorized “FIELDKING” dealer, we stock genuine “FIELDKING” parts which
are manufactured with the same precision and skill as our original equipment. Our
trained service persons are well informed on methods required to service
“FIELDKING” equipments and are ready to help you.
You have invested in one of the best implements of its type in the market today.
If your manual is lost or destroyed, “FIELDKING” will be glad to provide you a new
copy. Visit to nearest dealership & get a copy. Most of our manuals can also be
downloaded from our website at www.fieldking.com.
The care you give your “FIELDKING” implement will greatly determine your
satisfaction with its performance and its service life. A careful study of this manual
will give you a thorough understanding of your new implement before operating.
Should you require additional information or assistance, please contact us.
CONGRATULATIONS!
YOUR AUTHORIZED
FIELDKING DEALER
BECAUSE “FIELDKING” MAINTAINS AN ONGOING PROGRAMME
OF PRODUCT IMPROVEMENT, WE RESERVE THE RIGHT TO MAKE
IMPROVEMENTS IN DESIGN OR CHANGE IN SPECIFICATION
WITHOUT INCURRING ANY OBLIGATION TO INSTALL THEM ON
UNITS PREVIOUSLY SOLD. BECAUSE OF THE POSSIBILITY THAT
SOME PHOTOGRAPHS IN THIS MANUAL WERE TAKEN OF
PROTOTYPE MODELS, PRODUCTION MODELS MAY VARY IN
SOME DETAIL. IN ADDITION, SOME PHOTOGRAPHS MAY SHOW
SHIELDS REMOVED FOR THE PURPOSE OF CLARITY. NEVER
OPERATE THIS IMPLEMENT WITHOUT ALL SHIELDS IN PLACE.

3.7 Attaching plough to the tractor.
3.6 Required hydraulics equipment
4.3 Levelling the plough
2.5 Safety on highway transport
3. Preparation of Tractor
3.4 Chain and sway blocks of the three point linkage
3.3 Top link
3.5 Hydraulics
3.1 Tyres
3.2 Lift Rods
4. Uses
4.6 Draft of the plough
4.1 Instruction of tractor preparation
4.2 Adjustments
4.4 Warning for driver
4.5 Danger
6. Troubleshooting
5. Maintenance
1. Introduction
2. Safety Instructions
2.2 Safety while connecting hydraulic lines.
2.1 Safety while attaching & detaching
2.3 Safety while operating the machine.
2.4 Safety for maintenance
INDEX
5. All costs incurred by the dealer for traveling to or transporting the equipment for
warranty inspection and claims will be borne by the customer.
1. Read and understand the information contained in this manual.
2. Operate, lubricate, assemble and maintain the equipment in accordance with all
instructions and safety procedures in this manual.
3. Inspect the equipment and replace or repair any parts that are damaged or worn
out which under continued operation would cause damage, wear to other parts,
or cause a safety hazard.
4. Return the equipment or parts to the authorized “FIELDKING” dealer, from where
it was purchased, for service or replacement of defective parts that are covered
by warranty. (The “FIELDKING” Factory may inspect equipment or parts before
warranty claims are honored.)
PURCHASER / OPERATOR’S RESPONSIBILITY

1
2. SAFETY INSTRUCTIONS
Compliance with the instructions in this handbook is also important since Manufacturer
declines all and every responsibility for damage to persons or property caused by
negligence and failure to comply with these instructions.
This Plough is equipped with heavy-duty frame specially designed for deep
ploughing/land preparation of rough soil. It is designed to work in all types of soil for basic
functions such as soil breaking, soil raising and soil turning. It can handle the toughest
ploughing job with outstanding penetration performance.
Regular and satisfactory operations together with economic and long lasting use of the
implement depend on the compliance with instructions given in this handbook.
This handbook contains the use and maintenance instructions with a list of the spare
parts of the Plough.
1. INTRODUCTION
† Do not let anyone to stand between the machine and the tractor when you back up to
hitch.
† In the case of three-point linkage mounting, ensure that the tractor balls and the
mounting pins of the implement are of the same category.
2.2 Safety while connecting hydraulic lines
† Never attempt to attach the machine if the pins, tractor hitching balls, tractor draw bar or
machine linkage are worn, cracked or not compatible.
2.1 Safety while attaching and detaching
† Remove pressure from hydraulic lines before disconnecting them.
† The hydraulic circuit is highly pressurised.
† When driving on roads with the implement raised, the raise-lower control must be locked
to prevent accidental lowering.
† Before leaving the tractor to hitch or unhitch, set tractor parking brakes.
† Before mounting or dismounting implements on / from the three-point linkage, move the
raise-lower control to the position at which accidental rising or lowering cannot take
place. Completely lower the machine to the ground before unhitching. Make sure it is on
a level and firm surface.
† Before leaving the machine for storage, make sure it is a safe place and that there is no
risk to damage whether anything or anyone.
† Never use your hands to locate a hydraulic leak. Hydraulic fluids escaping under
pressure have sufficient force to penetrate the skin, causing severe injury. In case of any
injury, see a doctor immediately.
2
† Wear close fitting clothing and appropriate safety devices for the job you have to do
(heavy leather gloves, safety shoes, earplugs, etc.).
† If any unusual vibration is heard or felt, stop the machine. Find the problem and solve it
before starting operation again.
† Do not allow anyone to stand close to pivot points. On all pivoting parts actuated by
power assistance (e.g. hydraulics), there exists danger of injury by bruising and
crushing.
† Do not extend turnbuckle adjusters too much to avoid any threads damaging or
ultimately pulling out.
† Do not allow anyone to stand close to the machine.
† Learn how to operate your machine and how to use its controls. Do not let anyone
operate without instruction.
† Never attempt any operation on machine while it is in motion.
† Only one person (the operator) should be in tractor’s cab when it is operation. No one on
the machine while working or while traveling on the road.
† If your machine is equipped with a hydraulic folding mechanism, always use it from
tractor’s cab, once you are sure that folding area is free from spectators or obstacles.
2.4 Safety for Maintenance
† Maintenance area should be clean, dry, with enough light and ventilation.
† Before connecting hydraulic circuit, make sure that there is no pressure on both sides,
(tractor and machine).
† The operator should familiarize himself / herself with all controls and their functions
before starting work.
† Always use tools or equipments appropriate to the job you are doing. All related tools are
provided along with the implement.
† Regularly check hydraulic lines and connections. Replace any damaged or leaking
component by an original part with the same specifications. The replacement pipes must
comply with the technical specification laid down by FIELDKING.
† Before any operation on the hydraulic equipment, lower the machine to the ground and
release the hydraulic pressure where possible and switch off the tractor engine.
† When connecting hydraulic rams, the pipes must be connected as directed.
2.3 Safety while operating the machine
† Do not attempt to do any adjustment if you have not perfectly understood its procedure.
† For any operation on the machine on raised position, always securely support all
† Repair, maintenance and cleaning operations as well as adjustments and remedy of
function faults should principally be conducted with engine stopped and brakes applied
with the engine key removed.

3
† As well as the notes in these instructions, the operator is advised to comply with the
generally applicable safety at work regulations and those relating to use of the public
highway.
† Always use genuine parts corresponding to the manufacturer’s technical and
specification requirements.
FOR YOUR OWN SAFETY AND THE ONE OF THE OTHER, RESPECT THE
FOLLOWING RULES.
† After servicing, remove all tools, components and parts that were used.
2.5 Safety on Highway Transport.
components before starting maintenance.
† Regularly check the tightness of wheel studs, wearing parts’ bolts and all other bolts and
nuts.
All FIELDKING equipments shall be used, complying with the area’s current rules and
laws concerning safety instructions, accident prevention and provision of Highway
Code.
† Maintenance operations on elements under pressure or under tension require specific
procedures and equipments. Only qualified persons shall perform them in appropriate
conditions.
† For replacing any parts with cutting edges, always use suitable tools and gloves.
† Tractor used for road transport shall have the same power rating and weight as the one
used for field operations.
† When driving on public roads with a raised machine, the lifting control lever should be
locked against unintentional lowering.
† Regularly check hitching pins, change them if necessary. Tractor’s ball joint may also
wear, do not hesitate to replace them with new ones as per the manufacturer’s
standards.
† Never attempt any manoeuvre if the area is not free from spectators.
† Drive at reasonable speed complying with local laws to always keep control of tractor and
equipment. Pay special attention on irregular or rough roads
† Handling behaviour, steer-ability and braking are influenced by mounted implements,
trailers and ballast weights. Check for sufficient steer ability and braking.
† If your machine is equipped with a folding mechanism (manual or hydraulic), use it
† Use all devices required by your area’s current laws (lights, reflectors, signs ….). They
might be removed during field operations to prevent any sort of damage. It is the
operator’s responsibility to comply with current laws and to follow the regulations.
† Before road transport, always check for wheel studs and wheel mounting brackets,
carriage bolt tightness, general tyre state and pressure. Do not drive with low pressure,
cuts or damaged tyres or rims.
4
† Do not allow anybody between the tractor and the implement if the parking brakes are not
applied.
† Before leaving the tractor, lower the machine to the ground. Apply the parking brake, stop
the engine and remove the ignition key.
† Follow all safe driving practices when traveling, especially on corners, rough or narrow
roads.
3.1. Tyres
The Pressure – especially in the rear tractor tyres – must be equal. In heavy conditions it
may be necessary to add wheel weights and / or water ballast. (See manufacturer’s
instructions).
Adjust lift rods to equal length. (See manufacturer’s instructions).
3.2. Lift Rods
The hydraulic equipment used in this plough is
3. PREPARATION OF THE TRACTOR
making sure folding area is free from spectators and obstacles.
Where there are alternative fitting positions at the tractor for the top link, fit the tractor-
sided top link as high as possible.
Attention! Some tractors are equipped with automatic “check devices” which require
special adjustments. If a tractor suddenly shows side draft or if the L/H and R/H front
width of the plough is different, an unlocked “check device” could be the reason for that.
In such a case the function of the automatic “check device” must be checked. (See
manufacturer’s instructions)
3.4. Check Chains or Sway Blocks of the Three Point Linkage
Chains or sway blocks MUST be adjusted so that the lower link is always free to move
sideways during ploughing.
3.5. Hydraulics
For working, the tractor hydraulics must be set a ‘Draft’ or ‘Mixed’ Control. See
manufacturer’s instructions.
3.6. Required Hydraulic Equipment
3.3. Top Link
a double acting cylinder.
Table of contents
Other FIELDKING Farm Equipment manuals
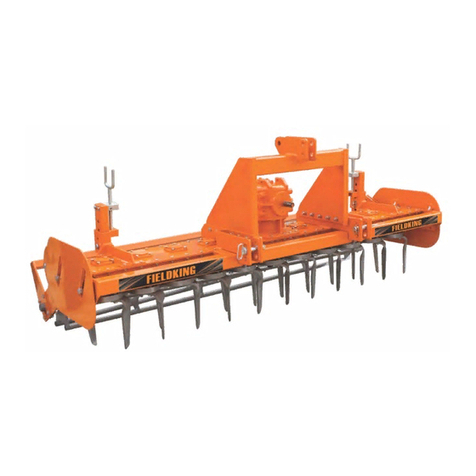
FIELDKING
FIELDKING Power Harrow User manual

FIELDKING
FIELDKING No Till Multi Crop Drill User manual

FIELDKING
FIELDKING Sub Soiler Installation and maintenance instructions

FIELDKING
FIELDKING Disc Ridger User manual
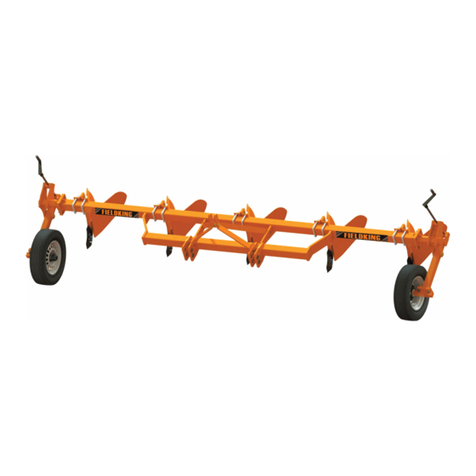
FIELDKING
FIELDKING Tyne Ridger User manual

FIELDKING
FIELDKING FKDRHD-9 Installation and maintenance instructions
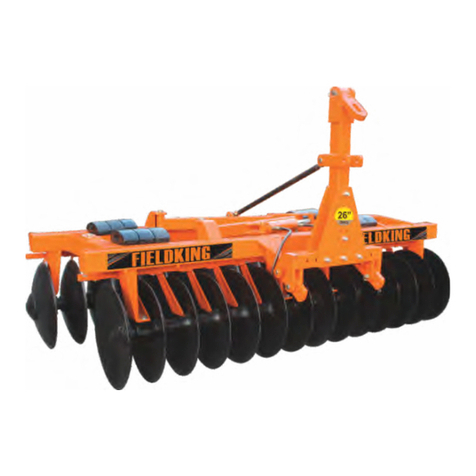
FIELDKING
FIELDKING 8x8 User manual
Popular Farm Equipment manuals by other brands

Schaffert
Schaffert Rebounder Mounting instructions

Stocks AG
Stocks AG Fan Jet Pro Plus 65 Original Operating Manual and parts list

Cumberland
Cumberland Integra Feed-Link Installation and operation manual

BROWN
BROWN BDHP-1250 Owner's/operator's manual

Molon
Molon BCS operating instructions

Vaderstad
Vaderstad Rapid Series instructions


