manuals.online logo
Brands
  1. Home
  2. •
  3. Brands
  4. •
  5. Finelite
  6. •
  7. Lantern
  8. •
  9. Finelite HP-2 User manual

Finelite HP-2 User manual

© 2017 FINE ITE, INC. A RIGHTS RESERVED. Form 98303 V3. 02/17
Protected by one or more US Patents: 8915613; D702,391; D702,390; D700,732; D727,554 S; D727,550 S, D727,551 S
Note: All power connections to be installed to
local/national codes by a Certified Electrician.
Finelite, Inc. • 30500 Whipple Road • Union City, CA 94587-1530 • (510) 441-1100 • Fax: (510) 441-1510 • www.finelite.com
1
HP-2 Recessed 1" T-Bar to Spackle Flange Installation Instructions
Corner Joiner
Diffuser
3"
A
Step 1
Remove diffuser from corner joiner luminaire and set it aside to prevent it from
getting dirty or damaged. Add 3/4" to body/row length (A), +/- 1/16" to simplify
installation. uminaire needs to be installed next to support blocking.
Step 2
Ceiling
Corner Joiner
1/4"-20 Threaded Rod Hole
Wall
Insert corner joiner luminaire into wall rough opening. Use proper support blocking (by others). Make sure
spackle flange is flush with ceiling T-Bar.
Remove back plate clips (provided) to release back plates.
We recommend using a flat head screwdriver to get them
loose. CA TION: Do not lose these pieces.
Step 4
Back Plate Clip
Back Plate
Step 3
Slowly swing down back plates from all luminaires. CA TION: Do not twist
back plate when swinging down - it will come out of the support extrusion.
Note that the screw shown is the pivot point and the back plate can be slid a
few inches either way for ease of access to the driver space.
Pivot Point
0 - 10V
Dimming
Scan QR code for
helpful video(s)
A. Secure corner joiner by installing 1/4" washers (by others) and 1/4"-20 nuts (by others) onto 1/4"-20 threaded rod (by others).
1/4" Washer
(by others)
1/4"-20 Nut
(by others)
ower Wires 1/4"-20 Threaded Rod
(by others)
Step 5
1/4"-20 Threaded
Rod (by others)
Drywall Drywall
Drywall Screws
(by others)
1/4"-20 Nut
(by others)
Luminaire
Support
Blocking
(by others)
Support
Blocking
(by others)
Starter Joiner/Ender
A + 3/4" +/- 1/16"
Cutout Dimension
4"
3"
© 2017 FINE ITE, INC. A RIGHTS RESERVED. Form 98303 V3. 02/17
Protected by one or more US Patents: 8915613; D702,391; D702,390; D700,732; D727,554 S; D727,550 S, D727,551 S
Note: All power connections to be installed to
local/national codes by a Certified Electrician.
Finelite, Inc. • 30500 Whipple Road • Union City, CA 94587-1530 • (510) 441-1100 • Fax: (510) 441-1510 • www.finelite.com
2
HP-2 Recessed 1" T-Bar to Spackle Flange Installation Instructions
#10-32 x 5/8"
Screws (2)
(provided)
Corner Joiner
Ceiling Joiner
Yoke Brackets x2 (provided)
IMPORTANT STEP: Secure joint with two yoke brackets (provided) using #10-32 x 5/8"
screws (provided). CA TION: When installed correctly these brackets will pull
luminaires together to make a tight joint. Do not over-tighten.
Wall
Corner Joiner
Plug-Together Wiring
Ceiling Joiner
Step 7
Place ceiling joiner luminaire on to T-Bar. Align ceiling joiner and
corner joiner and slide them together.
Plug-Together Wiring
Corner Joiner
Ceiling
Wall
Ceiling Joiner
Connect plug-together wiring.
Wall
Ceiling
Ceiling Joiner
Corner Joiner
Back Plates
Step 10
Replace all back plates by holding them in their original position and pushing the
clips back in. Make sure wire connections are not pinched. (If 1 ft. back plate
assembly is near joint, reconnect feed harness to ED board.
Back Plate Clip
B. Alternate mounting option – Install 1/4" screw (by others) through mounting hole into proper structurally supported
blocking (by others).
Alternate 1/4" Screw
Mounting Option
ALTERNATE MO NTING OPTION
1/4" Screws
(by others)
Drywall Screws
(by others)
Drywall Drywall
Support
Blocking
(by others)
Support
Blocking
(by others)
Support Blocking
(by others)
Ceiling Joiner
Diffuser
Step 6
Remove diffuser from ceiling joiner luminaire and set aside to
prevent it from getting dirty or damaged.
Step 8 Step 9
IMPORTANT STEP
© 2017 FINE ITE, INC. A RIGHTS RESERVED. Form 98303 V3. 02/17
Protected by one or more US Patents: 8915613; D702,391; D702,390; D700,732; D727,554 S; D727,550 S, D727,551 S
Note: All power connections to be installed to
local/national codes by a Certified Electrician.
Finelite, Inc. • 30500 Whipple Road • Union City, CA 94587-1530 • (510) 441-1100 • Fax: (510) 441-1510 • www.finelite.com
3
HP-2 Recessed 1" T-Bar to Spackle Flange Installation Instructions
T-Bar Bracket (provided)
Tie-wire
(by others)
#8-18 x 1/4" Screws
(4) (provided)
#6-20 x 1/2" Self
Drilling Screws (4)
(provided)
Wall
Ceiling
Ceiling Joiner
Corner Joiner
Diffuser
Diffuser
Replace diffusers and turn power on to luminaires.
Conduit Plate
Wires
Wires
Conduit Plate
Jam Nut
Conduit
Run power cables through conduit plate and jam nut. Make electrical
connections. Secure conduit onto conduit plate with jam nut, and
reinstall conduit plate carefully not to damage any wiring.
Remove conduit plate from ceiling joiner luminaire.
Step 12
Step 13 Step 15
Step 11
Install T-Bar brackets (provided) onto ceiling joiner with #8-18 x 1/4" screws (provided). Secure
luminaire to T-Bar with #6-20 x 1/2" self drilling screw (provided). Secure luminaire to structure
using tie-wire (by others), as per code.
#8-18 x 1/4" Screws
(4) (provided)
#6-20 x 1/2" Self
Drilling Screws (4)
(provided)
Wires
Splice box door
Wires
Splice Box Door
Jam Nut
Conduit
OPTIONAL SPLICE BOX
Run power cable through knock-out. Make electrical
connection. Secure conduit on to splice box with jam
nut and close splice box door.
Open optional splice box door to access wiring.
OPTIONAL SPLICE BOX
Ceiling
Corner Joiner
Wall
Drywall screws
(by others)
“Mud Guard”
Cardboard Inserts
(provided)
Trowel
Step 14
Fasten corner joiner to wall with drywall screws (by others). Install “mud
guard” cardboard inserts (provided). Use spackle to cover up the flanges.
Once spackling is complete, remove the mud guards.

Other manuals for HP-2

7

Other Finelite Lantern manuals

Finelite HP-6 Recessed Flush Diffuser Tech Zone 6"... User manual

Finelite

Finelite HP-6 Recessed Flush Diffuser Tech Zone 6"... User manual

Finelite HP-6 Recessed Flush Diffuser Tech Zone 6"... User manual

Finelite

Finelite HP-6 Recessed Flush Diffuser Tech Zone 6"... User manual

Finelite HP-6 Recessed Flush Diffuser Tech Zone 6"... User manual

Finelite

Finelite HP-6 Recessed Flush Diffuser Tech Zone 6"... User manual
Finelite HP-6 Recessed Flush Diffuser Tech Zone 6"... User manual

Finelite

Finelite HP-6 Recessed Flush Diffuser Tech Zone 6"... User manual

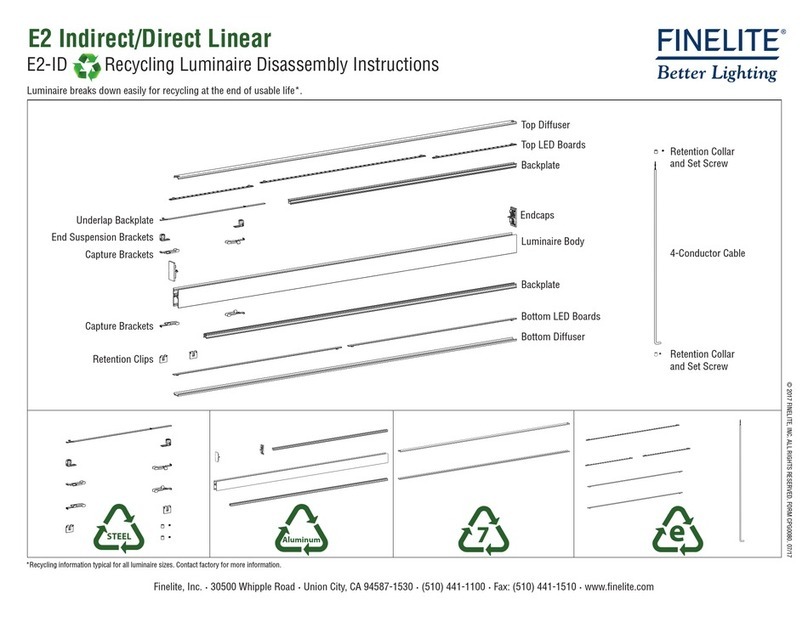
Finelite E2-ID Installation instructions
Finelite

Finelite E2-ID Installation instructions

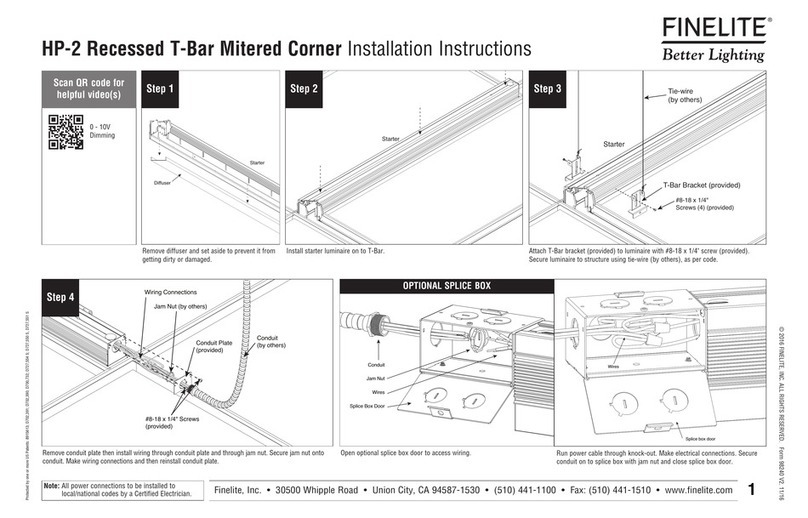
Finelite HP-2 User manual

Finelite

Finelite HP-2 User manual
Finelite HP-2 User manual

Finelite

Finelite HP-2 User manual

Finelite HP-4 Recessed User manual

Finelite

Finelite HP-4 Recessed User manual
Finelite 10WM series User manual

Finelite

Finelite 10WM series User manual
Finelite HP-2 User manual

Finelite

Finelite HP-2 User manual

Popular Lantern manuals by other brands

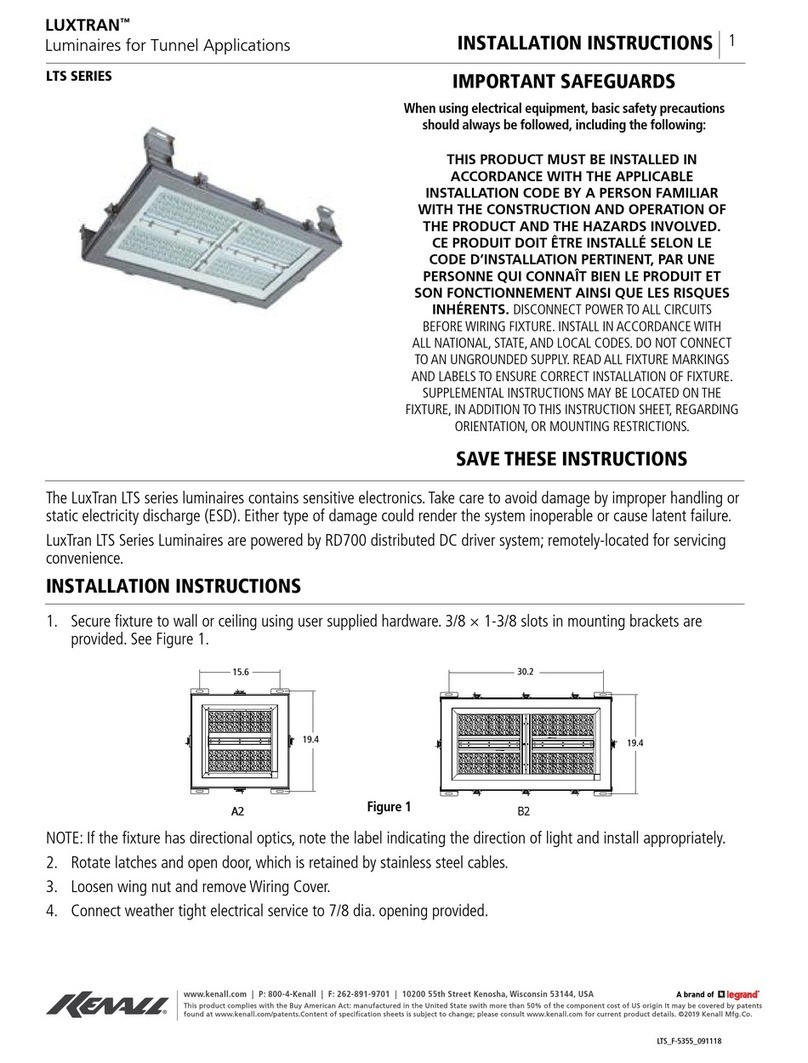
LEGRAND Kenall LUXTRAN LTS Series installation instructions

LEGRAND

LEGRAND Kenall LUXTRAN LTS Series installation instructions

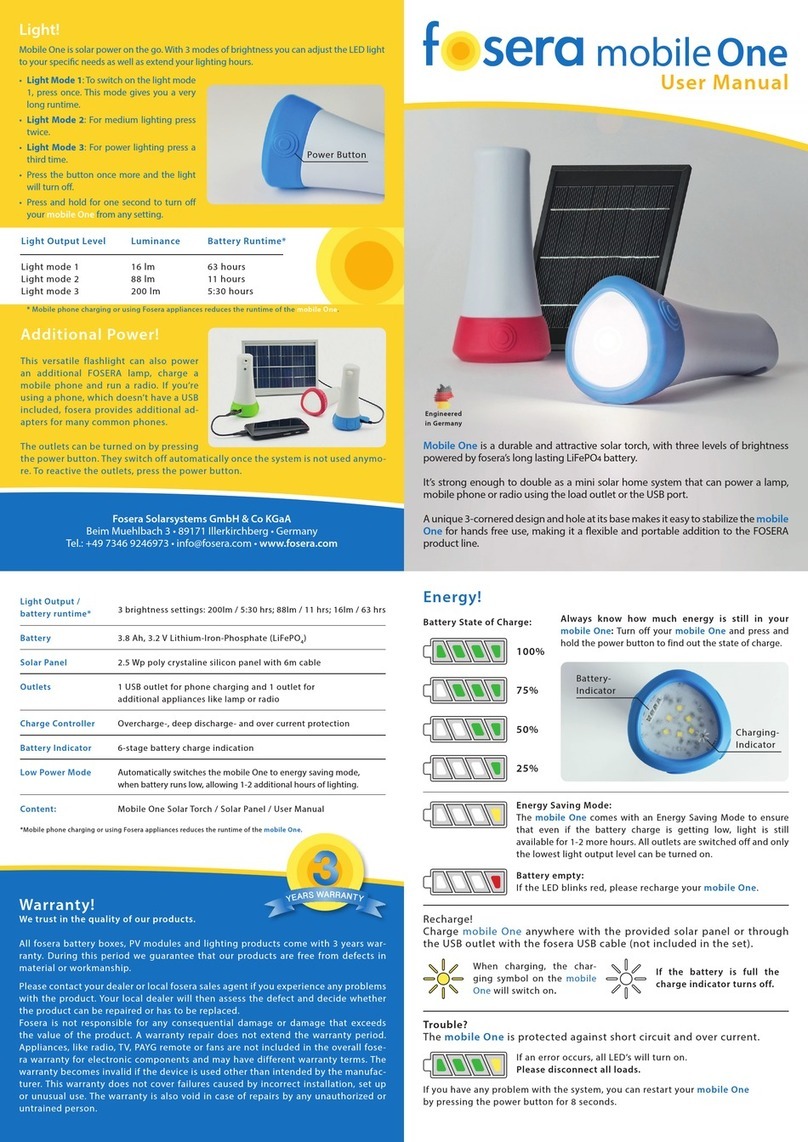
Fosera Mobile One user manual

Fosera

Fosera Mobile One user manual

Fiberli CG5 installation guide

Fiberli

Fiberli CG5 installation guide

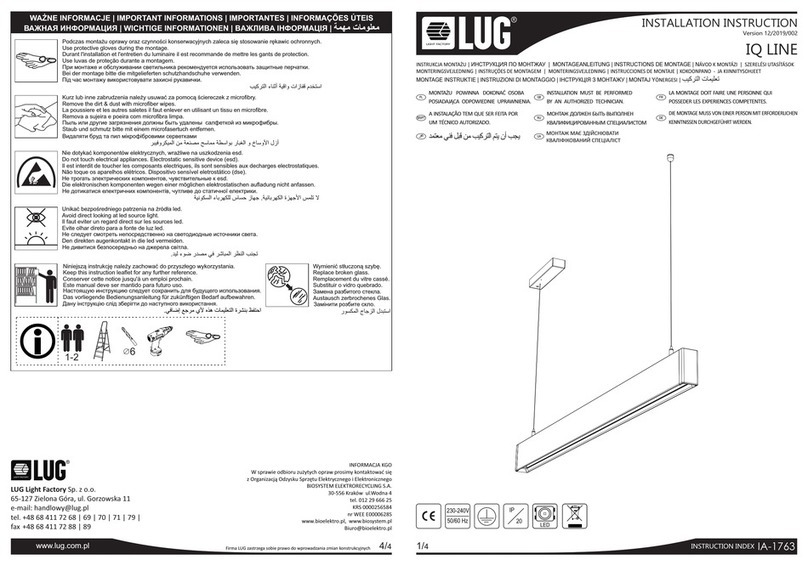
LUG IQ Series Installation instruction

LUG

LUG IQ Series Installation instruction

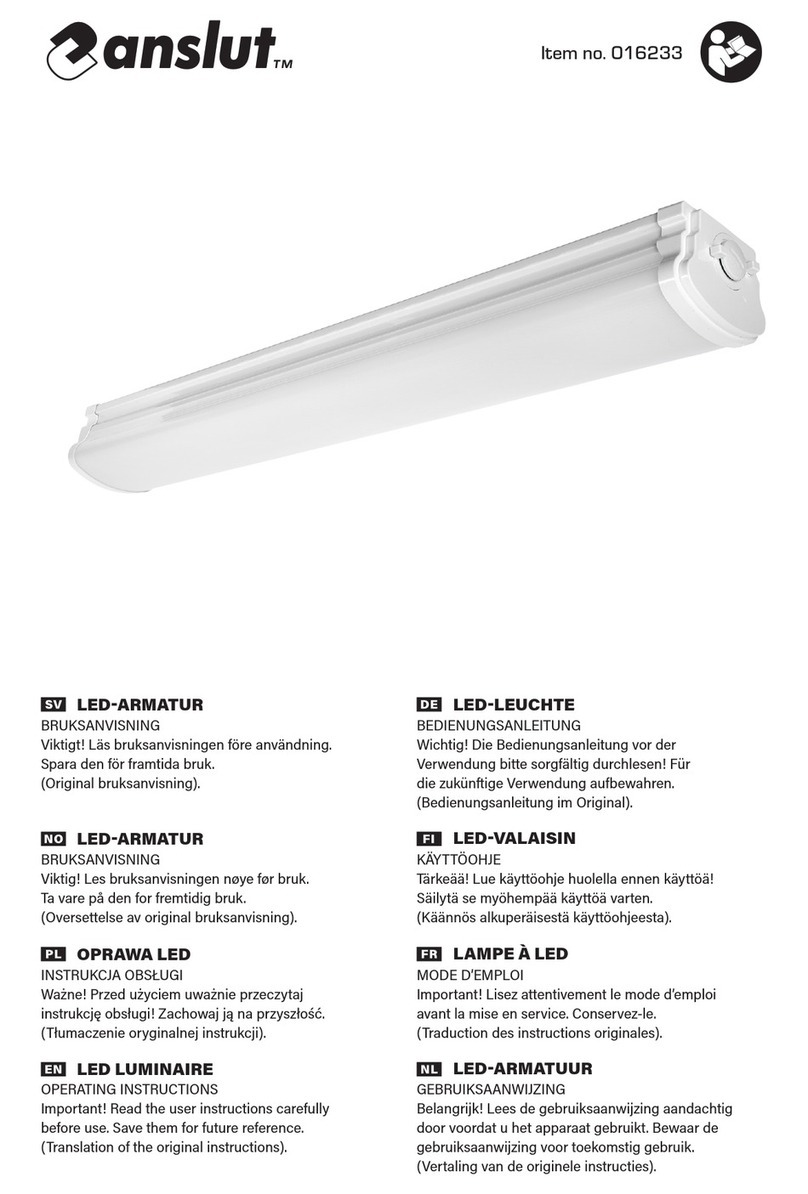
Anslut 016233 operating instructions

Anslut

Anslut 016233 operating instructions

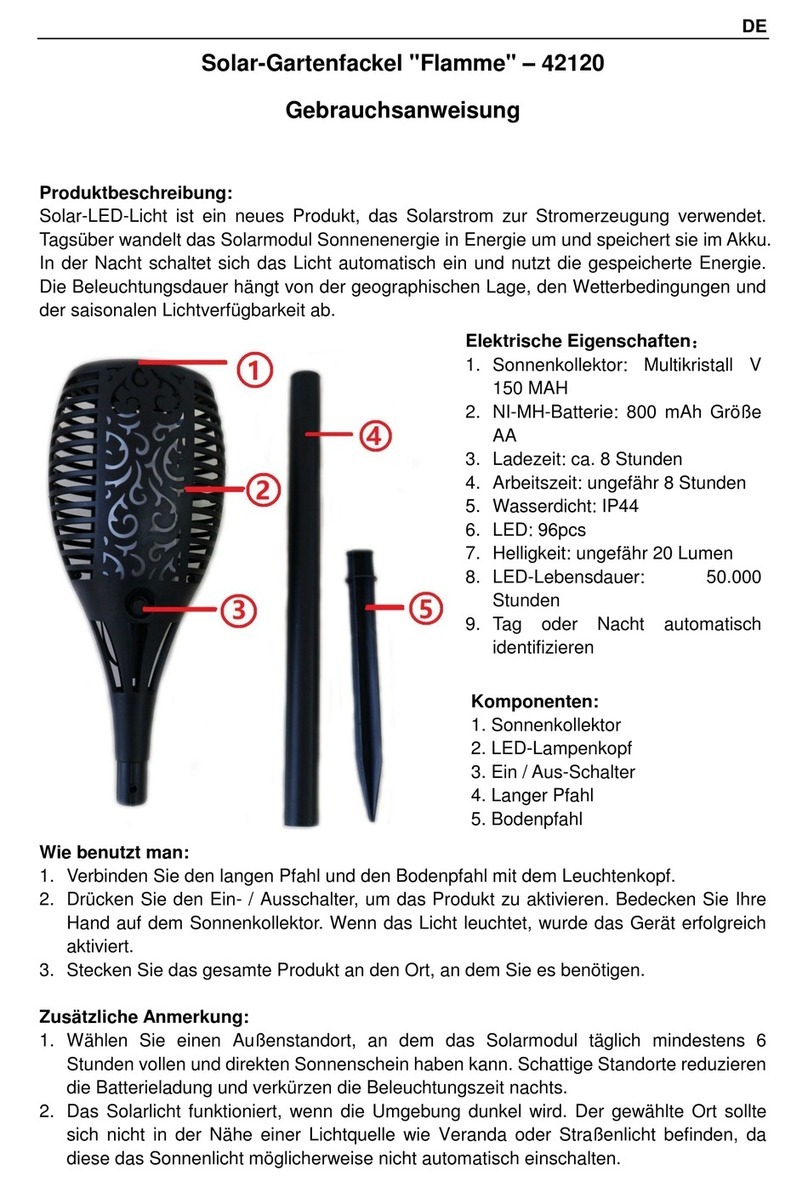
Eurotops Flame instruction manual

Eurotops

Eurotops Flame instruction manual

WE-EF RLS400 LED Series Installation and maintenance instructions

WE-EF

WE-EF RLS400 LED Series Installation and maintenance instructions

Gardenic OZ-040138 user manual

Gardenic

Gardenic OZ-040138 user manual
Visual Comfort & Co. CHO2400 Assembly instructions

Visual Comfort & Co.

Visual Comfort & Co. CHO2400 Assembly instructions

WAGNER BOLOGNA manual

WAGNER

WAGNER BOLOGNA manual

Hubbell KILLARK L1L Series INSTALLATION, OPERATION & MAINTENANCE DATA SHEET

Hubbell

Hubbell KILLARK L1L Series INSTALLATION, OPERATION & MAINTENANCE DATA SHEET

Quoizel Paxton PAX8305MBK installation guide

Quoizel

Quoizel Paxton PAX8305MBK installation guide

OVO LANTERN mooni user manual

OVO LANTERN

OVO LANTERN mooni user manual

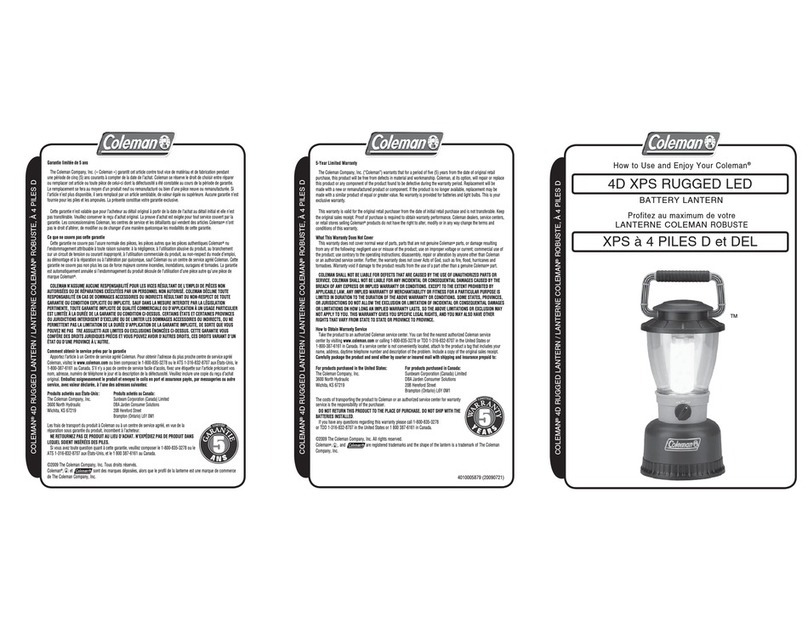
Coleman 4D XPS How to use

Coleman

Coleman 4D XPS How to use

IKEA STRALA J2027 manual

IKEA

IKEA STRALA J2027 manual

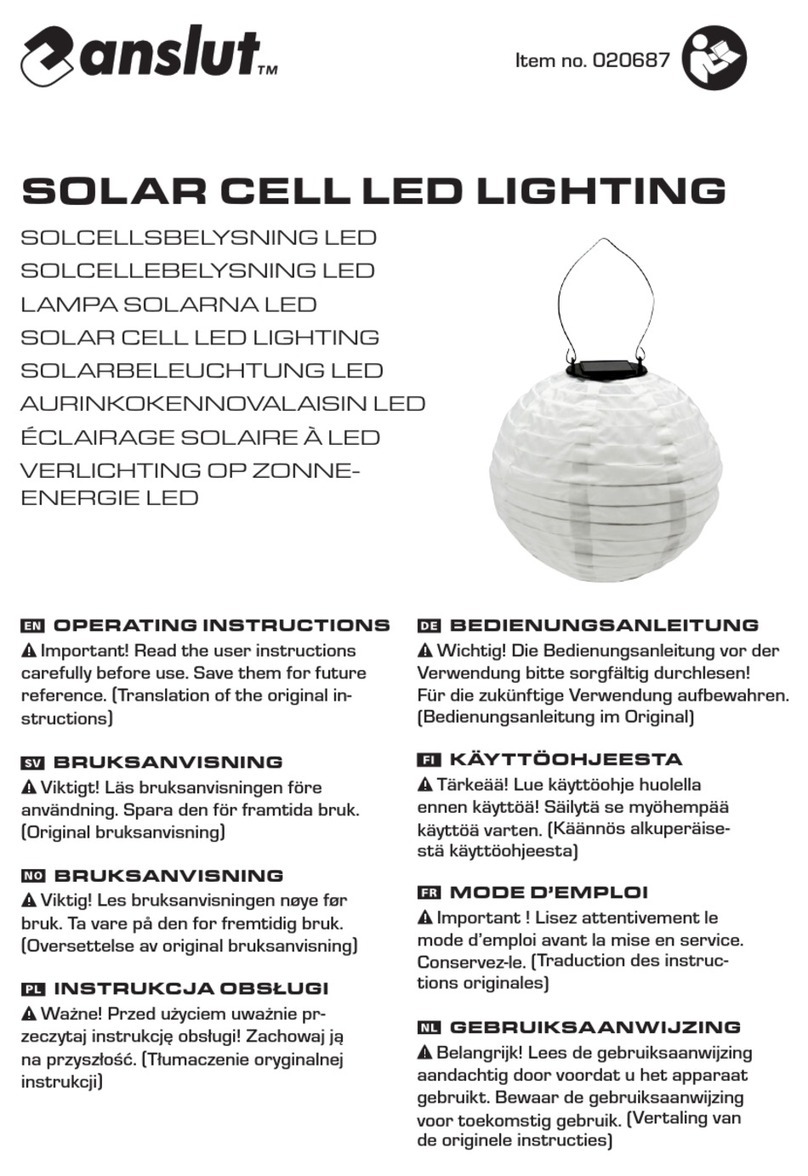
Anslut 020687 operating instructions

Anslut

Anslut 020687 operating instructions

Renkforce 1483723 operating instructions

Renkforce

Renkforce 1483723 operating instructions

Portfolio VEL-02251102-PIR-BK User instruction

Portfolio

Portfolio VEL-02251102-PIR-BK User instruction

manuals.online logo
manuals.online logoBrands
  • About & Mission
  • Contact us
  • Privacy Policy
  • Terms and Conditions

Copyright 2025 Manuals.Online. All Rights Reserved.