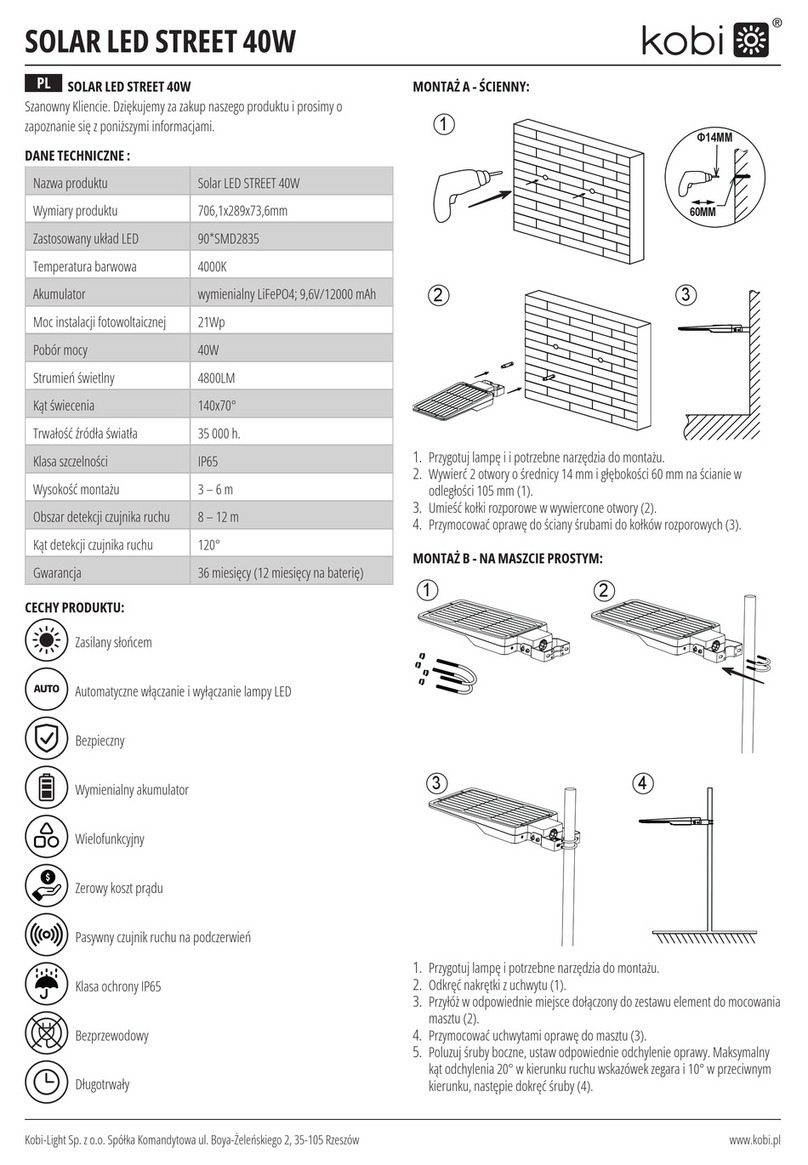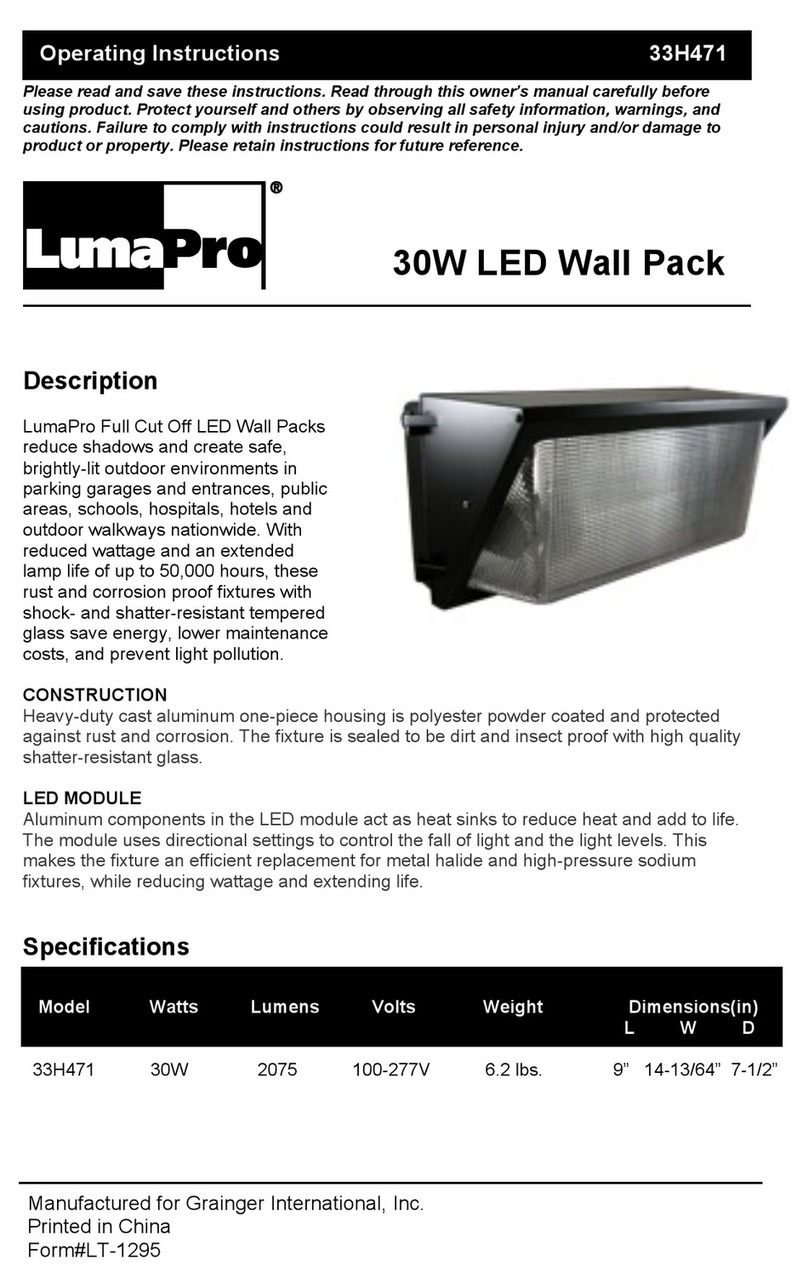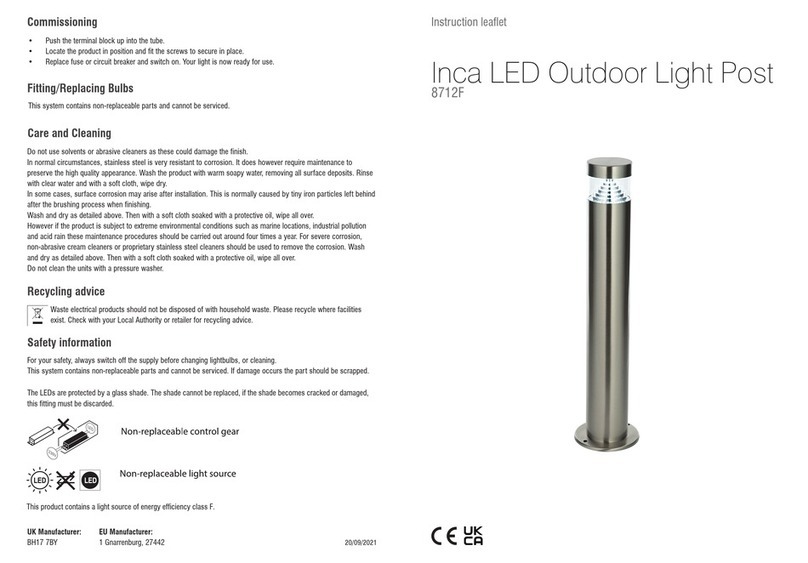
5. SET TILT AND SECURE FIXTURE
Position the tenon on the 0° step. Use the 9/16”
socket to torque the 2x bolts down to 135 in-lb.
6. RUN WIRE THROUGH POLE
Run the 12 foot long wire (included) between the
xture and the solar engine. Ensure the blue end is in
the solar engine, and the yellow end is in the xture.
If using a First Light pole (sold separately), there is a
rear hand hole to aid in running wires.
7. CONNECT FIXTURE TO SOLAR ENGINE
Connect both ends of the wire from step 6 to the
solar engine and the xture respectively. To ground
the system, there is a grounding screw in both the
xture and the solar engine.
8. PLUG IN MASTER CONNECTOR
9. CONFIRM LIGHT TURNS ON
After being properly connected, there will be a brief pause and then the light will turn on for 20-30 seconds. The
light will then begin normal operation. If this does not happen, please call us at 1-844-279-8754 for assistance.
10. CLOSE SOLAR ENGINE AND FIXTURE
To close solar engine, push up on the prop stick and close the lid.
11. INSTALLATION COMPLETED
First Light Technologies
Document 70-0058 | 12 May 2021
© First Light Technologies Ltd.
www.rstlighttechnologies.com
info@rstlighttechnologies.com
Toll Free 1-844-279-8754
Tenon
Tighten
Bolts
Hand
Hole
Blue
End
Yellow
End
12 Foot
Long Wire
*Click*
*Click*
*Click*
Prop
Stick
Push
Up
