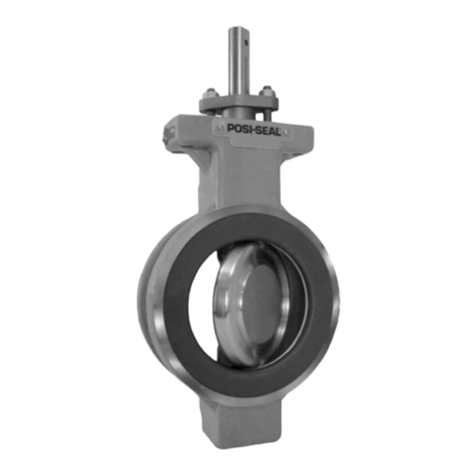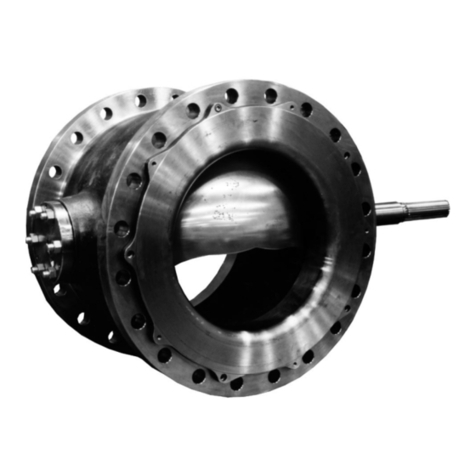
V150S Slurry VeeBall Valve
Instruction Manual
November 2010
3
Installation
WARNING
Safe work practices should be
followed when handling the valve and
actuator.
Some types of ceramic trim, including
PSZ, can create a spark under certain
conditions when an edge of one
ceramic part is struck against a
second ceramic part with enough
force. Do not use ceramic trim where
the process fluid has volatile or
combustible properties.
The valve drive shaft is not necessarily
grounded to the pipeline when
installed. Personal injury or property
damage could result from an explosion
caused by a discharge of static
electricity from valve components if
the process fluid or the atmosphere
around the valve is flammable. If the
valve is installed in a hazardous area,
electrically bond the drive shaft to the
valve.
WARNING
Always wear protective gloves,
clothing, and eyewear when
performing any installation operations
to avoid personal injury.
Personal injury or equipment damage
caused by sudden release of pressure
may result if the valve assembly is
installed where service conditions
could exceed either the valve body
rating or the mating pipe flange joint
rating. To avoid such injury or
damage, provide a relief valve for
overpressure protection as required by
government or accepted industry
codes and good engineering practices.
Check with your process or safety
engineer for any additional measures
that must be taken to protect against
process media.
If installing into an existing
application, also refer to the WARNING
at the beginning of the Maintenance
section in this instruction manual.
Figure 3. Optional Shaft-to-Body Bonding Strap Assembly
VALVE BODY ACTUATOR
A
A
VIEW A-A
24
E0880
CAUTION
When ordered, the valve configuration
and construction materials were
selected to meet particular pressure,
temperature, pressure drop, and
controlled fluid conditions.
Responsibility for the safety of
process media and compatibility of
valve materials with process media
rests solely with the purchaser and
end-user. Because some valve/trim
material combinations are limited in
their pressure drop and temperature
ranges, do not apply any other
conditions to the valve without first
contacting your Emerson Process
Management sales office.
1. Install the valve in the direction of the flow arrow
fitted to the valve body.
2. Install the valve with the shaft axis in the
horizontal position.
3. If required, fit a bonding strap assembly (key 131)
to the drive shaft (key 8) with the clamp, (key 130,
figure 3) and connect the other end of the bonding
strap assembly to the valve body with actuator
mounting cap screw.
4. If the valve and actuator have been purchased
separately or if the actuator has been removed,
mount the actuator according to the Actuator
Mounting section and the appropriate actuator
instruction manual.
5. The actuator can be right- or left-hand mounted
with the shaft in a horizontal orientation as shown in
figure 1. If necessary, refer to the appropriate
actuator instruction manual for actuator installation
and adjustment procedures.
