manuals.online logo
Brands
  1. Home
  2. •
  3. Brands
  4. •
  5. Fleurco
  6. •
  7. Bathroom Fixture
  8. •
  9. Fleurco S014 User manual

Fleurco S014 User manual

S014
GUIDE D’INSTALLATION - INSTRUCTION MANUAL
FEB.2012
Porte de Doche Coulissante - Demi Rond 3 / Sliding Shower Door- Half Round 3
Veuillez conserver ce manuel et le code de produit pour des références futures,
et au besoin, la commande les pièces de rechange.
Please keep this manual and product code number for future reference and re-
placement parts ordering if necessary.
2
INSTRUCTIONS GÉNÉRALES
• Lireattentivementetcomplètementlemanuel
d’installationavantdeprocéder.
• Ilestrecommandédeporterdeslunettesdesécurité
entouttempslorsdel’installation.
INSTALLATION SUR LES TUILES EN CÉRAMIQUE
• Lecalfeutragedoitêtreappliquésurlecôtéextérieur
deladoucheoùlepanneauxerencotrelestuiles
delabase.
• Sivotreportededoucheestpourêtreinstalléesur
unebaseencéramique,lestuilesdoiventcouvrir
complètementledessousdujambage.
NOTE
• Calfeutrage:aucunscellantn’estnécessaireà
l’intérieurdeladouche.Saufindicationcontraire.
• Certainsmodèlessontdotésdejointsd’étanchéité
claire.
L’ENTRETIEN DE VOTRE DOUCHE
• Nejamaisutiliserdepoudreoudetamponderé-
curage,nid’instrumenttranchantsurlespartiesen
métalouenverre.Detempsàautre,ilsuftdenet-
toyerlaporteavecunesolutiond’eauetdedétergent
douxpourconserverl’aspectneufdespanneauxde
verreetducadreenaluminium.
• Nousrecommandonsdepasseruneraclettede
douchesurlespanneauxdeverreaprèschaque
utilisation.
GENERAL INSTRUCTIONS
• Readthismanualcarefullyandcompletelybefore
proceeding.
• Itisrecommendedthatyouwearsafetyglassesat
alltimesduringtheinstallation.
INSTALLATION OVER CERAMIC TILES
• Siliconeshouldbeusedtosealthegapwherethe
ceramictilesmeetthexedpanel.
• Ifyourshowerdooristobeinstalledoverceramic
tiles,thetilesshouldlaycompletelyunderthewall
jamb.
NOTICE
• Caulking:nosealantisrequiredinsidetheshower.
Unlessotherwisestated.
• Somemodelsareequippedwithclearsealing
gaskets.
CARE FOR YOUR SHOWER DOOR
• Neverusescouringpowderpadsorsharpinstru-
mentsonmetalpiecesorglasspanels.Anocca-
sionalwipingdownwithamildsoapdilutedinwater
isallthatisneededtokeepthepanelsandalumi-
numpartslookingnew.
• Werecommendwipingtheglasspanelswitha
squeegeeaftereachuse.
Deschangementspeuventêtreapportésauproduit
sanspréavis.
Productspecicationsaresubjecttochangewithout
notice.
2PERSONNESREQUISES
2 PEOPLE REQUIRED
3
ITEM PIÈCES - PARTS QTY
1 JAMBAGE - WALL JAMB 2
2 EXTENSEUR - EXPANDER 2
3 POIGNÉE - HANDLE 1
4 JOINT LATÉRAL SUR PANNEAU FIXE - FIXED PANEL SIDE GASKET 1
5 JOINT LATÉRAL - SIDE GASKET 2
6 ASSEMBLÉ DE PORTE - DOOR PANEL ASSEMBLY 1
7 RAIL SUPÉRIEUR ET INFÉRIEUR - TOP AND BOTTOM TRACK 2
8 LARGE PANNEAU FIXE - LARGE SIDE PANEL 1
9 PETITE PANNEAU FIXE -SMALL SIDE PANEL 1
ITEM QUINCAILLERIE - HARDWARE QTY
10 CHEVILLE - WALL PLUG 9
11 VIS AUTO-PERÇANTE - SELF DRILLING SCREW #8-3/8” 8
12 VIS AUTO-PERÇANTE - SELF DRILLING SCREW #8-1 1/4” 8
13 VIS - SCREW 8
14 VIS - SCREW 4
15 CAPUCHON COUVRE-VIS - SCREW CAP 9
16 SUPPORT DE VERRE - GLASS SUPPORT 4
17 BUTÉE - BUMPER 4
QUINCAILLERIE/HARDWARE
1011 12
15
13 14
17
16
LISTE DES PIÈCES / PARTS LISTING
NOTE
XX RÉFÈRE AU FINI DU PRODUIT
XX REFERS TO THE MATERIAL FINISH
11- Chrome Poli / Bright Chrome
25 - Nickel Brossé / Brushed Nickel
GUIDE D’INSTALLATION INSTALLATIONMANUAL
4
76
1
1
8
7
3
9
55
4
2
2
OUTILS ET MATERIAUX REQUIS TOOLS AND MATERIAL REQUIRED
CRAYON
PENCIL
PERÇEUSE
DRILL
SCELLANT
SILICONE
TOURNEVIS
SCREWDRIVERS
PINCE COUPANTE
CUTTING PLIER
NIVEAU
LEVEL
RUBAN À MESURER
TAPE MEASURE
MÈCHE 1/4˝ & 1/8˝
1/4˝&1/8˝DRILL BITS
MAILLET
MALLET
BLOC
BLOCK
PINCE SERRE ÉTAU (X2)
LONG NOSE LOCKING PLIER (X2)
INSTALLATION DES COMPOSANTES INSTALLATION OF COMPONENTS
GUIDE D’INSTALLATION INSTALLATIONMANUAL
TOURNE-ÉCROU 5/16”
5/16” HEX NUT DRIVER
*Pour installer la porte de douche sur des tuiles en céramique, utiliser une mèche 1/4’’ à céramique/
To install the shower door on ceramic tiles, use a 1/4’’ drill bit for ceramic tiles
• Jambage
• Extenseur
• Rail inférieur,
rail supérieur
• Wall Jamb
• Expander
• Top Guide, Bottom Guide
voirpage8à11
seepage8to11
ÉTAPE / STEP 1 & 2
• Panneau xe
• Joint latéral
• Fixed Panel
• Side Gasket
voirpage10-11
seepage10-11
ÉTAPE / STEP 2
• Assemblé de porte
• Door Assembly
voirpage12-13
seepage12-13
ÉTAPE / STEP 3 & 4
• Ensemble de poignée
• Butée
• Knobs set
• Bumper

voirpage14
seepage14
ÉTAPE / STEP 5
5
* Base Vendue Séparément /
Base Sold Seperately
*
GUIDE D’INSTALLATION INSTALLATIONMANUAL
6
Marquerlecentreduseuildelabaseàl’aide
d’unrubanàmesurer.
Useameasuringtapetomarkthecenterofthe
threshold.
Reporterlaligneaumuràl’aided’unniveau
Runasecondlineupthewallusingalevel.
Placerlesjambagesaumurencentrant
l’ouverturedestroussurlalignemarquée
précédemment.Assurerlaverticalitédujam-
bageàl’aideduniveau.
Placethewalljambsonthewallsothatthe
holesarelocateddirectlyonthelinesmarked
previously.
PercerdestrousavecunemècheØ1/8’’en
utilisantlestrousdujambagecommeréférence.
DrillholeswithaØ1/8’’drillbitusingthewal-
ljambslottedholesasreference.
Introduireunegoutedesiliconedanschaque
troupercédanslemuravantd’yinsérerune
cheville.
Insertonedropofsiliconeineachholeboredin
thewallbeforeinsertingthewallplugs.
Visserlesdeuxjambagesaumurenutilisant
lesvis1-3/8’’(3)etleschevillesdéjàinstal-
léesdanslemur.Assurerlaverticalitéavecle
niveau.
Screwthetwowalljambsinthewallplugs
alreadyinstalledinthewallbyusingscrews
1-3/8’’(3).Ensureverticalitywiththelevel.
1a.
1b.
1c.
1d.
1e.
1f.
1INSTALLATION DU JAMBAGE / WALL JAMB INSTALLATION
1a
1b
* Installation sur base cÔté droite illustrée /
Installation on right side base shown
GUIDE D’INSTALLATION INSTALLATIONMANUAL
7
1c
1d
1e
1f
INTÉRIEUR DE
LA DOUCHE
INTERIOR
SHOWER SIDE
Mèche
Ø1/8’’
Drill bit
1INSTALLATION DU JAMBAGE / WALL JAMB INSTALLATION
GUIDE D’INSTALLATION INSTALLATIONMANUAL
8
Glisserlessupportsdeverredanslesrails.
Slidetheglasssupportsintherails.
Assemblerlecadredelaporteenutilisant
deuxdesrailsetlesdeuxpanneauxxes.
Placerlesespaceursdanslesextenseurset
visseràl’aidedesvis13/8’’(8).Placerlecôté
texturerversl’extérieur.
Assembletheframeusingthetwotracks
andthexpanels.Placethespacersinthe
expandersandscrewinplacewith13/8’’(8)
screws.Thetexturedsideoftheglassmustbe
facingtheoutsidetheshower.
Glisserlessupportdeverredefaçonàmettre
unepetitepressionsurlepanneaudeverre.
Sécuriseràl’aidedevis1/4’’(4).
Slidetheglasssupportstoputalittlepresure
ontheglasspanel.Securewitha1/4’’screw
(4).
Insérerlesextenseursdanslesjambageset
positionnerlecadragecentrersurleseuilde
labase.
Inserttheexpandersinthewalljambsand
centertheframeonthethresholdofthebase.
Assurerleniveaudescadresetserrer,enpro-
tégeantlessurfaces,lesextenseursavecleur
jambageàl’aidedepincesautobloquantes.
Levelthetoprailandthebottomrailbyclamp-
ingtheexpanderwiththeirwalljambbyusing
lockingpliers.
Sécuriserlesextenseursaveclesjambages
àl’aidedesvisauto-perçante#8-3/8’’(6)et
placerlescapuchonssurlestêtesdevisap-
parentes.
Securetheexpanderstothewalljambsusing
selfdrillingscrews#8-3/8’’(6)andplacethe
capsontheheadsofvisiblescrews.
2a.
2b.
2c.
2d.
2e.
2f.
2INSTALLATION DU CADRE/ FRAME INSTALLATION
2a
INTÉRIEUR DE
LA DOUCHE
INTERIOR
SHOWER SIDE
14
2b
INTÉRIEUR DE
LA DOUCHE
INTERIOR
SHOWER SIDE
16
6
6
GUIDE D’INSTALLATION INSTALLATIONMANUAL
9
2c
2INSTALLATION DU CADRE/ FRAME INSTALLATION
2e 2f
2d
INTÉRIEUR DE
LA DOUCHE
INTERIOR
SHOWER SIDE
INTÉRIEUR DE
LA DOUCHE
INTERIOR
SHOWER SIDE
RECOUVREZ LES DENTS DE LA PINCE AFIN DE NE
PAS GRAFIGNER LES PIÈCES EN ALUMINIUM.
COVER THE PLIER’S TEETH BEFOREHAND TO
AVOID SCRATCHING THE ALUMINUM PARTS.
INTÉRIEUR DE
LA DOUCHE
INTERIOR
SHOWER SIDE
GUIDE D’INSTALLATION INSTALLATIONMANUAL
10
3INSTALLATION DES PANNEAUX DE PORTE/ DOOR PANEL INSTALLATION
3a
INTÉRIEUR DE
LA DOUCHE
INTERIOR
SHOWER SIDE
INTÉRIEUR DE
LA DOUCHE
INTERIOR
SHOWER SIDE
Installerlesroulettessurlepanneaude
portedefaçonàcequelesroulettes
pointentversl’extérieurdeladouche.Le
troudelapoignéedoittoujoursêtreducôté
fermeturedelaporteetlecôtétexturévers
l’extérieur.
Installtherollersonthedoorpanelsothat
therollersfacetheoutsideoftheshower.
Theholeofthehandlemustalwaysbeon
theclosedsideofthedoorandthetextured
sidetowardtheoutside.
Installerlesguidesdubassurlepanneaude
porteenplaçantlesroulettesversl’extérieur
deladouche.
Installthebottomslidersonthedoorpanel
whileplacingthehookstowardstheoutside
oftheshower.
Placerlesroulettesdupanneaudeportesur
lerailsupérieuretenfoncerlesguidesdu
baspourlesengagerdanslerailinférieur.
Placetherollersofthedoorpanelonthe
toprailandpushonthebottomslidersto
engagethemintothebottomtrack.
Dévisserlégèrementlesvisdesroulettesdu
panneaudeporteetrevisserenassurant
laverticalitédespanneauxdeporteàl’aide
d’unniveau.
Slightlyunscrewthescrewsoftherollersof
thedoorpanelandscrewitbackbyensuring
verticalitywiththelevel.
3a.
3b.
3c.
3d.
3b
3c
3d
INTÉRIEUR DE
LA DOUCHE
INTERIOR
SHOWER SIDE
INTÉRIEUR DE
LA DOUCHE
INTERIOR
SHOWER SIDE
GUIDE D’INSTALLATION INSTALLATIONMANUAL
11
4a. Installeràl’aided’unmailletlesjoints
latérauxsurlespanneauxxesetlespan-
neauxdeporte.Placerlecôtétexturévers
l’extérieurdeladouche.
Useamallettoinstallthesidegasketon
thexpanelsandthedoorpanels.Place
thetexturedsidetowardstheoutsideofthe
shower. 4a
4INSTALLATION DES JOINTS/ GASKETS INSTALLATION
PANNEAU FIXE / FIX PANEL
PANNEAU DE PORTE /
DOOR PANEL INTÉRIEUR DE
LA DOUCHE
INTERIOR
SHOWER SIDE
INTÉRIEUR DE
LA DOUCHE
INTERIOR
SHOWER SIDE
PANNEAU DE PORTE /
DOOR PANEL
PANNEAU FIXE / FIX PANEL
GUIDE D’INSTALLATION INSTALLATIONMANUAL
12
HEURES
HOURS
5a.
5b.
5c.
Installerlapoignéesurlepanneaudeporte.
Installtheknobonthedoorpanel.

Calfeutrerl’extérieurducadreentrelemuret
lejambage,lelongdurailinférieuretenbas
dupanneauxe.
Siliconetheoutsideoftheframebetweenthe
wallandthewalljamb,alongthebottomrail
andbellowthexpanel.
Attendre24heuresavantdefairefonctionner
ladouchepourlaisserlesiliconeséché.
Wait24hoursbeforeusingtheshowerto
ensurethatthesilicondries.
5c
5CALFEUTRAGE / SEALING
INTÉRIEUR DE
LA DOUCHE
INTERIOR
SHOWER SIDE
5a
5b

Other Fleurco Bathroom Fixture manuals
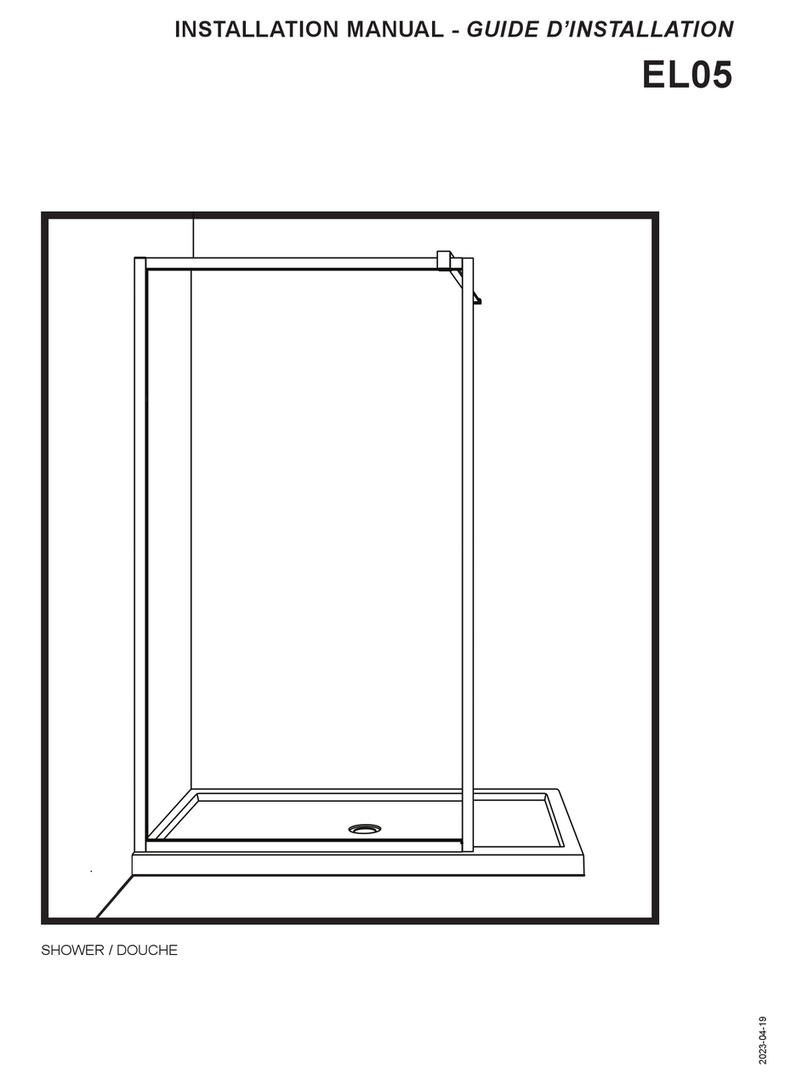
Fleurco FW05 User manual

Fleurco

Fleurco FW05 User manual

Fleurco FW01 User manual

Fleurco

Fleurco FW01 User manual
Fleurco ABTL48 User manual

Fleurco

Fleurco ABTL48 User manual
Fleurco K003 User manual

Fleurco

Fleurco K003 User manual

Fleurco AULV3260 User manual

Fleurco

Fleurco AULV3260 User manual

Fleurco AURA VA21105 User manual

Fleurco

Fleurco AURA VA21105 User manual
Fleurco Select Kara PMKP46-25-40-79 User manual
Fleurco

Fleurco Select Kara PMKP46-25-40-79 User manual

Fleurco EL02 User manual

Fleurco

Fleurco EL02 User manual
Fleurco Kinetik KN057-35-40L-C User manual
Fleurco

Fleurco Kinetik KN057-35-40L-C User manual

Fleurco NMS272R42L-11-40-79 User manual
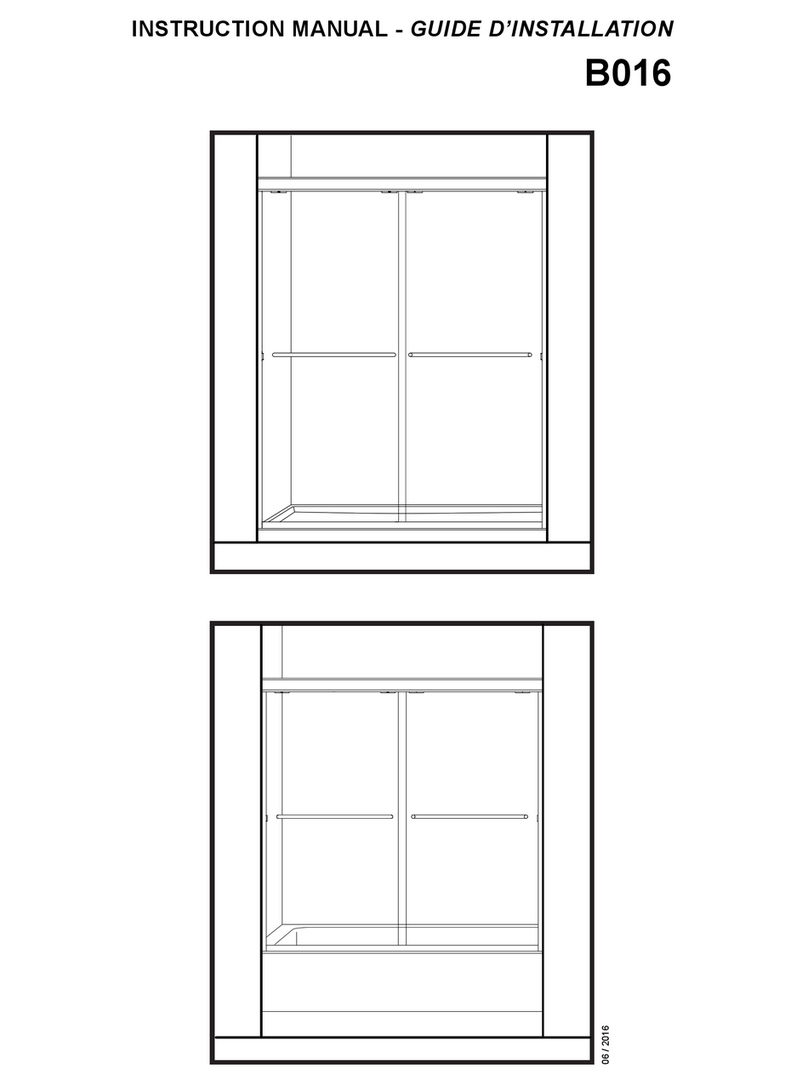
Fleurco

Fleurco NMS272R42L-11-40-79 User manual

Fleurco Cordoba CS148-11-50 User manual
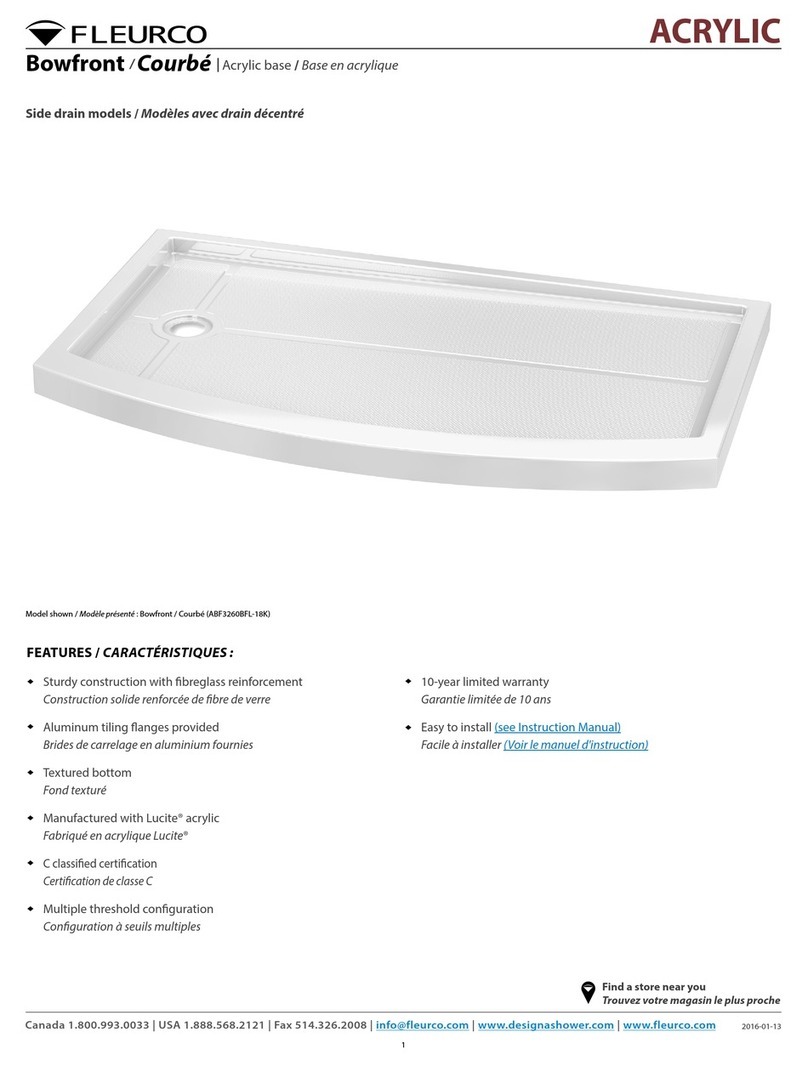
Fleurco

Fleurco Cordoba CS148-11-50 User manual

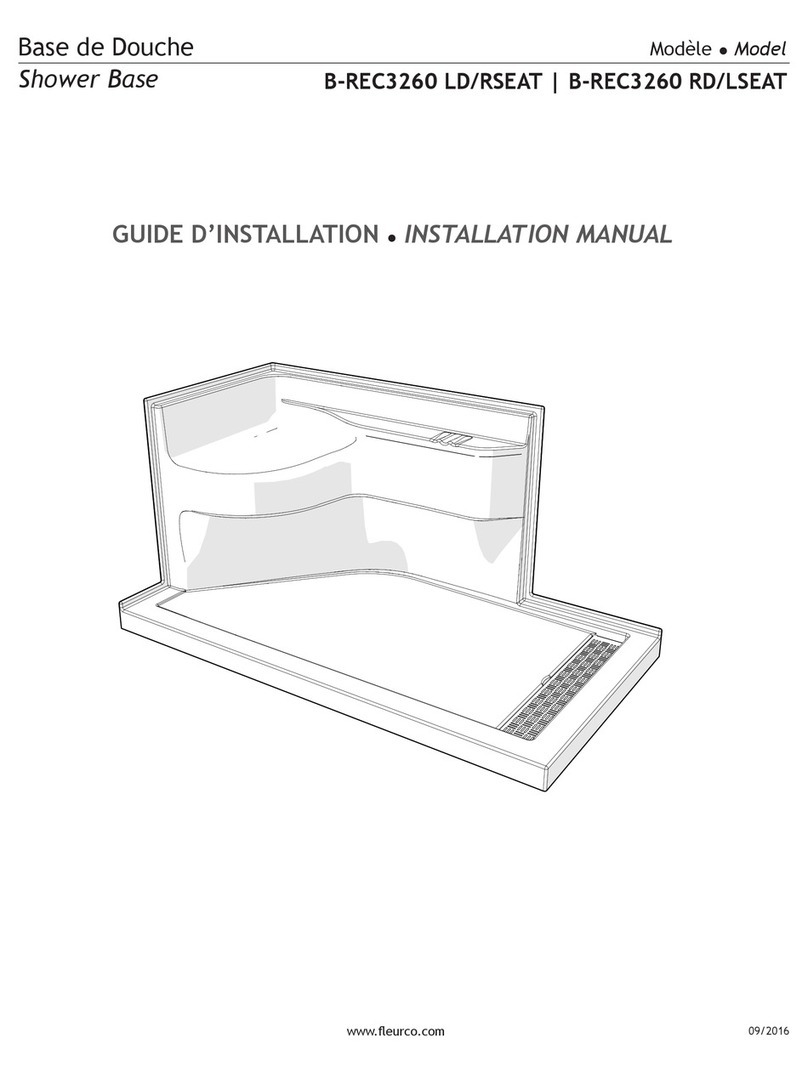
Fleurco ACRYLIC User manual

Fleurco

Fleurco ACRYLIC User manual
Fleurco B-REC3260 RD/LSEAT User manual
Fleurco

Fleurco B-REC3260 RD/LSEAT User manual

Fleurco MCS1519 User manual

Fleurco

Fleurco MCS1519 User manual
Fleurco Apollo STR32-11-40 User manual
Fleurco

Fleurco Apollo STR32-11-40 User manual

Fleurco LAV3228-33-43-79 User manual

Fleurco

Fleurco LAV3228-33-43-79 User manual
Fleurco Microtek PURA P227 User manual
Fleurco

Fleurco Microtek PURA P227 User manual

Fleurco Evolution 56307 User manual

Fleurco

Fleurco Evolution 56307 User manual
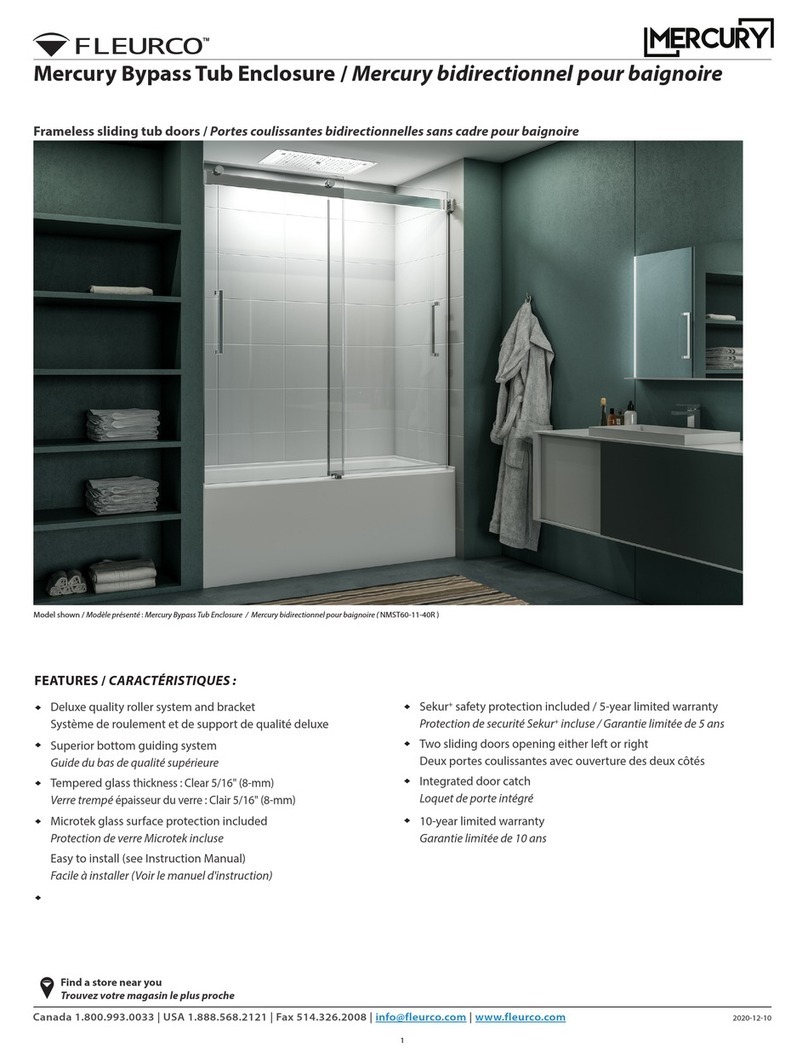
Fleurco Mercury NMST60 40L Series User manual
Fleurco

Fleurco Mercury NMST60 40L Series User manual

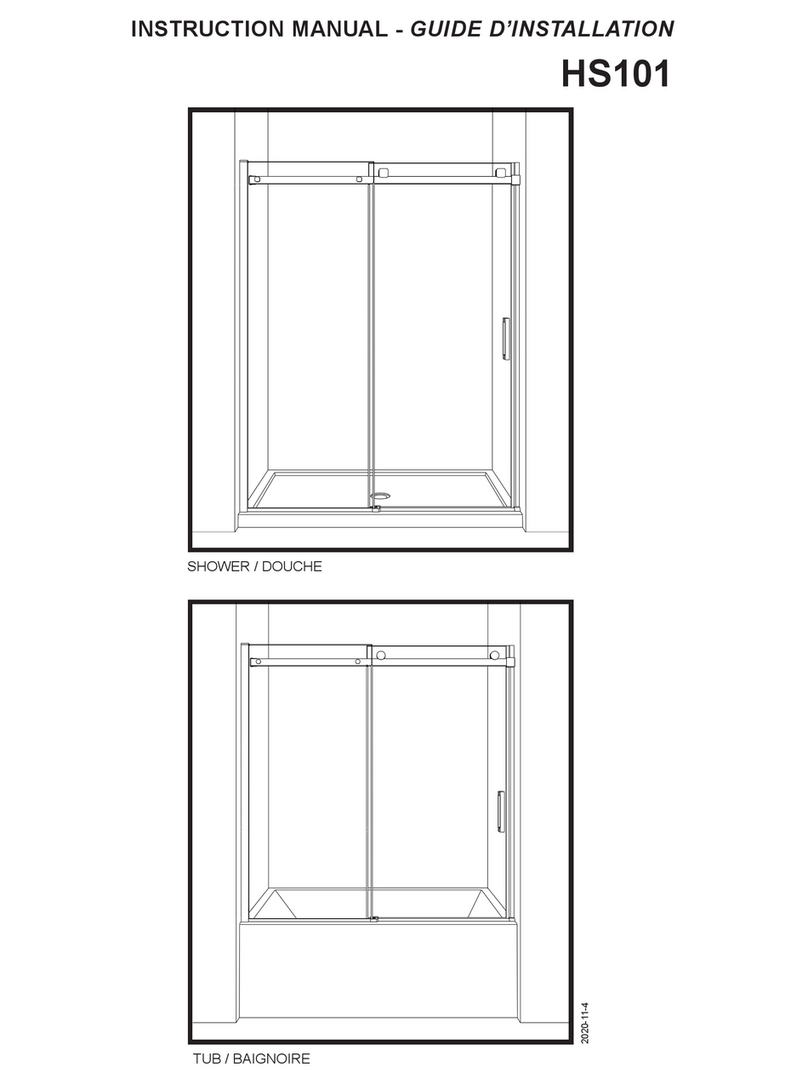
Fleurco HS101 User manual

Fleurco

Fleurco HS101 User manual

Fleurco Gemini G002 User manual

Fleurco

Fleurco Gemini G002 User manual

Fleurco T006 User manual

Fleurco

Fleurco T006 User manual

Fleurco Apollo NABF4832-25-40L User manual

Fleurco

Fleurco Apollo NABF4832-25-40L User manual

Fleurco ELERA EL05 User manual

Fleurco

Fleurco ELERA EL05 User manual

Popular Bathroom Fixture manuals by other brands

ALEX BAITLER AB71X70 user manual

ALEX BAITLER

ALEX BAITLER AB71X70 user manual

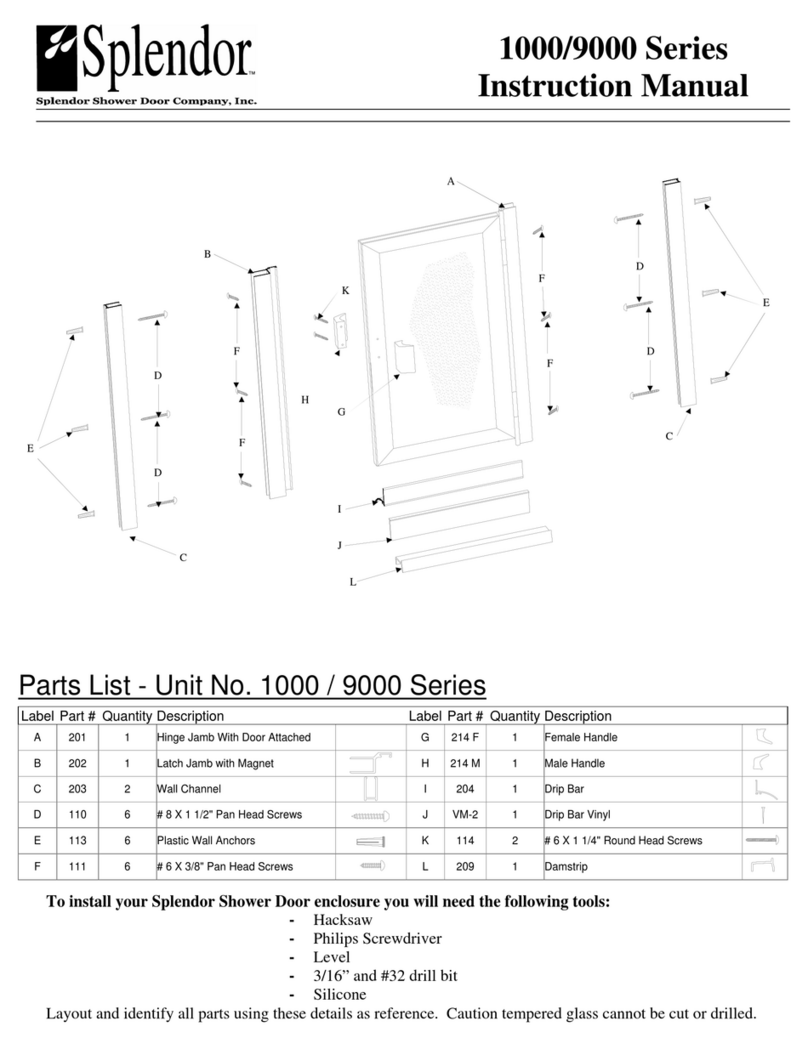
Splendor 1000 Series instruction manual

Splendor

Splendor 1000 Series instruction manual

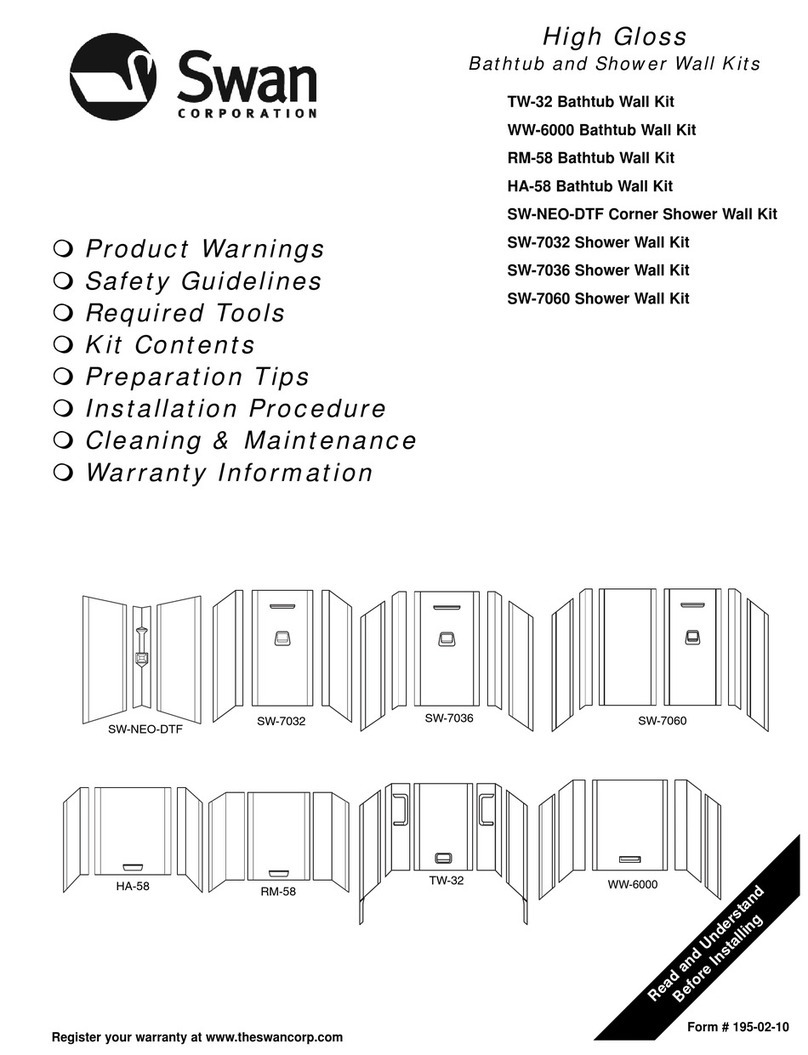
Swann TW-32 manual

Swann

Swann TW-32 manual

Signature Hardware 902840 manual

Signature Hardware

Signature Hardware 902840 manual

Genebre IG21006 00 Assembly instruction

Genebre

Genebre IG21006 00 Assembly instruction

Bradley S19-310SBFW Installation

Bradley

Bradley S19-310SBFW Installation

Miscea Light CCR1S1NCDE instruction manual

Miscea

Miscea Light CCR1S1NCDE instruction manual

Toto TBW01004U4 Installation and owner's manual

Toto

Toto TBW01004U4 Installation and owner's manual

Zenna Home 9814WW Assembly instructions

Zenna Home

Zenna Home 9814WW Assembly instructions

noken NK CONCEPT 100172985 N312140107 manual

noken

noken NK CONCEPT 100172985 N312140107 manual

RAVAK PVS1-80 installation instructions

RAVAK

RAVAK PVS1-80 installation instructions

KUDOS ORIGINAL Series installation instructions

KUDOS

KUDOS ORIGINAL Series installation instructions

Laufen ILBAGNOALESSI ONE 8.1897.1 Mounting instructions

Laufen

Laufen ILBAGNOALESSI ONE 8.1897.1 Mounting instructions

Grohe Taron 33 524 IM0 Installation and operation instructions
Grohe

Grohe Taron 33 524 IM0 Installation and operation instructions

Hans Grohe Metris Puro 31468000 Instructions for use/assembly instructions

Hans Grohe

Hans Grohe Metris Puro 31468000 Instructions for use/assembly instructions
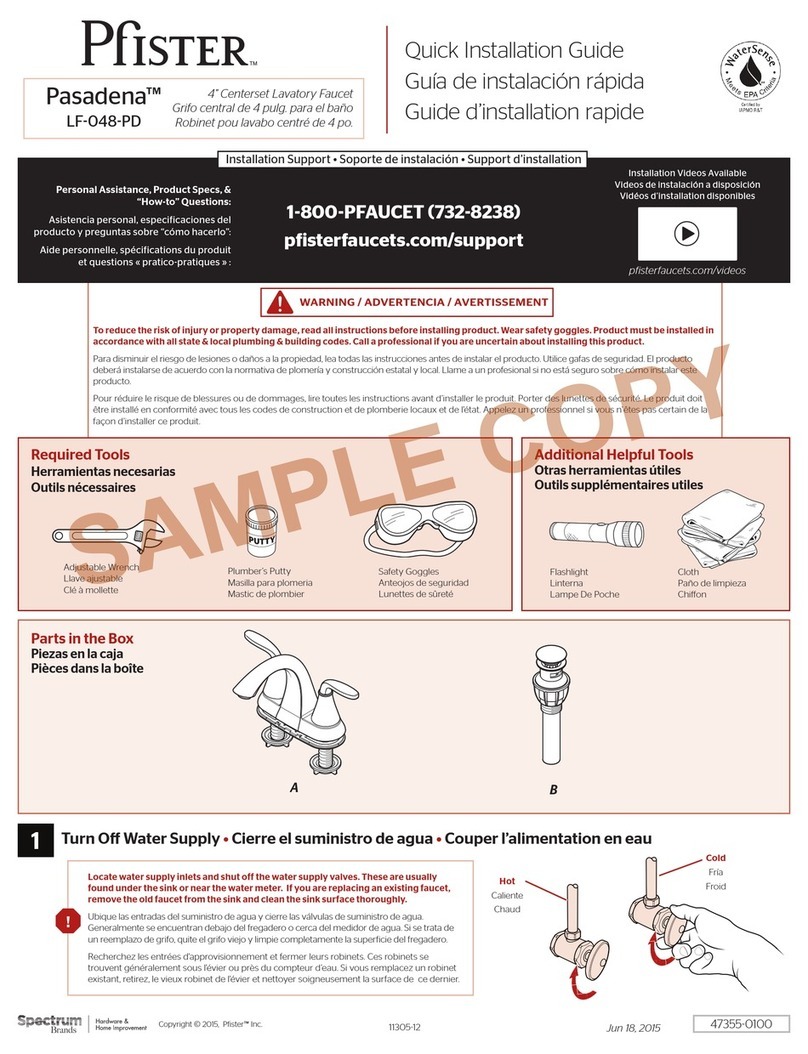
Pfister Pasadena LF-048-PDCC Quick installation guide

Pfister

Pfister Pasadena LF-048-PDCC Quick installation guide

AREBOS AR-HE-SD20LF user manual

AREBOS

AREBOS AR-HE-SD20LF user manual
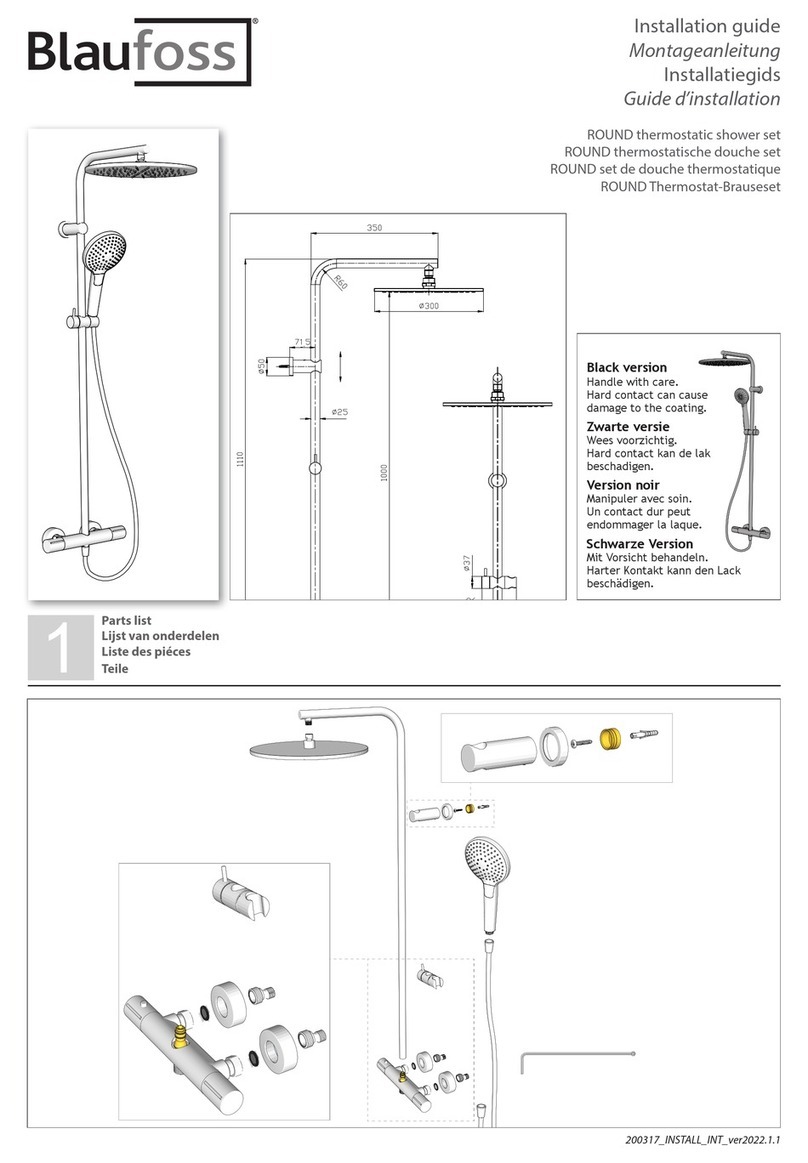
Blaufoss ROUND thermostatic shower set installation guide

Blaufoss

Blaufoss ROUND thermostatic shower set installation guide

manuals.online logo
manuals.online logoBrands
  • About & Mission
  • Contact us
  • Privacy Policy
  • Terms and Conditions

Copyright 2025 Manuals.Online. All Rights Reserved.