manuals.online logo
Brands
  1. Home
  2. •
  3. Brands
  4. •
  5. FLIR
  6. •
  7. Security Camera
  8. •
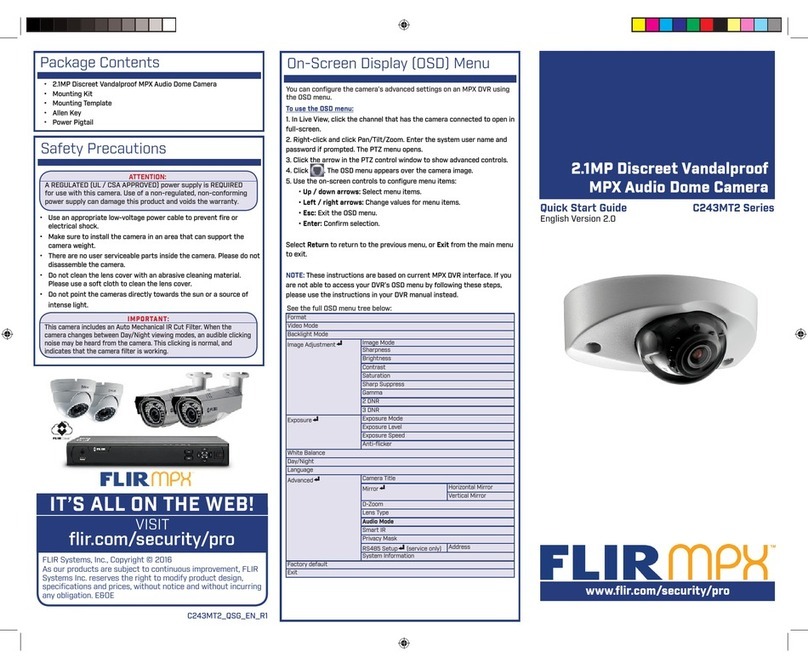
  9. FLIR MPX C243EW2 Series User manual

FLIR MPX C243EW2 Series User manual

WDR Function Notice
WDR is not supported in analog output mode.
Safety Precautions
• Use an appropriate low-voltage power cable to
prevent fire or electrical shock.
• Make sure to install the camera in an area that can
support the camera weight.
• There are no user serviceable parts inside the
camera. Please do not disassemble the camera.
• Do not clean the lens cover with an abrasive cleaning
material. Please use a soft cloth to clean the lens
cover.
• Camera is rated for outdoor use (IP66), but is not
intended for submersion in water.
• Do not point the cameras directly towards the sun or
a source of intense light.
FCC Notice
This equipment has been tested and found to comply with the limits
for a Class A digital device, pursuant to Part 15 of the FCC Rules.
These limits are designed to provide reasonable protection against
harmful interference when the equipment is operated in a commercial
environment. This equipment generates, uses, and can radiate radio
frequency energy and, if not installed and used in accordance with
the instruction manual, may cause harmful interference to radio
communications. Operation of this equipment in a residential area
is likely to cause harmful interference in which case the user will be
required to correct the interference at his own expense.
MULTI-FORMAT
Package Contents
MODEL: C243EW2
SERIES
QUICK START GUIDE
English Version 1.0
flir.com/security/mpx
FLIR Systems, Inc., Copyright © 2016
As our products are subject to continuous improvement, FLIR Systems
Inc. reserves the right to modify product design, specifications and
prices, without notice and without incurring any obligation. E&OE
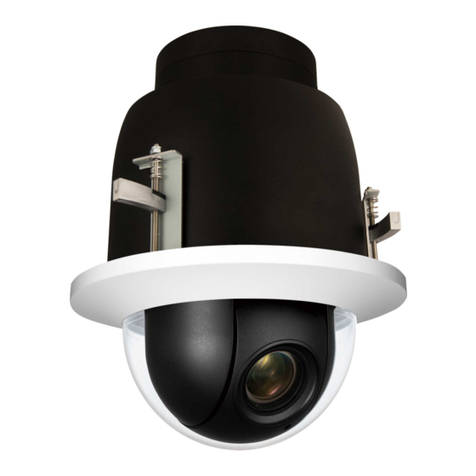
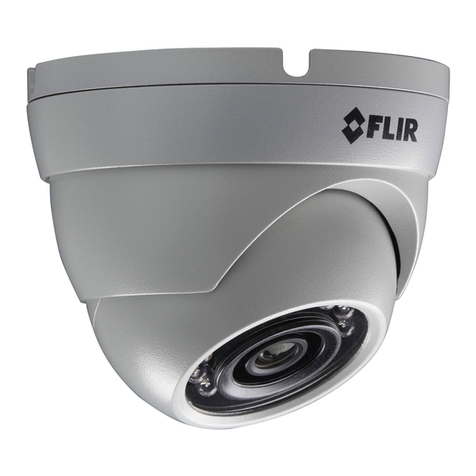
2.1MP Mini Fixed Eyeball
Dome Camera
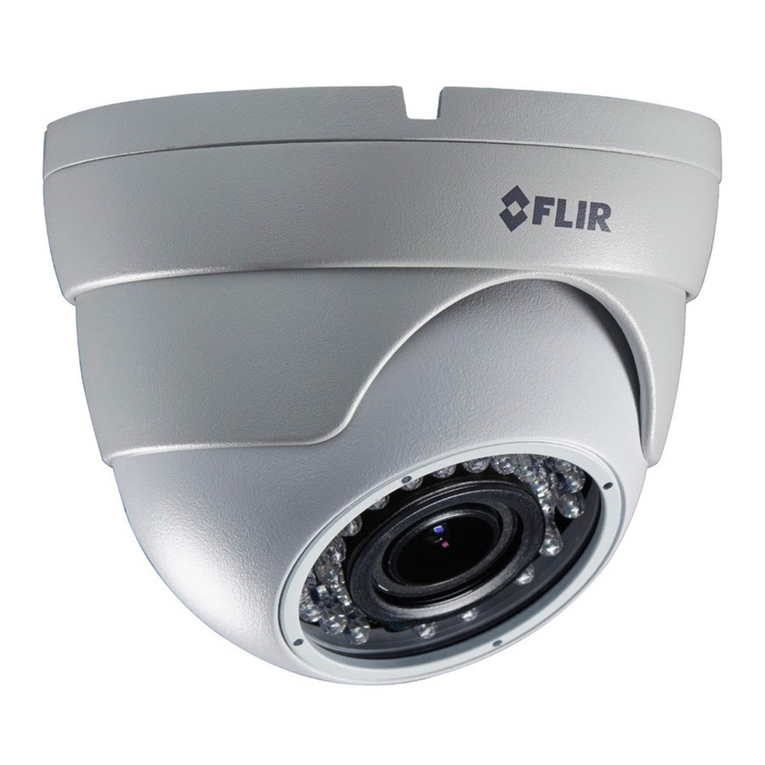
• 1×2.1MP Mini Fixed Eyeball Dome Camera
• 4×Mounting Screws
• 4×Drywall Anchors
• 1× Allen Key
• 1×Power Pigtail Adapter
• 1×Mounting Template
NOTE: 12V DC adapter not included.
HD-Analog
Language
Video Format
Backlight OFF
WDR (MPX only)
BLC
HLC
DNR
Advanced Lens ELC
ALC
Exposure Brightness
Shutter
Sens-Up
AGC
White Balance Auto
ATW
Preset
Manual
Day&Night Mode
Delay
D N Level
N D Level
Smart IR
Smart IR Level
Image Sharpness
Color Gain
Freeze
Flip
Defog
Special Output mode
Black Level
Privacy
Lens Adj (Service only)
Reset
Version
Exit
Configure OSD menu options using the integrated
OSD joystick on the camera cable (see image to the
right).
To use the OSD menu:
• OPTIONAL: Connect a test monitor to the camera’s
analog (yellow) BNC connector.
• Push the middle of the joystick to open the
OSD menu.
• Move the joystick / to select a setting, then /
to change the setting value.
• Push the middle of the joystick to confirm selection.
• Arrows beside settings indicate a submenu ( ). Select the
setting and push the joystick to enter.
• Select RETURN and push the joystick to return to the
previous menu, or EXIT from the main menu to exit.
See the full OSD menu tree below. For detailed explanation
of camera settings, see the OSD manual under the product’s
Downloads tab at www.flir.com/security/mpx.
On-Screen Display (OSD) Menu
C243EW2_QSG_EN_R1
C243EW2_QSG_EN_R1.indd 1 12/2/2016 10:56:37 AM
Camera Dimensions
2.7”
67mm
3.7”/ 93mm
3.7”
93mm
MPX
Connect to the included
power pigtail or a 12V
DC power adapter
(not included).*
To install the camera:
1. Use the included Allen key
to loosen the security screw
on the adjustment ring.
2. Rotate the camera base counter-clockwise to separate
it from the ball camera, adjustment ring, and dome cover.
3. Use the included mounting template to mark and drill
holes for the included mounting screws.
4. Feed the camera cable through the camera base.
5. Connect the cables as detailed in the section ‘Setting up
the Camera’.
6. Mount the camera base to the mounting surface using
the included screws.
7. Place the adjustment ring over the dome cover, then
place both over the ball camera. Twist the adjustment ring
clockwise halfway onto the camera base. Do not tighten all
the way.
8. Move the ball camera to the desired position. While
holding the ball camera in place, twist the adjustment ring
the rest of the way to secure it to the camera base. Holding
the camera prevents it from moving while securing the
adjustment ring.
9. Use the included Allen key to tighten the security screw
on the adjustment ring.
Setting up the Camera
ATTENTION:
Test the camera prior to selecting a permanent mounting
location by temporarily connecting the camera(s) and cables
to the DVR.
Installing the Camera
WARNING:
A REGULATED 12V DC power supply is REQUIRED for use with
this camera. Use of a non-regulated, non-conforming power
supply can damage this product and voids the warranty.
Camera Wiring
1. Connect one of the two BNC connectors on the camera to
the video cable. See “Camera Wiring” for details.
2. DC Power—Power Adapter: Connect a 12V DC power adapter
(not included) to the camera and a local power outlet.
(OR)
DC Power—Power Pigtail Adapter: Connect the included power
pigtail adapter to the camera. Connect the terminating wires
of the cable directly to the DC power source.
Extension Cable Options
Specification Maximum Length
RG59 20AWG Conductor 95% Braid
CSA/UL or C(UL) Approved
Up to 1310ft (400m)†
RG6 20AWG Conductor 95% Braid
CSA/UL or C(UL) Approved
Up to 1640ft (500m)†
Analog CCTV Balun Up to 300ft (91m)
† Long cable runs over 1000ft (300m) may be affected by
electro-mechanical interference (EMI), which can increase the
amount of noise in the picture in some installations.
The entire length of the cable run must be made using a
single extension cable between the camera and the DVR.
* Camera focus may be affected if the power connection is too
long. It is recommended not to extend the power connection
past 200ft (61m).
Mounting
surface
Mounting
screws (4×)
Drywall
anchors (4×)
Camera
base
Ball
camera
Adjustment
ring
Dome cover
NOTE: For pigtail connection with 12V DC, make sure to
check polarity specifications on the power source.
Resources
Analog
Changing Video Format
Using the integrated OSD joystick on the camera
cable, you can change the camera’s video format.
For details on supported analog HD camera formats,
visit www.flir.com/security/MPXcomp.
MPX
Connect to an analog HD DVR
supporting 1080p or higher
resolution.**
Analog
Connect to any DVR supporting
analog input.
** For information on compatibility with various analog HD
formats, visit www.flir.com/security/MPXcomp.
To change the camera’s video format:
1. Press and hold the joystick for 2 seconds to
change the camera’s current video format.
2. Repeat until the correct video format appears on
screen.
NOTE: During the switching process, you may notice minor
distortion in the camera image for a brief period. This is normal.
Go to flir.com/security/mpx
Click on your product in the search results
Click on the Downloads tab
1
3
4
Need Help?
Visit us online for up-to-date
software and complete instruction manuals
Click , and enter the model number of
your product
2
C243EW2_QSG_EN_R1
NOTE: Insert the included drywall anchors if installing
into drywall.
C243EW2_QSG_EN_R1.indd 2 12/2/2016 10:56:39 AM
Other FLIR Security Camera manuals

FLIR C133ED User manual

FLIR

FLIR C133ED User manual

FLIR DBB13TL-PK4 User manual

FLIR

FLIR DBB13TL-PK4 User manual

FLIR Ariel Gen IIICB-3308 Manual

FLIR

FLIR Ariel Gen IIICB-3308 Manual

FLIR HM-Series User manual

FLIR

FLIR HM-Series User manual

FLIR T4 Series User manual

FLIR

FLIR T4 Series User manual

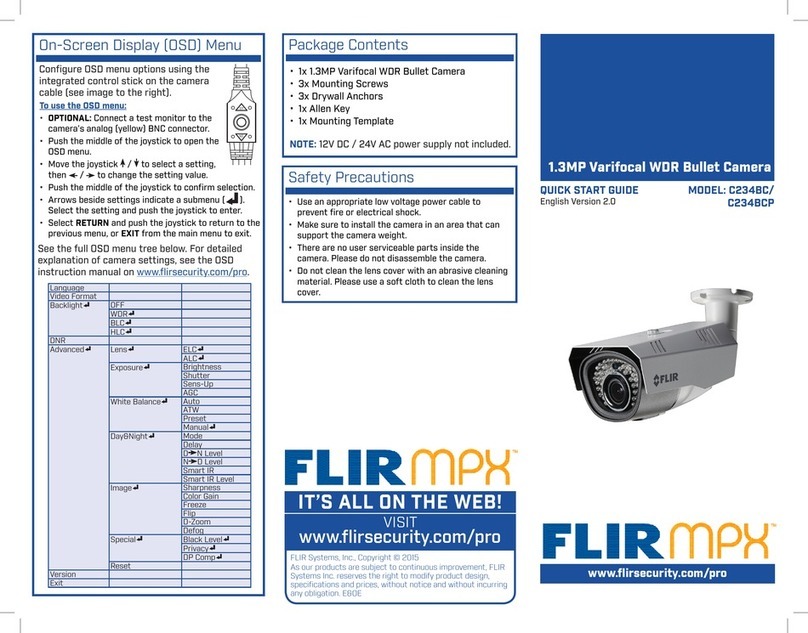
FLIR MPX C234BC User manual

FLIR

FLIR MPX C234BC User manual

FLIR MD-Series User manual

FLIR

FLIR MD-Series User manual

FLIR DEZ06T10 User manual

FLIR

FLIR DEZ06T10 User manual

FLIR DBV54TL User manual

FLIR

FLIR DBV54TL User manual

FLIR SR-100 User manual

FLIR

FLIR SR-100 User manual

FLIR DND13TL2 User manual

FLIR

FLIR DND13TL2 User manual

FLIR A3xx pt series User manual

FLIR

FLIR A3xx pt series User manual

FLIR Quasar Gen III Manual

FLIR

FLIR Quasar Gen III Manual

FLIR Ariel Gen III CM-3304-11-I Manual

FLIR

FLIR Ariel Gen III CM-3304-11-I Manual

FLIR MPX ME313L User manual

FLIR

FLIR MPX ME313L User manual

FLIR Digimerge DBV44TL User manual

FLIR

FLIR Digimerge DBV44TL User manual

FLIR Tau 640 User manual

FLIR

FLIR Tau 640 User manual

FLIR A3 F series User manual

FLIR

FLIR A3 F series User manual

FLIR SV87-KIT User manual

FLIR

FLIR SV87-KIT User manual

FLIR Lorex LNB4163 Series User manual

FLIR

FLIR Lorex LNB4163 Series User manual

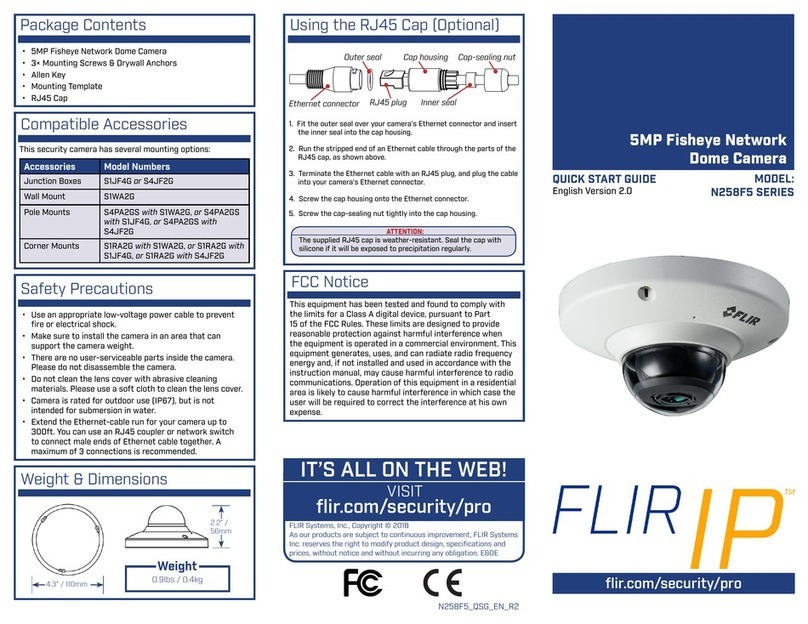
FLIR N258F5 Series User manual

FLIR

FLIR N258F5 Series User manual

FLIR Lorex LEV1512 Series User manual

FLIR

FLIR Lorex LEV1512 Series User manual

FLIR DNB14UX2 User manual

FLIR

FLIR DNB14UX2 User manual

FLIR MD-Series User manual

FLIR

FLIR MD-Series User manual

Popular Security Camera manuals by other brands

excelPTZ PTZ220 Installation and operation manual

excelPTZ

excelPTZ PTZ220 Installation and operation manual

Novus NVIP-4H-6511/F-II quick start guide

Novus

Novus NVIP-4H-6511/F-II quick start guide

Reolink RLC-824A user manual

Reolink

Reolink RLC-824A user manual

Aztech Kyla user guide

Aztech

Aztech Kyla user guide

GRASS VALLEY CameraMan Installation and operation manual

GRASS VALLEY

GRASS VALLEY CameraMan Installation and operation manual

Bolin Technology VCC-8-4K20S-3SMB user manual

Bolin Technology

Bolin Technology VCC-8-4K20S-3SMB user manual

Panasonic WVNF302 - NETWORK CAMERA operating instructions

Panasonic

Panasonic WVNF302 - NETWORK CAMERA operating instructions

Arecont Vision MegaView v1x series installation manual

Arecont Vision

Arecont Vision MegaView v1x series installation manual

Wonwoo PS-100N Installation & operating manual

Wonwoo

Wonwoo PS-100N Installation & operating manual

Panasonic GPUS522HA - IND CCD CAMERA operating instructions

Panasonic

Panasonic GPUS522HA - IND CCD CAMERA operating instructions

Speco O4DT1 quick start guide

Speco

Speco O4DT1 quick start guide

Vitek VTC-B301 operating instructions

Vitek

Vitek VTC-B301 operating instructions

TimeTec Smart Gateway Camera user guide

TimeTec

TimeTec Smart Gateway Camera user guide

Panasonic WV-S1132RF Important information

Panasonic

Panasonic WV-S1132RF Important information

Bosch NDN-733-V03IP manual

Bosch

Bosch NDN-733-V03IP manual

Speco CVC-3805 Specification sheet

Speco

Speco CVC-3805 Specification sheet

Syntech FRAME LS052WH user guide

Syntech

Syntech FRAME LS052WH user guide

BCS BCS-8256BDNV instruction manual

BCS

BCS BCS-8256BDNV instruction manual

manuals.online logo
manuals.online logoBrands
  • About & Mission
  • Contact us
  • Privacy Policy
  • Terms and Conditions

Copyright 2025 Manuals.Online. All Rights Reserved.