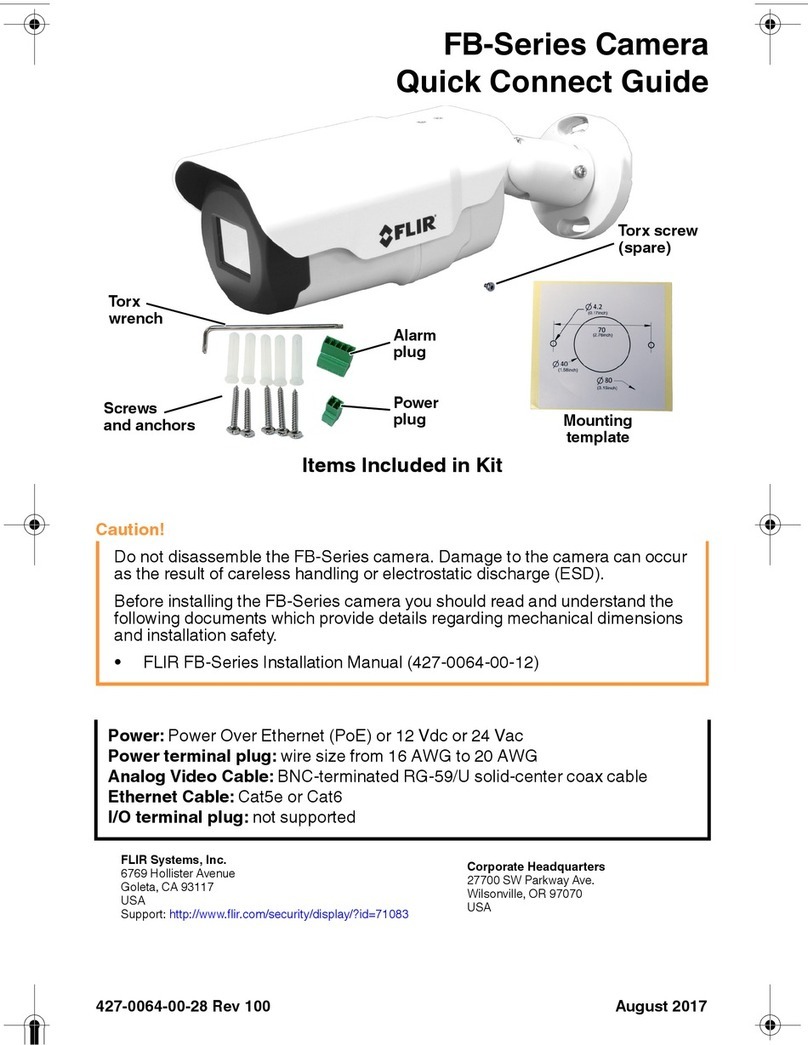
Connecting the Camera
Installing the Camera
B. Power Input: If not using PoE, connect the camera to
a 12V DC power source (240mA or higher required).
A. Ethernet Connector: Connect the camera to an NVR or
a router or switch on your network using CAT5e or better
Ethernet cable (not included). PoE supported (802.3af).
NOTE: For instructions on weatherproofing the Ethernet
connection, see “Using the RJ45 Cap (Optional)” on
reverse.
A B
1. From the Main Menu, click and select
Recording>Recording.
2. Select the camera under Channel.
3. Select Continuous or Motion under Type.
4. Check the left Audio/Video checkbox to enable audio recording
and listen-in audio. Check the middle checkbox to enable audio
streaming to remote devices (such as a smartphone). Check
the right checkbox to enable video streaming to remote devices
(enabled by default).
Installing the Camera (cont’d)
Audio Settings
4. Connect cables as shown in the section “Connecting the Camera”.
Mounting screws (×3)
Drywall anchors (×3)
5. Attach the camera base to the mounting surface using the included
mounting screws (3×).
8. Remove the vinyl film from the dome cover.
Camera base
Camera Overview
A. Lens Module
B. Lens Holder
C. microSD Card Slot: See
“Inserting the microSD Card”
for details.
D. Camera Base Dome cover screws (×3)
Reset button
Resetting the Camera
1. Remove the dome cover. Make sure the camera
is powered on.
2. Press and hold the reset button on the camera
base for 5 seconds to reset the camera to
default settings.
Inserting the microSD Card
Selecting the Display Mode
1. Remove the dome cover. Locate the microSD slot as indicated in
the image above.
2. Slide the microSD slot metal cover towards the open direction (see
image above), then lift the metal cover upward.
3. Place the microSD card (not included) into the slot with the metal
contacts facing down.
4. Close the metal cover and slide it towards the lock direction (see
image above).
NOTE: For details on configuring microSD recording, see the FLIR IP
Series Instruction Manual on this camera’s product page at
www.flir.com/security/pro.
For local recording, you can install a microSD card up to 128GB.
SanDisk™ or Kingston™ brand microSD cards recommended.
The default Live View display mode is Full Fisheye. Change the display
mode using the Camera Orientation menu.
To change the Live View display mode:
1. In Live View, right click and click Fish Eye.
3. Select the Show Mode.
NOTE: The available show modes will vary depending on the selected
Camera Orientation.
• Full fish eye image (default Live View display mode)
• 360° panorama with independent image(s)
• Two 180° panorama images
• Full fish eye with independent images
• 180° rectangular, panorama image
• 180° rectangular, panorama image with
independent images
E. Reset Button: See “Resetting the
Camera” for details.
F. Built-in Microphone: See “Audio
Settings” for details.
G. Dome Cover
H. Dome Cover Screws (×3)
AB
C
D
E
F
H
G
Open Direction
Lock Direction
ATTENTION:
The camera requires a minimum of Class 10 microSD card.
2. Use the Camera Orientation menu to select the method of
installation. Select Ceiling Mount , Wall Mount , or
Table Mount .
ATTENTION:
Audio recording and listen-in audio are disabled by default. Audio
recording and / or use of listen-in audio without consent is illegal in certain
jurisdictions. FLIR Systems, Inc. assumes no liability for use of its products
that does not conform with local laws.
ATTENTION:
For most installations, it is not recommended to adjust the camera lens
position. Adjusting the camera lens position may impact image quality.
If necessary, angle the lens slightly downward when installing in the
wall mounted position.
To enable audio recording and listen-in audio through a FLIR NVR:
ATTENTION:
The NVR always records video in the Full Fisheye display mode. Use the
Camera Orientation menu to change the display mode for the Live View screen
and Playback mode. For more information about dewarping the image and
exporting video files,
see the FLIR IP Series Instruction Manual on this
camera’s product page at www.flir.com/security/pro.
1. Use the included Allen key to loosen the screws on the dome cover.
Remove the dome cover.
ATTENTION:
• Test the camera prior to selecting a permanent mounting location by
temporarily connecting the camera cables to an NVR or PoE network switch.
• It is recommended to install the camera where there is some ambient light (for
example, street lighting or starlight, moonlight, etc.) or leave some lighting on in
the area where the camera is installed.
• In total darkness (zero Lux), the camera will not produce a night time image and
therefore the camera should not be installed in completely dark areas.
2. Use the included mounting template to mark holes for the mounting
screws and camera cable.
7. Replace the dome cover. Use the included Allen key to tighten
the dome cover screws (3×).
NOTE: Use the included drywall anchors if needed.
3. Drill holes for the mounting screws and camera cable.
6. Twist the camera base to secure it in place. Ensure the mounting screws
slide into the narrow end of the keyholes on the camera base.
ATTENTION:
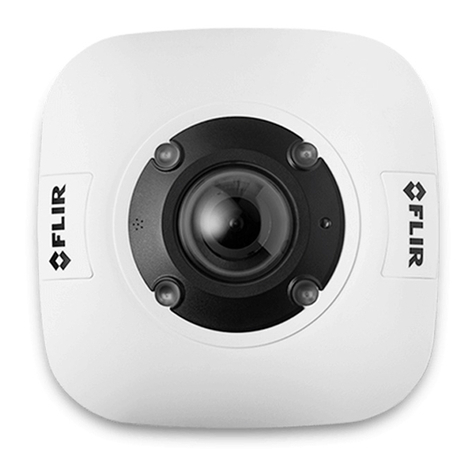
The 5MP Fisheye Network Dome Camera is compatible with DNR700, DNR800,
DNR900, and newer 4K supporting NVRs. Currently, only one 5MP Fisheye
Network Dome Camera can be supported per compatible NVR.
5. Click OK to save changes.
