manuals.online logo
Brands
  1. Home
  2. •
  3. Brands
  4. •
  5. Floyd
  6. •
  7. Indoor Furnishing
  8. •
  9. Floyd Jarvis User manual

Floyd Jarvis User manual

Jarvis
Standing
Desk
CAUTIONS:
Please read this manual carefully. If this desk changes hands,
please provide this manual to the new owner.
Make sure the desktop is not touching any obstacles or walls and
that no obstacles are in the desk’s path. Make sure all cords are an
appropriate length to accommodate the full range of height adjustment.
Keep children away from desk components. There is risk of injury
and electric shock.
Do not sit or stand on the desk frame. Do not crawl or lie under
the desk frame.
Do not open or modify any of the components, include the Lifting
Columns, Control Box or Handset. Doing so risks electric shock and
voids any warranty claims.
Placing objects taller then 20” underneath the desk will obstruct
the desk’s movement and may result in physical damage.
VOLTAGE CONVERTERS:
Using a voltage converter could cause damage to the desk and is con-
sidered improper use. Resulting damage is not covered by the warranty.
Verify the voltage of the Control Box as labeled to avoid damage.
Alternate voltage Control Boxes are available from Fully.
USE & LIABILITY:
This Jarvis height adjustable desk has electric motors and is designed
for use in dry work environments only.
This Jarvis desk is adjustable so it can be positioned at an optimal
ergonomic height. Any extracurricular use is at user’s own risk.
Under no circumstances does the manufacturer accept warranty
claims or liability claims for damage caused by improper use or
handling of the desk frame.
Jarvis is registered trademark of Fully, LLC. All rights reserved.
BEFORE STARTING:
On a padded or carpeted area, take all of the items out of
your Jarvis frame box and confirm that nothing is missing.
(Reference the included parts listing on the next page.)
SPECS:
Height Range
(w/o desktop)
Travel Speed
Operating Noise
Load Capacity
Duty Cycle
Frame Width Min–Max
24.5"– 50"
1.5" per second
<50db w/otop
1000N
10% with max 2 mins on
42.5"– 74"
Components
Lifting Column
Frame End
(w/ Capture Plate)
Frame End
Foot
Center Rail
2×
1×
1×
2×
2×
Components Cont.
Right Side Bracket
Left Side Bracket
Control Box
Power Cable
Leg Cable
1×
1×
1×
1×
1×
Components Cont.
Cable Clip
Media Machine Screw
Small Machine Screw
Medium Set Screw
(Pre-Installed)
Noise Attenuation
Grommet
10×
12×
8×
8×
5×
(extra)
Components Cont.
Desktop Washer
Memory Handset
3mm Hex Wrench
4mm Hex Wrench
Phillips Screw Driver
9×
1×
1×
1×
Not
Included
1
Insert one of the Lifting
Columns (either one; they’re
identical) into the Frame End
with the Capture Plate.
To Secure the Frame End to the
Lifting Column, thread four (4)
of the Small Machine Screws
into the holes as shown, but do
not tighten them all the way.
Once all four screws are in place,
tighten completely.
Lifting Column
Frame End
(w/ Capture Plate)
Small Machine Screws
1x
1x
4x
2
Decide if you want your Handset
on the left side or the right side of
your finished desk.
Select the Left or Right Side
Bracket (corresponding to the side
your Handset will be mounted on).
The two tabs on the Side Bracket
will slot into the Frame End with
the Capture Plate, around the
Lifting Column.
Use two of the Medium Machine
Screws to secure the Side Bracket.
As before, don’t tighten all the way
until both screws are in place and
then tighten completely.
Step 1 Assembly
Left or Right
Side Bracket
Medium Machine Screws
1x
1x
2x
Repeat Steps 1-2 for the
remaining Lifting Column,
Frame End and Side Bracket.
3
Lay your desktop on a padded
surface with the underside
facing up, and the front of the
desktop towards you.
Place the Left Leg Assembly
on the desktop to the right, with
the Frame End pointing towards
the center of the top. (Once you
flip your desk over, this will
become the left side, and the
world will make sense again.)
Insert all screws part way.
Once they are all in place,
tighten them all completely.
*Leg Assembly w/
Capture
Plate uses 4 screws.
Leg Assembly
w/o Capture
Plate uses 5 screws.
(Front edge of
Floyd Desktop)
Step 2 Assembly
Floyd Desktop
Desktop Machine Screws
Desktop Washer
1x
1x
4x/5x*
4x/5x*
Slide the Center Rails into the
Frame End attached to the
desktop, so that the midpoint
mark is facing up and the cut-
out slots are facing inwards.
Slide the Right Leg Assembly
onto the other end of the Center
Rails (your left-hand side). The
entire frame should now fit onto
the desktop.
(Correct center
of rail orientation)
Center Rail2x
4
Secure the Right Leg Assembly
to the desktop with the
appropriate screws.
Insert all screws part way.
Once they are in place, tighten
them completely.
Desktop Machine Screws
Desktop Washer
4x/5x*
4x/5x*
*Leg Assembly w/
Capture
Plate uses 4 screws.
Leg Assembly
w/o Capture
Plate uses 5 screws.
5
Center the labeled midpoint
marks on both Center Rails
between the two Frame Ends,
and use the pre-sintalled Set
Screws to lock the Center Rails
down firmly.
Medium Set Screw
(Pre-Installed)
8x
6
The Floyd Desktop comes with
pre-drilled holes for attaching
your Handset along the front
of the desktop, on both the left
and right sides. Keep in mind
that when you turn your desk
over, the sides of your desk will
be reversed.
If you haven’t already, now is a
great time to decide which side
you want your Handset on.
To attach the Memory
Handset use included
Wood Screws and holes
3 & 4 as shown.
3 4
Wood Screw
Memory Handset
2x
1x
7
PRO TIP:
Cable Management Cable Clips
work best adhered directly to the
Jarvis metal frame. Route your
Power Cord & Leg Cable towards
the side of your nearest wall
outlet, or use a cable management
tray for optimal cable taming.
Slide the Control Box onto the
Frame End with the Capture Plate.
Connect the cables from both legs
to the Control Box via the sockets
labeled M1 & M2. Connect the
Handset to the Control Box via the
socket labeled HS. Connect the
Power Cable via the power socket.
Control Box
Power Cable
Leg Cable
Cable Clip
1x
1x
1x
10x
8
Loosely attach a Foot to the
bottom of each Lifting Column
using four (4) Medium Machine
Screws per Foot.
Once all screws are in place,
tighten them down the rest of
the way in an X pattern.
Foot
Medium Machine Screw
2x
8x
9
11
Double-check that all screws
everywhere on the desk are
tight. Triple-check that all
screws everywhere on the desk
are tight.
With one friend (or more), lift
the desk and gently flip it onto
its feet. As you flip it support
both the top and the frame,
being careful not to put weight
on the Handset.
Adjust the pre-installed leveling
glides on the feet as needed,
Plug in the desk.
10
Before you start using your
Jarvis, you’ll need to get all
the parts synced.
Don’t worry—it’s easy.
3
Press and hold the icon until Jarvis reaches its
lowest position. Release.
Press and hold
the icon until the display reads RESET.
Press and hold the icon again, this time until Jarvis
first lowers slightly, then rises slightly, and finally stops.
Release the icon.
You can now use your Jarvis Frame.
PROGRAMMABLE MEMORY HANDSET
1.
2.
3.
4.
PROGRAMMING MEMORY PRESETS
To program your memory presets, raise or lower your Jarvis
to your preferred height. Then, press the Micon followed by
one of the four numbers you want to preset. This number will
return Jarvis to your preferred height from now on.
12
Now, don’t be shy—
we’d love to see your
table’s new home!
@floyddetroit
#thefloydtable
All done!
1
3
Custom Settings
for Programmable
Memory Handset
213 M4
Up/Down LED Display Presets M Button
GETTING STARTED
To begin, access the menu by holding down Mfor 3 seconds until
Lock/Unlock desk appears on screen. Use the and icons to
navigate through the menu. ‘ 1’ selects the feature you want to
change and also confirms your selection. ‘4’ takes you back to the
main menu.
LOCK/UNLOCK JARVIS
To lock Jarvis and prevent any further changes to the height or
menu settings use Lock. Unlock will allow you to once again use
all of Jarvis’s features.
MAX HEIGHT
If you want to limit how high your Jarvis can go, set a Max height
limit. Simply raise Jarvis to the desired maximum height and
navigate to Max height on the menu, then press ‘1’ to confirm.
MIN HEIGHT
To limit how low your Jarvis can go, set a Min height limit. Move
Jarvis to the desired minimum height and navigate to Min height on
the menu, then press ‘1’ to confirm.
UNITS
Prefer to work in centimeters instead of inches? Choose the unit of
measurement you’d like under the Units menu option.
ANTI-COLLISION
To help prevent damage, Jarvis is outfitted with an accelerometer
that stops it if it runs into something. You can set the sensitivity
with the anti-collision options.
SCREEN BRIGHTNESS
Adjust the screen brightness on your memory handset to the level
that suits you and your eyes.
BUTTON BRIGHTNESS
You can also adjust the button brightness on your memory handset.
Choose from 3 different brightness levels to help you navigate
through your presets and menu options.
MEMORY PRESET MODE
Use One touch to move your Jarvis to a memory preset height with
the touch of a button, or use Constant touch and keep your finger
on the button until Jarvis gets to the memory preset height.
CALIBRATE HEIGHT
To calibrate your handset’s height display, lower Jarvis all the way
down and then use a tape measure to determine the height from
the top of your desktop to the floor. Select the Calibrate height
menu option and use the and icons to adjust the height
readout to match your previously measured height.
WARNING
READ ALL INSTRUCTIONS BEFORE ASSEMBLY & USE. ADULT ASSEMBLY REQUIRED.
KEEP SMALL PARTS AND PACKAGING AWAY FROM CHILDREN.
NOTES ON USE:
Keep children and others safe by following these simple rules:
Do not allow any child to play on furniture
Do not allow climbing on any piece of furniture
Do not allow hanging from any piece of furniture
A S S E M B LY :
Use extra caution when assembling and have someone assist you. Do not change the
specifications or modify this product. Incorrect assembly can cause product to fail and
cause personal injury. Double check that all fasteners are tightened before use. Have
someone assist you when flipping over The Table after assembly.
USAGE:
Remove all packaging before first use. Check periodically that all fasteners are securely
tightened. Be aware that fasteners may become loose with prolonged use. Only meant for
indoor use. Do not drag the legs across flooring. The legs and tabletop are not intended to
be used with other components and should only be used together as a system. For the
Floyd Side Table, do not load with more than 200 lbs (90 kg). For the other Tables, do not
load with more than 150 lbs (68 kg). Do not stand on the Tables. Standing or leaning on
the Tables may cause risk and personal injury. The Tables should only be used with all legs
firmly set on level ground. Inspect fasteners and metal legs regularly. Replace if fasteners
are damaged or if metal parts are worn, rusted, bent, deformed or damaged. Do not attempt
to detach legs while table is upright/standing. Use caution when moving or flipping the
table over. Failure to observe recommended practices such as loading beyond weight
capacity can result in unsafe usage conditions and product damage or personal injury.
CARE:
For the birch table surface, the tabletop is finished in a water-based clear coat. For daily
cleaning, use a damp cloth with a dab of dish soap or vinegar. For anything tougher, use
vinegar diluted in water. Wipe the table dry after cleaning, and never let standing water
remain on the surface for an extended period of time.
For the linoleum table surface, routine cleaning is best done with 1 part dish washing
liquid (such as Dawn, etc.) to 1 part water. Do NOT use window/glass cleaner or other harsh
cleaning supplies on the surface, as this could damage or warp the linoleum. For minor
scuffs, use Linseed Oil (boiled or unboiled), which can be found at your local hardware
store, or online. Apply the oil directly to the affected area and let sit for 5 minutes. Then,
using a damp cloth, buff the area in a circular motion. Allow the area to dry completely
before using. You may need to reapply and repeat this process a few times to fully remove
blemishes.
For either surface type, potted house plants may leave water marks on the table if left for
an extended period of time. We suggest using watertight pots or plastic drainage trays and
frequently cleaning the area under the pot. The surfaces are made from natural materials
and as such may fade over time in direct sunlight.
CONTACT
VISIT
Have a question,
comment, or suggestion?
Just want to say hi?
[email protected]om
The Floyd Shop
1948 Division St. Suite 101
Detroit, MI 48207
FLOYDHOME.COM
FT-IC-INSTR

Other Floyd Indoor Furnishing manuals

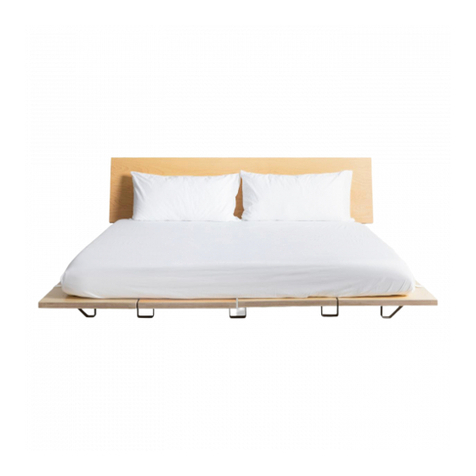
Floyd Underbed Storage User manual

Floyd

Floyd Underbed Storage User manual

Floyd Table System User manual

Floyd

Floyd Table System User manual

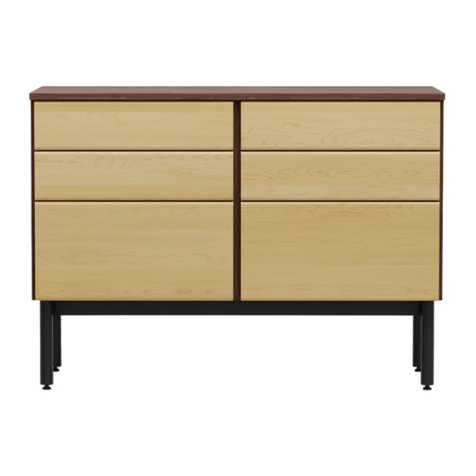
Floyd Dresser System User manual

Floyd

Floyd Dresser System User manual

Floyd Cabinet User manual

Floyd

Floyd Cabinet User manual

Floyd Headboard User manual

Floyd

Floyd Headboard User manual

Floyd Media Console User manual

Floyd

Floyd Media Console User manual

Floyd The Bedside Table User manual

Floyd

Floyd The Bedside Table User manual

Floyd Shelving System User manual

Floyd

Floyd Shelving System User manual

Floyd Dresser System User manual

Floyd

Floyd Dresser System User manual

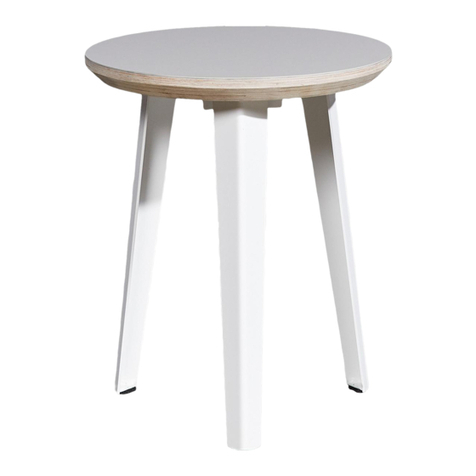
Floyd Side Table User manual

Floyd

Floyd Side Table User manual

Floyd Chaise User manual

Floyd

Floyd Chaise User manual

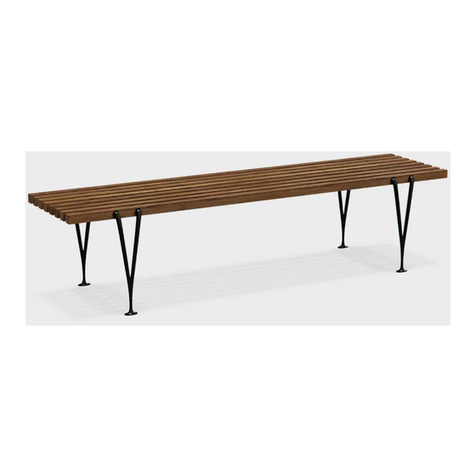
Floyd Acton Slat Bench User manual

Floyd

Floyd Acton Slat Bench User manual

Popular Indoor Furnishing manuals by other brands

Furniture of America CM3433PC-2PK Assembly instructions

Furniture of America

Furniture of America CM3433PC-2PK Assembly instructions

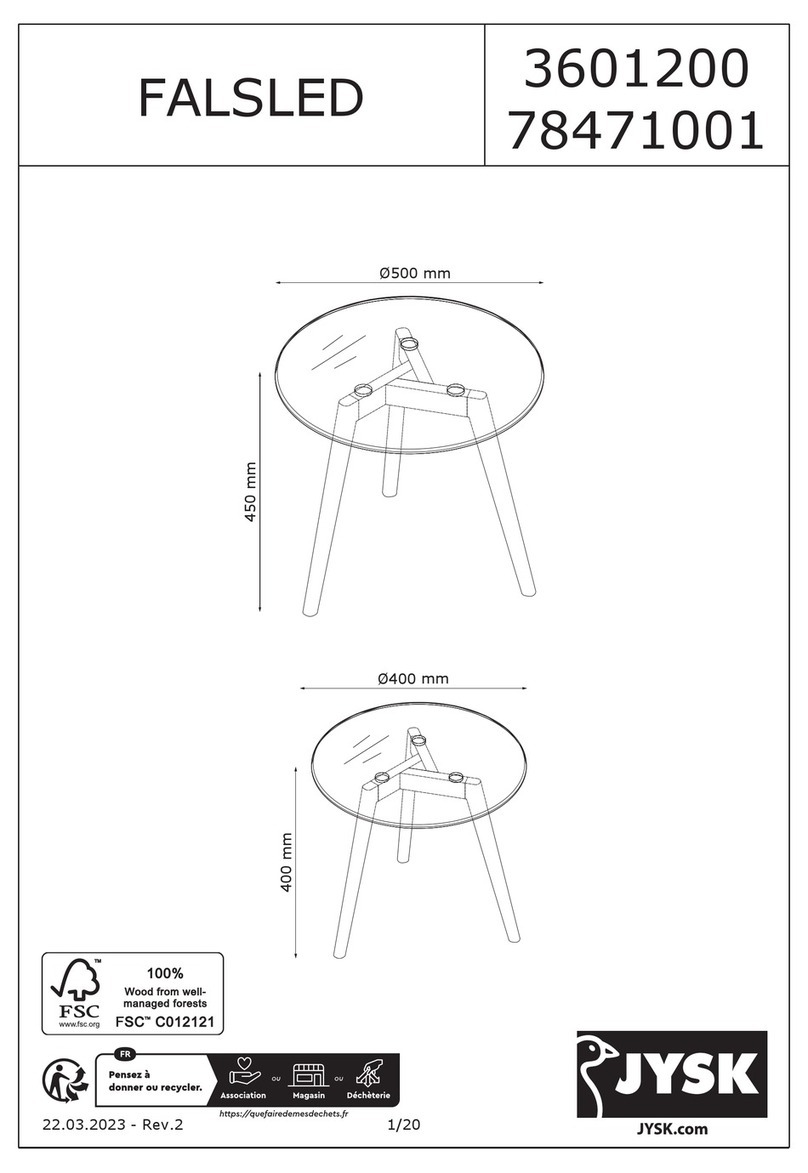
Jysk FALSLED Assembly instructions

Jysk

Jysk FALSLED Assembly instructions

HoMedics Envira Scape Instruction manual and warranty

HoMedics

HoMedics Envira Scape Instruction manual and warranty

Salamander Designs SYNERGY 339 Assembly manual

Salamander Designs

Salamander Designs SYNERGY 339 Assembly manual

Jysk KULA 5231700 Assembly instructions

Jysk

Jysk KULA 5231700 Assembly instructions

Whittier Wood Products Shaker 1400AFVCL Assembly instructions

Whittier Wood Products

Whittier Wood Products Shaker 1400AFVCL Assembly instructions

PT W85033 owner's manual

PT

PT W85033 owner's manual

Triarch 32375 Assembly instructions

Triarch

Triarch 32375 Assembly instructions

Amart Furniture ASHA 66830 Assembly instruction

Amart Furniture

Amart Furniture ASHA 66830 Assembly instruction

Home Decorators Collection FALLWORTH 19115-M24-LG Assembly instructions

Home Decorators Collection

Home Decorators Collection FALLWORTH 19115-M24-LG Assembly instructions

Next 606040 Assembly instructions

Next

Next 606040 Assembly instructions

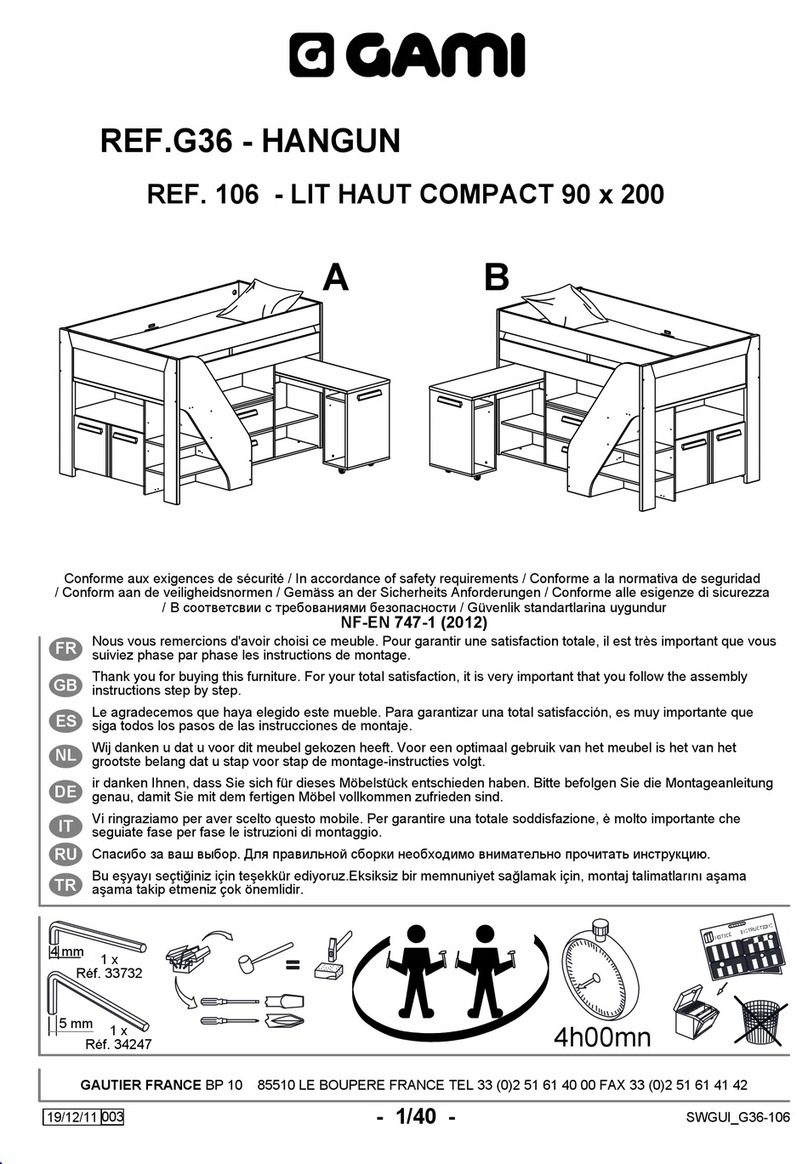
Gami LIT HAUT COMPACT 106 instruction manual

Gami

Gami LIT HAUT COMPACT 106 instruction manual

OfficeSource PL9997 Assembly instructions

OfficeSource

OfficeSource PL9997 Assembly instructions

Bontempi Casa LEXINGTON 16.15 Assembly instructions

Bontempi Casa

Bontempi Casa LEXINGTON 16.15 Assembly instructions

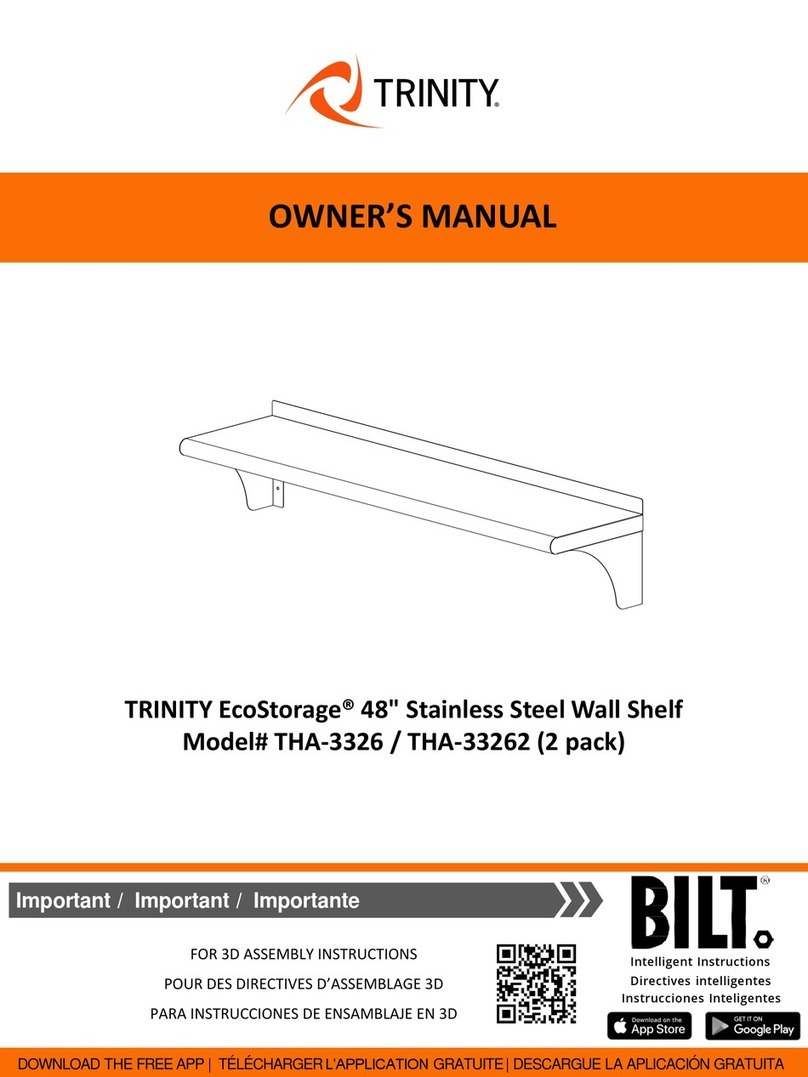
Bilt Trinity EcoStorage THA-3326 owner's manual

Bilt

Bilt Trinity EcoStorage THA-3326 owner's manual

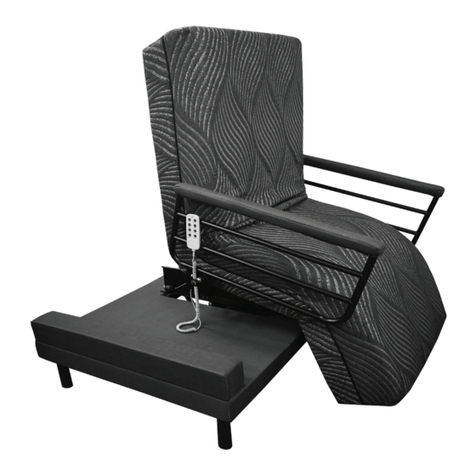
Customatic THE INDEPENDENCE CUSIN01 owner's manual

Customatic

Customatic THE INDEPENDENCE CUSIN01 owner's manual

AnthroDesk ERGOSPRING DELUXE 35 installation manual

AnthroDesk

AnthroDesk ERGOSPRING DELUXE 35 installation manual

Atlantic WINDOWPANE 576 CD manual

Atlantic

Atlantic WINDOWPANE 576 CD manual

manuals.online logo
manuals.online logoBrands
  • About & Mission
  • Contact us
  • Privacy Policy
  • Terms and Conditions

Copyright 2025 Manuals.Online. All Rights Reserved.