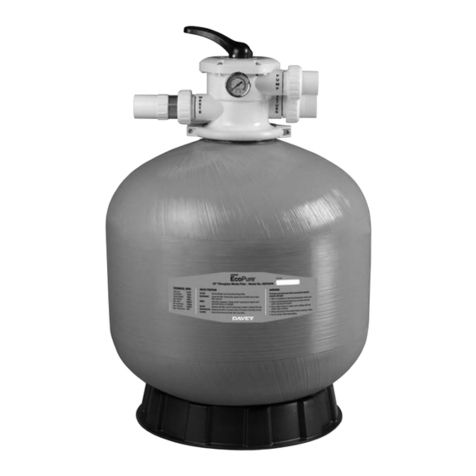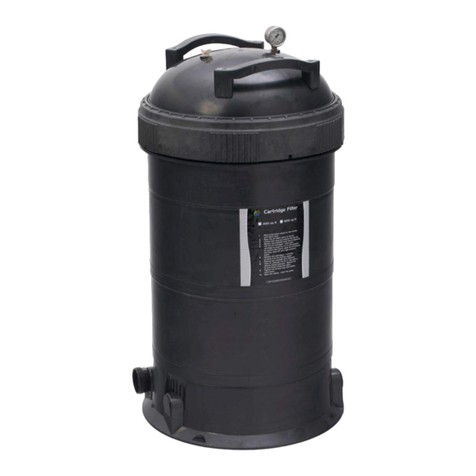
INST 371 VIRON QL Cartridge Filter V08-20
STARTING INSTRUCTIONS
WARNING: THIS FILTER OPERATES UNDER HIGH PRESSURE.
When any part of the circulating system, (filter, pump, valves, clamp etc) are serviced, air can enter the system and become
pressurized. Pressurized air can cause the lid to be blown off, which can result in severe injury, death, or property damage. To
avoid this potential hazard, please follow these instructions.
1. Before start up, make sure the elements are in the filter and the clamp band is correctly fitted and tightened.
2. Open the air bleed screw, located in the lid. Rotate anti clockwise 2 full turns.
3. Open the suction and return line valves (where fitted)
4. Stand clear of the filter, then start the pump.
5. As the system “primes up” air will be released via the air bleed screw. Leave the air bleed screw open until a solid
stream of water appears from the air bleed screw. Shut the air bleed screw by turning it clockwise until fully done up.
6. The system is now primed and should be operating correctly.
7. The system is not working correctly if, a solid stream of water does not appear from the air bleed screw, or the
pressure gauge indicates pressure before water out flow appears from the air bleed valve.
8. If either condition exists, switch off the pump immediately, open valves in the water return to relieve pressure from the
system.
CLEANING
Clean the cartridges when the flow to the pool reduces or the pressure gauge increases by 20 kPa or 3 psi.
1. Stop the pump, close valves on the suction and return lines
2. Open the air bleed valve (located in the filter lid). Allow all pressure to be relieved
3. Loosen the brass nut on the clamp using a 3/4”(19mm) wrench, Loosen until you are able to remove the clamp from
the filter.
4. Carefully remove the top manifold from the 4 elements by lifting up from the elements.
5. Carefully remove each element from the filter.
6. Clean the cartridges by soaking them in a mild solution of chlorine and warm water for approx. 15 minutes and then
hose off with water ensuring not to damage the filter element when doing so.
7. Replace the cartridges into the filter ensuring they are correctly located on the bottom spigot of the filter.
8. Refit the top manifold ensuring it is correctly fitted into the 4 elements and the internal pipe work.
9. Clean the filter body o-ring before refitting, ensure it is free from dirt.
10. Place the lid carefully over the elements and lower onto the lower body of the filter. Ensure o-ring stays in place.
11. Holding the ends of the filter clamp apart, position the center segment of the filter clamp over both upper and lower
tank flanges. Bring the ends of the clamp together, while ensuring the T-BOLT located correctly in 1 ½ of the clamp.
While holding the 2 halves together screw on the brass nut until you are able to let go of the clamp and it stays in
position.
12. Begin to tighten the brass nut with a ¾”wrench, tighten the brass nut until the gap between the two clamps is approx.
One finger width (5/8”to 3/4”/ 16 –19mm). DO NOT over tighten beyond this gap specified
13. Open the valves on suction and return lines, open up the air bleed valve in lid, restart the pump.
14. Wait for constant stream of water from the air bleed valve and close valve.
15. Check for leaks from around clamp band
PUMP PRIMING
With the pump OFF,
1. Remove the lid from the pump strainer and pour in approximately one to two gallons (4 to 8 litres) of water or until
strainer is fully covered
2. Replace the pump lid, ensuring it is fitted correctly
3. If valve(s) have been installed on the pump suction line, close before filling strainer. Open again after lid has been
securely fitted in place. Any valves on the return lines should be open. The pump should not need to be re-primed
unless the pump has been drained for servicing, or winterizing (refer to the pump instruction manual provided with the
pump)
NEVER LOOSEN THE CLAMP BAND WHEN PUMP IS OPERATING OR THE SYSTEM IS
UNDER PRESSURE


