Flyron FNM-803B User manual

Flyron Technology Co., Ltd. www.flyrontech.com
-page 1-
Weatherproof Triggerable MP3 Audio Player
User’s Manual
Model No.: FNM-803B
Version: 1.0
Release Date: Nov. 13, 2022

Flyron Technology Co., Ltd. www.flyrontech.com
-page 2-
1. Overviews
1.1. Features
Adopts anti-corrosion and anti-rust thickened zinc alloy enclosure.
Rainproof, windproof and dust-proof, can be used for outdoor purposed application scenarios.
Built-in a high quality MP3 player with 8MB flash memory.
Supports inserting USB flash drive and micro SD card as the extended storage devices.
Supports max. 32GB USB flash drive and max. 32GB micro SD card.
7 trigger inputs available and they can be connected with as many as 7 buttons/switches/relays, etc.
Equipped with pluggable terminal blocks, and easy to connect.
Supports 8 types of trigger modes and each trigger mode can be set easily through a text document.
Built-in a class D 20 Watts amplifier and the sound is loud and clear.
Uploading audio files by connecting the micro USB port of the device to computer with a USB data cable.
Sound volume is adjustable through turning the potentiometer at the bottom of the device.
Two options available (through the DC power jack or the power supply terminal block) to power the device.
1.2. Technical Parameters
Working Voltage: 9-24V DC
Working Current: ≤2000mA
Standby Current: ≤10mA
Audio Format: MP3 (Bit rate: 8-192Kbps)
Audio Output Power: ≤20Watts
Protection Grade: IPX6
1.3. Dimensions

Flyron Technology Co., Ltd. www.flyrontech.com
-page 3-
1.4. Interface Introduction
Notes:
1). The USB port (type A) is used to insert a USB flash drive, while the micro USB port is used to connecting to computer.
2). When inserting a micro SD card, it should be inserted face down.
3). An inserted micro SD card can be read on computer through the USB connection (micro USB port).
4). When connecting the device to computer, please don’t power on the device.
5). Micro SD card is always chosen in priority, and USB flash drive secondly, and then the built-in flash memory thirdly.
6). If your sound files are not larger than the size of the built-in flash memory (8MB), usually you don’t need to use a micro
SD card or USB flash drive.
2. Trigger Modes and Config File
2.1. Select a Trigger Mode
There are 8 trigger modes available for users to choose according to the actual needs. Any of these 8 trigger modes can be
set/acquired through a config file, which is a text file(.txt). Users just need to fill in a number that is corresponding to a trigger mode
in a new built text file. Save it and rename the file “Config” or any name you like, then put it in the root directory of the micro SD
card or the flash memory together with the audio files or folders. Please refer to the below sheet about the number and the
associated trigger modes.
Number in Config File
Corresponding Trigger Mode
0
Short press the button to start playing, and during playing, if you press the button again, the playback
will be interruptible and it will play from the beginning.
1
Press the button and hold to start playing repeatedly, and when the button is released the board stops
playing.
2
Short press the button to start playing, and during playing, if you press the button again, the playback
will be NOT interruptible.
3
In this mode, K1 works as Next, K2 Previous, K3 Play/Pause, K4 Stop, K5 Volume Up, K6 Volume
Down, K7 Random playback (it plays a sound randomly after each triggering).
Special function: When K1 is short-circuited to GND first and use this mode in the config file and once
power is applied, the board is able to play a sound in a loop or play multiple sounds one by one in a
loop until power is off.

Flyron Technology Co., Ltd. www.flyrontech.com
-page 4-
Note: If there is no config file on the built-in flash memory/micro SD card/USB flash drive, the device will always
works with the mode “0” by default.
2.2. How to Create a Config File
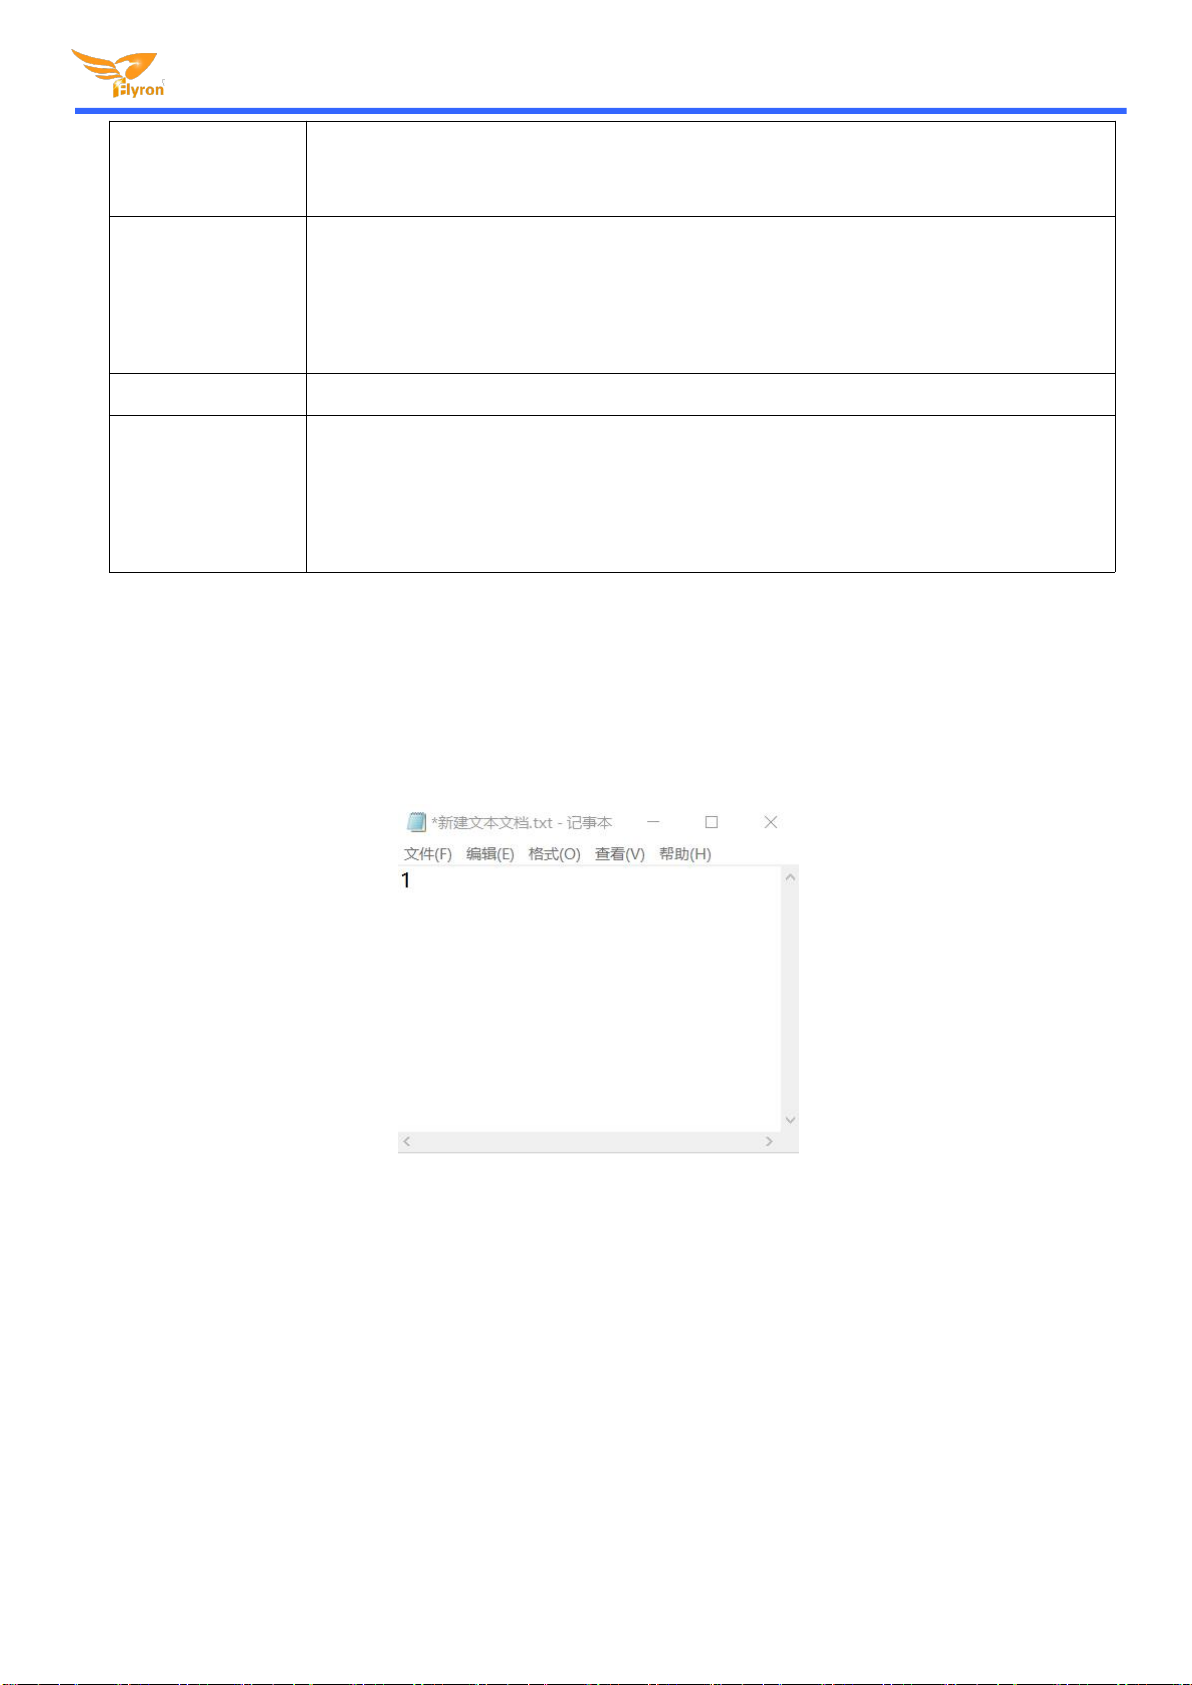
1). Firstly create a new text file on computer (desktop or somewhere else).
2). Open it and enter a number (mode) you need. Suppose you need mode “1”, just enter “1”. See below.
3). Save it and close it.
4). Rename the file “Config” or any other name you like.
3. Audio Files Loading/Updating
Users can use a micro USB data cable to connect the board to computer. The built-in flash memory will be detected as a USB
flash drive on computer. If the built-in flash memory is not large enough to store your audio file, you can use a micro SD card
instead. When there is an inserted micro SD card on the board, there will be two simulated USB flash drives on computer (one is
the built-in flash memory and the other one is the micro SD card), so please note to recognize.
3.1. For Trigger Mode 0-3
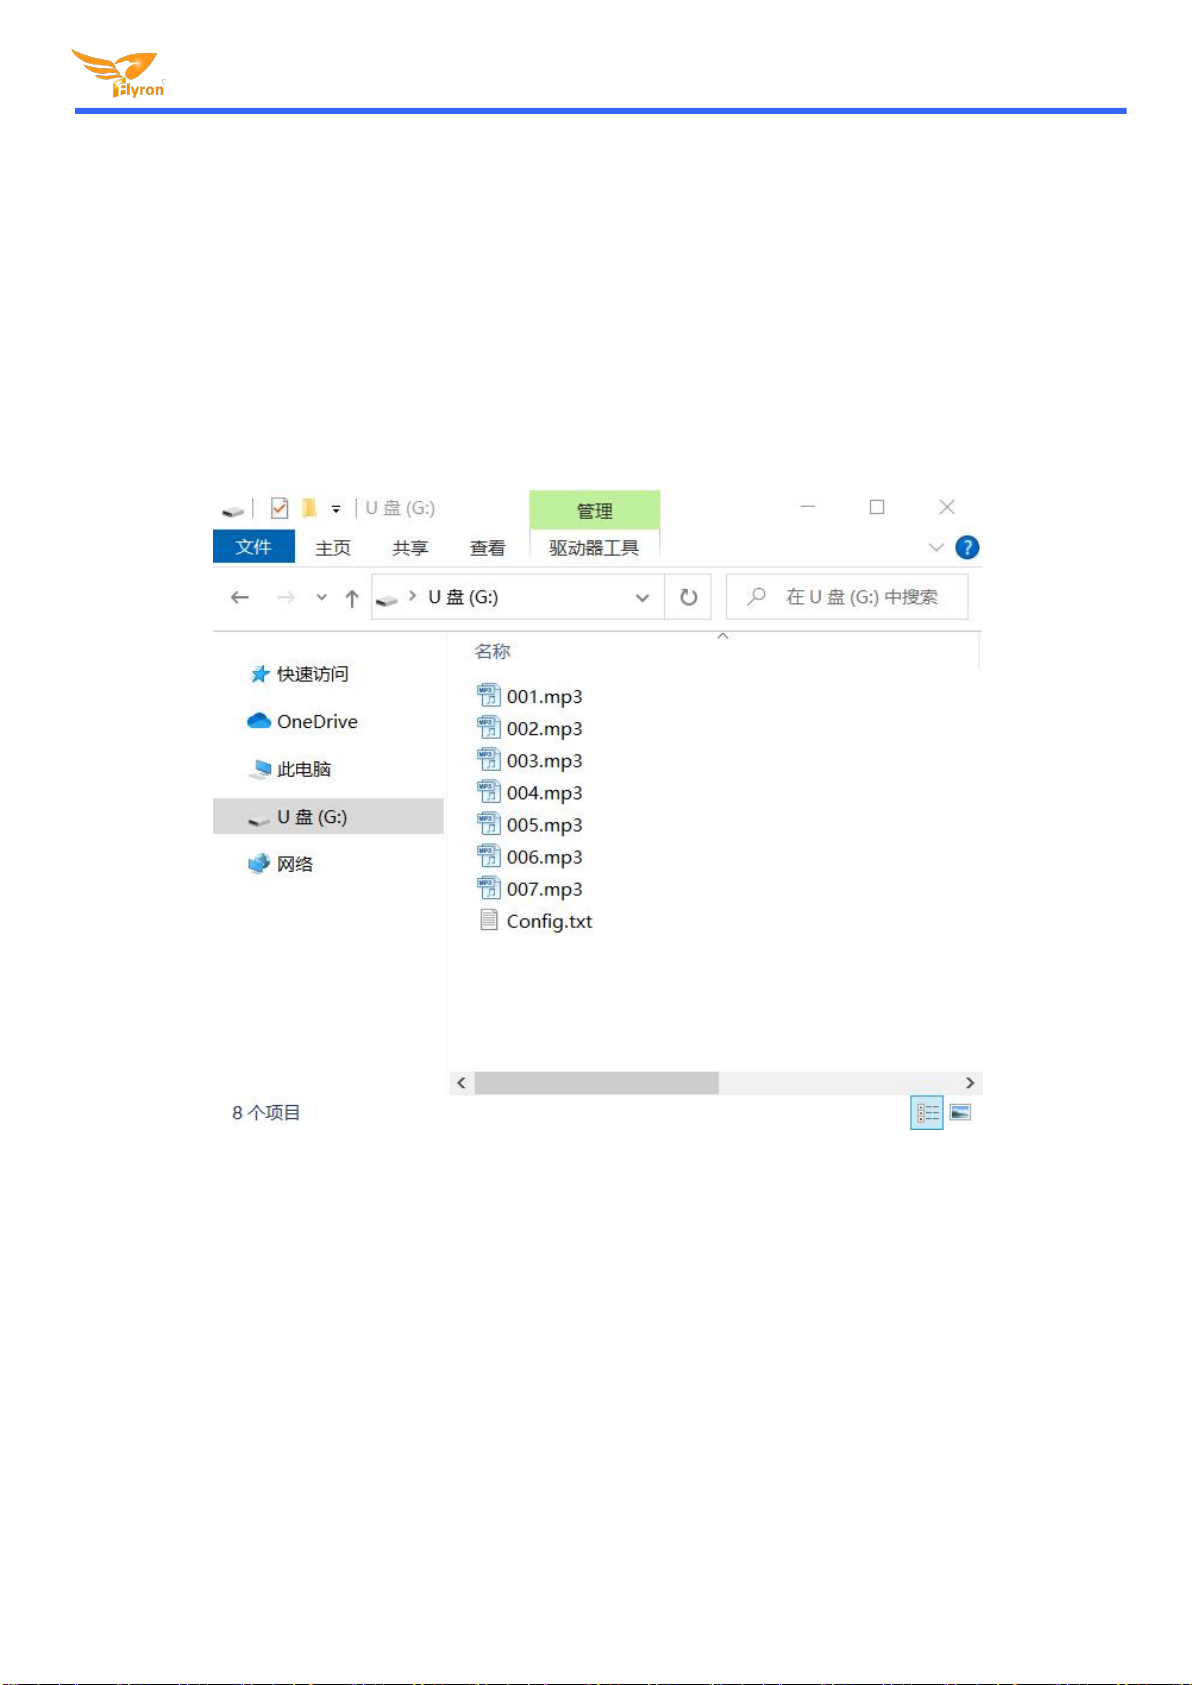
To these four modes, the audio files need to be placed on the root directory of the storage device (built-in flash memory or micro
SD card). The arrangements of the audio files are managed by a physical index order. In other words, the file that is to be loaded
first in the storage device will be associated with input “K1”. The last file to be loaded in the storage device will be associated with
4
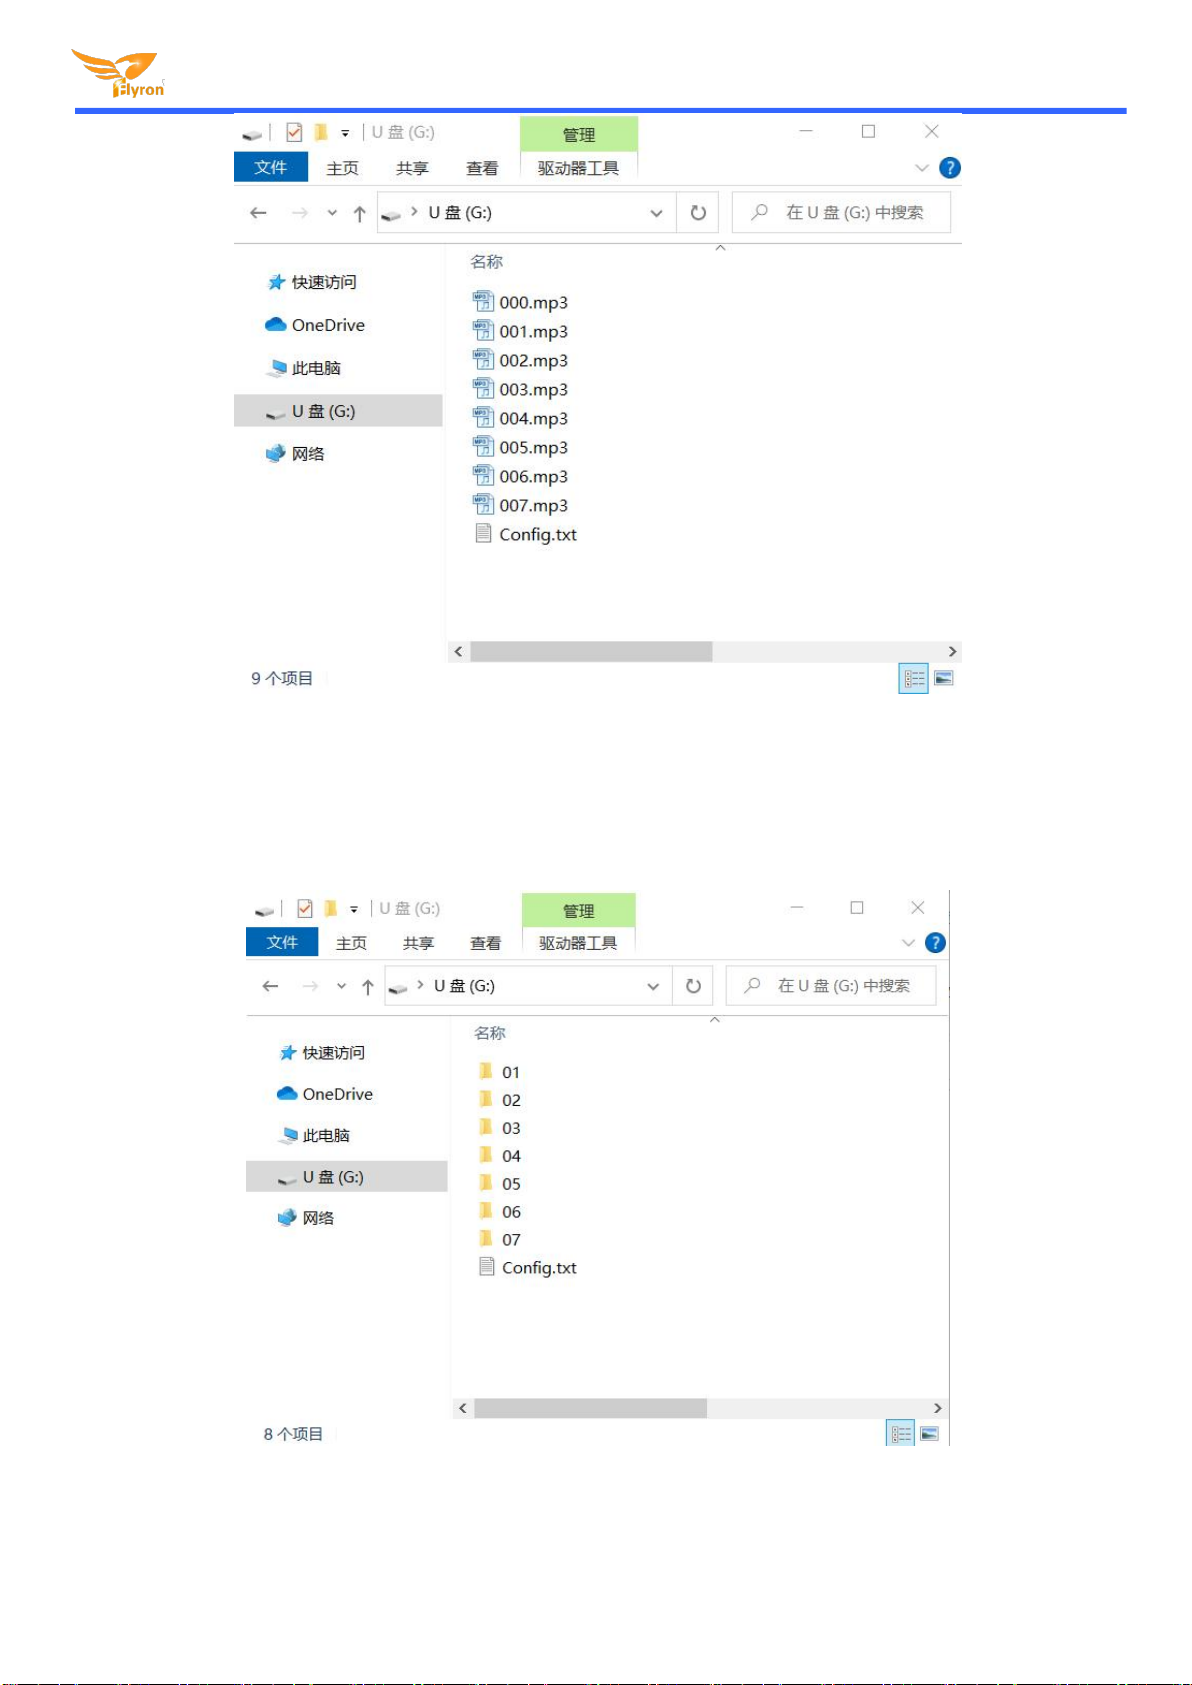
In this mode, sound file 000.mp3 will play in a loop when power is applied. Any button from K1 to K7
(associated 001.mp3 to 007.mp3) can interrupt it and switch to play the associated sound file. Once
the associated sound file finishes the playback, sound file 000.mp3 will continue to play in a loop.
5
Each button from K1 to K7 have their associated folders from 01 to 07 respectively. Each folder can
store multiple files (for example from 001.mp3 to 030.mp3). Short press the button to play sound file
001.mp3, and short press again to play the next file 002.mp3, and so on. When the last sound file
finish playing, short press again to go back to playing file 001.mp3. During playing, if you press the
button again, the playback will be interruptible and it will play next file.
6
The same as mode “5”, but during playing, the playback will be uninterruptible.
7
Each button from K1 to K7 have their associated folders from 01 to 07 respectively. Each folder can
store multiple files (for example from 001.mp3 to 030.mp3). Short press the button to play all of the
sound files in order one by one. During playing, if you press the button again, the playback will be
interruptible and it will play next file and continue to play the rest of the file. When the last sound file
finishes playback, it’ll stop.

Flyron Technology Co., Ltd. www.flyrontech.com
-page 5-
input “K7”. In order to guarantee a correct ‘one-on-one’ order, please refer to the following steps.
1) . Build a new folder on the computer and put the 7 audio files in this new folder.
2) . Rename the audio files from 001.mp3 to “007.mp3”, and make sure they are ranked from “001.mp3 to “007.mp3” in
order.
3) . Connect the module to computer through a USB data cable.
4) . Delete the pre-loaded audio files for tested purpose at factory, or empty the micro SD card if it has other files inside.
5) . Go back to the folder and select all of the 7 audio files in the folder.
6) . Right click on the first file (001.mp3) and choose "Send to removable disk" or “Send to USB flash drive”.
7). This will send the 7 audio files to the on-board flash memory or micro SD card one by one in a correct sequence.
8). Move the prepared config file with the trigger mode needed onto the root directory together with the audio files as below
then refresh.
9). Safely remove the USB connection from computer.
Note: When you use the trigger mode “3”, you can definitely place more than 7 audio files.
3.2. For Trigger Mode 4
Like the first four trigger modes, the audio files need to be placed on the root directory of the storage device (built-in flash
memory or micro SD card). In this mode, the module recognizes the files by name instead of physical index order, so it’ll be
alright to directly copy your audio files onto the storage device and rename the files 000.mp3-007.mp3 according to your actual
needs. Please refer to the screenshot below.

Flyron Technology Co., Ltd. www.flyrontech.com
-page 6-
3.3. For Trigger Mode 5-7
At first, users need to create seven folders on the storage device (built-in flash memory or micro SD card), and rename them 01, 02,
03, till 07, then put the config file together with the folders on the root directory. Of course, if you don’t have to use so many buttons,
then you don’t need to create as many as seven folders. See the screenshot as below.

Flyron Technology Co., Ltd. www.flyrontech.com
-page 7-
After that, copy your audio files to each associated folder, and rename them 001.mp3, 002.mp3, and so on. In these three modes, the
module recognize the audio files by physical index order, so when you copy audio files to each folder, please note the copy order. See
the screenshot as below.
Note: When you rename a file, you can still keep the original file name and you can rename it like 001-Never Say
Goodbye.mp3, 002-Season in the Sun.mp3, 003-Angel.mp3, and so on. This rule applies to all of the trigger modes.
4. Example of Connections
4.1. Connected to a DC Power Supply
4.2. Connected to an AC to DC Power Adapter
Note: GND is the common terminal.

Flyron Technology Co., Ltd. www.flyrontech.com
-page 8-
5. Installation
Table of contents
Other Flyron Media Player manuals